


环境准备
工具:
CMake: https://cmake.org/download/ (根据平台类型下载对应安装包)
源码 (已附在文件夹里):
paho.mqtt.cpp: https://github.com/eclipse/paho.mqtt.cpppaho.mqtt.c: https://github.com/eclipse/paho.mqtt.c
编译MQTT库
编译MQTT C库paho.mqtt.c
- 安装好CMake后,打开CMake-GUI;
- 设置源码目录:”Where is the source code“;设置编译目录:”Where to build the binaries”。点击“Configure”按钮;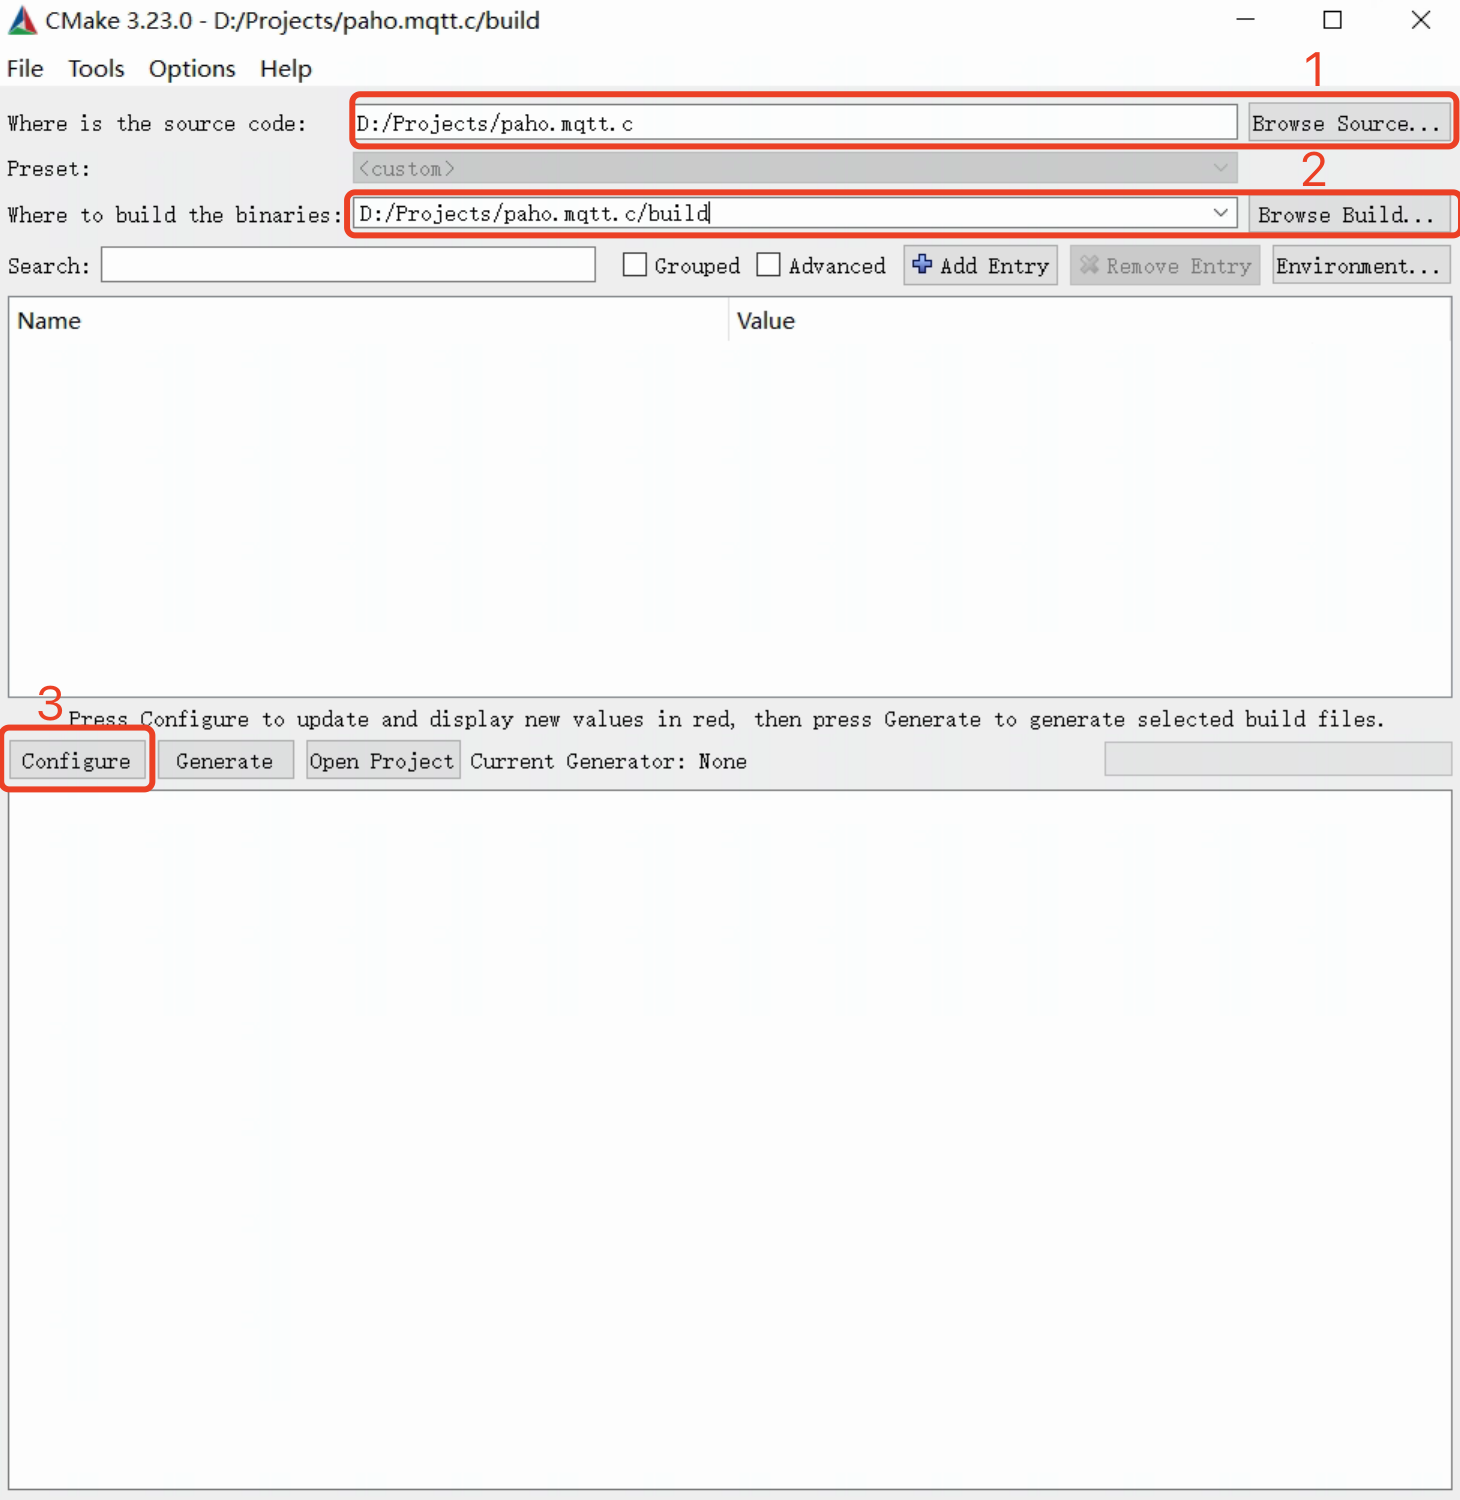
- 点击"Configure" 后选择generator和系统类型, 点击finish
- 此时进入cmake参数配置页面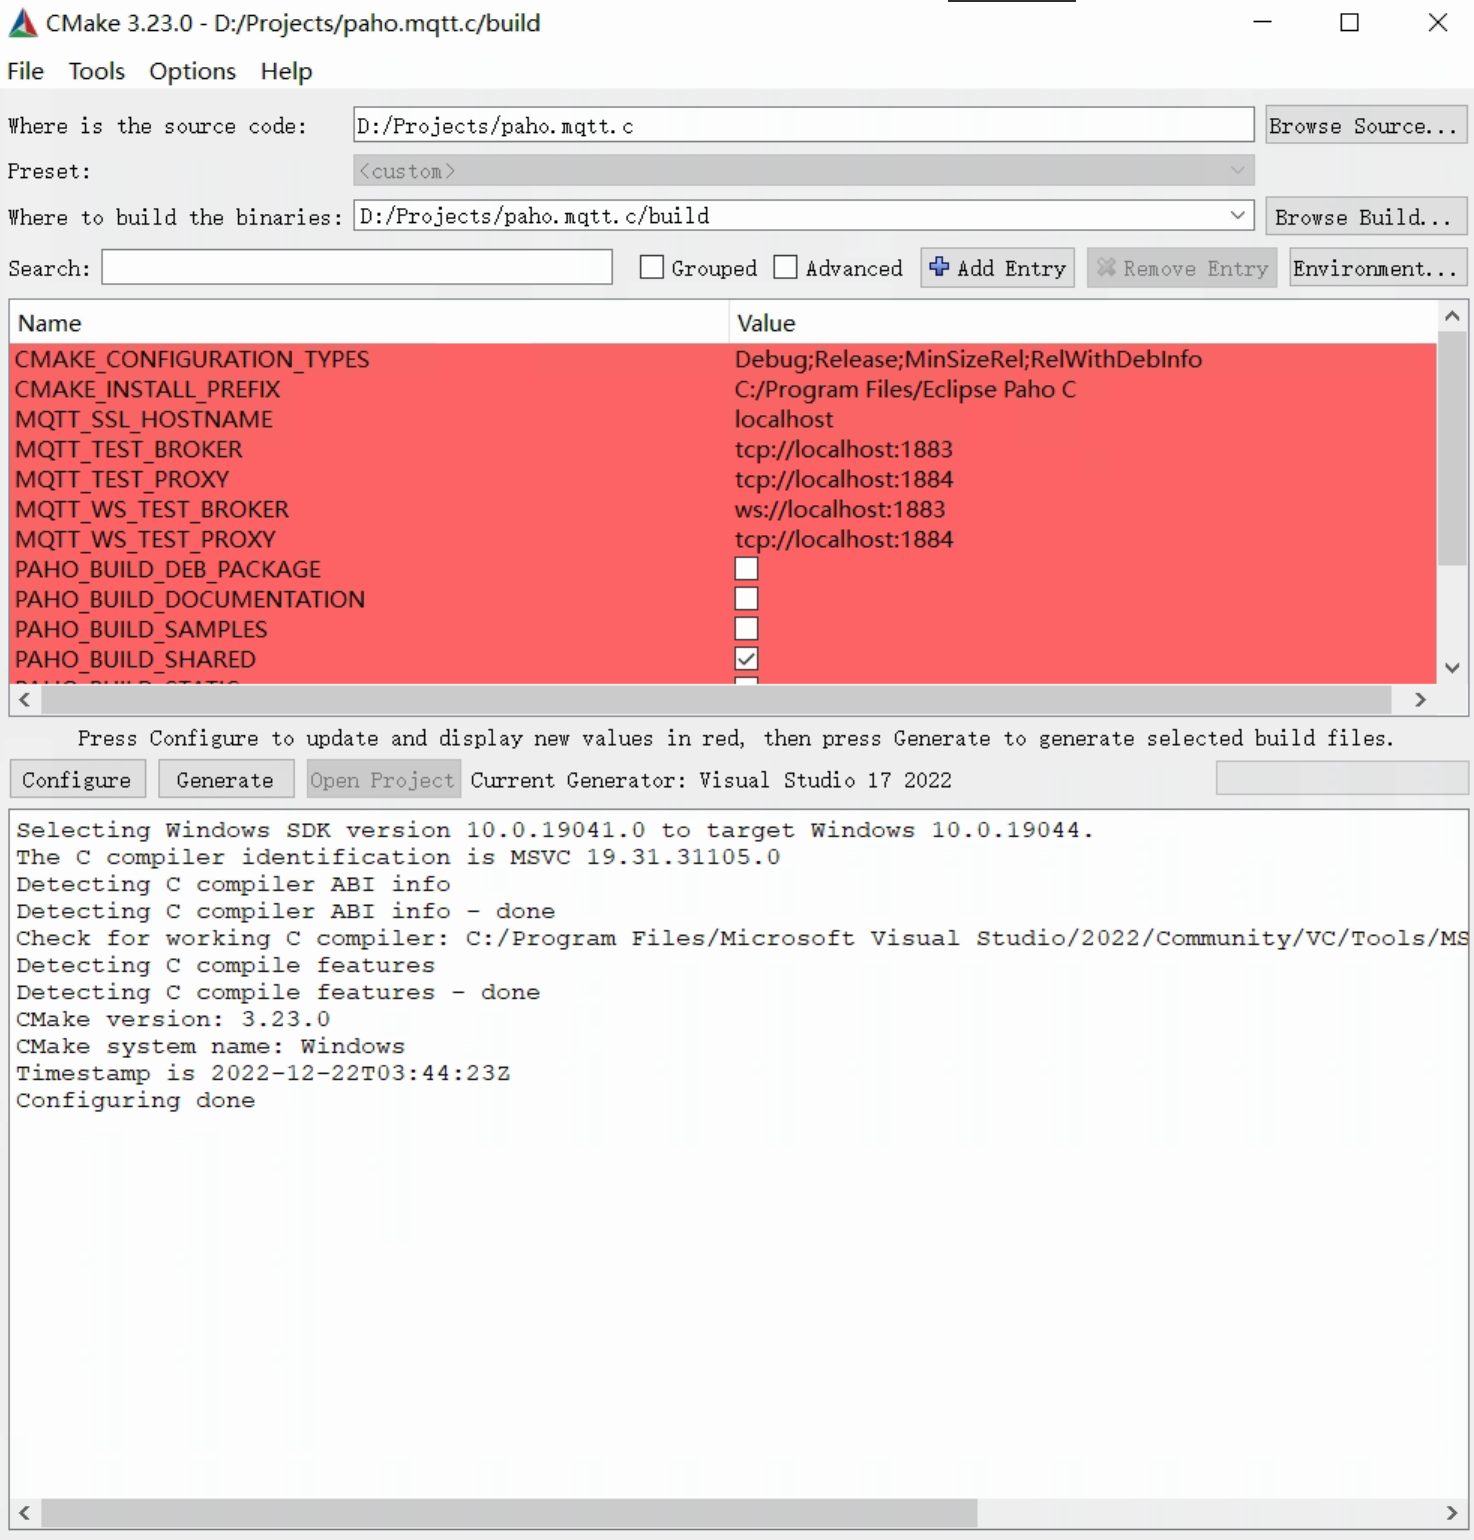
- 修改部分所需的参数
- 按需要修改MQTT C库的安装路径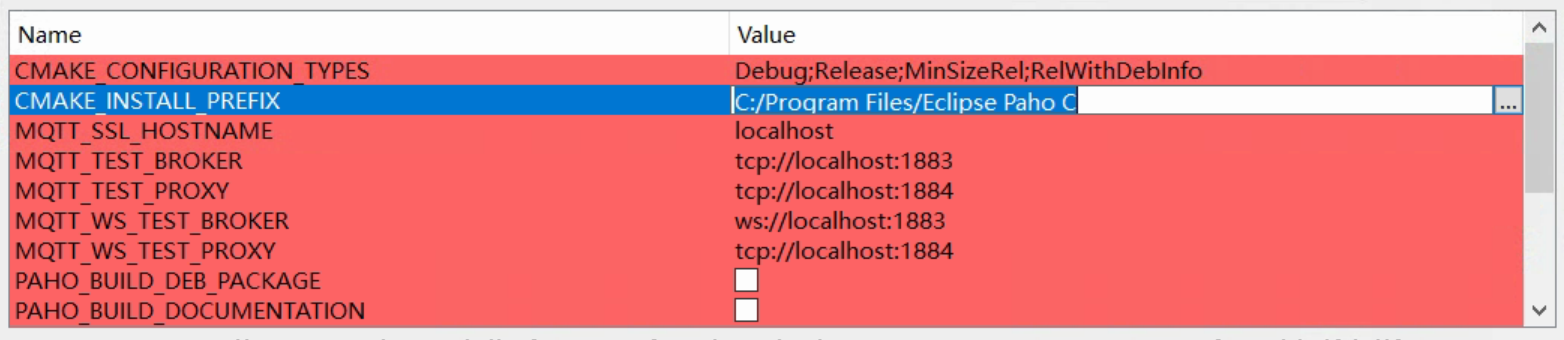
- 修改以下几项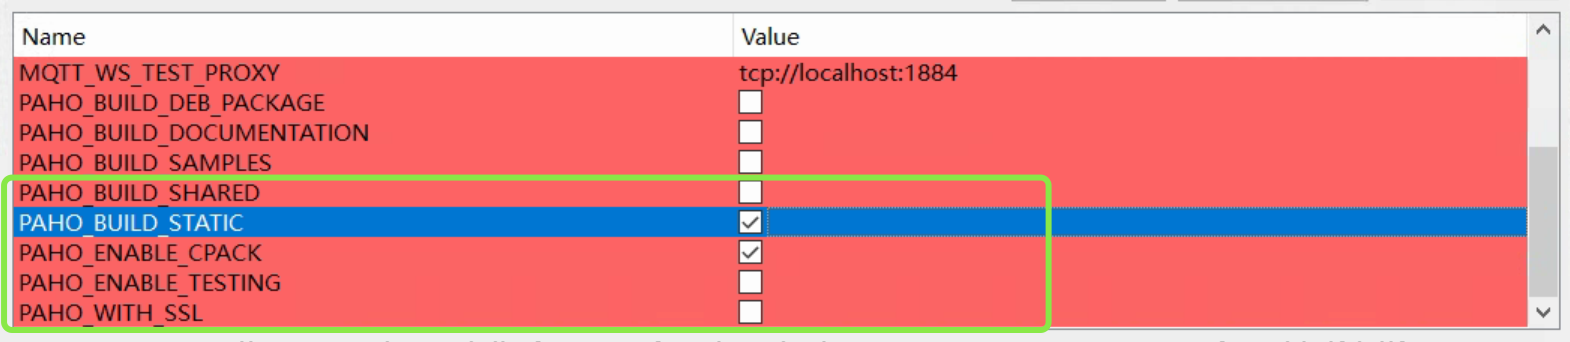
- 点击 “Configure”显示以下 “Configuring done”之后,再点击Generate;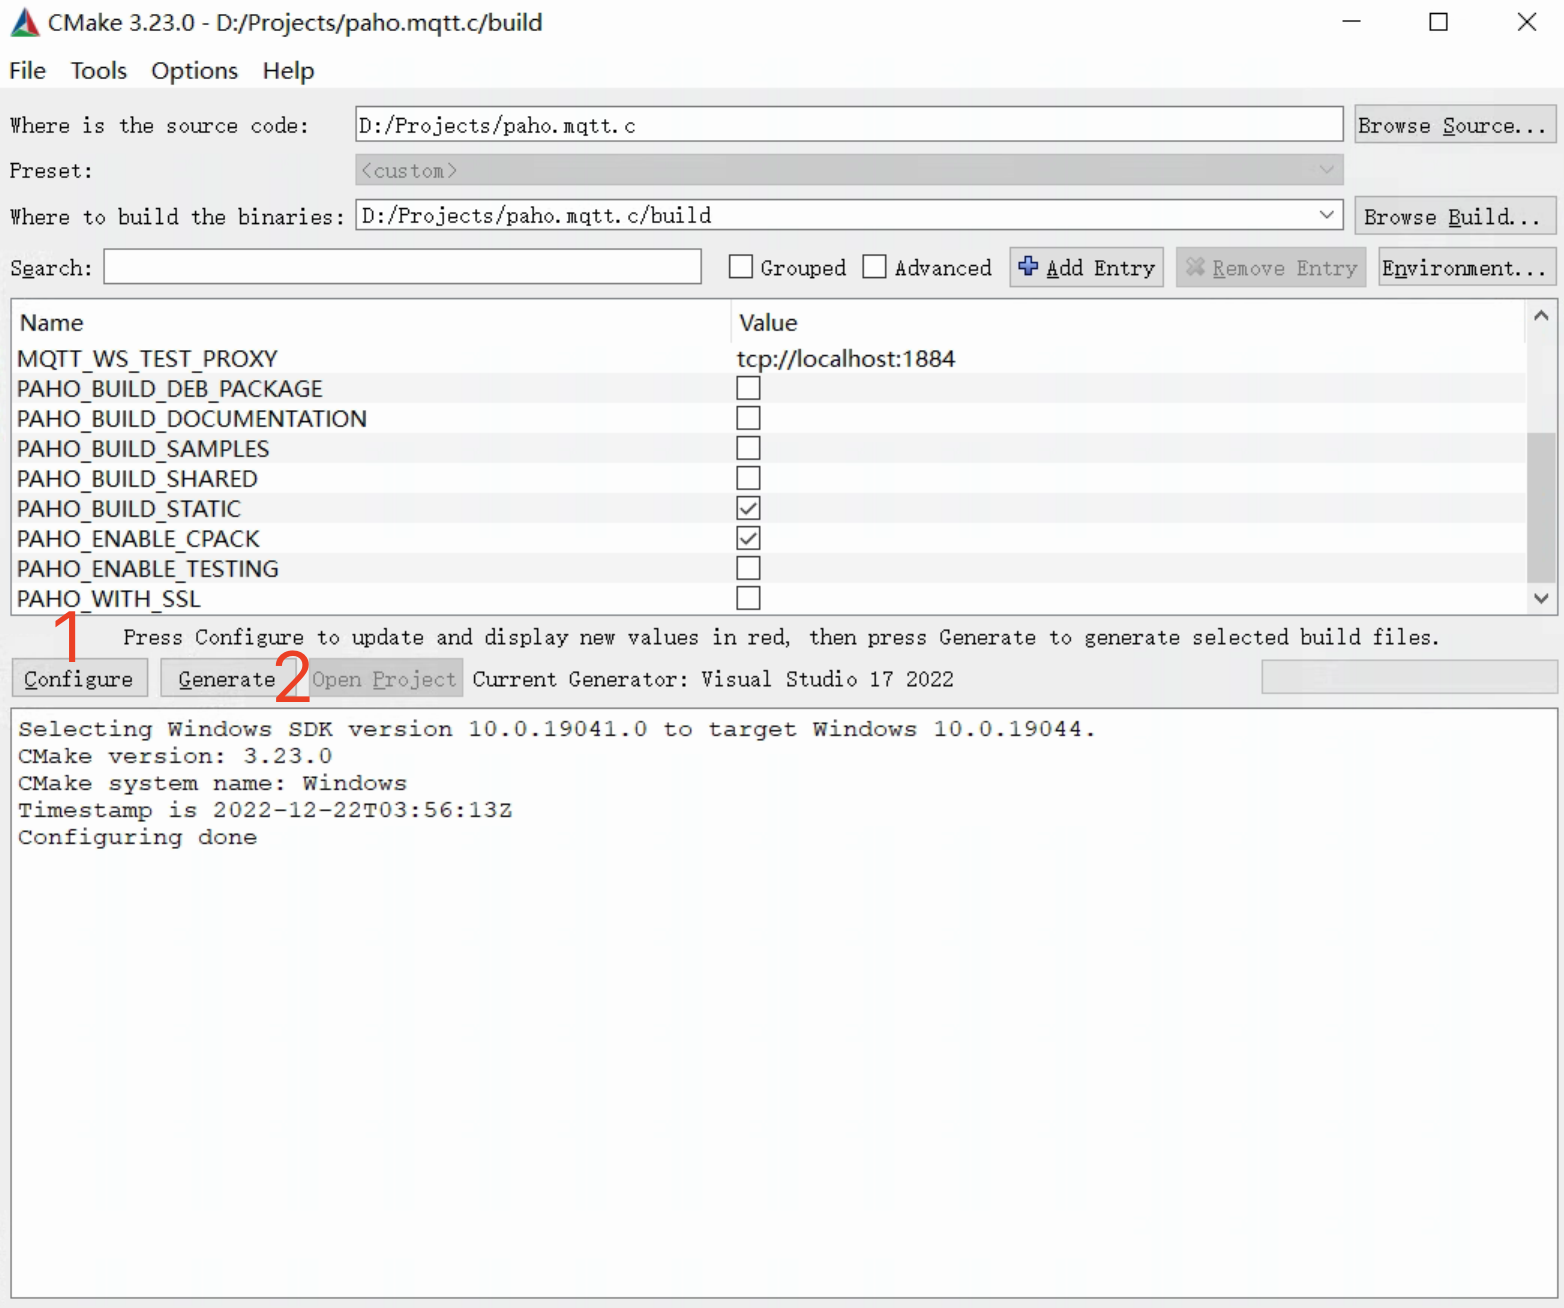
- 此时“Open Project”的按钮应该是处于可点击状态,点击“Open Project”后会使用Visual Studio打开项目:
- 在Visual Studio上右击“解决方案”并点击“生成解决方案”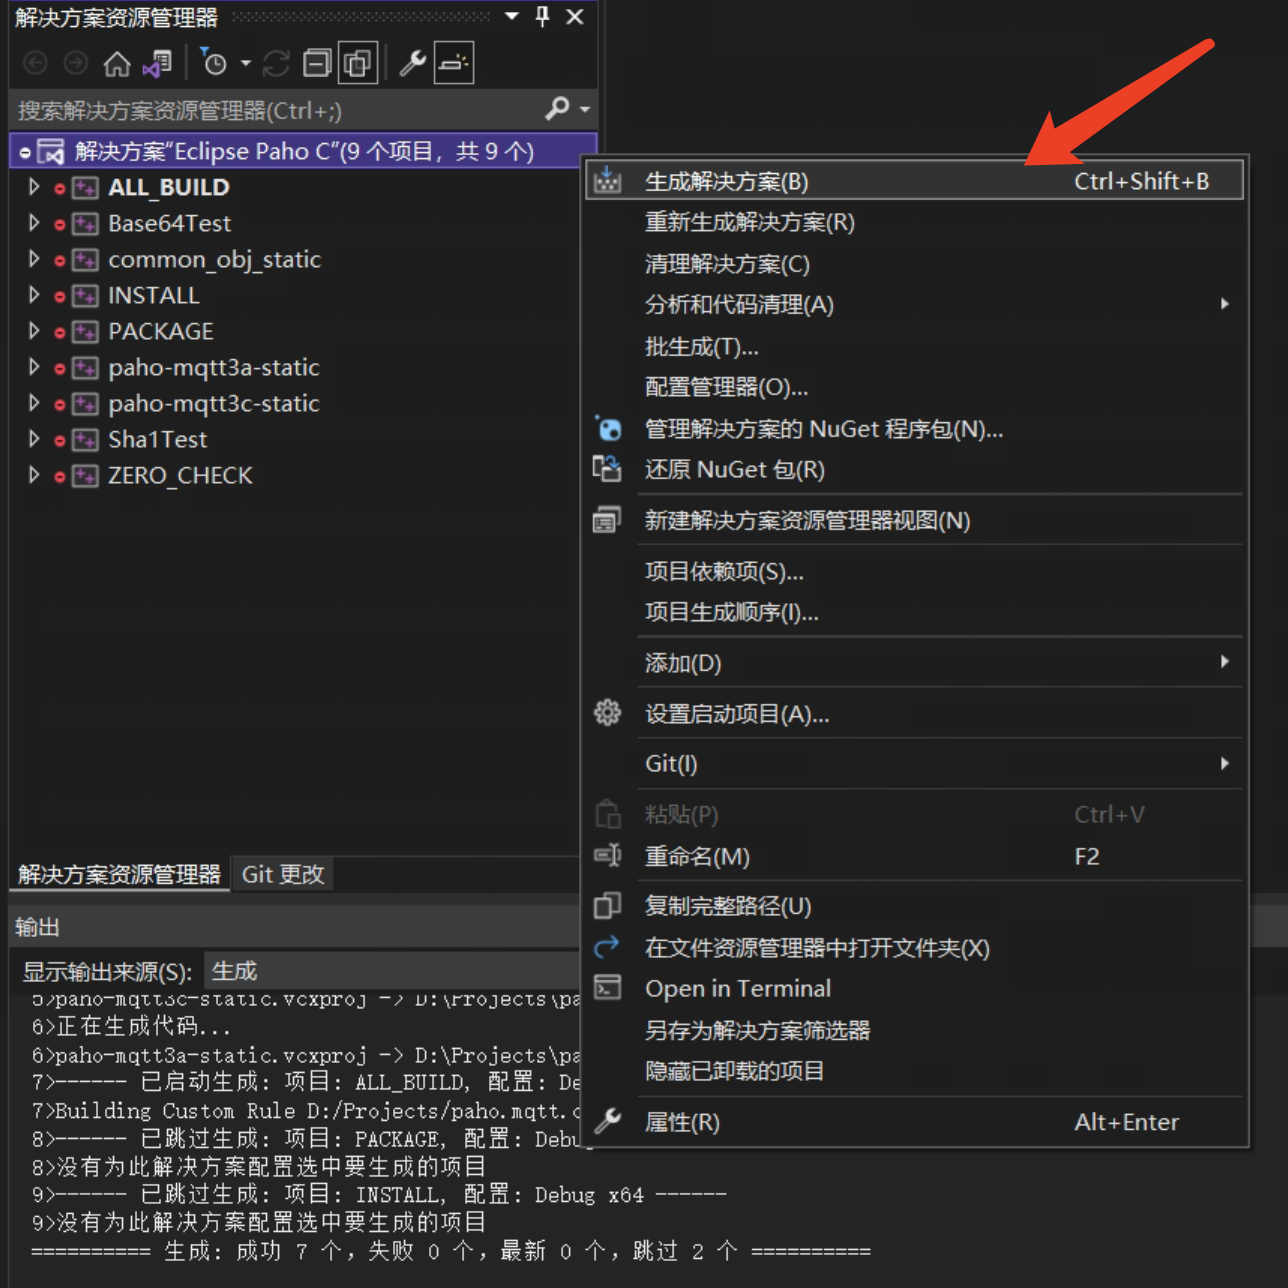
- 生成成功后,再对“INSTALL”项目右击,并点击“生成”库文件和头文件则会安装到 5.a 步骤 中指定的安装路径中;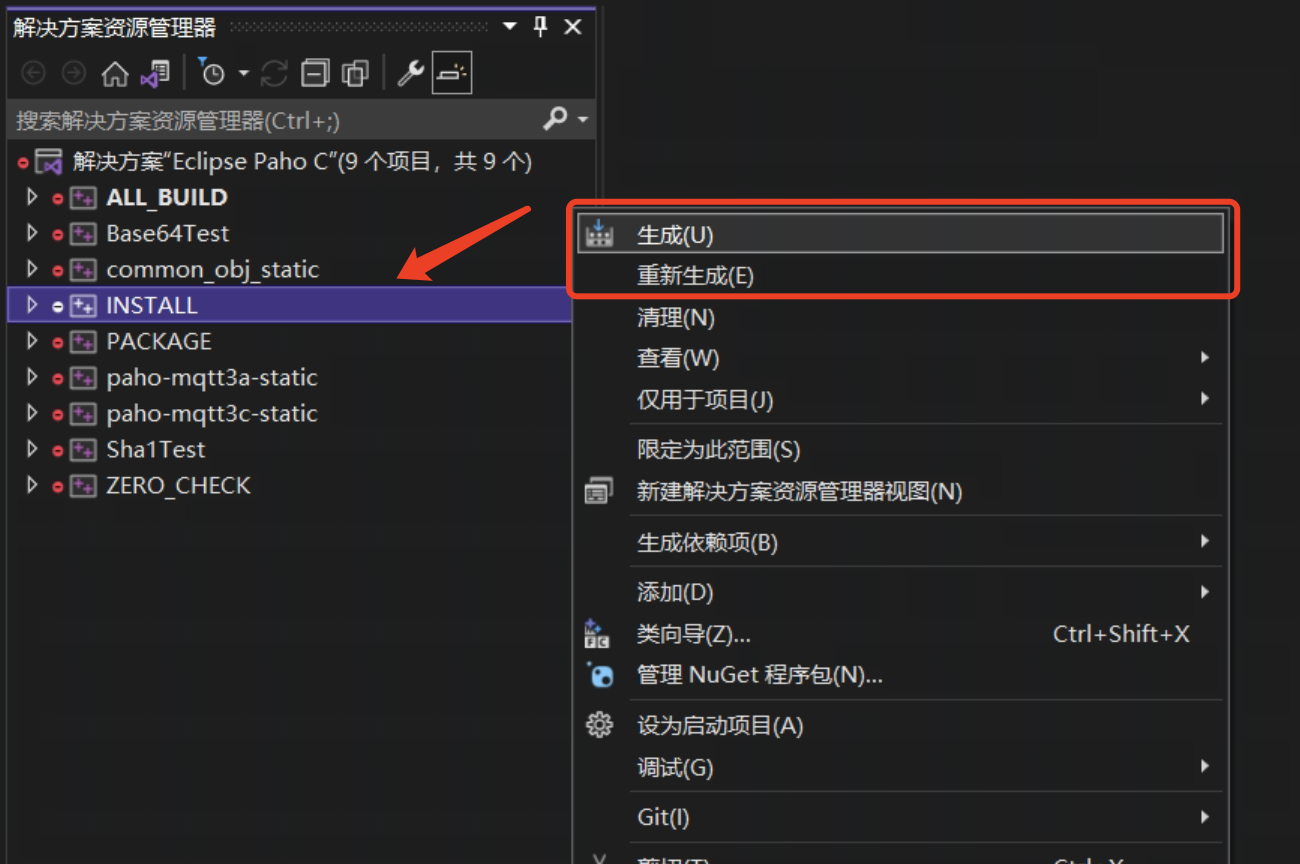
编译MQTT C++库paho.mqtt.cpp
- 设置源码目录:”Where is the source code“;设置编译目录:”Where to build the binaries”。点击“Configure”;
- 点击"Configure" 后选择generator和系统类型, 点击finish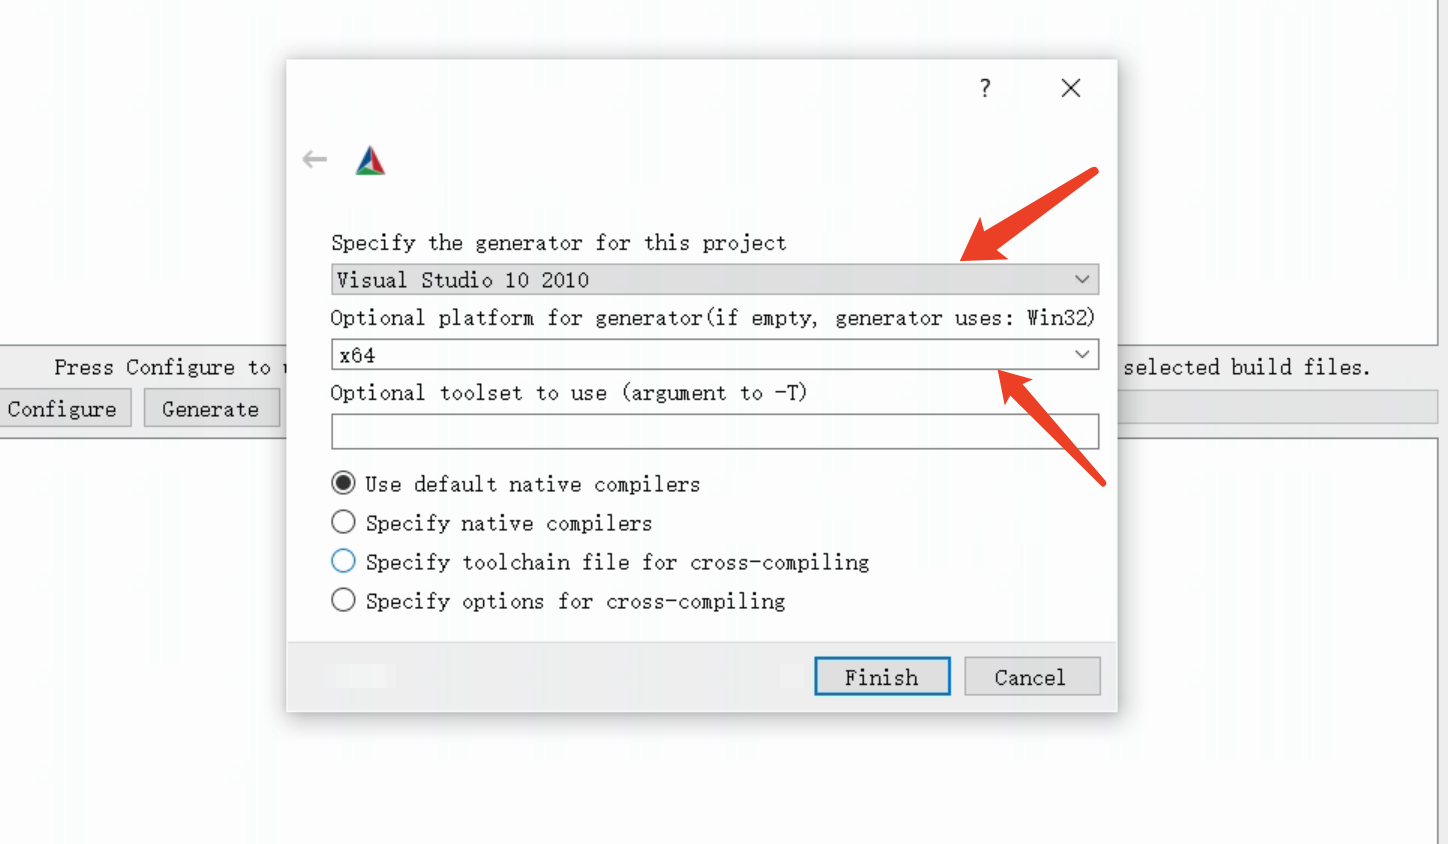
- 因为没有配置MQTT C库路径,会报错如下; 
- 修改CMAKE配置参数,注意配置以下几项
CMAKE_INSTALL_PREFIX: MQTT C++库安装路径;PAHO_MQTT_C_INCLUDE_DIRS: MQTT C库头文件路径;PATHO_MQTT_C_LIBRARIES: MQTT C库lib路径;PAHO_BUILD_SHARED: 创建MQTT C++动态库dll;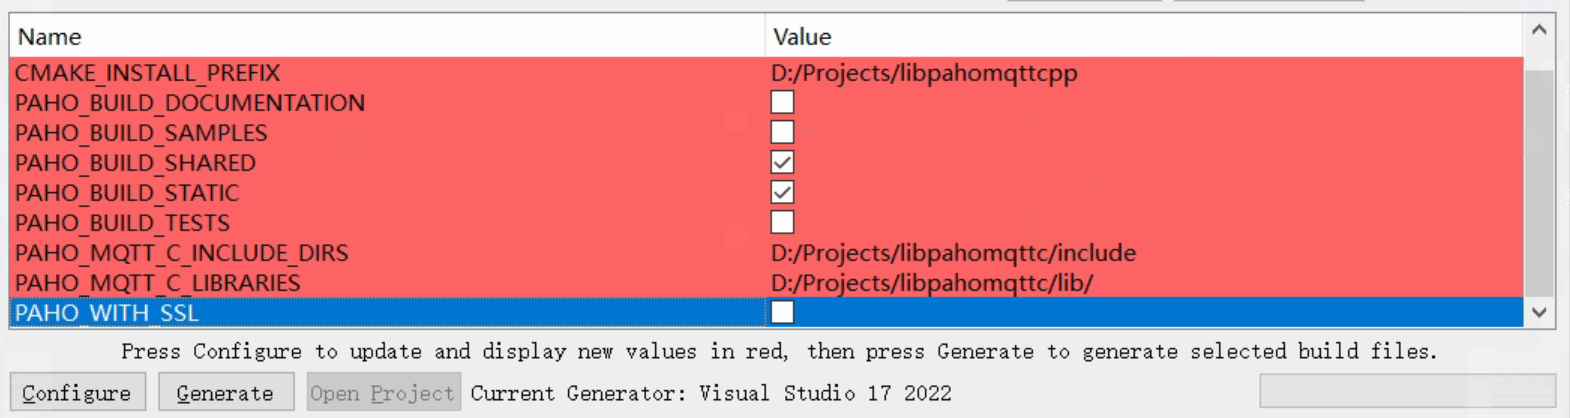
- 再依次点击"Configure" -> “Generate” -> “Open Project”;
- 打开Visual Studio后生成所有解决方案,然后右击"INSTALL"项目再点击"生成",即可将MQTT C++库文件和头文件安装到以上第4步指定的路径;
至此paho.mqtt.c和paho.mqtt.cpp的库已编译安装完成;
创建MQTT客户端
- 使用Visual Studio创建C++项目;
- 粘贴代码到cpp文件:
#include <iostream>
#include <cstdlib>
#include <string>
#include <cstring>
#include "mqtt/client.h"

#pragma comment(lib,"ws2_32.lib")

const std::string SERVER_ADDRESS("tcp://broker.emqx.io:1883");
const std::string CLIENT_ID("33f1c750-01a6-4a26-9057-6a5adf0f80f5");
const std::string TOPIC("lanffy/test");
const int QOS = 1;

class user_callback : public virtual mqtt::callback
{
void connection_lost(const std::string& cause) override {
    std::cout << "\nConnection lost" << std::endl;
    if (!cause.empty())
        std::cout << "\tcause: " << cause << std::endl;
}

void delivery_complete(mqtt::delivery_token_ptr tok) override {
    std::cout << "\n\t[Delivery complete for token: "
        << (tok ? tok->get_message_id() : -1) << "]" << std::endl;
}

public:
};


int main(int argc, char* argv[])
{
    std::cout << "Initialzing..." << std::endl;

    mqtt::client client(SERVER_ADDRESS, CLIENT_ID);

    user_callback cb;
    client.set_callback(cb);

    mqtt::connect_options connOpts;
    connOpts.set_keep_alive_interval(20);
    connOpts.set_clean_session(true);
    std::cout << "...OK" << std::endl;


    try {
        std::cout << "\nConnecting..." << std::endl;
        client.connect(connOpts);
        std::cout << "...OK" << std::endl;

        // First use a message pointer.

        std::cout << "\nSending message..." << std::endl;
        auto pubmsg = mqtt::make_message(TOPIC, "Hello World,This is a message...");
        pubmsg->set_qos(QOS);
        client.publish(pubmsg);
        std::cout << "...OK" << std::endl;

        // Disconnect
        std::cout << "\nDisconnecting..." << std::endl;
        client.disconnect();
        std::cout << "...OK" << std::endl;
    }
    catch (const mqtt::persistence_exception& exc) {
        std::cerr << "Persistence Error: " << exc.what() << " ["
            << exc.get_reason_code() << "]" << std::endl;
        return 1;
    }
    catch (const mqtt::exception& exc) {
        std::cerr << exc.what() << std::endl;
        return 1;
    }

    std::cout << "\nExiting" << std::endl;
    return 0;
}
- 库配置
- 拷贝 paho.mqtt.c 和 paho.mqtt.cpp 中的lib目录下的lib文件到项目文件同级目录下: 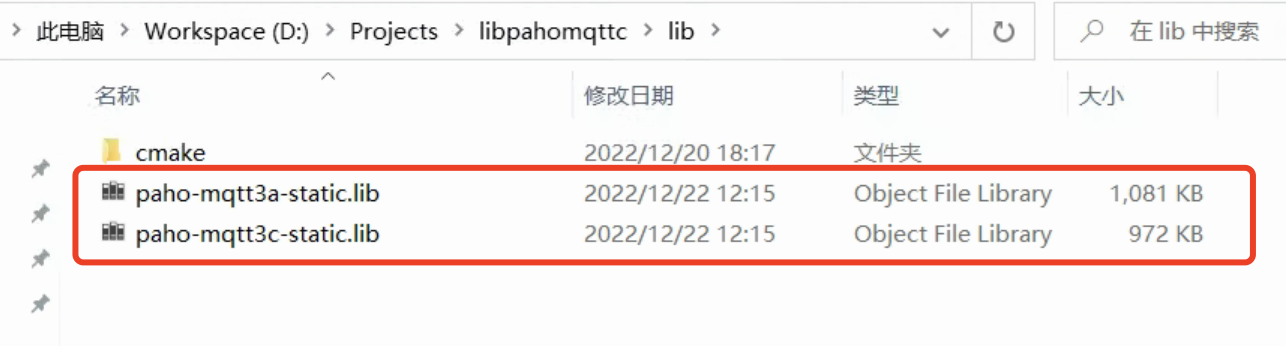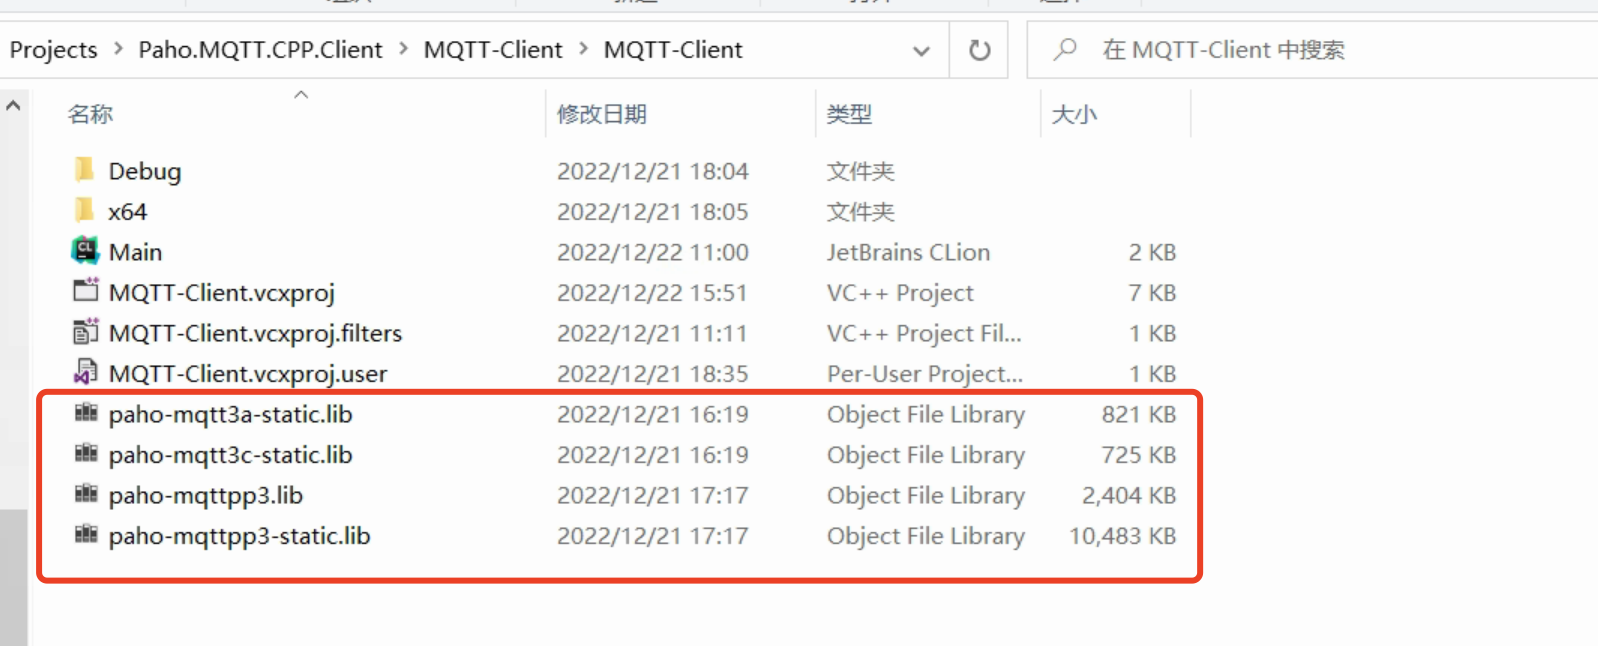
- 右击项目,进入“属性”; 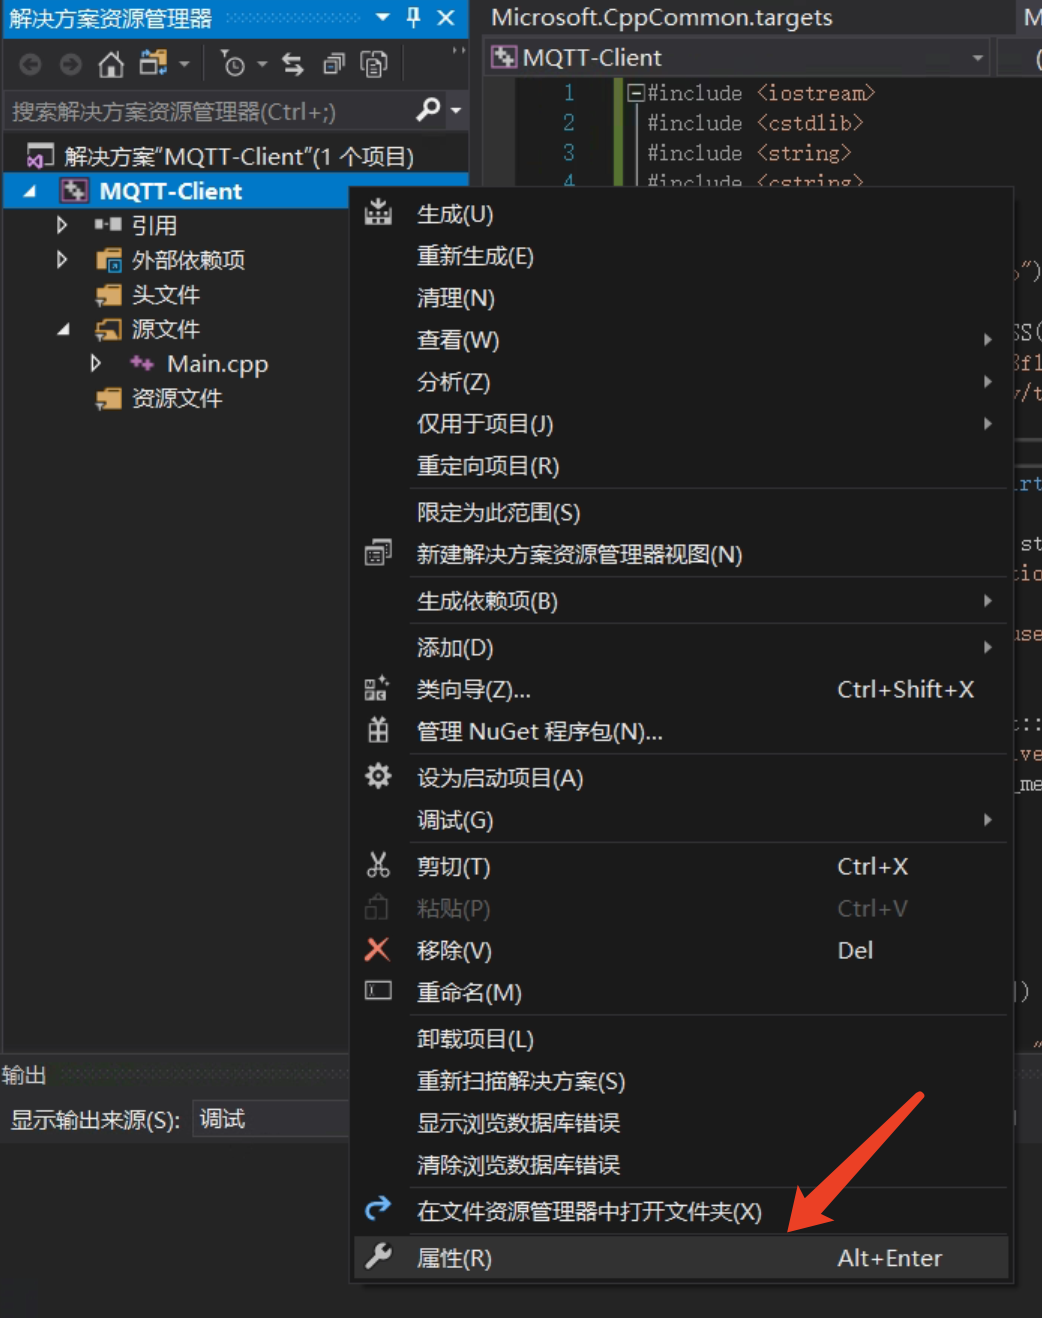
- 注意选择平台类型, 左侧选择"C/C++", 然后选择C库和C++库头文件的路径;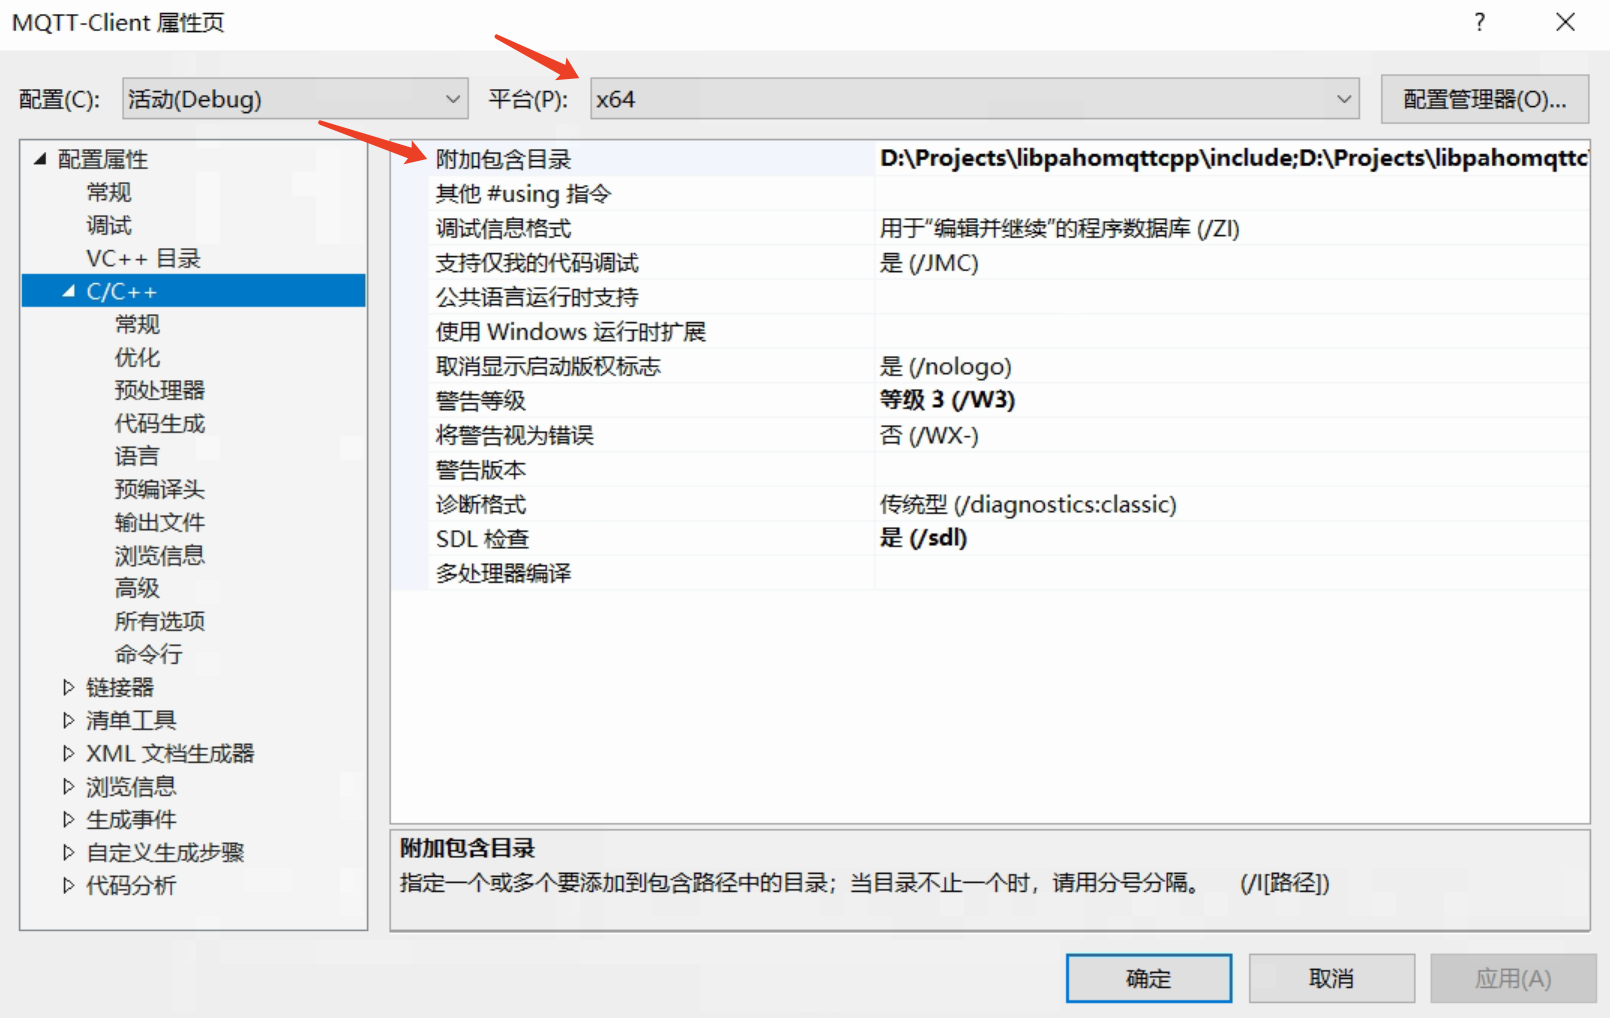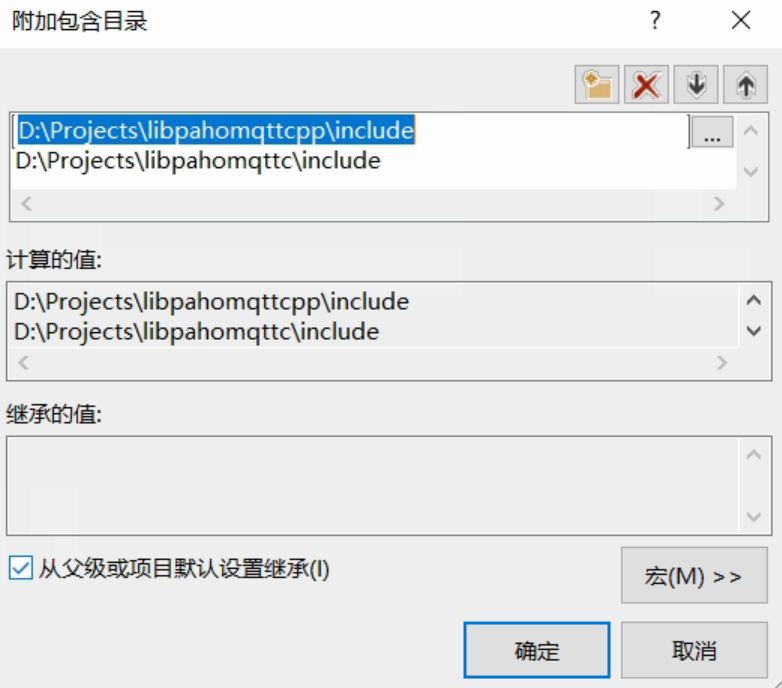
- 设置链接器,在"附加依赖项"中填入四个库名(每行一个):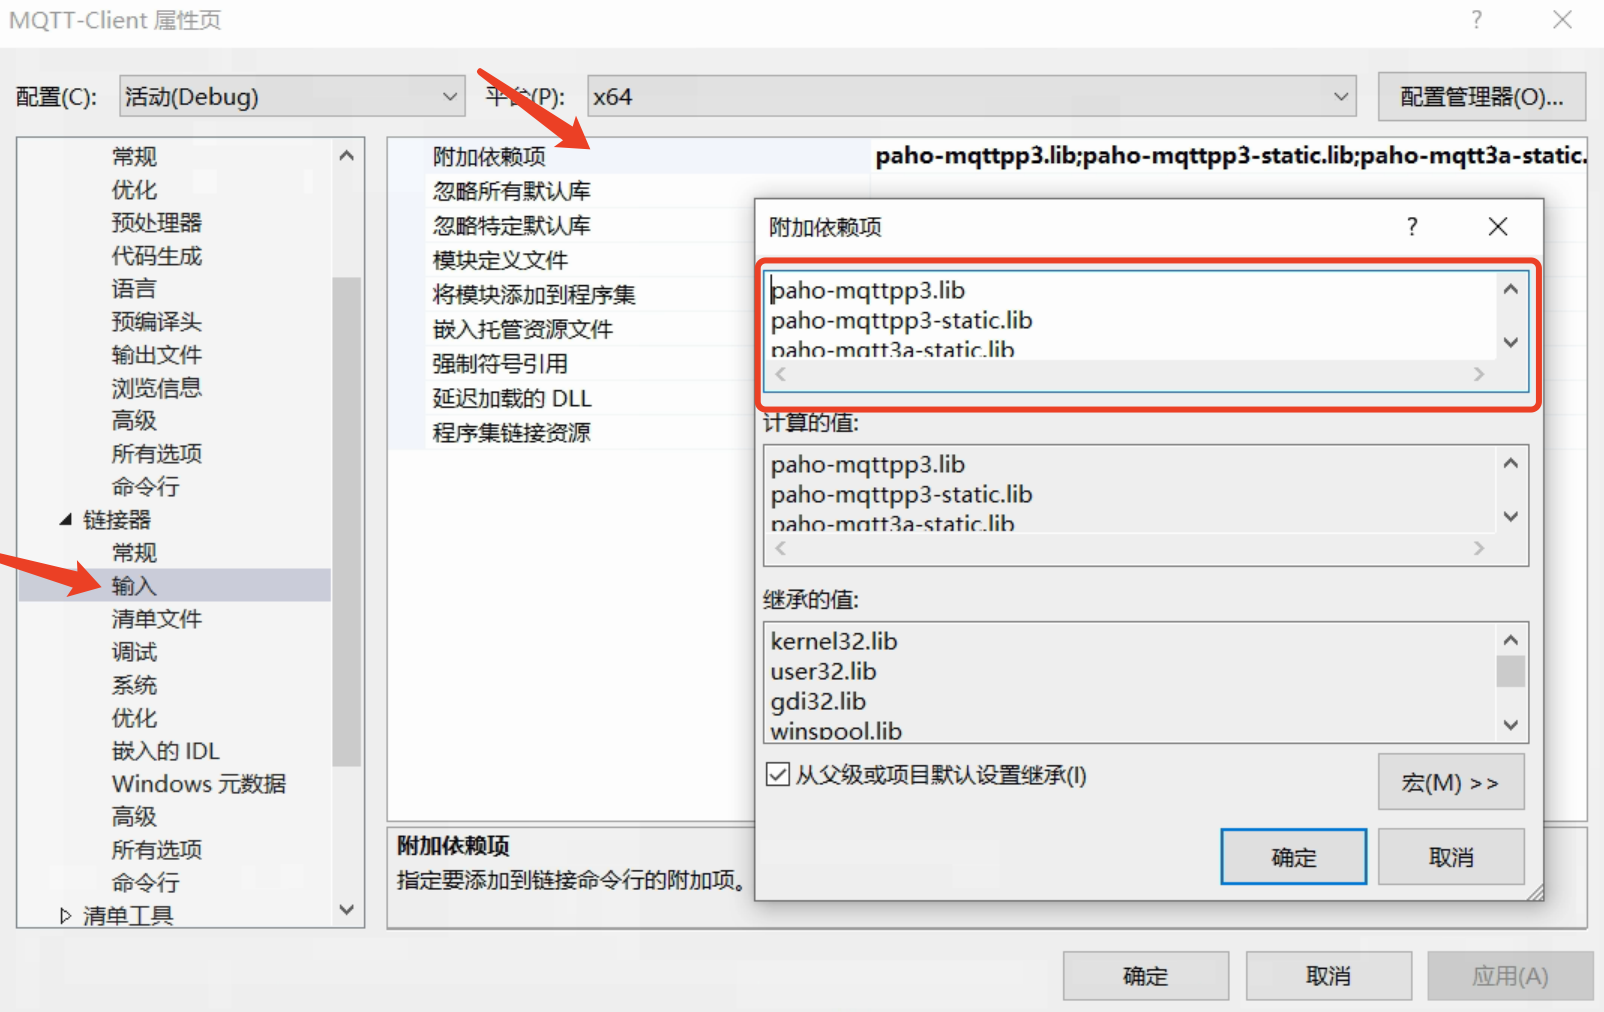
paho-mqttpp3.lib
paho-mqttpp3-static.lib
paho-mqtt3a-static.lib
paho-mqtt3c-static.lib
- 确定属性页后返回工程,选择指定的平台类型;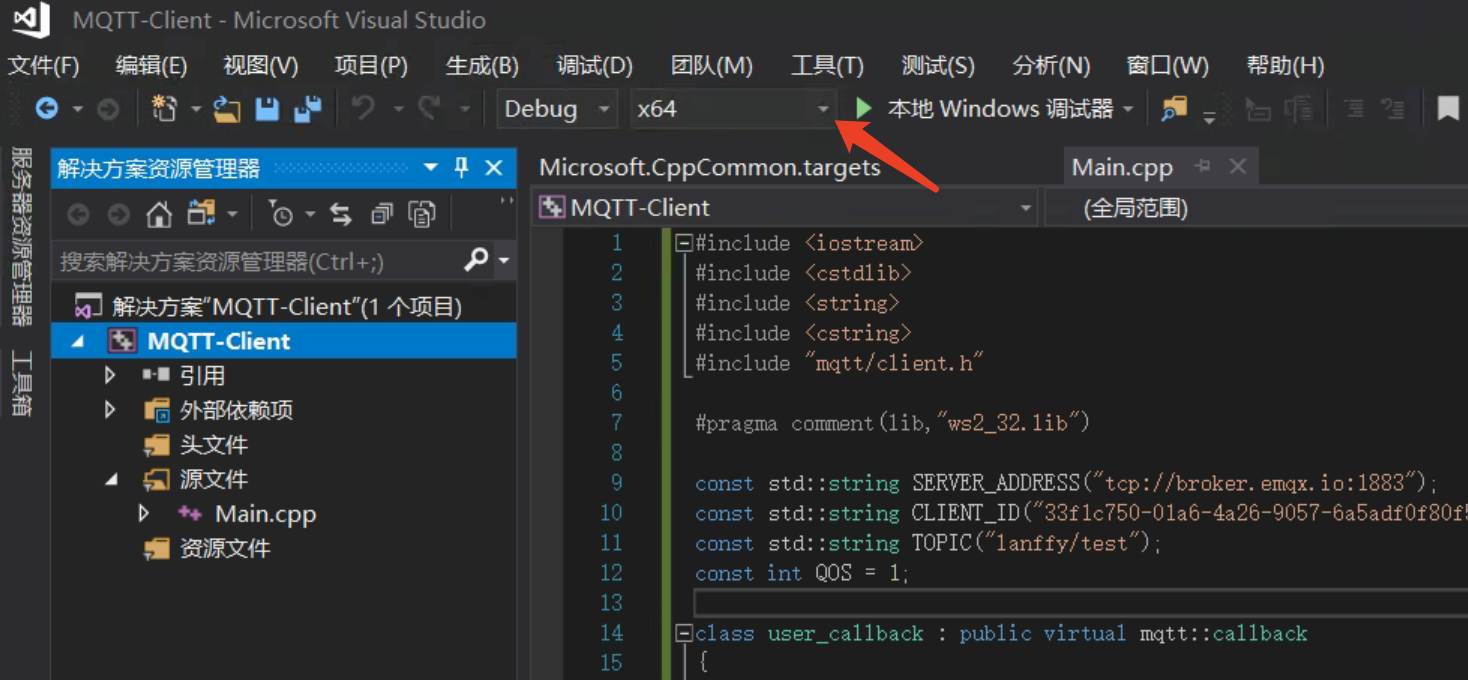
- 编译项目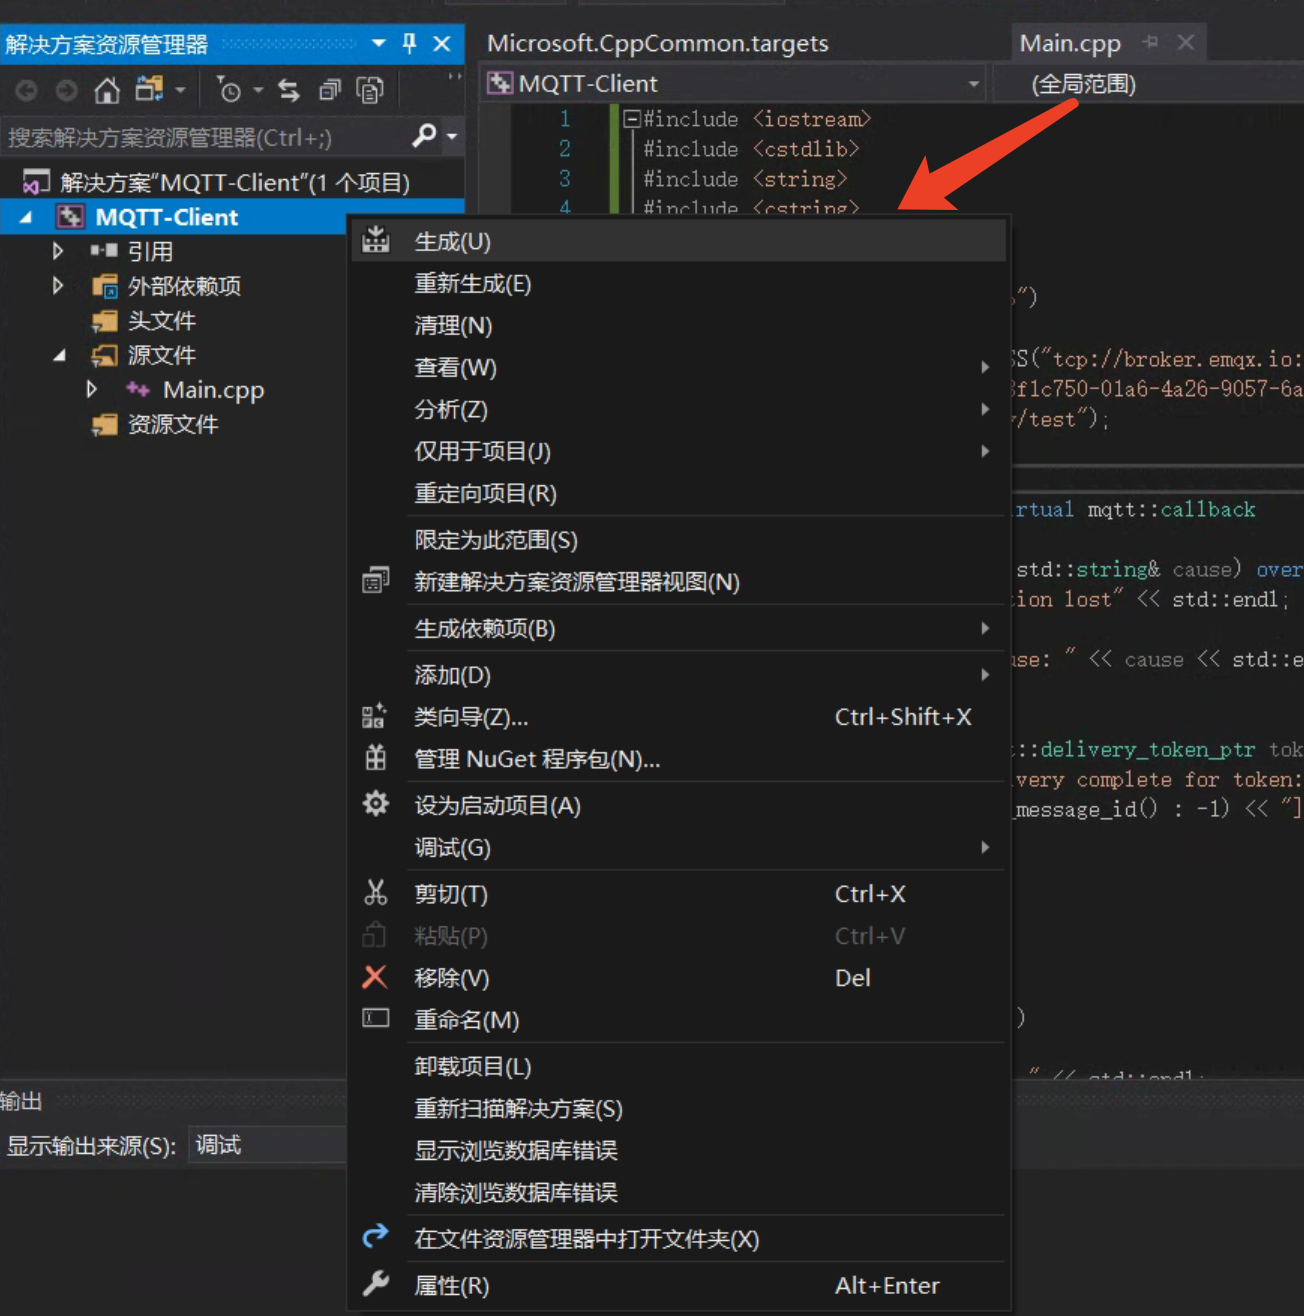
- 运行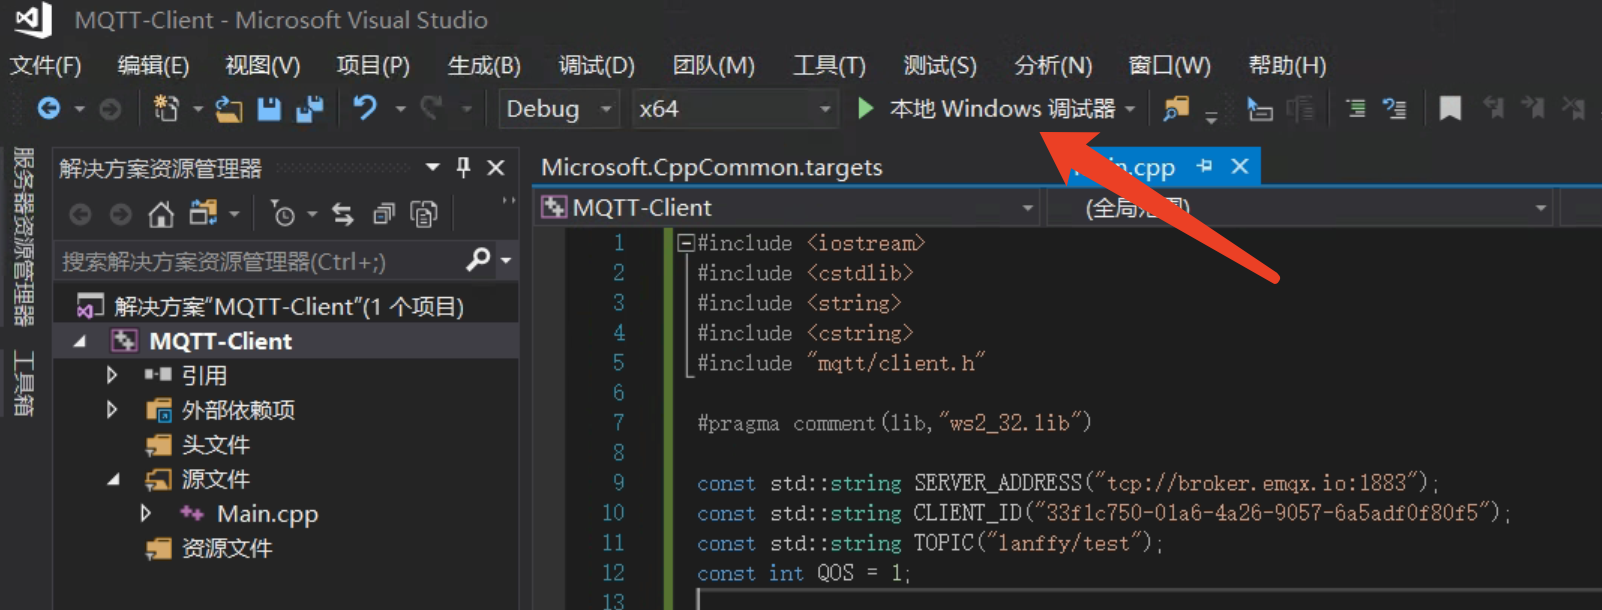
- 如果提示找不到dll,到MQTT C++库路径bin目录下把dll文件拷贝到对应的Debug或Release目录下即可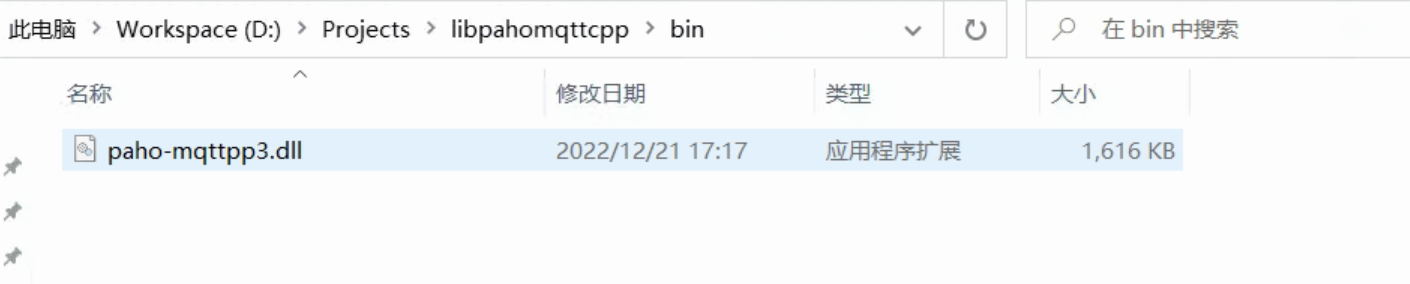


 1万+
1万+


 被折叠的 条评论
为什么被折叠?
被折叠的 条评论
为什么被折叠?
 到【灌水乐园】发言


