


 本文详细介绍了如何从MySQL官网下载并安装最新版本的MySQL,包括创建my.ini配置文件,通过命令行初始化、安装服务、设置root密码,以及优化环境变量的步骤。
1、下载mysql的zip安装包
进入mysql开源下载官网(https://dev.mysql.com/downloads/mysql/)
点击【archives】选项
选择需要的版本
选择符合操作系统对应位数的安装包,点击【Download】按钮即可进行下载。
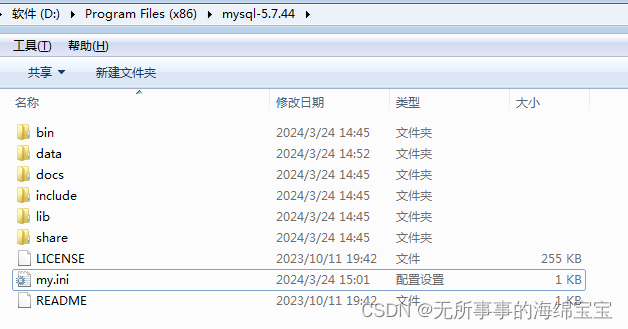
2、解压压缩包并新建my.ini配置文件
将上一步下载的zip安装包解压到安装目录,并在解压得到的第一个目录下新建my.ini文件
my.ini文件内容如下:
[client]
port=3306
default-character-set=utf8

[mysqld]
# MYSQL的安装目录
basedir = D:\Program Files (x86)\mysql-5.7.44

# MYSQL的数据目录
datadir = D:\Program Files (x86)\mysql-5.7.44\data

# 服务启动端口
port=3306

# 服务端使用的字符集默认为8比特编码的latin1字符集
character_set_server=utf8

# 创建新表时将使用的默认存储引擎
default-storage-engine=INNODB

# 跳过安全检查,不检查密码的正确性
# skip-grant-tables
3、命令行进行安装
1)进入mysql安装目录下的bin目录
C:\Users\Administrator>D:

D:\>cd Program Files(x86)
D:\Program Files (x86)>
D:\Program Files (x86)>cd mysql-5.7.44

D:\Program Files (x86)\mysql-5.7.44>cd bin
2)初始化mysql
最后一行生成一个临时的root@localhost的登陆密码。需要保证data目录为空,如果data目录不为空,会报错。
mysqld --initialize --console
D:\Program Files (x86)\mysql-5.7.44\bin>mysqld --initialize --console
2024-03-24T07:49:58.658646Z 0 [Warning] TIMESTAMP with implicit DEFAULT value is
 deprecated. Please use --explicit_defaults_for_timestamp server option (see doc
umentation for more details).
2024-03-24T07:49:59.073648Z 0 [Warning] InnoDB: New log files created, LSN=45790

2024-03-24T07:49:59.154648Z 0 [Warning] InnoDB: Creating foreign key constraint
system tables.
2024-03-24T07:49:59.194648Z 0 [Warning] No existing UUID has been found, so we a
ssume that this is the first time that this server has been started. Generating
a new UUID: 1d1d3c09-e9b3-11ee-8f67-acd1b8a4c136.
2024-03-24T07:49:59.205648Z 0 [Warning] Gtid table is not ready to be used. Tabl
e 'mysql.gtid_executed' cannot be opened.
2024-03-24T07:49:59.894659Z 0 [Warning] A deprecated TLS version TLSv1 is enable
d. Please use TLSv1.2 or higher.
2024-03-24T07:49:59.904659Z 0 [Warning] A deprecated TLS version TLSv1.1 is enab
led. Please use TLSv1.2 or higher.
2024-03-24T07:49:59.904659Z 0 [Warning] CA certificate ca.pem is self signed.
2024-03-24T07:50:00.246659Z 1 [Note] A temporary password is generated for root@
localhost: eH,M=?-Ix2%Y
3)安装mysql
mysqld --install
D:\Program Files (x86)\mysql-5.7.44\bin>mysqld --install
Service successfully installed.
4)启动mysql服务
net start mysql
D:\Program Files (x86)\mysql-5.7.44\bin>net start mysql
MySQL 服务正在启动 .
MySQL 服务已经启动成功。
5)连接mysql并更改root密码
mysql -u root -p
密码为初始化时的临时密码,这里是:eH,M=?-Ix2%Y。
如果跳过安全检查,则不会生成临时密码,不用输入密码,直接回车就可以登录
D:\Program Files (x86)\mysql-5.7.44\bin>mysql -u root -p
Enter password: ************
Welcome to the MySQL monitor.  Commands end with ; or \g.
Your MySQL connection id is 4
Server version: 5.7.44

Copyright (c) 2000, 2023, Oracle and/or its affiliates.

Oracle is a registered trademark of Oracle Corporation and/or its
affiliates. Other names may be trademarks of their respective
owners.

Type 'help;' or '\h' for help. Type '\c' to clear the current input statement.

mysql>
修改root用户的密码
ALTER USER ‘root’@‘localhost’ IDENTIFIED BY ‘123456’;
mysql> ALTER USER 'root'@'localhost' IDENTIFIED BY '123456';
Query OK, 0 rows affected (0.00 sec)
以上就是全部安装过程啦,以后每次登录都需要进入bin目录下。如果嫌麻烦的话,需要配置 一下环境变量。


 7911
7911


 被折叠的 条评论
为什么被折叠?
被折叠的 条评论
为什么被折叠?
 到【灌水乐园】发言


