


vue2 国际化的使用,自动翻译文件,自动生成国际化文件
- npm i vue-i18n@6
- 文件代码
// zh.js  用来写全局通用的国际化
export default {
    home:"首页"
}
//en.js  用来写全局通用的国际化
export default {
    home:"home page"
}
//kor.js  用来写全局通用的国际化
export default {
    home:"첫 페이지"
}
// index.js
/*
* @Author: xyx
* @Date: 2024-01-30 13:47:20
* @LastEditors: xyx
* @LastEditTime: 2024-01-30 14:26:14
* @FilePath: \xyjc\idc_platform_h5\lang\index.js
* @Description:
*/
import zh from './zh.js'
import en from './en.js'
import kor from './kor.js'
import VueI18n from 'vue-i18n';
import Vue from 'vue'
Vue.use(VueI18n);
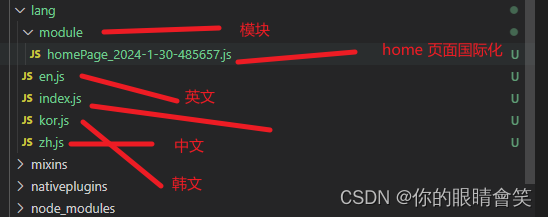
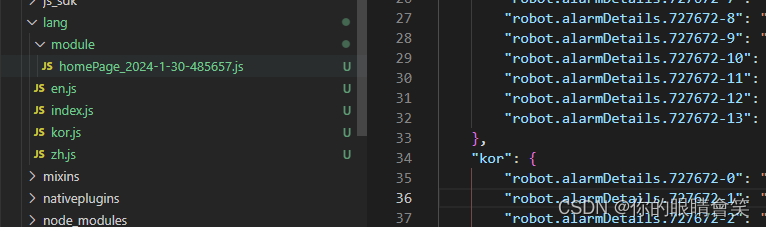
// 自动引入 ./module 下面的所有js (对自动翻译的文件,自动生成的国际化文件 进行自动引入)
// 上图中的 ./module 下的文件 为自动生成的文件
const modulesFiles = require.context("./module", true, /\.js$/);
const modules = modulesFiles.keys().reduce((modules, modulePath) => {
const moduleName = modulePath.replace(/^\.\/(.*)\.\w+$/, "$1");
const value = modulesFiles(modulePath);
modules[moduleName] = value.default;
return modules;
}, {});
let zhList = {...zh}
let enList = {...en}
let korList = {...kor}
for (const key in modules) {
if (Object.hasOwnProperty.call(modules, key)) {
const el = modules[key];
console.log(el)
zhList = Object.assign({}, zhList, el.cn)
enList = Object.assign({}, enList,el.en)
korList = Object.assign({}, korList,el.kor)
}
}
const i18n = new VueI18n({
locale: 'kor',
messages: {
'cn': zhList,//简体
'en':enList,//英文
'kor':korList,//英文
}
})
export default i18n;
// main.js 全局引入
import i18n from '@/lang/index.js';
const app = new Vue({
	i18n,
})
// 页面使用
  // 切换为英文
  this.$i18n.locale = "en"
  // 切换为中文
  this.$i18n.locale = "zh"
  // 切换为韩文
  this.$i18n.locale = "kor"
***重点来了。。。。。。***
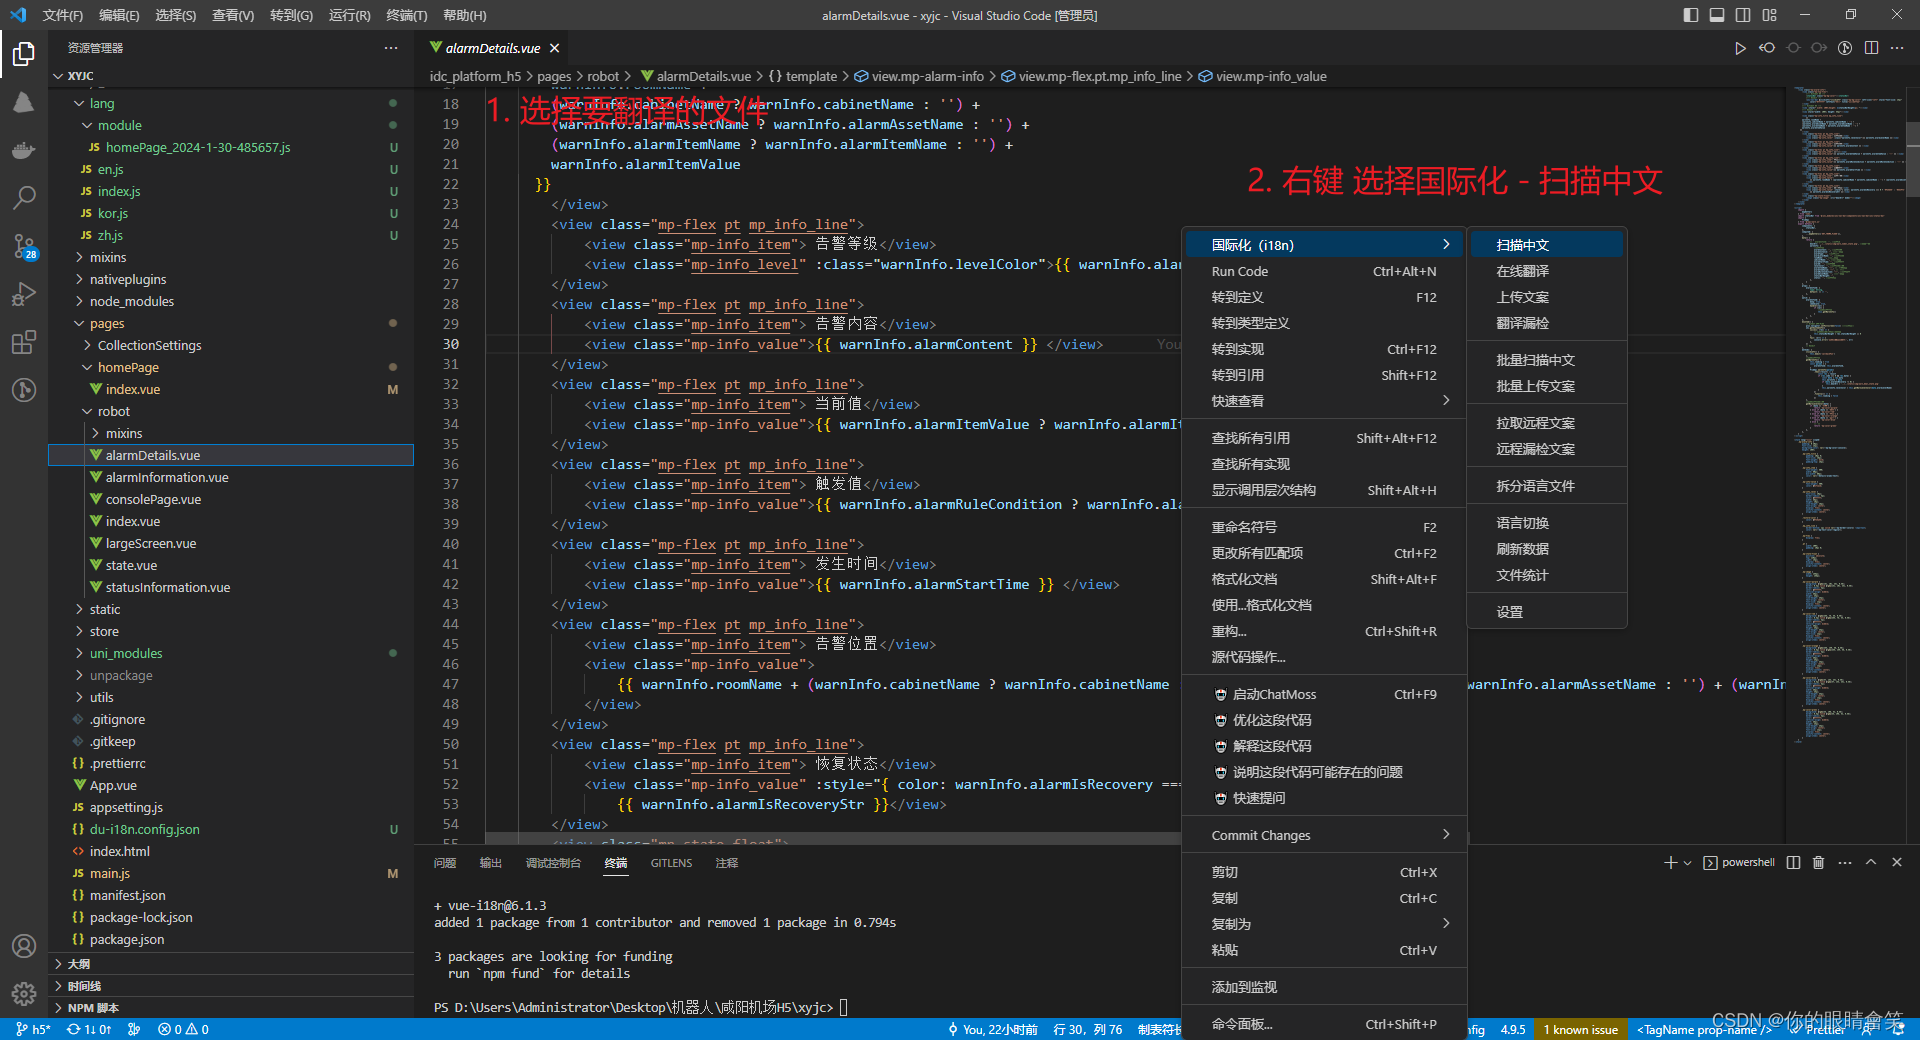
- 开发工具使用
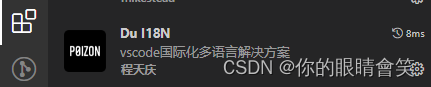
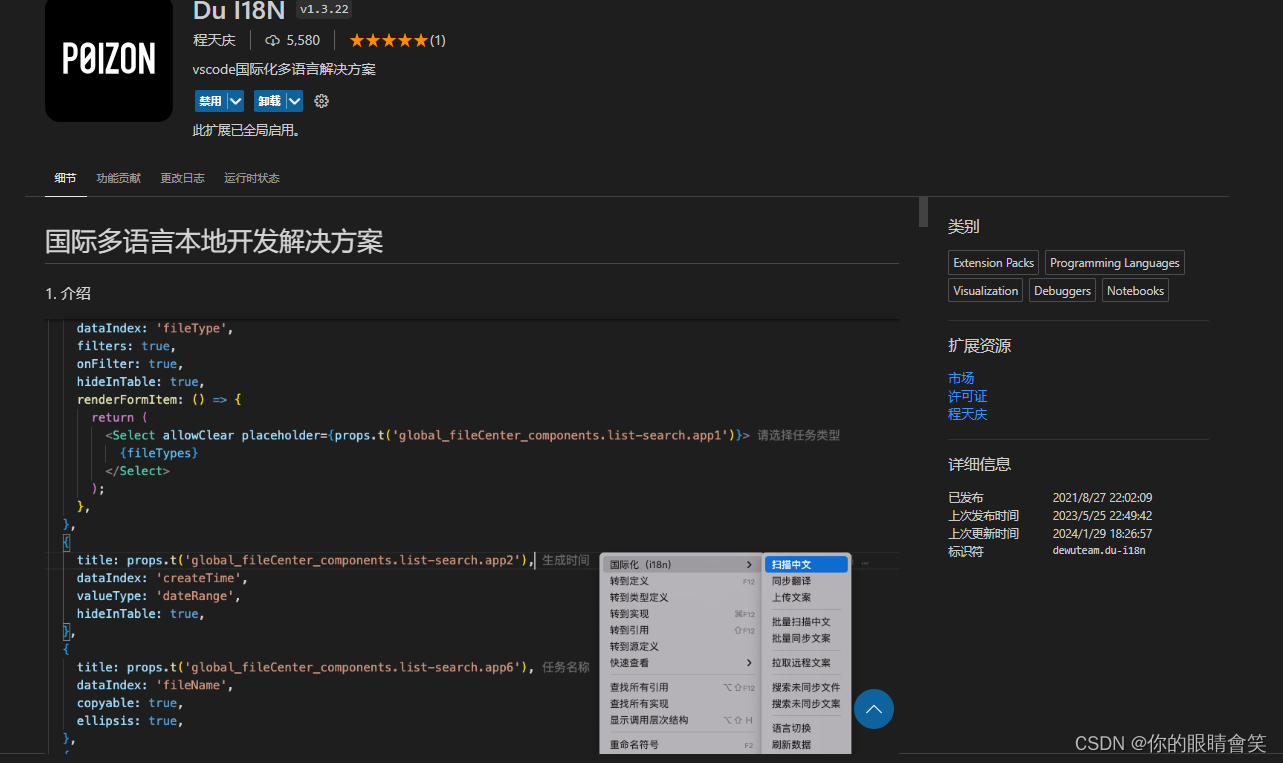
vscode - vscode搜索插件
Du I18N并安装
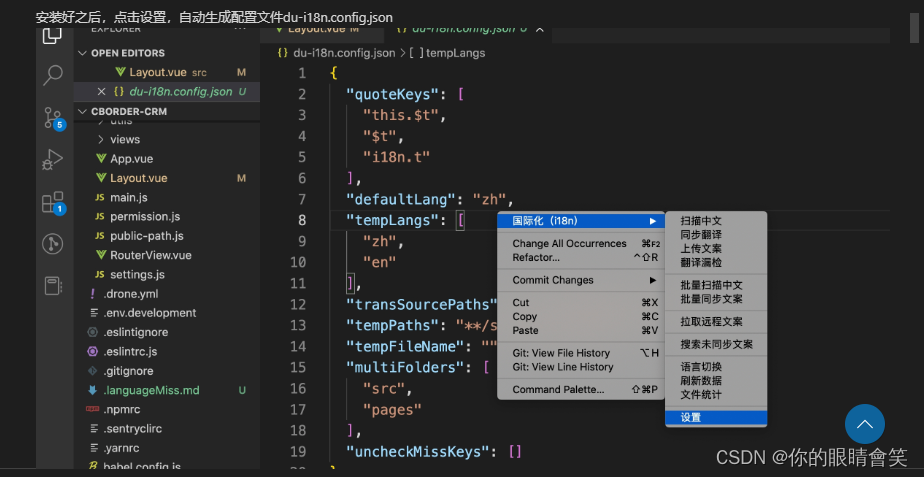
- 安装好之后,点击设置,自动生成配置文件
du-i18n.config.json
//du-i18n.config.json
{
"quoteKeys": [
"this.$t",
"$t",
"i18n.t"
],
"defaultLang": "zh",
"tempLangs": [
"zh",
"en",
"kor"
],
"langPaths": "**/utils/i18n/locale/**",
"transSourcePaths": "**/utils/i18n/source/**",
"tempPaths": "**/utils/i18n/temp/**",
"tempFileName": "i18n",
"multiFolders": [
"src",
"pages"
],
"uncheckMissKeys": [],
"isSingleQuote": true,
"isOnlineTrans": true,
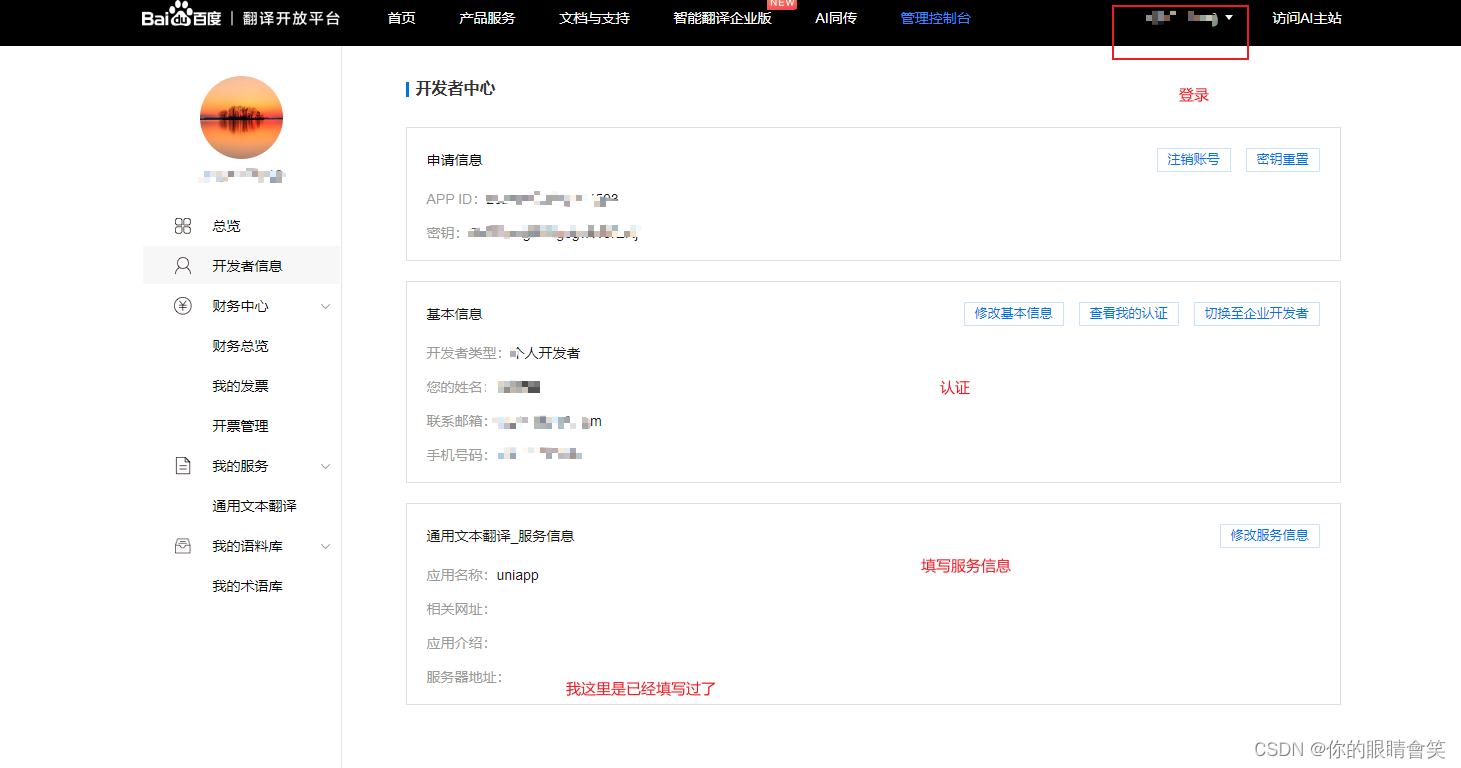
// 下图中的APP ID
"baiduAppid": "***************",
// 下图中的秘钥
"baiduSecrectKey": "***************"
}
- 插件官网 https://fanyi-api.baidu.com/doc/21 有详细的配置 生成文件的位置
- 需要登录翻译开放平台 申请key 并且认证
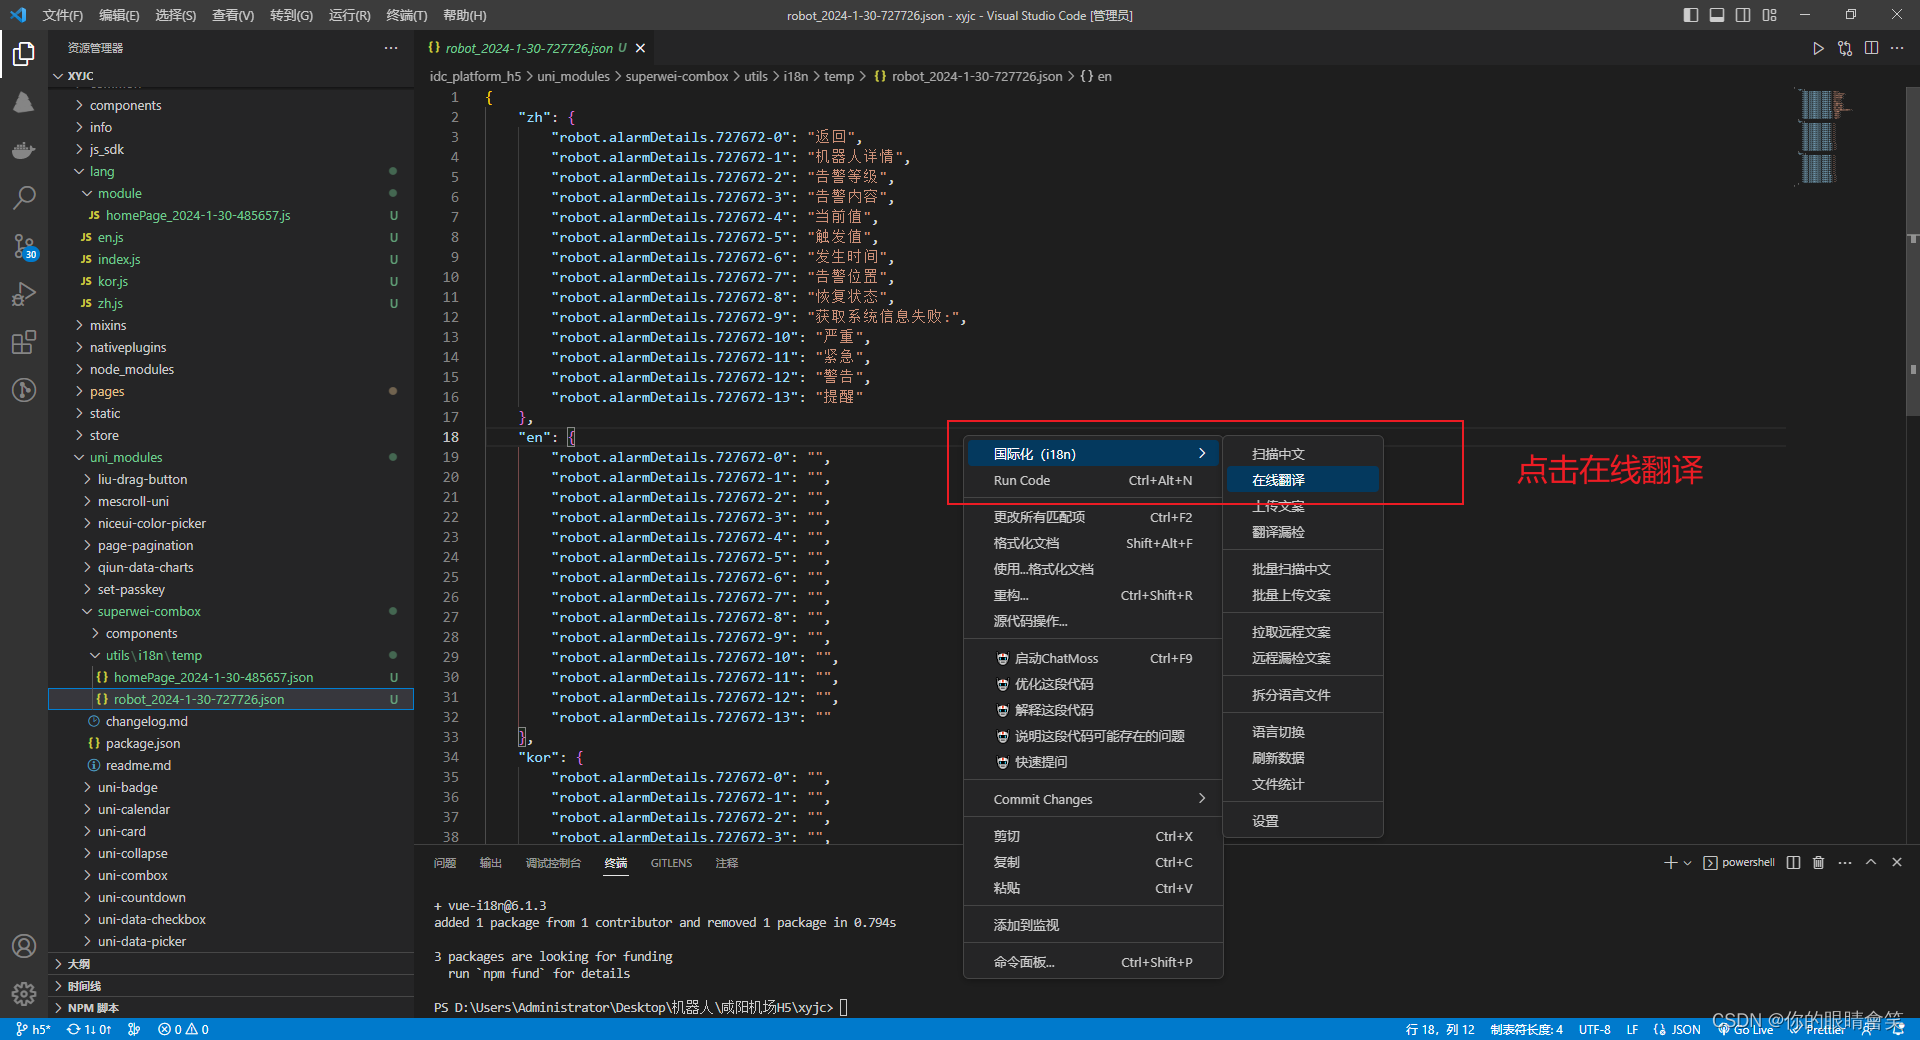
- 开始使用
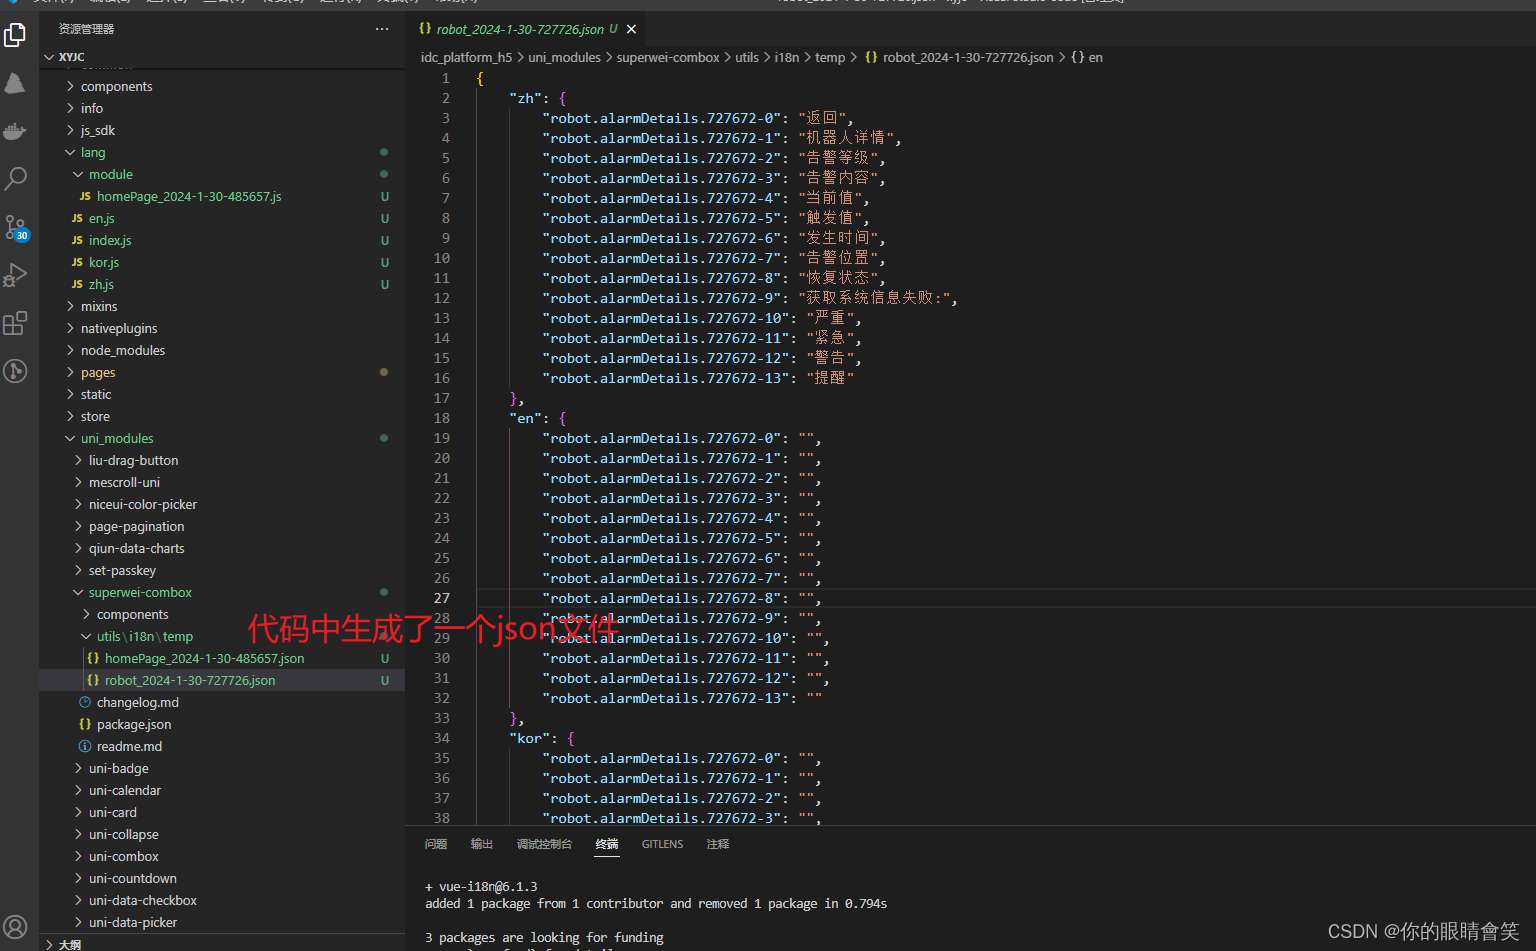
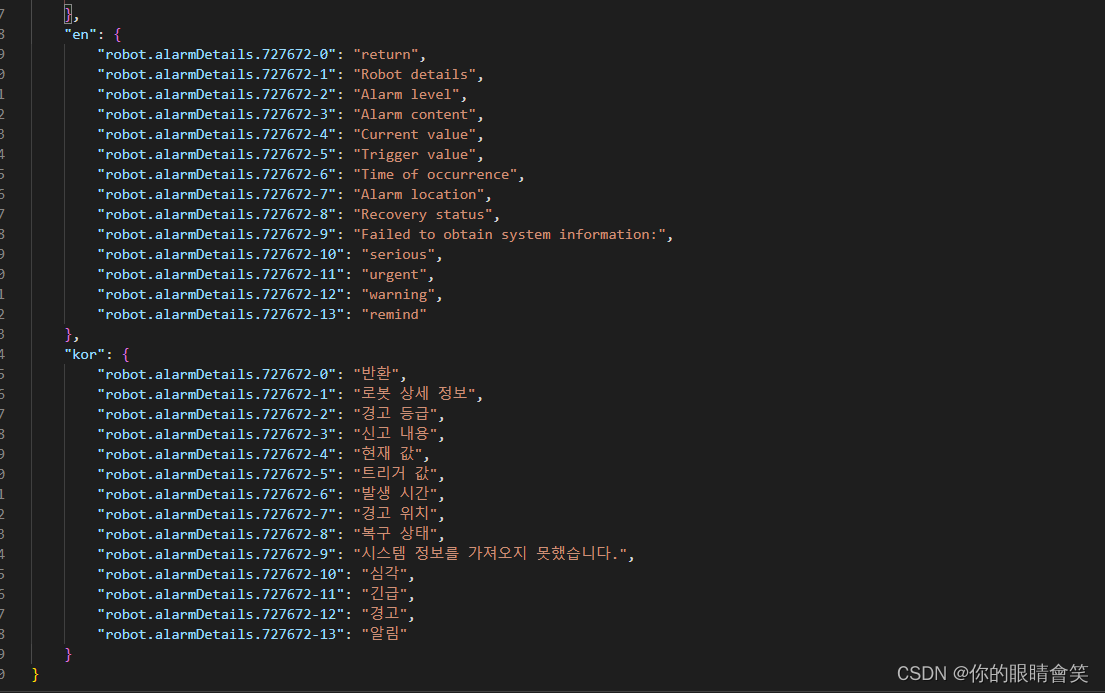
将生成的文件放到 module 下面 后缀改为js

搞定! 以上为全部流程 解放翻译时间,缩短工期
博文虽然长 但是都很简单!


 1546
1546


 被折叠的 条评论
为什么被折叠?
被折叠的 条评论
为什么被折叠?
 到【灌水乐园】发言


