


Spring Boot介绍
Spring Boot是由spring的Pivotal团队提供的全新框架,其设计目的是用来简化新Spring应用的初始搭建以及开发过程。该框架使用了特定的方式来进行配置,从而使开发人员不再需要定义样板化的配置。用我的话来理解,就是spring boot其实不是什么新的框架,它默认配置了很多框架的使用方式,就像maven整合了所有的jar包,spring boot整合了所有的框架
其实就是简单、快速、方便!平时如果我们需要搭建一个spring web项目的时候需要怎么做呢?
1)配置web.xml,加载spring和spring mvc
2)配置数据库连接、配置spring事务
3)配置加载配置文件的读取,开启注解
4)配置日志文件
…
配置完成之后部署tomcat 调试
…
现在非常流行微服务,如果我这个项目仅仅只是需要发送一个邮件,如果我的项目仅仅是生产一个积分;我都需要这样折腾一遍!
但是如果使用spring boot呢?
很简单,我仅仅只需要非常少的几个配置就可以迅速方便的搭建起来一套web项目或者是构建一个微服务
1.IDEA创建Spring Boot步骤
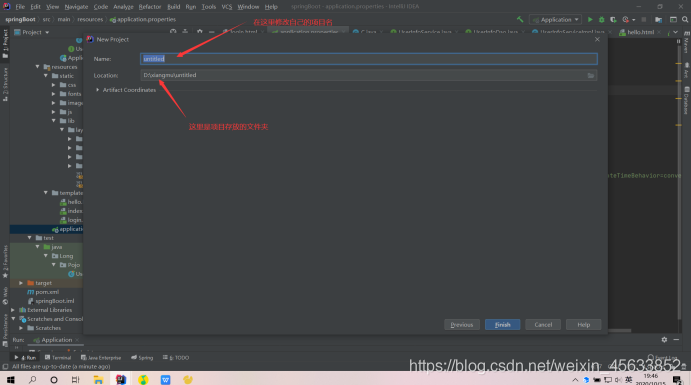
1.新建项目:file—>new—>project—>maven,直接next

2.给项目命名

3.在pom.xml中添加下面依赖
<parent>
    <groupId>org.springframework.boot</groupId>
    <artifactId>spring-boot-starter-parent</artifactId>
    <version>2.3.2.RELEASE</version>
    <relativePath/> <!-- lookup parent from repository -->
</parent>
<dependencies>
    <dependency>
        <groupId>junit</groupId>
        <artifactId>junit</artifactId>
        <version>4.12</version>
    </dependency>
    <dependency>wei
        <groupId>org.springframework.boot</groupId>
        <artifactId>spring-boot-starter-thymeleaf</artifactId>
    </dependency>
    <dependency>
        <groupId>org.springframework.boot</groupId>
        <artifactId>spring-boot-starter-web</artifactId>
    </dependency>
    <!--spring-boot 热部署  -->
    <dependency>
        <groupId>org.springframework.boot</groupId>
        <artifactId>spring-boot-devtools</artifactId>
    </dependency>
    <dependency>
        <groupId>org.springframework.boot</groupId>
        <artifactId>spring-boot-starter-test</artifactId>
        <scope>test</scope>
        <exclusions>
            <exclusion>
                <groupId>org.junit.vintage</groupId>
                <artifactId>junit-vintage-engine</artifactId>
            </exclusion>
        </exclusions>
    </dependency>
</dependencies>
<build>
    <plugins>
        <plugin>
            <groupId>org.springframework.boot</groupId>
            <artifactId>spring-boot-maven-plugin</artifactId>
        </plugin>
    </plugins>
</build>
4.将依赖导入
 为防止报错我们先进行编译(这步可以省略)
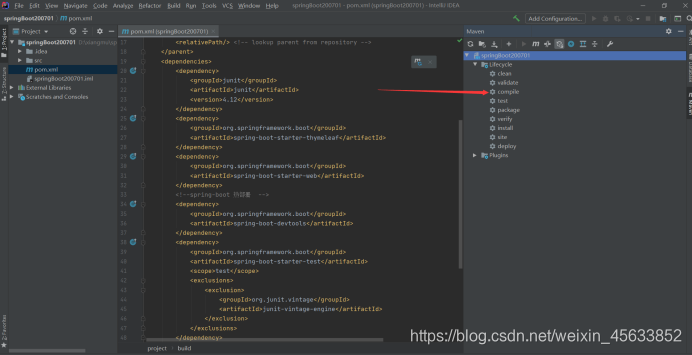
编译完成标致

接着导包

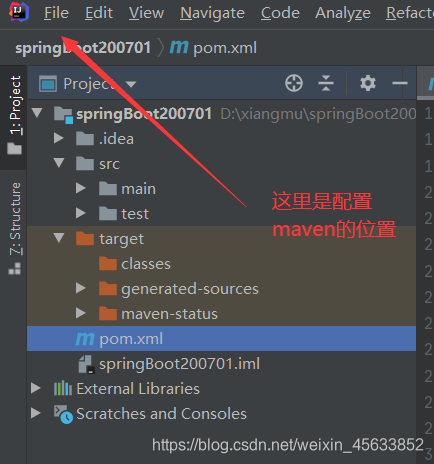
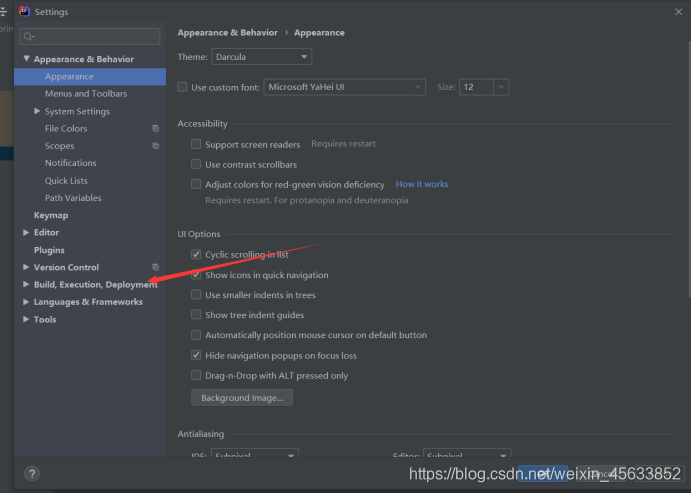
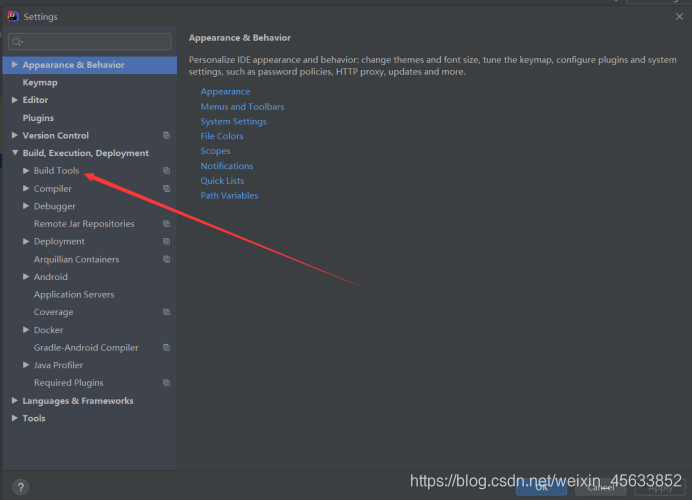
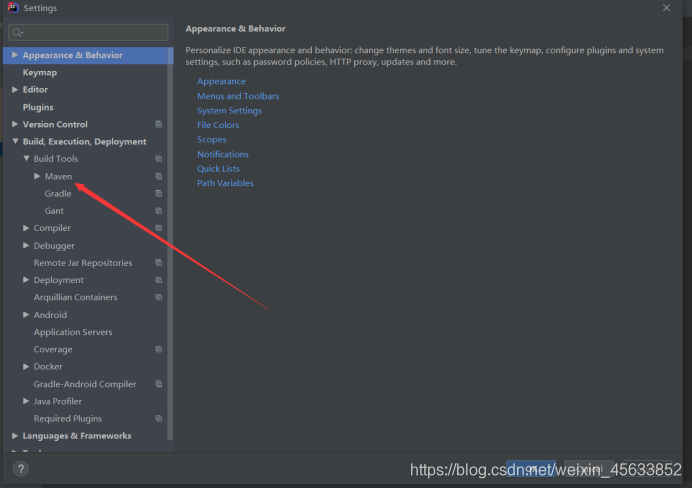
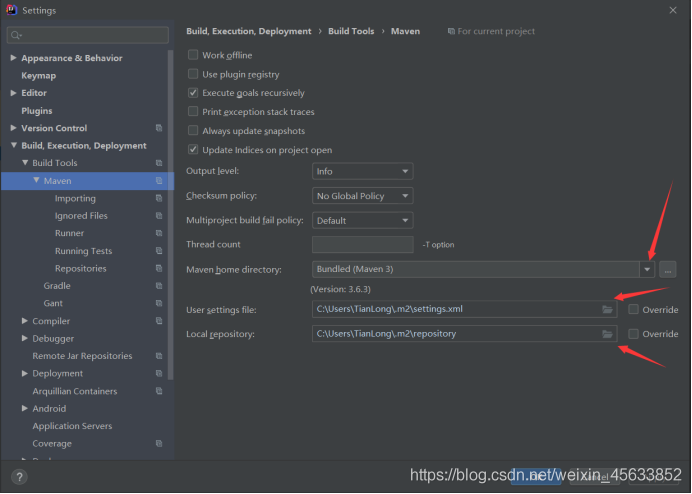
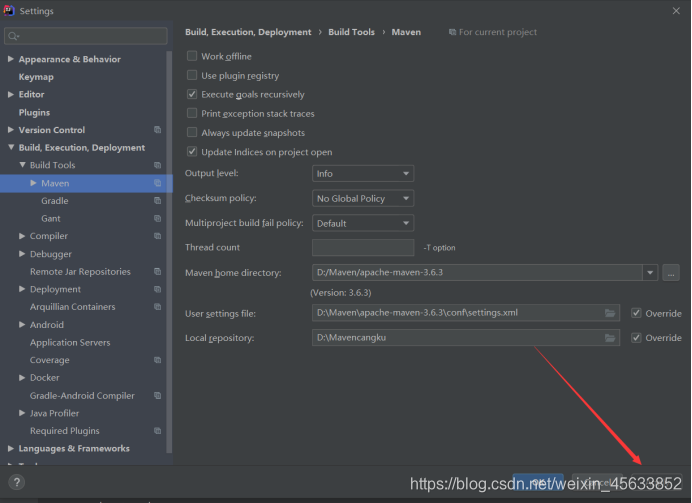
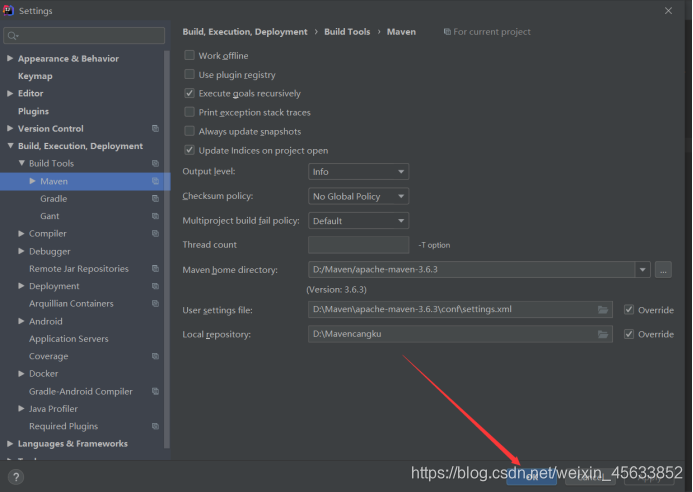
5.maven的配置

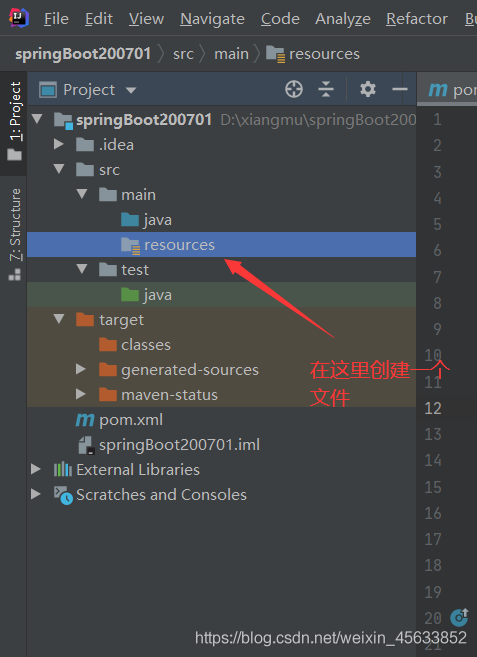
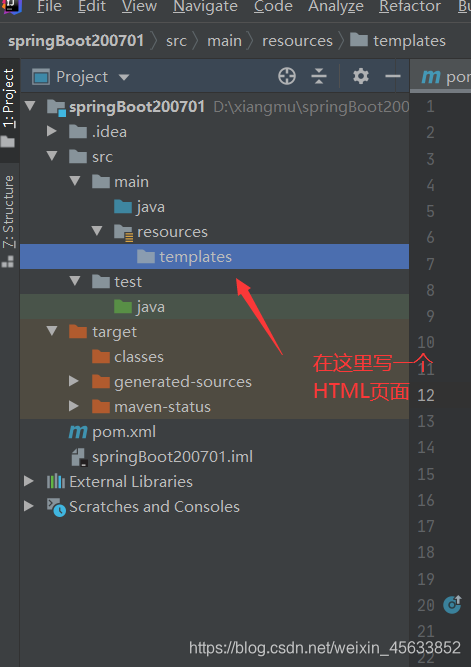
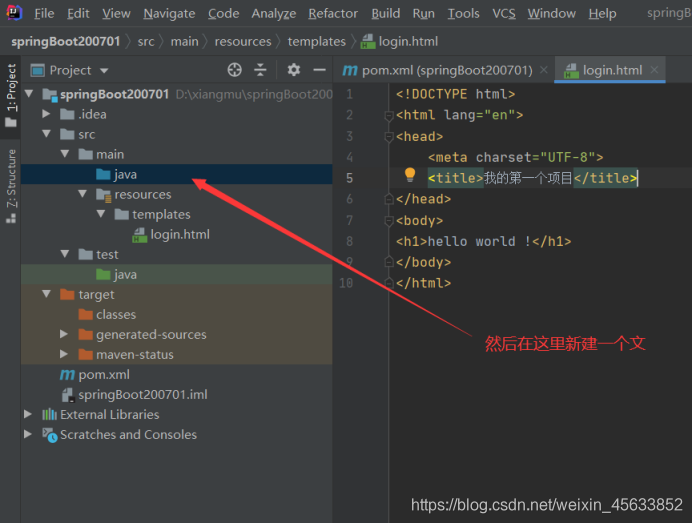
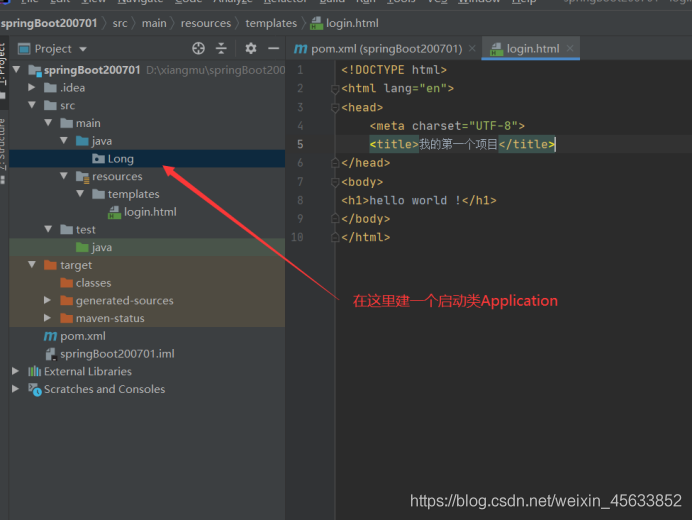
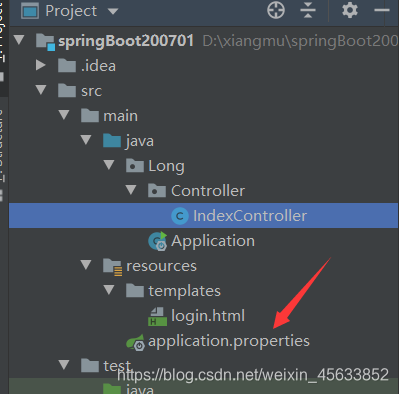
6.maven配置完成之后进行html页面的编写, 编写html页面:在src/java/resources目录下创建templates目录,在目录下创建login.html
这里的文件名必须是以templates命名

在这里新建一个文件Controller
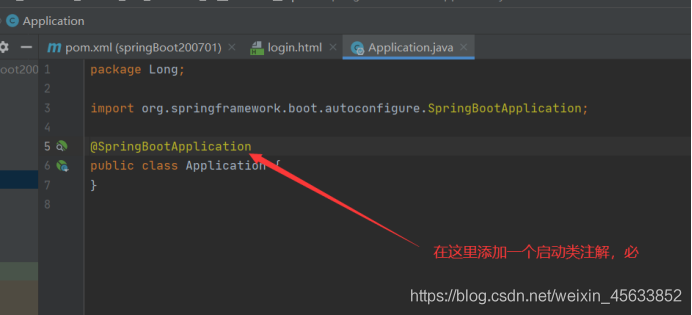
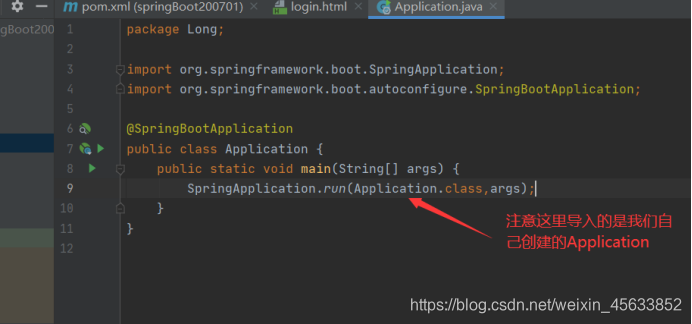
编写启动类
7 在com.hqyj.controller包下编写控制器类IndexController类,代码如下
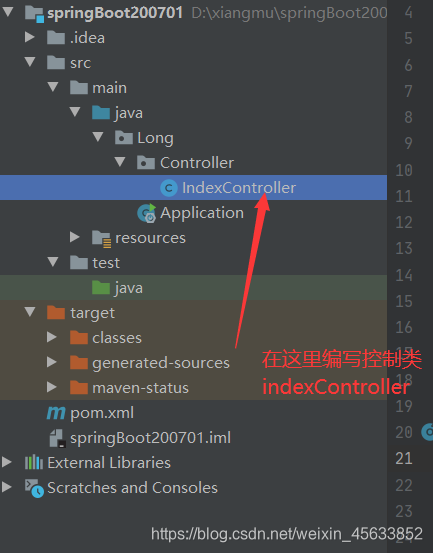
indexController类代码如下:
@Controller
public class IndexController {
@RequestMapping(value = {"","/login"})
public String login() {
return “login”;
}
}
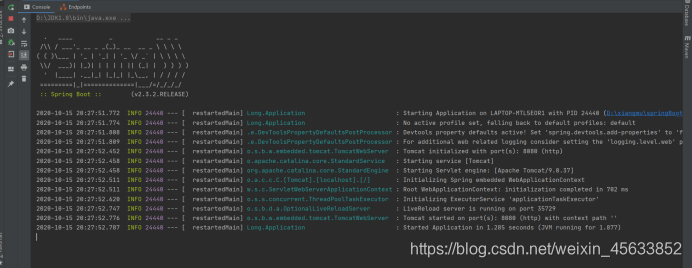
8.测试项目运行是否成功:在启动类中,鼠标右键run启动,在浏览器输入地址http://localhost:8080 访问

9. springboot配置启动浏览器访问
在src/java/resources目录下创建application.properties,

加入文件配置信息如下:
##是否自动打开浏览器,
#false就是在运行时不会打开浏览器
openurl=true
#项目地址
myurl=localhost
#浏览器更改直接浏览器所在的位置
googleexcute=C:\Users\TianLong\AppData\Local\Google\Chrome\Application\chrome.exe
#端口号这里我们是自己写的
server.port=8080
10.在Long.config包下创建配置类MyRunner:

代码如下:
@Configuration
public class MyRunner implements CommandLineRunner {
@Value("${myurl}")
private String myurl;

@Value("${googleexcute}")
private String googleExcutePath;

@Value("${openurl}")
private boolean isOpen;

@Value("${server.port}")
private String port;


@Override
public void run(String... args) throws Exception {
    if(isOpen){
        String cmd = googleExcutePath +" http://"+ myurl+":"+port;
        Runtime run = Runtime.getRuntime();
        try{
            run.exec(cmd);
            System.out.println("恭喜启动浏览器程序成功");
        }catch (Exception e){
            e.printStackTrace();
        }
    }
}

}
测试服务器是否能自动启动


 162
162


 被折叠的 条评论
为什么被折叠?
被折叠的 条评论
为什么被折叠?
 到【灌水乐园】发言


