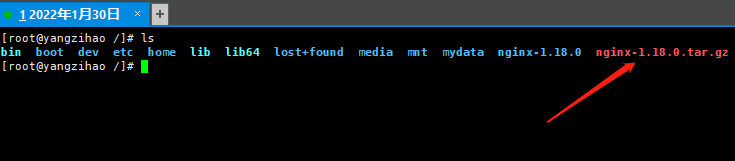
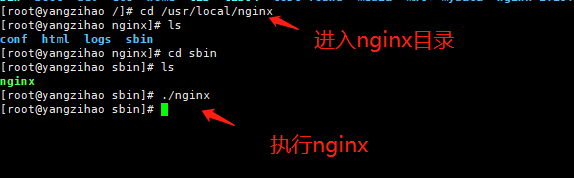
下载nginx
链接:https://pan.baidu.com/s/192CfCmUVtyDzvTkj7gar-g
提取码:hrl2
上传并解压
![在这里插入图片描述](https://img-blog.csdnimg.cn/20210130203619644.png)
解压
nginx-1.18.0.tar.gz
进入解压后的目录
![在这里插入图片描述](https://img-blog.csdnimg.cn/20210130203809773.png)
执行下面两条命令
./configure
make install
安装成功后启动
![在这里插入图片描述](https://img-blog.csdnimg.cn/2021013020421963.png)
测试
![在这里插入图片描述](https://img-blog.csdnimg.cn/20210130204244372.png?x-oss-process=image/watermark,type_ZmFuZ3poZW5naGVpdGk,shadow_10,text_aHR0cHM6Ly9ibG9nLmNzZG4ubmV0L3dlaXhpbl80NTY0NzY4NQ==,size_16,color_FFFFFF,t_70)
会发现确实启动成功。
nginx常用命令
./nginx 启动
./nginx -s stop 停止
./nginx -s quit 安全退出
./nginx -s reload 重新加载配置文件
ps aux|grep nginx 查看nginx的进程
服务配置
![在这里插入图片描述](https://img-blog.csdnimg.cn/20210130231539597.png?x-oss-process=image/watermark,type_ZmFuZ3poZW5naGVpdGk,shadow_10,text_aHR0cHM6Ly9ibG9nLmNzZG4ubmV0L3dlaXhpbl80NTY0NzY4NQ==,size_16,color_FFFFFF,t_70)
访问测试
![在这里插入图片描述](https://img-blog.csdnimg.cn/20210130232726562.png?x-oss-process=image/watermark,type_ZmFuZ3poZW5naGVpdGk,shadow_10,text_aHR0cHM6Ly9ibG9nLmNzZG4ubmV0L3dlaXhpbl80NTY0NzY4NQ==,size_16,color_FFFFFF,t_70)