


导入依赖
<dependency>
    <groupId>org.springframework.boot</groupId>
    <artifactId>spring-boot-starter-security</artifactId>
</dependency>

<dependency>
    <groupId>org.springframework.boot</groupId>
    <artifactId>spring-boot-starter-oauth2-client</artifactId>
</dependency>
利用gitee来实现第三方登录
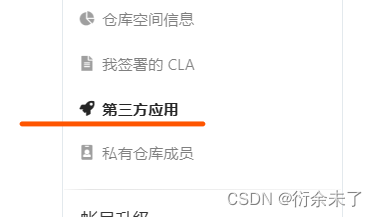
1.在gitee个人设置中点击到第三方应用
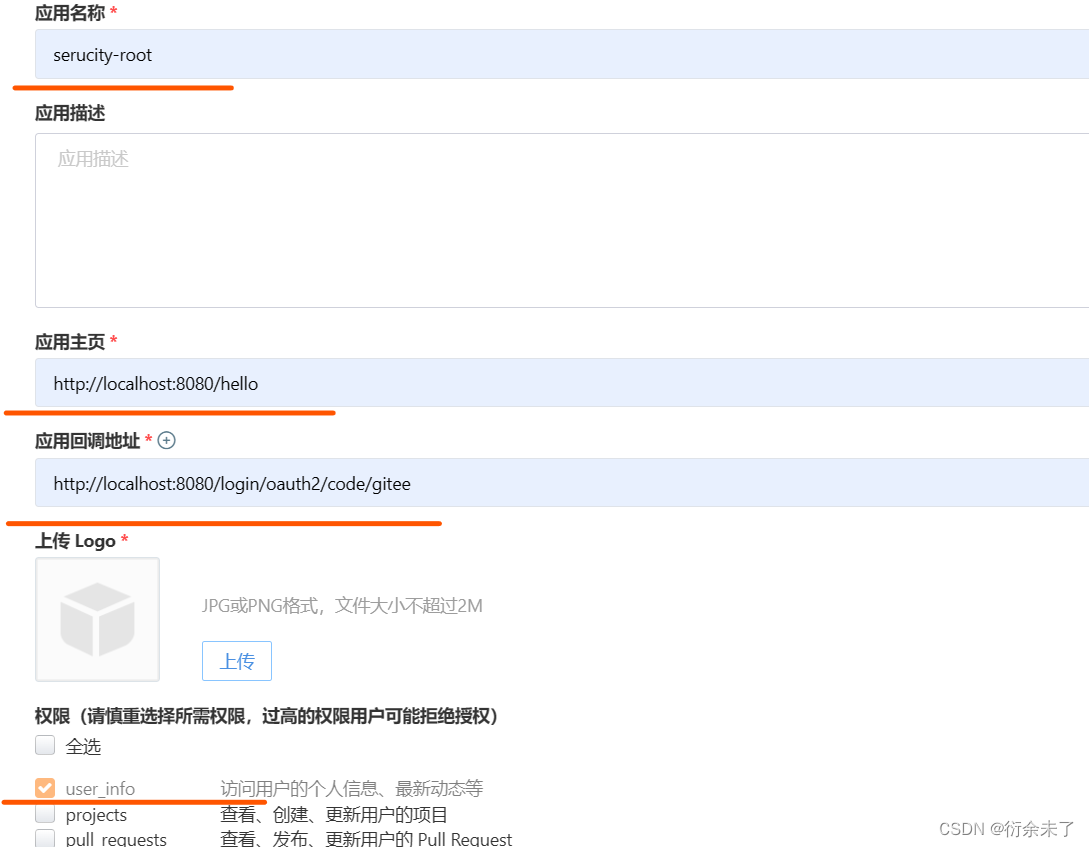
2.创建自己的应用
应用主页为登录后跳转的url
回调地址为第三方通过oauth2,oauth2自动默认设置的地址
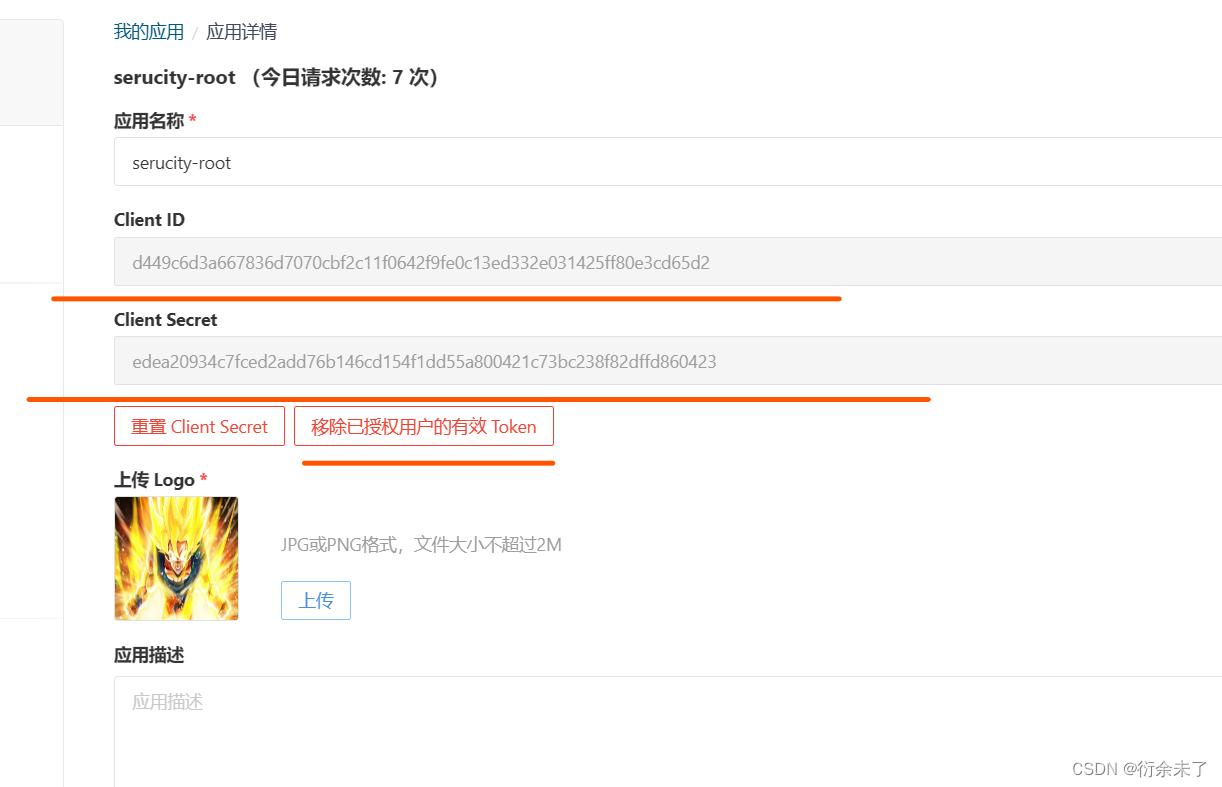
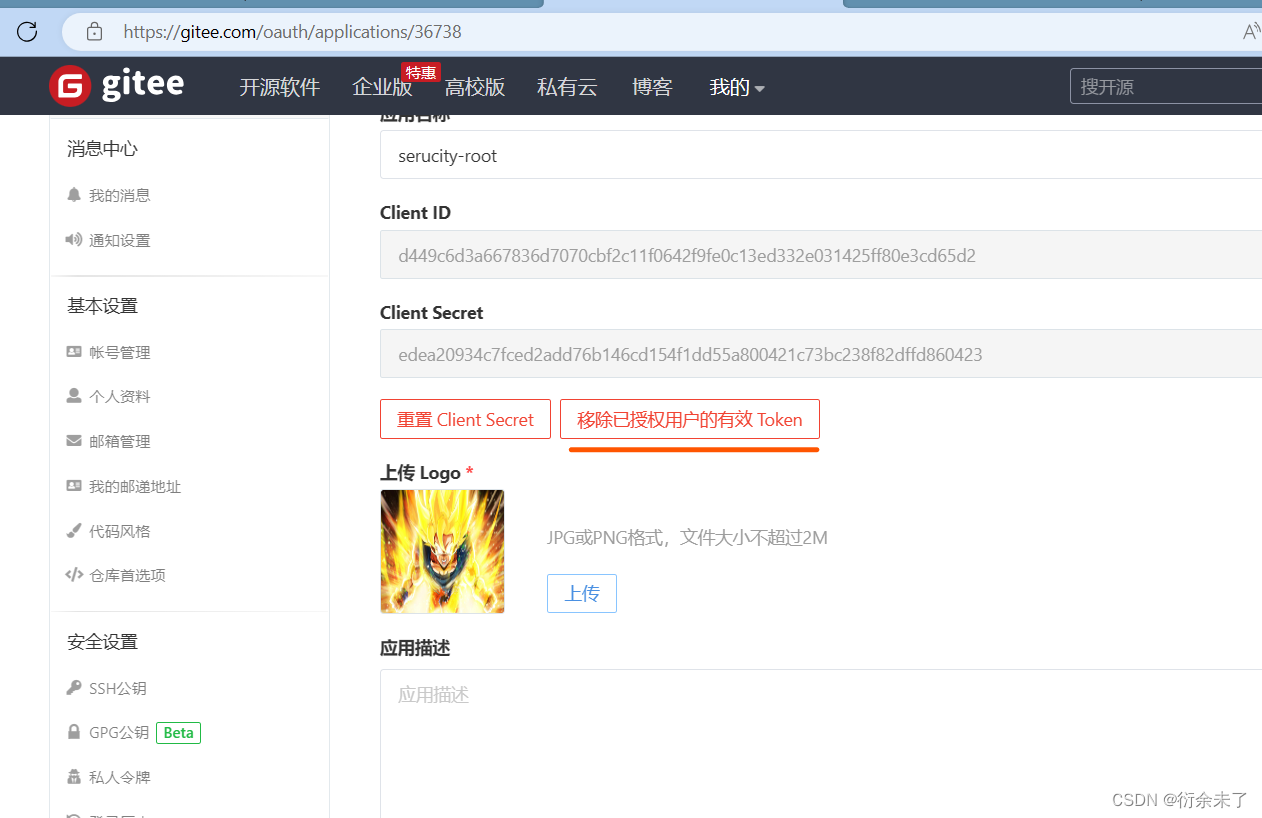
3.创建后
id和secret讲会配置在application配置文件中
登陆后浏览器会存在cookie,测试需要快速经常访问,可点击移除按钮,消除令牌,方便测试登录
配置application.properties,配置第三方登录需要的配置,springboot服务端口默认端口为:8080,可配可不配,
# client-id 查看gitee颁发的
spring.security.oauth2.client.registration.gitee.client-id=d449c6d3a667836d7070cbf2c11f0642f9fe0c13ed332e031425ff80e3cd65d2
# client-secret 查看gitee颁发的
spring.security.oauth2.client.registration.gitee.client-secret=edea20934c7fced2add76b146cd154f1dd55a800421c73bc238f82dffd860423
# 认证方式
spring.security.oauth2.client.registration.gitee.authorization-grant-type=authorization_code
# redirect-uri:回调地址,填写的与Gitee上申请的一致
spring.security.oauth2.client.registration.gitee.redirect-uri=http://localhost:8080/login/oauth2/code/gitee
# 接下来这个不是必须的 客户端名称,可以在登录选择页面上显示
spring.security.oauth2.client.registration.gitee.client-name=gitee-login

# authorization-uri:授权服务器地址
spring.security.oauth2.client.provider.gitee.authorization-uri=https://gitee.com/oauth/authorize
# token-uri:授权服务器获取token地址
spring.security.oauth2.client.provider.gitee.token-uri=https://gitee.com/oauth/token
# user-info-uri:授权服务器获取用户信息的地址
spring.security.oauth2.client.provider.gitee.user-info-uri=https://gitee.com/api/v5/user
# user-name-attribute:用户信息中的用户名属性 可以自定义
spring.security.oauth2.client.provider.gitee.user-name-attribute=name
偏写配置类
@Configuration
public class SecurityConfig  {

    @Bean
    protected SecurityFilterChain configure(HttpSecurity httpSecurity) throws Exception {
        //开启登录拦截
        httpSecurity.authorizeHttpRequests().anyRequest().authenticated();
        //开启oauth2第三方登录
        httpSecurity.oauth2Login();
        //开启登录
        httpSecurity.formLogin();
        return httpSecurity.build();
    }
}
编写controller,测试用例
@RestController
@RequestMapping("/user")
public class UserController {

    @GetMapping("/user2")
    public DefaultOAuth2User hello(){
        //获取Security请求头中的信息
        Authentication authentication = SecurityContextHolder.getContext().getAuthentication();

        //返回到浏览器查看信息
        return (DefaultOAuth2User)authentication.getPrincipal();
    }
}
开启springboot
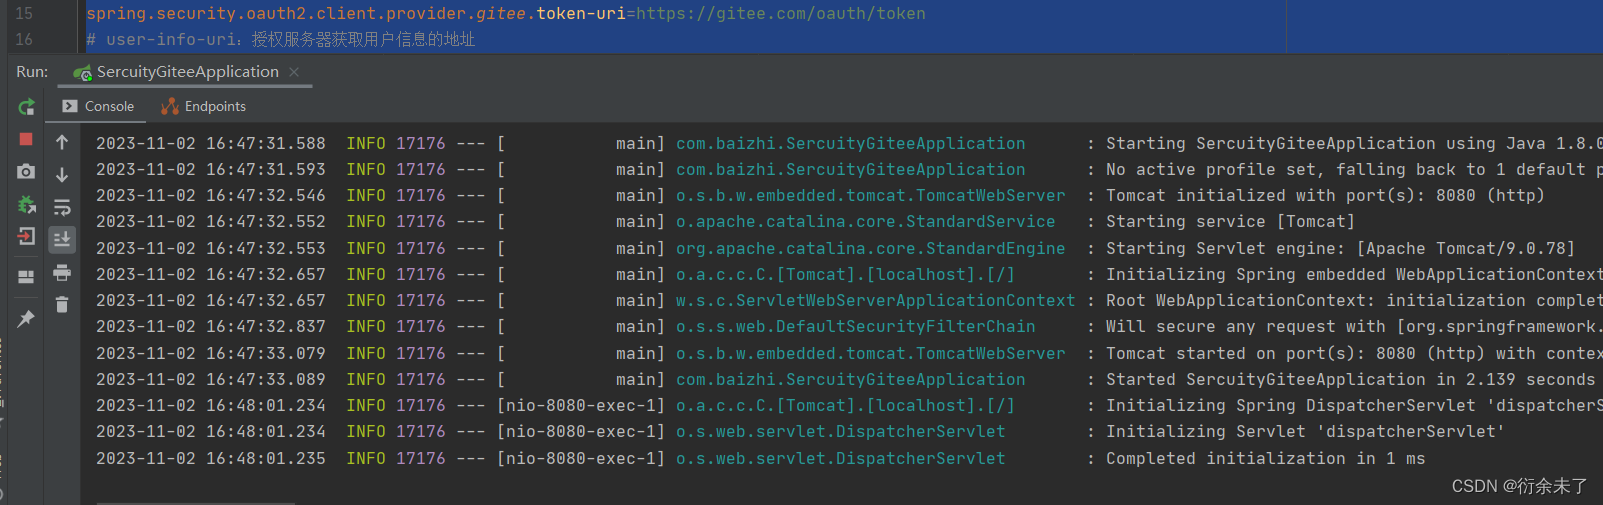
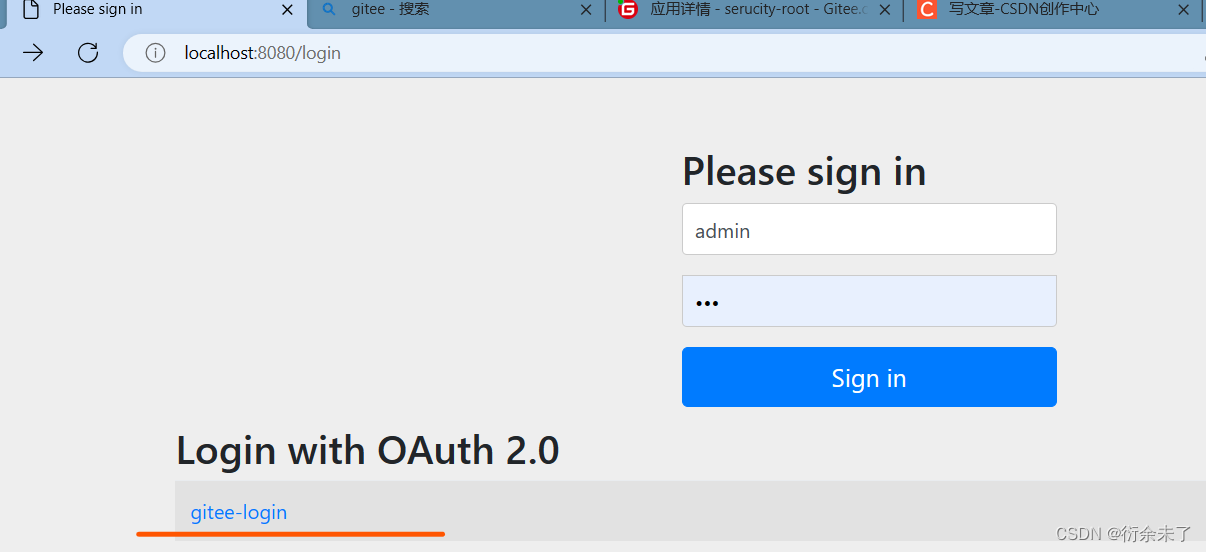
访问服务的Security默认登录地址:http://localhost:8080/login,点击下面小的gitee登录
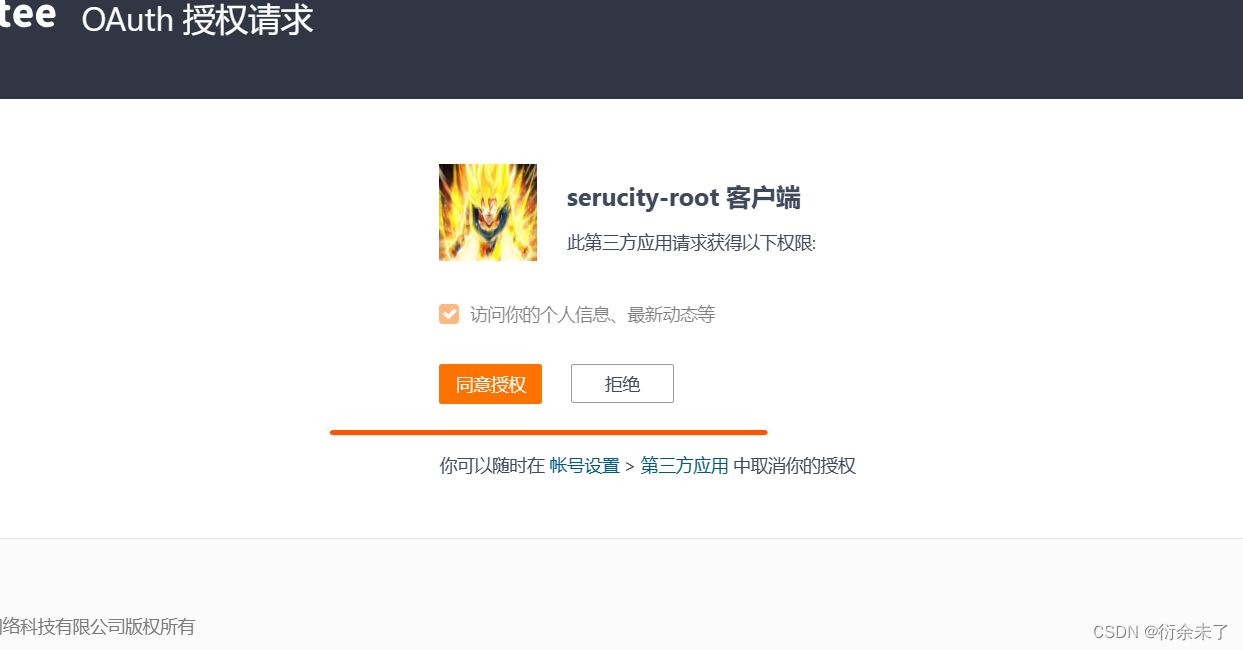
测试登录
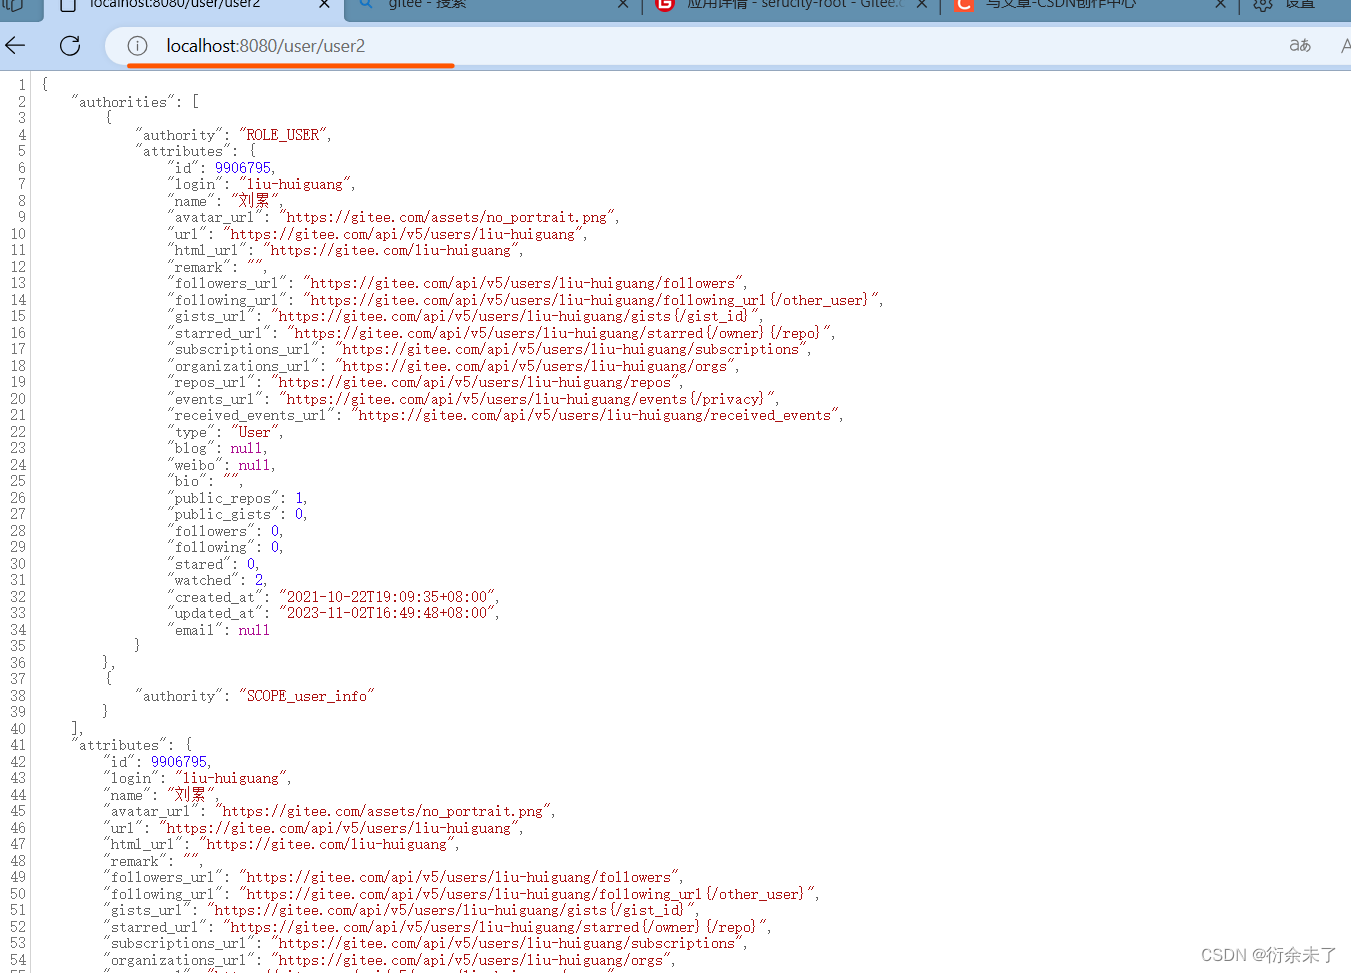
登录后访问自己定义的controller,
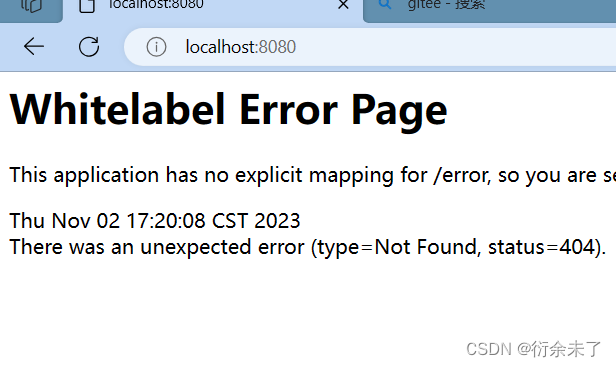
登录访问出问题或者二次登录不显示以上页面,二次登录需清除Token,清除后需要等待一段时间才可访问。另外令牌Token存在即使启动在多次springboot也不会出现以上页面,有登录缓存,不需要在二次登录。


 2727
2727

 被折叠的 条评论
为什么被折叠?
被折叠的 条评论
为什么被折叠?
 到【灌水乐园】发言


