


Hello,Spring Boot
1.创建一个普通的maven项目
2.pom.xml引入依赖
<parent>
        <groupId>org.springframework.boot</groupId>
        <artifactId>spring-boot-starter-parent</artifactId>
        <version>2.3.4.RELEASE</version>
    </parent>


    <dependencies>
        <dependency>
            <groupId>org.springframework.boot</groupId>
            <artifactId>spring-boot-starter-web</artifactId>
        </dependency>

    </dependencies>
3.创建主程序类
@SpringBootApplication
public class MainApplication {
    public static void main(String[] args) {
        SpringApplication.run(MainApplication.class, args);
    }
}
@SpringBootApplication:表明这是一个主程序类。
4.编写业务逻辑
@RestController
public class HelloController {
    @RequestMapping("/hello")
    public String hello(){
        return "Hello, Spring Boot";
    }
}
@RestController:相当于@ResponseBody+@Controller。
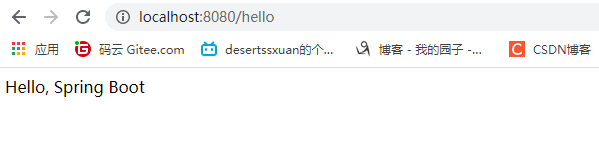
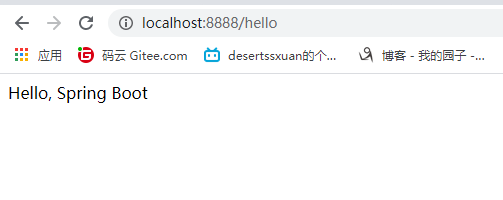
5.运行主程序
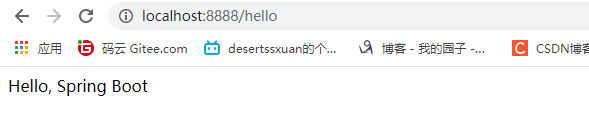
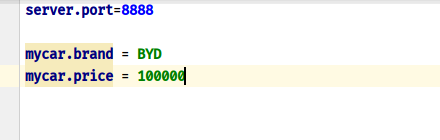
6.简化配置:创建application.properties,在该文件中修改配置信息,如修改端口号:server.port=8888
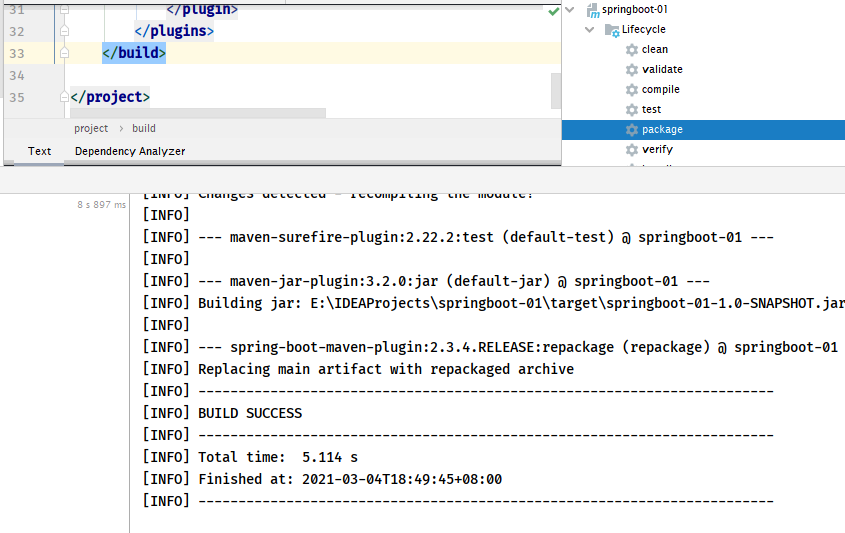
7.简化部署:pom.xml中导入相关配置
 <build>
        <plugins>
            <plugin>
                <groupId>org.springframework.boot</groupId>
                <artifactId>spring-boot-maven-plugin</artifactId>
            </plugin>
        </plugins>
    </build>
maven中运行package,如果前面已经运行过了,可以先clean再package
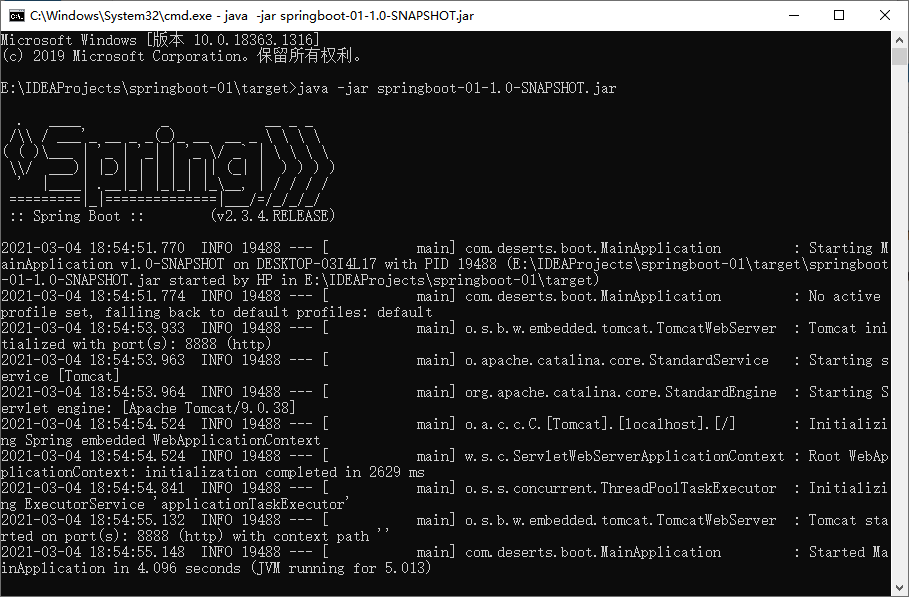
在cmd中运行:
浏览器访问:
依赖管理
- 父项目做依赖管理
   <parent>
        <groupId>org.springframework.boot</groupId>
        <artifactId>spring-boot-starter-parent</artifactId>
        <version>2.3.4.RELEASE</version>
    </parent>
它的父项目为:
  <parent>
    <groupId>org.springframework.boot</groupId>
    <artifactId>spring-boot-dependencies</artifactId>
    <version>2.3.4.RELEASE</version>
  </parent>
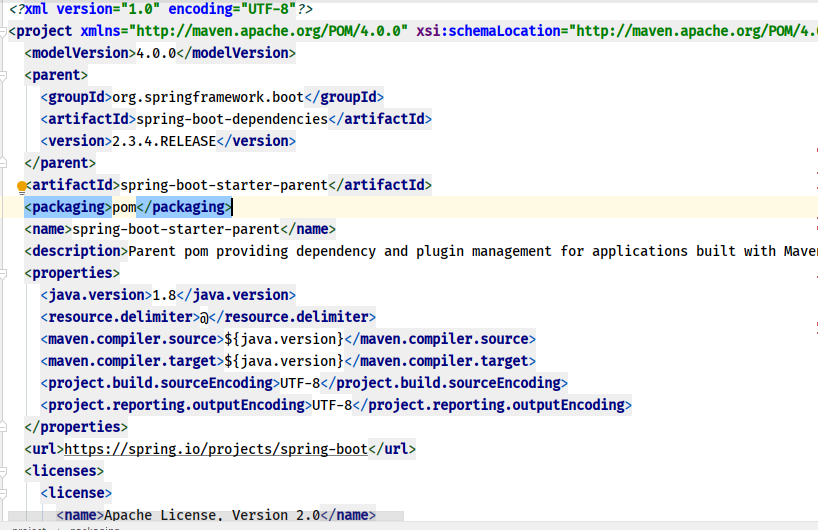
可以看到,这个也有一个父项目,再点进去
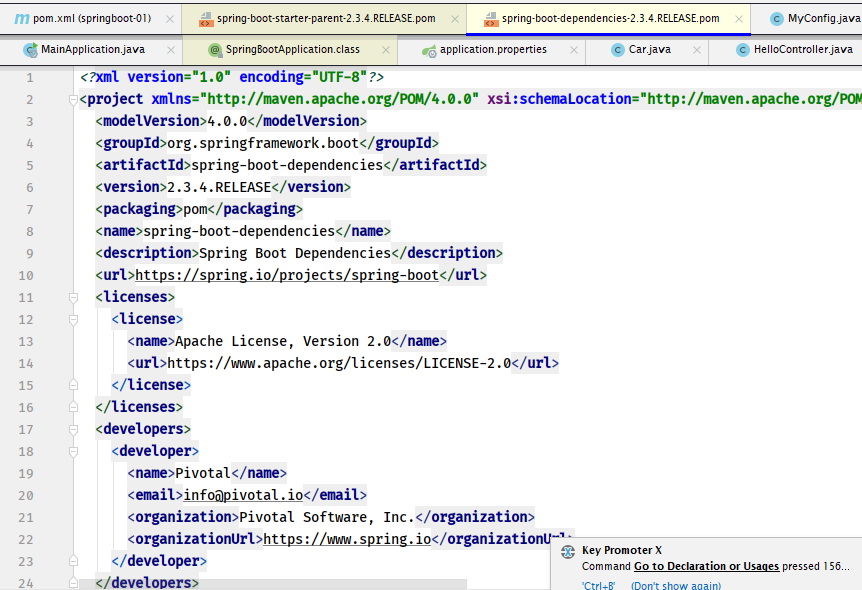
可以看到这是一个pring-boot-dependencies的配置文件,spring-boot-dependencies中几乎声明了所有常用的依赖的版本号。
- 修改默认版本号
1、查看spring-boot-dependencies里面规定当前依赖的版本 用的 key。
2、在当前项目里面重写配置
    <properties>
        <mysql.version>5.1.43</mysql.version>
    </properties>
- 开发导入场景启动器starter
1、见到很多 spring-boot-starter-* : *就某种场景
2、只要引入starter,这个场景的所有常规需要的依赖我们都自动引入
3、SpringBoot所有支持的场景
https://docs.spring.io/spring-boot/docs/current/reference/html/using-spring-boot.html#using-boot-starter
4、见到的  *-spring-boot-starter: 第三方为我们提供的简化开发的场景启动器。
5、所有场景启动器最底层的依赖
<dependency>
  <groupId>org.springframework.boot</groupId>
  <artifactId>spring-boot-starter</artifactId>
  <version>2.3.4.RELEASE</version>
  <scope>compile</scope>
</dependency>
自动配置
-
自动配好Tomcat
-
- 引入Tomcat依赖。
- 配置Tomcat
<dependency>
      <groupId>org.springframework.boot</groupId>
      <artifactId>spring-boot-starter-tomcat</artifactId>
      <version>2.3.4.RELEASE</version>
      <scope>compile</scope>
    </dependency>
-
自动配好SpringMVC
-
- 引入SpringMVC全套组件
- 自动配好SpringMVC常用组件(功能)
-
自动配好Web常见功能,如:字符编码问题
-
SpringBoot帮我们配置好了所有web开发的常见场景
-
默认的包结构
-
-
主程序所在包及其下面的所有子包里面的组件都会被默认扫描进来
-
无需以前的包扫描配置
-
想要改变扫描路径,@SpringBootApplication(scanBasePackages=“com.deserts”)
或者@ComponentScan 指定扫描路径
-
@SpringBootApplication
等同于
@SpringBootConfiguration
@EnableAutoConfiguration
@ComponentScan("com.atguigu.boot")
-
各种配置拥有默认值
- 默认配置最终都是映射到某个类上,如:MultipartProperties
- 配置文件的值最终会绑定每个类上,这个类会在容器中创建对象
-
按需加载所有自动配置项
- 非常多的starter
- 引入了哪些场景这个场景的自动配置才会开启
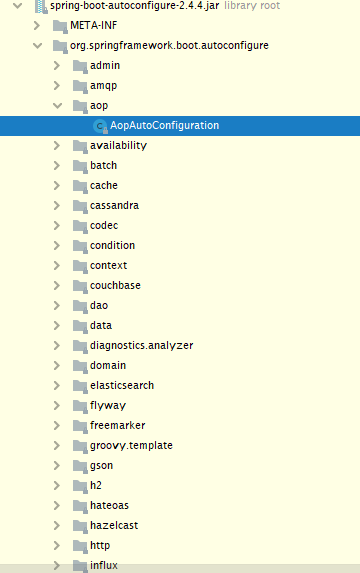
- SpringBoot所有的自动配置功能都在 spring-boot-autoconfigure 包里面
容器功能
1.组件添加
@Configuration和@Bean
用法如下:
package com.deserts.boot.config;
import com.deserts.boot.bean.Pet;
import com.deserts.boot.bean.User;
import org.springframework.context.annotation.Bean;
import org.springframework.context.annotation.Configuration;
/**
* @ClassName MyConfig
* @Description TODO
* @Author deserts
* @Date 2021/3/6 9:51
*/
/**
* 1.告诉spring boot这是一个配置类
* 2.本身也是一个配置类
* 3.proxyBeanMethods:是否为代理bean的方法,默认为true
* 若为true,则容器中的组件都为单实例,有发生组件依赖时可用(Full);
* 若为false,则每次调用不会再检查容器中是否有该组件,直接创建实例(Lite).
*/
@Configuration(proxyBeanMethods = true)
public class MyConfig {
//注册组件,id默认为方法名
@Bean
public User user01(){
return new User("lisi", 20);
}
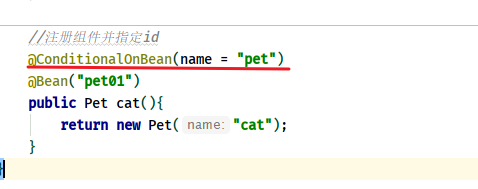
//注册组件并指定id
@Bean("pet01")
public Pet cat(){
return new Pet("cat");
}
}
- Full与Lite模式
- 配置类组件间无依赖关系,使用Lite(false)模式减少判断,加快启动速度
- 配置类组件间有依赖管旭,使用Full(true),方法会被调用得到之前的单实例组件
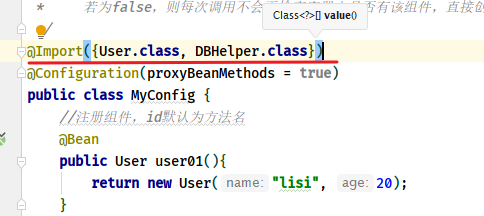
@Import
@Import:给容器中添加组件,组件名字默认为添加的组件的类的全类名。
@Conditional
条件装配:满足conditional指定的条件,则可进行装配。
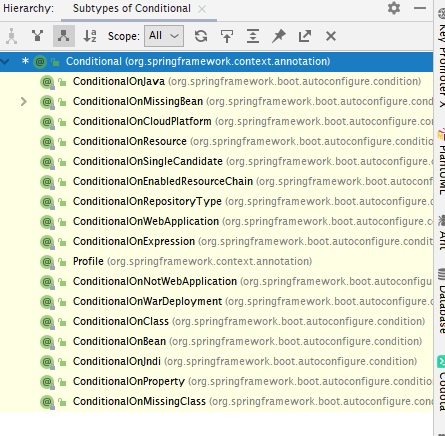
示例:当容器中有组件名为pet的组件时才会注册该组件,也可放在整个配置类上
2.原生配置文件引入
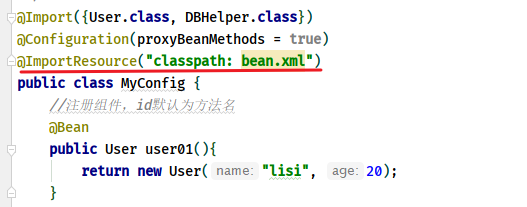
@ImportResource
@ImportResource:导入某个资源文件的组件
3.配置绑定
如何使用Java读取到properties文件中的内容,并且把它封装到JavaBean中,以供随时使用;
public class getProperties {
     public static void main(String[] args) throws FileNotFoundException, IOException {
         Properties pps = new Properties();
         pps.load(new FileInputStream("a.properties"));
         Enumeration enum1 = pps.propertyNames();//得到配置文件的名字
         while(enum1.hasMoreElements()) {
             String strKey = (String) enum1.nextElement();
             String strValue = pps.getProperty(strKey);
             System.out.println(strKey + "=" + strValue);
             //封装到JavaBean。
         }
     }
 }
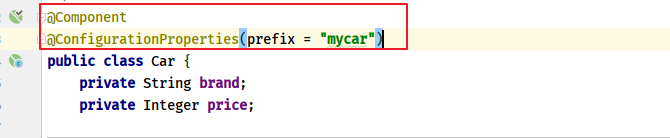
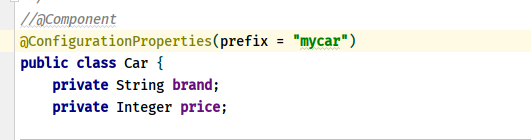
@ConfigurationProperties
将配置文件的属性绑定到该组件中,注意要使用@Component将该组件注册到容器中
配置文件
打印结果:

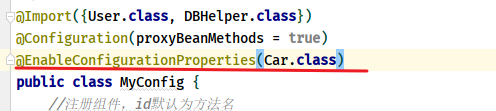
@EnableConfigurationProperties
@EnableConfigurationProperties(Car.class):
1.开启Car配置绑定功能
2.把Car组件自动注册到容器中
bean:
自动配置原理入门
1.引导加载自动配置类
从主类的注解@SpringBootApplication开始,这是一个组合注解:
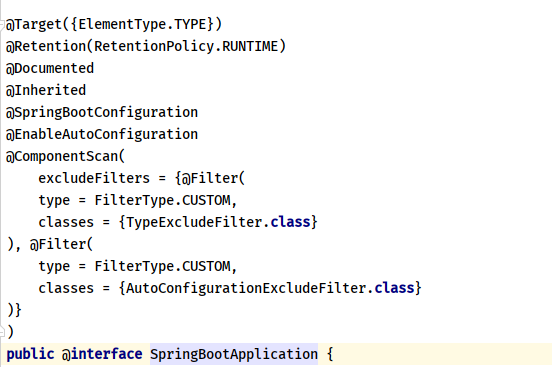
主要的注解:
@SpringBootConfiguration
@EnableAutoConfiguration
@ComponentScan
@SpringBootConfiguration
@Target({ElementType.TYPE})
@Retention(RetentionPolicy.RUNTIME)
@Documented
@Configuration
public @interface SpringBootConfiguration {}
也是一个组合注解,主要是表明主类也是一个配置类。
@ComponentScan
定义组件扫描的规则,即指定扫描哪些;
@EnableAutoConfiguration
这是一个组合注解:
主要是这两个注解:
@AutoConfigurationPackage
@Import({AutoConfigurationImportSelector.class})
public @interface EnableAutoConfiguration {}
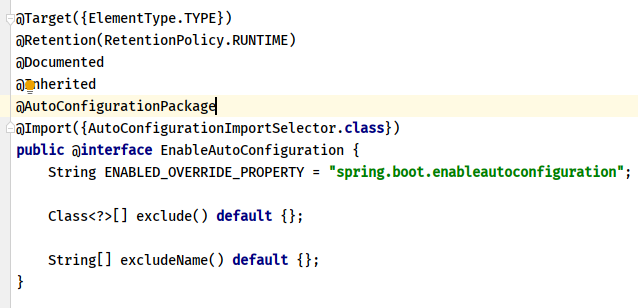
@AutoConfigurationPackage
指定了默认的包规则。里面定义了这些注解:
@Target({ElementType.TYPE})
@Retention(RetentionPolicy.RUNTIME)
@Documented
@Inherited
@Import({Registrar.class})
public @interface AutoConfigurationPackage {
    String[] basePackages() default {};

    Class<?>[] basePackageClasses() default {};
}
其中@Import导入了Registrar这个类:
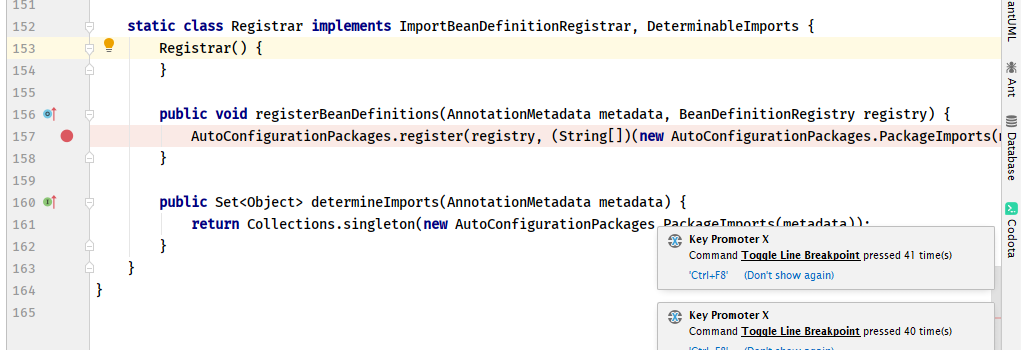
这个类主要是批量地把某个包下的所有组件导入进来,AnnotationMetadata主要是获取这个类标注在哪儿,debug:
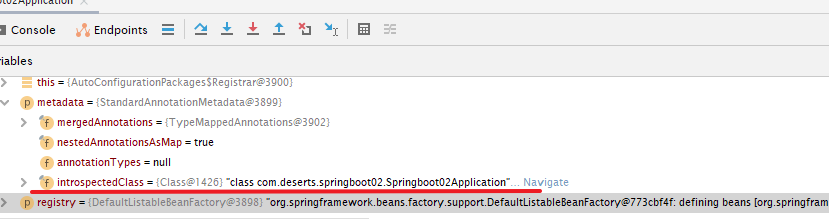
我们可以看到,这个注解是标注在主类上的,因为这里的注解都是@SpringBootApplication合成注解中的一个小注解。然后在方法内执行的代码:
AutoConfigurationPackages.register(registry, (String[])(new AutoConfigurationPackages.PackageImports(metadata)).getPackageNames().toArray(new String[0]));
可以看到,获取主类的名字后,这个方法获取了主类的所在包名,并将包下所有的类都加入了容器中:
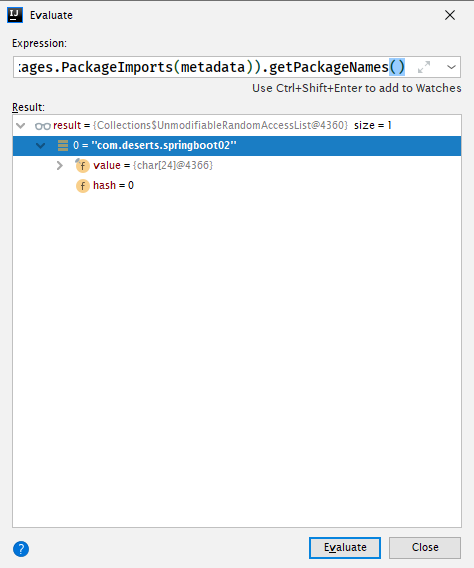
所以,@AutoConfigurationPackage的作用是将主类所在包下的所有类都加入容器中
@Import({AutoConfigurationImportSelector.class})
点进加载的AutoConfigurationImportSelector类,这个类导入组件的主要方法:
 public String[] selectImports(AnnotationMetadata annotationMetadata) {
        if (!this.isEnabled(annotationMetadata)) {
            return NO_IMPORTS;
        } else {
            AutoConfigurationImportSelector.AutoConfigurationEntry autoConfigurationEntry = this.getAutoConfigurationEntry(annotationMetadata);
            return StringUtils.toStringArray(autoConfigurationEntry.getConfigurations());
        }
    }
可以看到,这个类利用getAutoConfigurationEntry()获取要加载的字符串,再转化成字符串传出去;点进getAutoConfigurationEntry()并开始debug:
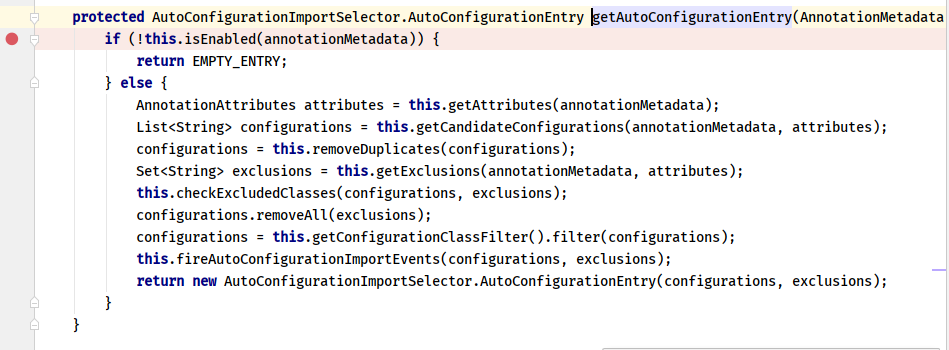
可以看到,这里获取了130个类
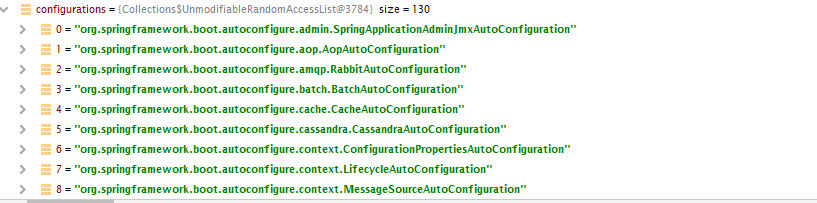
为什么getAutoConfigurationEntry()能加载这么多配置类呢?在一步上打断点debug,并点进去:
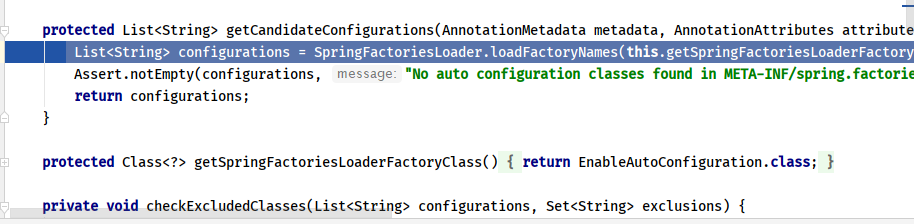
List<String> configurations = SpringFactoriesLoader.loadFactoryNames(this.getSpringFactoriesLoaderFactoryClass(), this.getBeanClassLoader());利用了工厂加载了这些东西
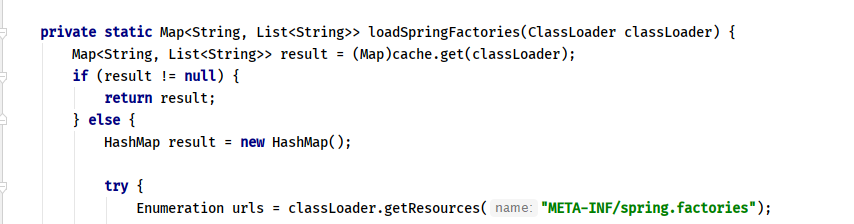
点进去可以看到工厂加载的来源是META-INF/spring.factories这个目录:默认扫描当前系统
META-INF/spring.factories位置的文件;主要是这个包:
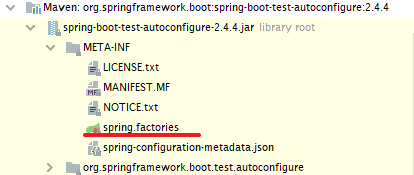
打开可以看到,所有配置的130个场景都在这个文件中了:

所以,Spring boot一启动就把这130个组件全都加进来了。
2.按需开启自动配置项
上面可以看到Spring boot一启动就加载了130个组件
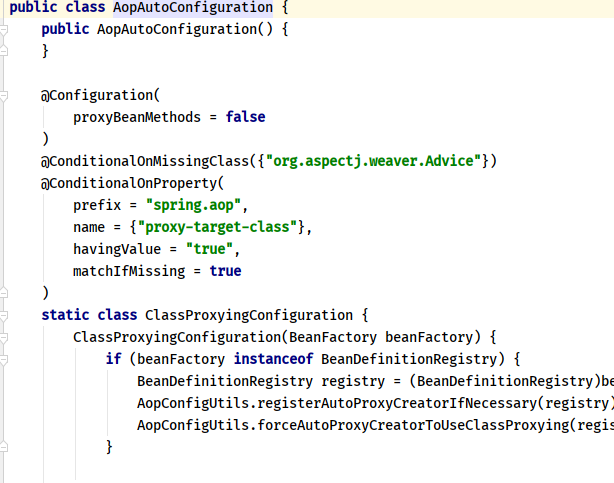
按照条件装配规则(@Conditional),最终会按需配置
每个配置类都有@Conditional相关注解,当达到某个条件按需加载,有些是只开启类的部分方法,有的一整个类都不开启:
        @Bean
		@ConditionalOnBean(MultipartResolver.class)  //容器中有这个类型组件
		@ConditionalOnMissingBean(name = DispatcherServlet.MULTIPART_RESOLVER_BEAN_NAME) //容器中没有这个名字 multipartResolver 的组件
		public MultipartResolver multipartResolver(MultipartResolver resolver) {
            //给@Bean标注的方法传入了对象参数,这个参数的值就会从容器中找。
            //SpringMVC multipartResolver。防止有些用户配置的文件上传解析器不符合规范
			// Detect if the user has created a MultipartResolver but named it incorrectly
			return resolver;
		}
给容器中加入了文件上传解析器;
3.修改默认配置
SpringBoot默认会在底层配好所有的组件。但是如果用户自己配置了以用户的优先
   @Bean
	@ConditionalOnMissingBean
	public CharacterEncodingFilter characterEncodingFilter() {
    }
总结:
-
SpringBoot先加载所有的自动配置类 xxxxxAutoConfiguration
-
每个自动配置类按照条件进行生效,默认都会绑定配置文件指定的值。xxxxProperties里面拿。xxxProperties和配置文件进行了绑定
-
生效的配置类就会给容器中装配很多组件
-
只要容器中有这些组件,相当于这些功能就有了
-
定制化配置
-
- 用户直接自己@Bean替换底层的组件
- 用户去看这个组件是获取的配置文件什么值就去修改。


 1085
1085


 被折叠的 条评论
为什么被折叠?
被折叠的 条评论
为什么被折叠?
 到【灌水乐园】发言


