


一、后端代码:
1、在application.yml文件中写入:
files:
  upload:
    path: D:/.Projects/files/  #存放文件的自定义路径
2、新建一个Controller文件
3、对应代码:
(1)添加hutool工具类
<!--        hutool工具类-->
        <dependency>
            <groupId>cn.hutool</groupId>
            <artifactId>hutool-all</artifactId>
            <version>5.5.7</version>
        </dependency>
(2)上传图片代码
import cn.hutool.core.io.FileUtil;
//@Value注解是springframework下的注解
import cn.hutool.core.util.IdUtil;
import cn.hutool.core.util.StrUtil;
import cn.hutool.json.JSONUtil;
import com.example.springbootinit.mapper.DatasMapper;
import org.springframework.beans.factory.annotation.Autowired;
import org.springframework.beans.factory.annotation.Value;
import org.springframework.web.bind.annotation.*;
import org.springframework.web.multipart.MultipartFile;

import javax.servlet.ServletOutputStream;
import javax.servlet.http.HttpServletResponse;
import java.io.File;
import java.io.IOException;
import java.net.URLEncoder;

/**
 * 文件上传
 */

@RestController
@RequestMapping("/file")
public class FileController {

	//将该文件夹的路径赋值给fileUploadPath
    @Value("${files.upload.path}")
    private String fileUploadPath;

    @Autowired
    private DatasMapper datasMapper;

    /**
     * 文件上传接口
     * @param file
     * @return
     * @throws IOException
     * 对应与前端图片上传路径:http://localhost:8081/file/upload/img
     */
    @PostMapping("/upload/img")
    public String upload(@RequestParam MultipartFile file) throws IOException {
        String originalFilename = file.getOriginalFilename();
        String type = FileUtil.extName(originalFilename);       //后缀
        long size = file.getSize();                 //文件大小
        //先存储到磁盘
        File uploadParentFile = new File(fileUploadPath);
        //判断配置的文件目录是否存在,若不存在则创建一个新的文件目录
        if (!uploadParentFile.exists()){
            uploadParentFile.mkdirs();
        }
        //定义一个文件唯一的标识码
        String uuid = IdUtil.fastSimpleUUID();
        String fileUUID = uuid + StrUtil.DOT + type;
        File uploadFile = new File(fileUploadPath + fileUUID);
        //文件路径与下载接口路径一样
        String url = "http://localhost:8081/file/" + fileUUID;
        //把获取到的文件存储到磁盘目录
        file.transferTo(uploadFile);
//
//        //存入数据库   根据自己项目的需求
//        Data_Resource data_resource = new Data_Resource();      //数据库实体类
//        data_resource.setR_name(originalFilename);
//        datasMapper.Insert_res(data_resource);
        return url;
    }

    /**
     * 通过流的形式下载
     * @param fileUUID
     */
    @GetMapping("/{fileUUID}")
    public void download(@PathVariable String fileUUID, HttpServletResponse response) throws IOException {
        //根据文件的标识码获取文件
        File uploadFile = new File(fileUploadPath + fileUUID);
        //设置输出流格式
        ServletOutputStream os = response.getOutputStream();
        response.addHeader("Context-Disposition","attachment;filename="+ URLEncoder.encode(fileUUID,"UTF-8"));
        response.setContentType("application/octet-stream");
        //读取字节流
        os.write(FileUtil.readBytes(uploadFile));
        os.flush();
        os.close();
    }
}
二、前端代码:
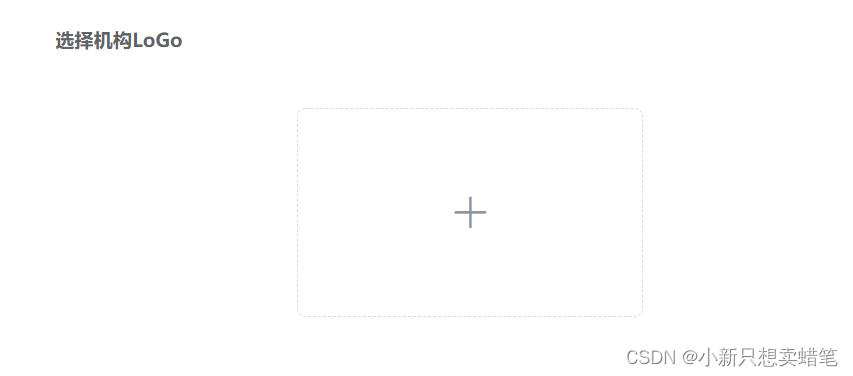
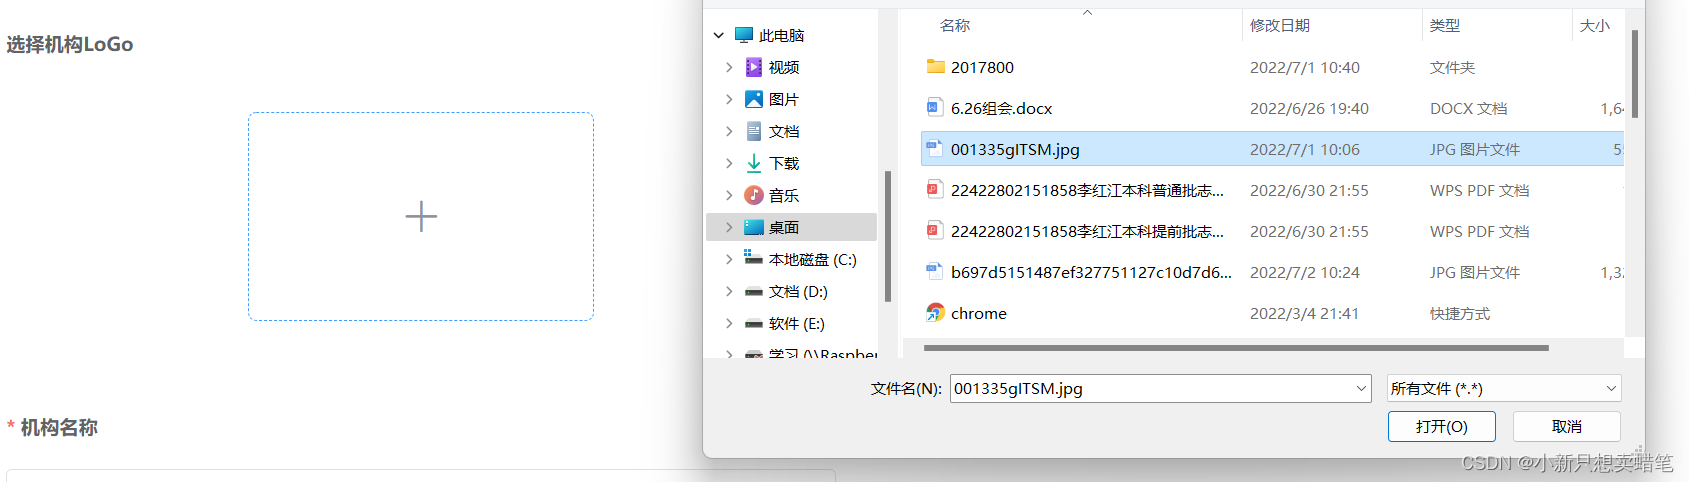
采用element组件库,
1、组件显示:(action=“url”–url是指图片上传路径)
<el-upload
class="avatar-uploader"
action="http://localhost:8081/file/upload/img"
:show-file-list="false"
:on-success="handleAvatarSuccess"
>
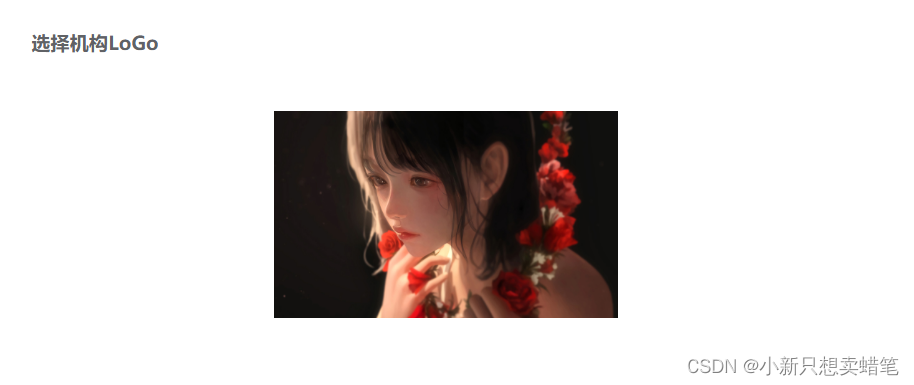
<img v-if="ruleForm.avator" :src="ruleForm.avator" class="avatar" />
<i v-else class="el-icon-plus avatar-uploader-icon"></i>
</el-upload>
2、style中css样式设计
<style scoped>
.avatar-uploader-icon {
  border: 1px dashed #d9d9d9;
  border-radius: 6px;
  cursor: pointer;
  position: relative;
  overflow: hidden;
  font-size: 28px;
  color: #8c939d;
  width: 250px;
  height: 150px;
  line-height: 150px;
  text-align: center;
}
.avatar-uploader-icon:hover {
  border-color: #409eff;
}
.avatar {
  width: 250px;
  height: 150px;
  display: block;
}
  </style>
3、script中的函数以及数据的定义(对于数据内容可以使用“console.log(‘数据’);”进行显示)
<script>
export default {
  data() {
    return {
      ruleForm: {
        avator: "",
        }
      }
  },
  methods: {
    handleAvatarSuccess(res) {
      //res就是文件路径
      this.ruleForm.avator = res;
    },
  },
};
</script>
三、结果显示:


 3631
3631


 被折叠的 条评论
为什么被折叠?
被折叠的 条评论
为什么被折叠?
 到【灌水乐园】发言


