


 本文详细介绍了如何编写一个用于启动CentOS7虚拟机的XML配置文件,该文件定义了内存、CPU、操作系统类型、磁盘和网络接口等参数。之后,通过qemu-img工具创建了一个qcow2格式的磁盘镜像文件。接着,使用virsh命令行工具定义和启动虚拟机,并展示了如何通过VNC进行连接。最后,给出了删除虚拟机的步骤。
编写xml文件并创建格式为qcow2磁盘镜像文件
编写一个centos7-xml.xml文件存放在/etc/libvirt/qemu/目录下,这是虚拟机的启动文件,内容如下:
<domain type='kvm'>
  <name>centos7-xml</name>
  <memory unit='KiB'>1048576</memory>
  <currentMemory unit='KiB'>1048576</currentMemory>
  <vcpu placement='static'>1</vcpu>
  <os>
    <type arch='x86_64' machine='pc-i440fx-rhel7.0.0'>hvm</type>
    <boot dev='cdrom'/>
  </os>
  <features>
    <acpi/>
    <apic/>
  </features>
  <cpu mode='custom' match='exact' check='partial'>
    <model fallback='allow'>Westmere-IBRS</model>
    <feature policy='require' name='md-clear'/>
    <feature policy='require' name='spec-ctrl'/>
    <feature policy='require' name='ssbd'/>
  </cpu>
  <clock offset='utc'>
    <timer name='rtc' tickpolicy='catchup'/>
    <timer name='pit' tickpolicy='delay'/>
    <timer name='hpet' present='no'/>
  </clock>
  <on_poweroff>destroy</on_poweroff>
  <on_reboot>restart</on_reboot>
  <on_crash>destroy</on_crash>
  <devices>
    <emulator>/usr/libexec/qemu-kvm</emulator>
    <disk type='file' device='disk'>
      <driver name='qemu' type='qcow2'/>
      <source file='/kvm/qemu/centos7-xml.qcow2'/>
      <target dev='vda' bus='virtio'/>
    </disk>
    <disk type='file' device='cdrom'>
      <driver name='qemu' type='raw'/>
      <source file='/kvm/CentOS-7-x86_64.iso'/>
      <target dev='hda' bus='ide'/>
    </disk>
    <interface type='network'>
      <source network='default'/>
      <model type='virtio'/>
    </interface>
    <graphics type='vnc' port='-1' autoport='yes' listen='0.0.0.0'>
      <listen type='address' address='0.0.0.0'/>
    </graphics>
  </devices>
</domain>
然后我们按编写的内容磁盘存放的路径来创建一个磁盘镜像,命令如下:
qemu-img create -f qcow2 /kvm/qemu/centos7-xml.qcow2 5G-f 制定虚拟机格式
/kvm/qemu/centos7-xml.qcow2为文件存放路径
5G 代表磁盘镜像大小
磁盘格式介绍:
全镜像格式(典型代表 raw),特点:裸磁盘不支持快照,设置多大就是多大,写入速度快,方便转换其他格式,raw性能比qcow2快,raw 创建多大磁盘,就占用多大空间直接分配。
稀疏格式(典型代表 qcow2),其特点:qcow2数据的基本组成单元是cluster,支持压缩、快照、镜像,qcow2动态的用多大占用多大空间。
编写完xml文件和创建好磁盘镜像qcow2文件后,我们开始安装虚拟机。
virsh define centos7-xml.xml     #使用xml定义一台虚拟机
virsh start centos7-xml      #启动虚拟机,"centos7-xml"是centos7-xml.xml文件里定义的虚拟机名称
virsh vncdisplay centos7-xml   #查看centos7-xml的vnc端口号


下面是删除虚拟机步骤:
virsh shutdown <虚拟机名称>
virsh undefine <虚拟机名称>
virsh destroy <虚拟机名称>
接着找到它的磁盘镜像rm -rf删除
VNC连接后,就可以看到虚拟机安装界面了。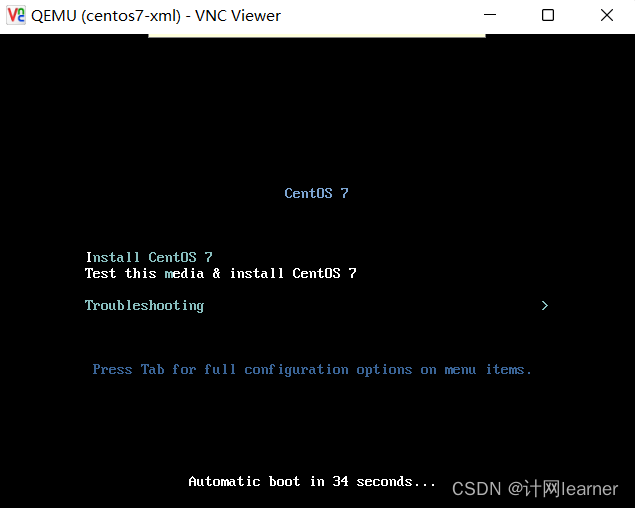
xml文件详解:


 1834
1834

 被折叠的 条评论
为什么被折叠?
被折叠的 条评论
为什么被折叠?
 到【灌水乐园】发言


