


SpringBoot整合Thymeleaf实现PDF的生成
描述:最近在工作过程中发现需要生成pdf,在网上不断地摸索发现可以通过html文件转换成pdf文件。特此在这边记录下。
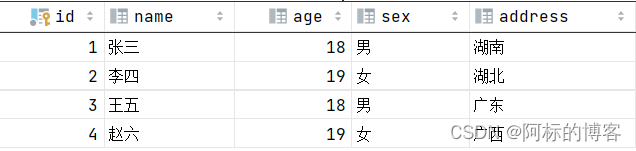
一、创建数据库
create table student
(id int not null auto_increment primary key ,
name varchar(20) null ,
age int null ,
sex varchar(20) null ,
address varchar(20) null );
insert into student(name,age,sex,address) values
('张三',18,'男','湖南'),
('李四',19,'女','湖北'),
('王五',18,'男','广东'),
('赵六',19,'女','广西');
二、添加依赖
<dependencies>
	<dependency>
		<groupId>org.springframework.boot</groupId>
		<artifactId>spring-boot-starter-web</artifactId>
		<version>2.6.7</version>
	</dependency>
	<dependency>
		<groupId>org.springframework.boot</groupId>
		<artifactId>spring-boot-starter-thymeleaf</artifactId>
		<version>2.6.7</version>
	</dependency>
	<dependency>
		<groupId>org.xhtmlrenderer</groupId>
		<artifactId>flying-saucer-pdf</artifactId>
		<version>9.0.7</version>
	</dependency>
	<dependency>
        <groupId>org.projectlombok</groupId>
        <artifactId>lombok</artifactId>
        <version>1.18.24</version>
    </dependency>
    <dependency>
        <groupId>com.baomidou</groupId>
        <artifactId>mybatis-plus-boot-starter</artifactId>
        <version>3.5.2</version>
    </dependency>
	<dependency>
		<groupId>org.springframework.boot</groupId>
		<artifactId>spring-boot-starter-test</artifactId>
		<version>2.6.7</version>
	</dependency>
</dependencies>
三、在yml中添加thymeleaf配置和数据库配置
spring:
  datasource:
    driver-class-name: com.mysql.jdbc.Driver
    url: jdbc:mysql://localhost:3306/test
    username: root
    password: 123456
  thymeleaf:
    prefix: classpath:/templates/
    suffix: .html
    mode: HTML
    encoding: UTF-8
    servlet:
      content-type: text/html
    cache: false
四、编写HTML转PDF的工具类
import com.lowagie.text.DocumentException;
import com.lowagie.text.pdf.BaseFont;
import org.xhtmlrenderer.pdf.ITextFontResolver;
import org.xhtmlrenderer.pdf.ITextRenderer;
import java.io.File;
import java.io.FileNotFoundException;
import java.io.FileOutputStream;
import java.io.IOException;

public class HtmlToPdf {

    public static void toPdf(String content, String path) throws DocumentException, FileNotFoundException {
        ITextRenderer renderer = new ITextRenderer();
        ITextFontResolver fontResolver = renderer.getFontResolver();
        try {
            //设置字体,否则不支持中文,在html中使用字体,html{ font-family: SimSun;}
            fontResolver.addFont("templates/SimSun.ttf", BaseFont.IDENTITY_H, BaseFont.NOT_EMBEDDED);
        } catch (IOException e) {
            e.printStackTrace();
        }
        renderer.setDocumentFromString(content);
        renderer.layout();
        renderer.createPDF(new FileOutputStream(new File(path)));
    }
}
五、编写html模板
<!DOCTYPE html>
<html xmlns:th="http://www.thymeleaf.org" xmlns:layout="http://www.w3.org/1999/xhtml" layout:decorator="layout">
<head lang="en">
    <title>Spring Boot Demo - PDF</title>
    <style>
        @page {
            size: 420mm 297mm; /*设置纸张大小:A4(210mm 297mm)、A3(297mm 420mm) 横向则反过来*/
            margin: 0.25in;
            padding: 1em;
            @bottom-center{
                content:"版权所有";
                font-family: SimSun;
                font-size: 12px;
                color:red;
            };
            @top-center { content: element(header) };
            @bottom-right{
                content:"第" counter(page) "页  共 " counter(pages) "页";
                font-family: SimSun;
                font-size: 12px;
                color:#000;
            };
        }
        body{font-family: 'SimSun'}
        td, th {
            font-style: normal;
            font-weight: normal;
            text-align: center;
        }

        tr {
            height: 40px;
        }

        .twoHead th {
            width: 6.25%;
            height: 40px;
            padding: 0 10px;
            font-size: 14px;
            font-weight: normal;
        }
        table {
            border: none;
            border-collapse: collapse;
            border-color: #D8DFE6;
        }
        table thead {
            background: #F3FDFF;
        }

    </style>
</head>
<!--这样配置不中文不会显示-->
<!--<body style="font-family: 宋体">-->
<body style="font-family: 'SimSun'">
<div class="table">
    <table border="1" cellspacing="0" cellpadding="10" width="100%">
        <thead>
        <tr class="twoHead">
            <th>ID</th>
            <th>名称</th>
            <th>年龄</th>
            <th>性别</th>
            <th>籍贯</th>
        </tr>
        </thead>
        <tbody>
        <tr th:each="demo : ${demoList}">
            <td th:text="${demo.id}"></td>
            <td th:text="${demo.name}"></td>
            <td th:text="${demo.age}"></td>
            <td th:text="${demo.sex}"></td>
            <td th:text="${demo.address}"></td>
        </tr>
        </tbody>
    </table>
</div>
</body>
</html>
六、编写实体类
import lombok.AllArgsConstructor;
import lombok.Data;
import lombok.NoArgsConstructor;

@Data
@AllArgsConstructor
@NoArgsConstructor
public class Student {

    private Integer id;

    private String name;

    private Integer age;

    private String sex;

    private String address;

}
七、编写实现方法
@Mapper
@Repository
public interface StudentDao extends BaseMapper<Student> {
}
public interface StudentService {
    List<Student> findAll();
}
@Service
public class StudentServiceImpl implements StudentService {

    @Autowired
    private StudentDao studentDao;

    @Override
    public List<Student> findAll() {
        return studentDao.selectList(null);
    }
}
八、编写测试接口
@Controller
@RequestMapping("/student")
public class StudentController {

    @Autowired
    private StudentService studentService;

    @Autowired
    private TemplateEngine templateEngine;

    @GetMapping("/index")
    public String index(HttpServletRequest request, HttpServletResponse response){
        WebContext context = new WebContext(request,response, request.getServletContext(),request.getLocale());
        List<Student> studentList = studentService.findAll();
        System.out.println(studentList);
        context.setVariable("demoList",studentList);
        try {
            String htmlContext = templateEngine.process("/pdfPage", context);
            HtmlToPdf.toPdf(htmlContext,"D:/student.pdf");
        } catch (Exception e) {
            e.printStackTrace();
        }
        request.setAttribute("time", new Date());
        return "/pdfPage";
    }

}
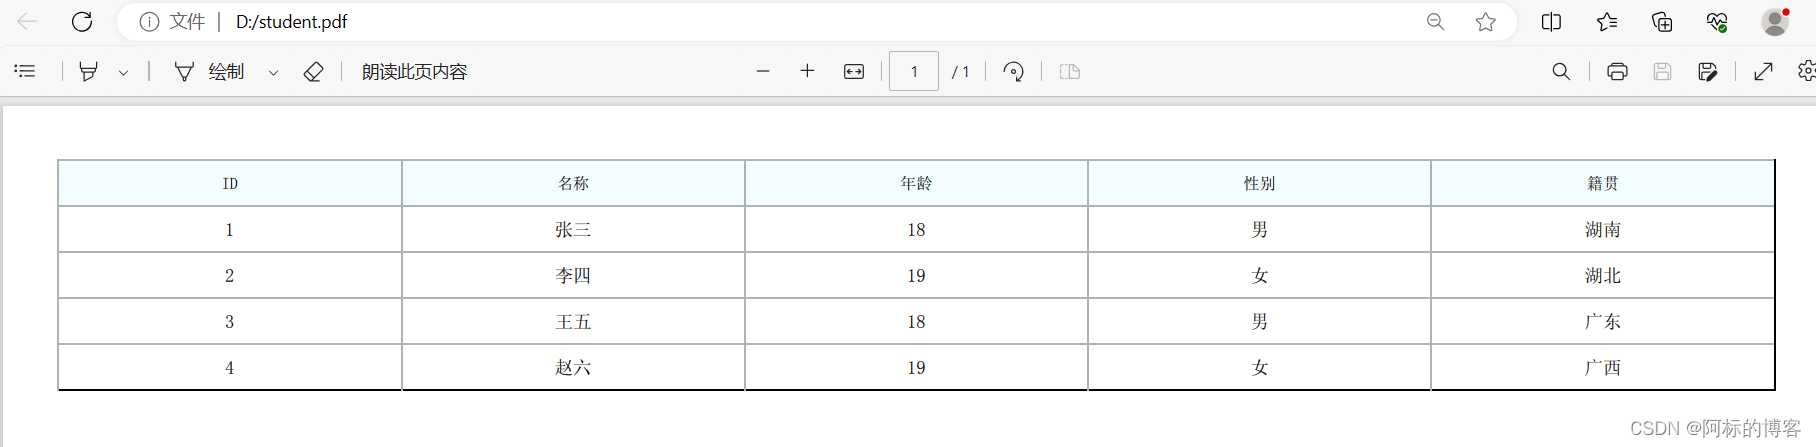
九、在浏览器访问接口生成pdf文件

生成的PDF文件:


 7690
7690


 被折叠的 条评论
为什么被折叠?
被折叠的 条评论
为什么被折叠?
 到【灌水乐园】发言


