


1、先安装插件 xlsx
npm install xlsx
2、代码
<template>
  <el-upload
    :show-file-list="false"
    accept=".xlsx"
    :auto-upload="false"
    :limit="1"
    :on-change="handleOnchange"
  >
    <el-button type="primary" style="margin-right: 10px;">导入</el-button>
  </el-upload>
</template>

<script lang="ts">
import { defineComponent, shallowRef } from "vue";
import type { UploadFile } from "element-plus";
import * as xlsx from "xlsx";

export default defineComponent({
  name: "importExcel",
  setup() {
    // 上传
    let ExcelList = shallowRef<any[]>([]);
    const handleOnchange = (uploadFile: UploadFile) => {

      let file = uploadFile.raw;  // 获取文件信息

      const fileReader = new FileReader(); //创建读取器
      fileReader.readAsBinaryString(file!); // 导入xlsx读取

      fileReader.onload = (ev) => { //读取完成
        const data = ev.target?.result; //获取内容

        const workbook = xlsx.read(data, { // 读取工作簿
            type: "binary", // 以字符编码的方式解析
        });

		const exlname = workbook.SheetNames[0]; // 取第一张表
		const d = workbook.Sheets[exlname];

		const exl = xlsx.utils.sheet_to_json(d).map((v: any) => {
            return {
              name: v.物料长代码,
              date: v.扫码信息,
            };
        });
        ExcelList.value = exl;
      };
    };

    return {
      handleOnchange,
    };
  },
});
</script>
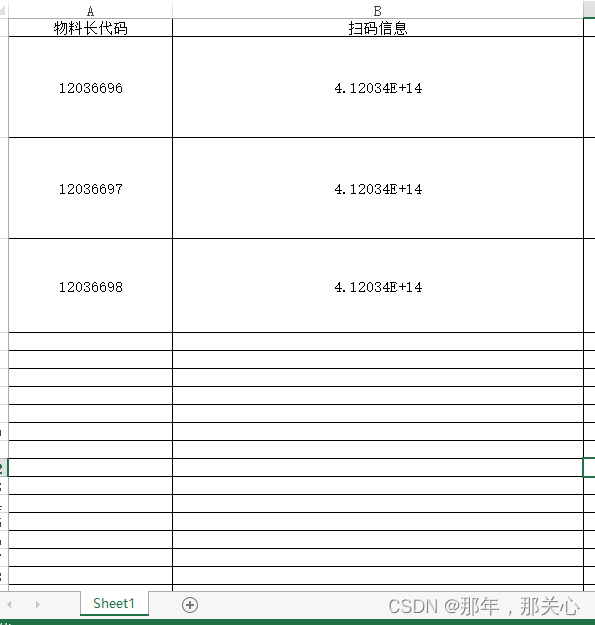
3、表格样式
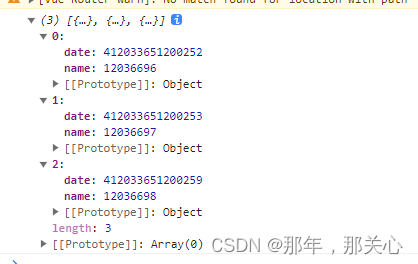
4、拿到的数据格式


 2953
2953


 被折叠的 条评论
为什么被折叠?
被折叠的 条评论
为什么被折叠?
 到【灌水乐园】发言


