


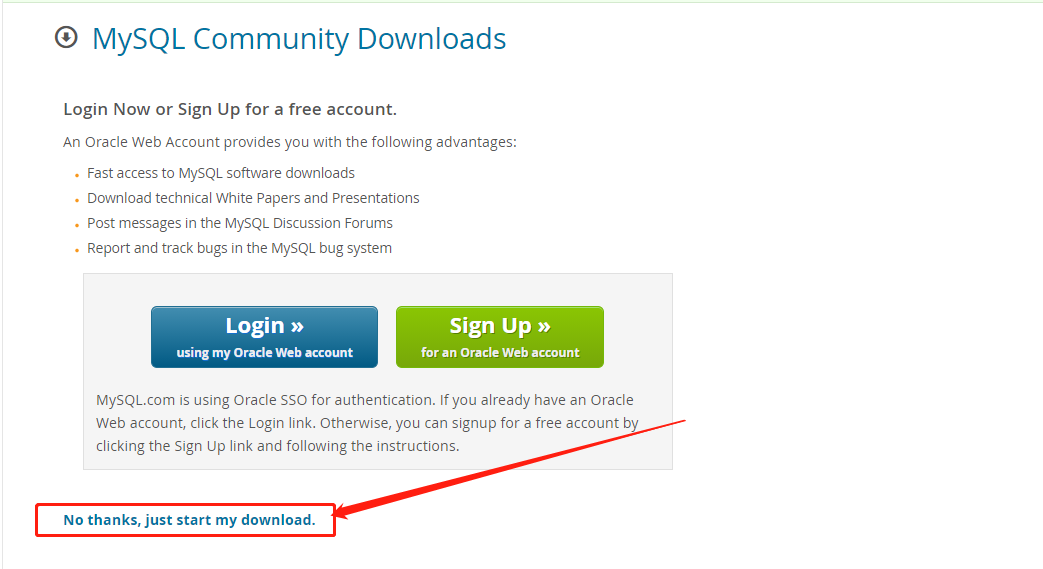
一、线上下载地址:https://dev.mysql.com/downloads/mysql/5.7.html#downloads
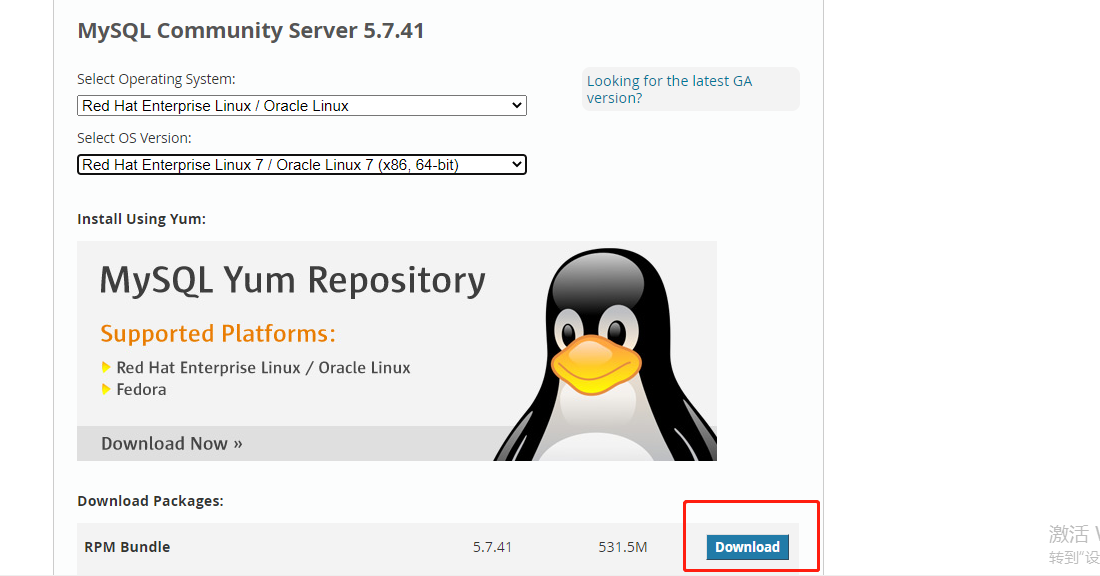
下载到本地后,登录 服务器节点,使用 XFtp 或 Finall 工具,从电脑本地上
15传 mysql-5.7.36-1.el7.x86_64.rpm-bundle.tar
二、 安装依赖
1 、查看 Linux 上是否已经安装了 MySQL,有则卸载
# 一般 Centos 7 默认安装了 mariadb,这里把它卸载。
[root@hadoop software]# rpm -qa |grep mysql
[root@hadoop software]# rpm -qa |grep postfix
[root@hadoop software]# rpm -qa |grep mariadb
# 卸载命令
rpm -e --nodeps [查找到的 rpm 包] # -e: 卸载 rpm 包, --nodeps:不验证软件包的依赖关系
2、安装 MySQL 5.7 所需要的依赖
[root@hadoop software]# yum -y install libaio
[root@hadoop software]# yum -y install net-tools
[root@hadoop software]# yum -y install perl
三、安装 MySQL
解压安装包
[root@hadoop software]# mkdir /opt/module/mysql-5.7
[root@hadoop software]# tar -xvf mysql-5.7.36-1.el7.x86_64.rpm-bundle.tar -C
/opt/module/mysql-5.7/
安装 MySQL 包(按以下顺序安装)
[root@hadoop mysql-5.7]# rpm -ivh mysql-community-common-5.7.36-
1.el7.x86_64.rpm
[root@hadoop mysql-5.7]# rpm -ivh mysql-community-libs-5.7.36-1.el7.x86_64.rpm
[root@hadoop mysql-5.7]# rpm -ivh mysql-community-client-5.7.36-1.el7.x86_64.rpm
[root@hadoop mysql-5.7]# rpm -ivh mysql-community-server-5.7.36-1.el7.x86_64.rpm
四、启动 MySQL 服务
# 查看 mysql 启动状态
[root@hadoop mysql-5.7]# systemctl status mysqld
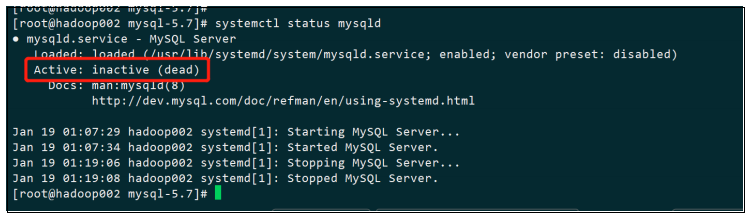
出现这个 dead 就是没有启动,新装的第一次是没有启动的。
启动 MySQL 服务,执行启动命令:
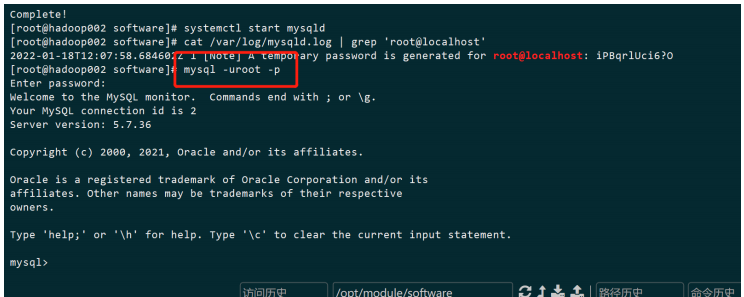
[root@hadoop mysql-5.7]# systemctl start mysqld
[root@hadoop mysql-5.7]# systemctl status mysqld
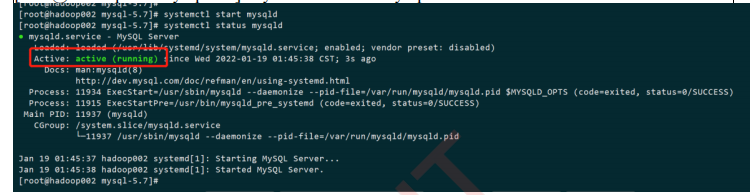
出现上图所示内容,active(running) 则表示启动成功
五、设置开机启动
[root@hadoop software]# systemctl enable mysqld
[root@hadoop software]# systemctl daemon-reload
六、修改 root 登录密码
MySQL 安装完成之后,会在/var/log/mysqld.log 文件中给 root 生成了一个临时的默认密
码,查看方式:
[root@hadoop software]# cat /var/log/mysqld.log | grep 'root@localhost'

[root@hadoop software]# mysql -uroot -p
修改 root 密码
# 修改 root 账户密码为 root,可自定义
mysql> ALTER USER 'root'@'localhost' IDENTIFIED BY 'root1234';
# 设置远程登录
mysql> GRANT ALL PRIVILEGES ON *.* TO 'root'@'%' IDENTIFIED BY 'root1234'
WITH GRANT OPTION;
注意:当执行以上语句出现如下错误时,先执行如下命令成功后在进行 root 密码修改。
ERROR 1819 (HY000): Your password does not satisfy the current policy requirements
# 调整密码的验证强度等级,进行如下操作,如果以上步骤成功则跳过下面步骤
mysql> set global validate_password_policy=LOW;
Query OK, 0 rows affected (0.00 sec)
# 设置 6 位密码长度策略
mysql> set global validate_password_length=6;
Query OK, 0 rows affected (0.00 sec)

七、退出 MySQL
mysql> exit;

八、 防火墙开放 3306 端口
[root@hadoop software]# cd /etc/sysconfig/
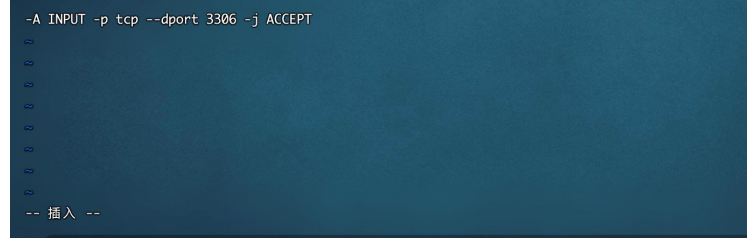
[root@hadoop software]# vim iptables
#添加代码如下
-A INPUT -p tcp --dport 3306 -j ACCEPT
九、配置 mysql 默认编码为 utf-8
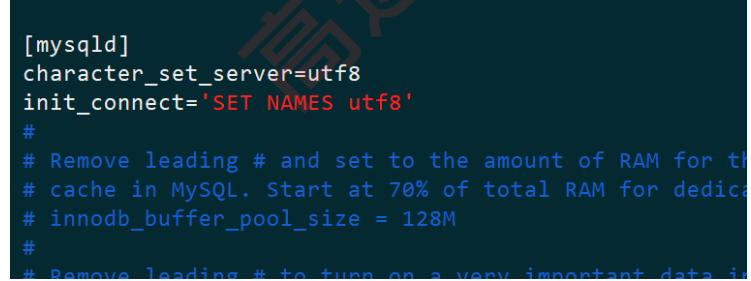
[root@hadoop software]# vim /etc/my.cnf
# 添加如下代码:
character_set_server=utf8
init_connect='SET NAMES utf8'
:wq 保存退出
十、重启 MySQL
[root@hadoop software]# systemctl restart mysqld

十一、root 用户登录查看编码
mysql> show variables like '%character%';

已上,MySQL 服务安装完成。


 9610
9610


 被折叠的 条评论
为什么被折叠?
被折叠的 条评论
为什么被折叠?
 到【灌水乐园】发言


