


4.k8s的附加组件
4.1 dns服务
安装dns服务
1:下载dns_docker镜像包
wget http://192.168.12.201/docker_image/docker_k8s_dns.tar.gz
2:导入dns_docker镜像包(所有节点或者node2节点)
3:修改skydns-rc.yaml,指定13的机器,该功能可加可不加
spec:
  nodeSelector:
    kubernetes.io/hostname: 192.168.111.13
  containers:
上传文件skydns-rc.yaml
# Copyright 2016 The Kubernetes Authors.
#
# Licensed under the Apache License, Version 2.0 (the "License");
# you may not use this file except in compliance with the License.
# You may obtain a copy of the License at
#
#     http://www.apache.org/licenses/LICENSE-2.0
#
# Unless required by applicable law or agreed to in writing, software
# distributed under the License is distributed on an "AS IS" BASIS,
# WITHOUT WARRANTIES OR CONDITIONS OF ANY KIND, either express or implied.
# See the License for the specific language governing permissions and
# limitations under the License.

# TODO - At some point, we need to rename all skydns-*.yaml.* files to kubedns-*.yaml.*
# Should keep target in cluster/addons/dns-horizontal-autoscaler/dns-horizontal-autoscaler.yaml
# in sync with this file.

# __MACHINE_GENERATED_WARNING__

apiVersion: extensions/v1beta1
kind: Deployment
metadata:
  name: kube-dns
  namespace: kube-system
  labels:
    k8s-app: kube-dns
    kubernetes.io/cluster-service: "true"
spec:
  replicas: 1
  # replicas: not specified here:
  # 1. In order to make Addon Manager do not reconcile this replicas parameter.
  # 2. Default is 1.
  # 3. Will be tuned in real time if DNS horizontal auto-scaling is turned on.
  strategy:
    rollingUpdate:
      maxSurge: 10%
      maxUnavailable: 0
  selector:
    matchLabels:
      k8s-app: kube-dns
  template:
    metadata:
      labels:
        k8s-app: kube-dns
      annotations:
        scheduler.alpha.kubernetes.io/critical-pod: ''
        scheduler.alpha.kubernetes.io/tolerations: '[{"key":"CriticalAddonsOnly", "operator":"Exists"}]'
    spec:
      containers:
      - name: kubedns    #接收k8s
        image: gcr.io/google_containers/kubedns-amd64:1.9
        resources:
          # TODO: Set memory limits when we've profiled the container for large
          # clusters, then set request = limit to keep this container in
          # guaranteed class. Currently, this container falls into the
          # "burstable" category so the kubelet doesn't backoff from restarting it.
          limits:
            memory: 170Mi
          requests:
            cpu: 100m
            memory: 70Mi
        livenessProbe:
          httpGet:
            path: /healthz-kubedns
            port: 8080
            scheme: HTTP
          initialDelaySeconds: 60
          timeoutSeconds: 5
          successThreshold: 1
          failureThreshold: 5
        readinessProbe:
          httpGet:
            path: /readiness
            port: 8081
            scheme: HTTP
          # we poll on pod startup for the Kubernetes master service and
          # only setup the /readiness HTTP server once that's available.
          initialDelaySeconds: 3
          timeoutSeconds: 5
        args:
        - --domain=cluster.local.
        - --dns-port=10053
        - --config-map=kube-dns
        - --kube-master-url=http://92.168.111.11:8080
        # This should be set to v=2 only after the new image (cut from 1.5) has
        # been released, otherwise we will flood the logs.
        - --v=0
        #__PILLAR__FEDERATIONS__DOMAIN__MAP__
        env:
        - name: PROMETHEUS_PORT
          value: "10055"
        ports:
        - containerPort: 10053
          name: dns-local
          protocol: UDP
        - containerPort: 10053
          name: dns-tcp-local
          protocol: TCP
        - containerPort: 10055
          name: metrics
          protocol: TCP
      - name: dnsmasq    #dns服务:dhcp,dns
        image: gcr.io/google_containers/kube-dnsmasq-amd64:1.4
        livenessProbe:
          httpGet:
            path: /healthz-dnsmasq
            port: 8080
            scheme: HTTP
          initialDelaySeconds: 60
          timeoutSeconds: 5
          successThreshold: 1
          failureThreshold: 5
        args:
        - --cache-size=1000
        - --no-resolv
        - --server=127.0.0.1#10053
        #- --log-facility=-
        ports:
        - containerPort: 53
          name: dns
          protocol: UDP
        - containerPort: 53
          name: dns-tcp
          protocol: TCP
        # see: https://github.com/kubernetes/kubernetes/issues/29055 for details
        resources:
          requests:
            cpu: 150m
            memory: 10Mi
      - name: dnsmasq-metrics    #配合prometheus做监控
        image: gcr.io/google_containers/dnsmasq-metrics-amd64:1.0
        livenessProbe:
          httpGet:
            path: /metrics
            port: 10054
            scheme: HTTP
          initialDelaySeconds: 60
          timeoutSeconds: 5
          successThreshold: 1
          failureThreshold: 5
        args:
        - --v=2
        - --logtostderr
        ports:
        - containerPort: 10054
          name: metrics
          protocol: TCP
        resources:
          requests:
            memory: 10Mi
      - name: healthz        #自动服务的健康检查
        image: gcr.io/google_containers/exechealthz-amd64:1.2
        resources:
          limits:
            memory: 50Mi
          requests:
            cpu: 10m
            # Note that this container shouldn't really need 50Mi of memory. The
            # limits are set higher than expected pending investigation on #29688.
            # The extra memory was stolen from the kubedns container to keep the
            # net memory requested by the pod constant.
            memory: 50Mi
        args:
        - --cmd=nslookup kubernetes.default.svc.cluster.local 127.0.0.1 >/dev/null
        - --url=/healthz-dnsmasq
        - --cmd=nslookup kubernetes.default.svc.cluster.local 127.0.0.1:10053 >/dev/null
        - --url=/healthz-kubedns
        - --port=8080
        - --quiet
        ports:
        - containerPort: 8080
          protocol: TCP
      dnsPolicy: Default  # Don't use cluster DNS.
上传skydns-svc.yaml文件
# Copyright 2016 The Kubernetes Authors.
#
# Licensed under the Apache License, Version 2.0 (the "License");
# you may not use this file except in compliance with the License.
# You may obtain a copy of the License at
#
#     http://www.apache.org/licenses/LICENSE-2.0
#
# Unless required by applicable law or agreed to in writing, software
# distributed under the License is distributed on an "AS IS" BASIS,
# WITHOUT WARRANTIES OR CONDITIONS OF ANY KIND, either express or implied.
# See the License for the specific language governing permissions and
# limitations under the License.

# TODO - At some point, we need to rename all skydns-*.yaml.* files to kubedns-*.yaml.*

# Warning: This is a file generated from the base underscore template file: skydns-svc.yaml.base

apiVersion: v1
kind: Service
metadata:
  name: kube-dns
  namespace: kube-system
  labels:
    k8s-app: kube-dns
    kubernetes.io/cluster-service: "true"
    kubernetes.io/name: "KubeDNS"
spec:
  selector:
    k8s-app: kube-dns
  clusterIP: 10.254.230.254
  ports:
  - name: dns
    port: 53
    protocol: UDP
  - name: dns-tcp
    port: 53
    protocol: TCP
4:创建dns服务
kubectl create -f skydns-rc.yaml
5:检查
kubectl get all --namespace=kube-system
6:修改所有node节点kubelet的配置文件
vim  /etc/kubernetes/kubelet
KUBELET_ARGS="--cluster_dns=10.254.230.254 --cluster_domain=cluster.local"
systemctl   restart kubelet
7:测试之前启动的tomcat-rc.yaml修改为mysql,重新创建该配置文件
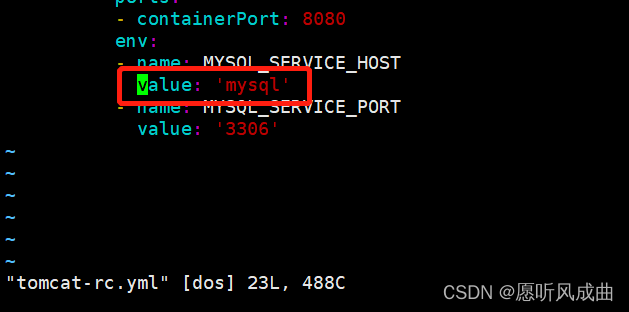
在浏览器上重新访问tomcat服务和连接数据库,均正常。
4.2 namespace命令空间
namespace做资源隔离,就是被隔离的资源都是有属于自己的环境
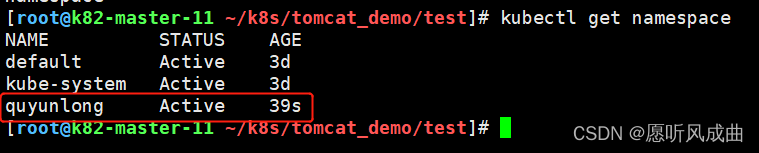
创建资源隔离
kubectl create namespace quyunlong
查看资源隔离
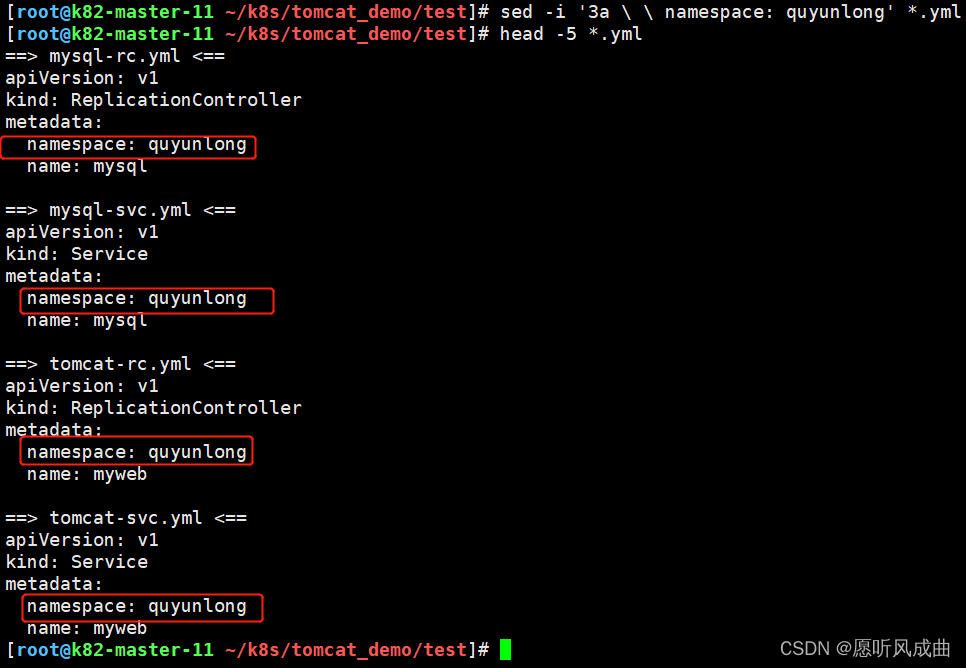
将yml文件添加namespace
修改tomcat映射端口,防止冲突
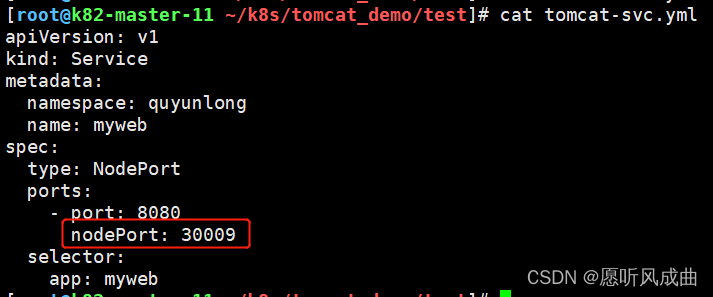
创建yml文件,查看状态,映射端口30009
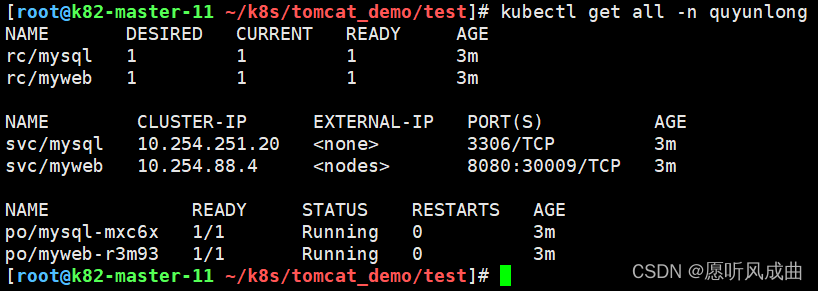
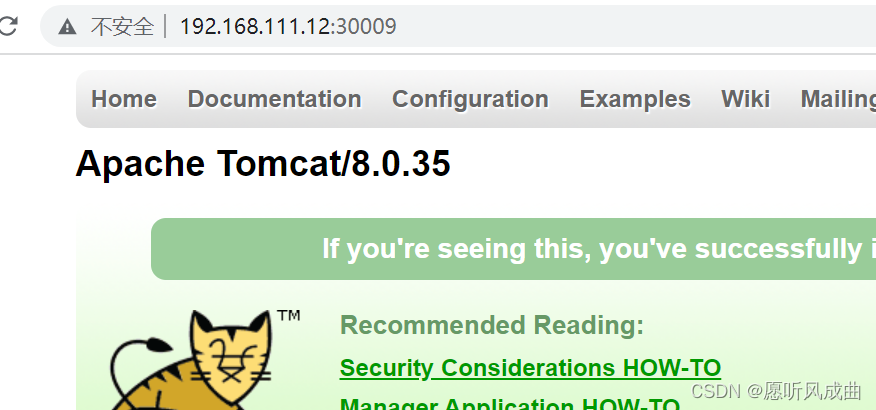
访问tomcat正常
4.3 健康检查
4.3.1 探针的种类
livenessProbe:健康状态检查,周期性检查服务是否存活,检查结果失败,将重启容器
readinessProbe:可用性检查,周期性检查服务是否可用,不可用将从service的endpoints中移除
4.3.2 探针的检测方法
- exec:执行一段命令,看返回值,例如执行命令echo $?
- httpGet:检测某个 http 请求的返回状态码,例如正常2XX,不正常4XX、5XX等
- tcpSocket:测试某个端口是否能够连接,例如telnet探测端口是否通
4.3.3 liveness探针的exec使用
vi  nginx_pod_exec.yaml
apiVersion: v1
kind: Pod
metadata:
  name: exec
spec:
  containers:
    - name: nginx
      image: 192.168.111.11:5000/nginx:1.13
      ports:
        - containerPort: 80
      args:
        - /bin/sh
        - -c
        - touch /tmp/healthy; sleep 30; rm -rf /tmp/healthy; sleep 600
      livenessProbe:
        exec:    #执行命令看结果
          command:
            - cat
            - /tmp/healthy
        initialDelaySeconds: 5    #初始5秒钟健康检查
        periodSeconds: 5           #周期性间隔时间5秒钟健康检查
测试方式:根据上面的脚本创建一个/tmp/healthy文件,执行的命令cat查看该路径的文件,30秒后删除该文件,就无法cat查看该文件;则重启该容器;
4.3.4 liveness探针的httpGet使用
vi   nginx_pod_httpGet.yaml
apiVersion: v1
kind: Pod
metadata:
  name: httpget
spec:
  containers:
    - name: nginx
      image: 192.168.111.11:5000/nginx:1.13
      ports:
        - containerPort: 80
      livenessProbe:
        httpGet:
          path: /index.html
          port: 80
        initialDelaySeconds: 3
        periodSeconds: 3
测试方式:上面yml文件就直接get请求/index.html文件,进入容器中删除或者创建该文件,则容器能够get到该文件就会重启该容器
4.3.5 liveness探针的tcpSocket使用
vi   nginx_pod_tcpSocket.yaml
apiVersion: v1
kind: Pod
metadata:
  name: tcpSocket
spec:
  containers:
    - name: nginx
      image: 192.168.111.11:5000/nginx:1.13
      ports:
        - containerPort: 80
      livenessProbe:
        tcpSocket:
          port: 80
        initialDelaySeconds: 3
        periodSeconds: 3
测试方法:创建yml文件,会探测80端口,如果80端口正常,则容器正常;进入容器中将该ng配置文件的80端口修改任意非80端口,则容器就会重启;
4.3.6 readiness探针的httpGet使用
vi   nginx-rc-httpGet.yaml
aapiVersion: v1
kind: ReplicationController
metadata:
  name: readiness
spec:
  replicas: 2
  selector:
    app: readiness
  template:
    metadata:
      labels:
        app: readiness
    spec:
      containers:
      - name: readiness
        image: 192.168.111.11:5000/nginx:1.13
        ports:
        - containerPort: 80
        readinessProbe:
          httpGet:
            path: /quyunlong.html
            port: 80
          initialDelaySeconds: 3
          periodSeconds: 3
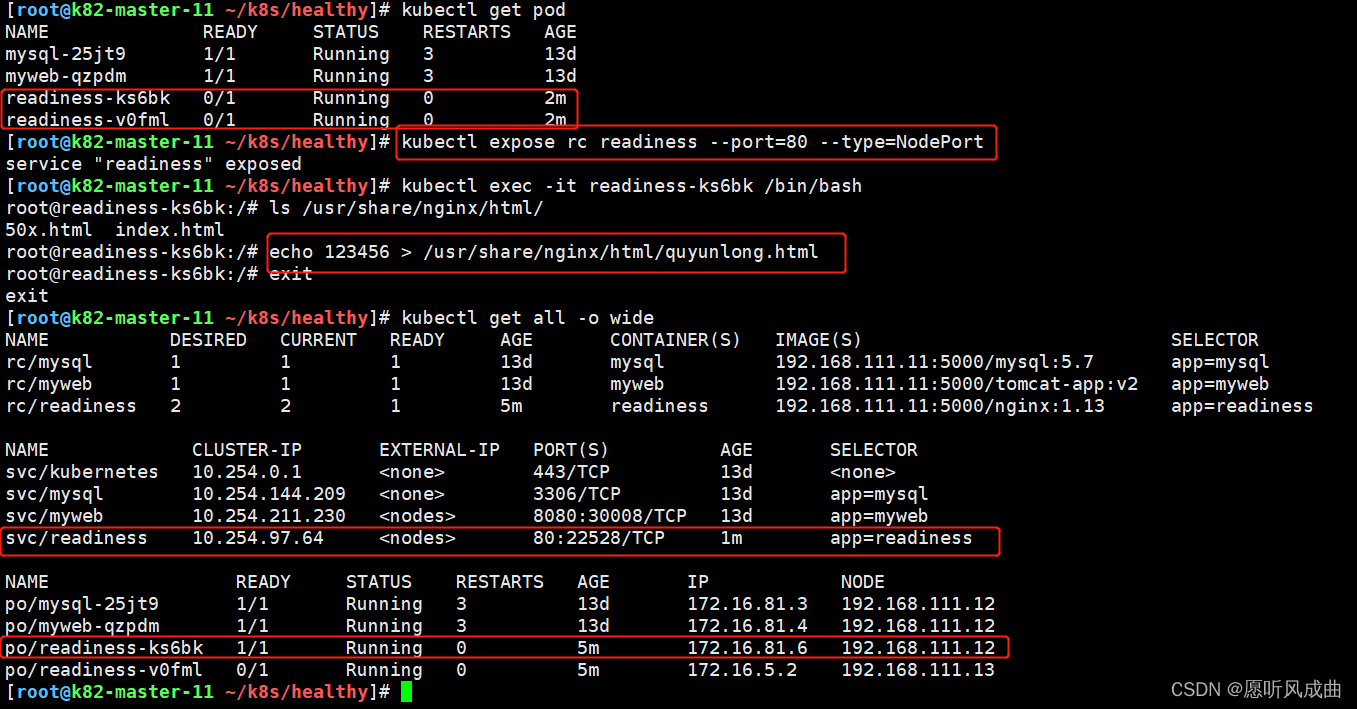
测试方法:
1.手动创建svc端口映射
kubectl expose rc readiness --post=80 --type=NodePort
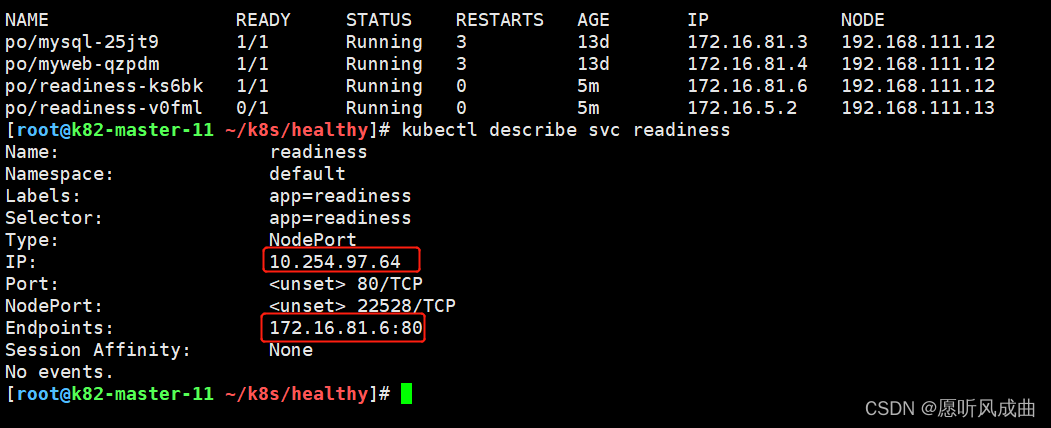
2.创建该yml文件,系统默认不会存在quyunlong.html文件。所以该pod不会加入到svc中,容器也是掉线状态。进入容器中创建quyunlong.html则该pod会加入到svc中,并且容器时健康的状态;
pod与svc对应的端口映射与地址
4.4 dashboard服务
1:上传并导入镜像,打标签
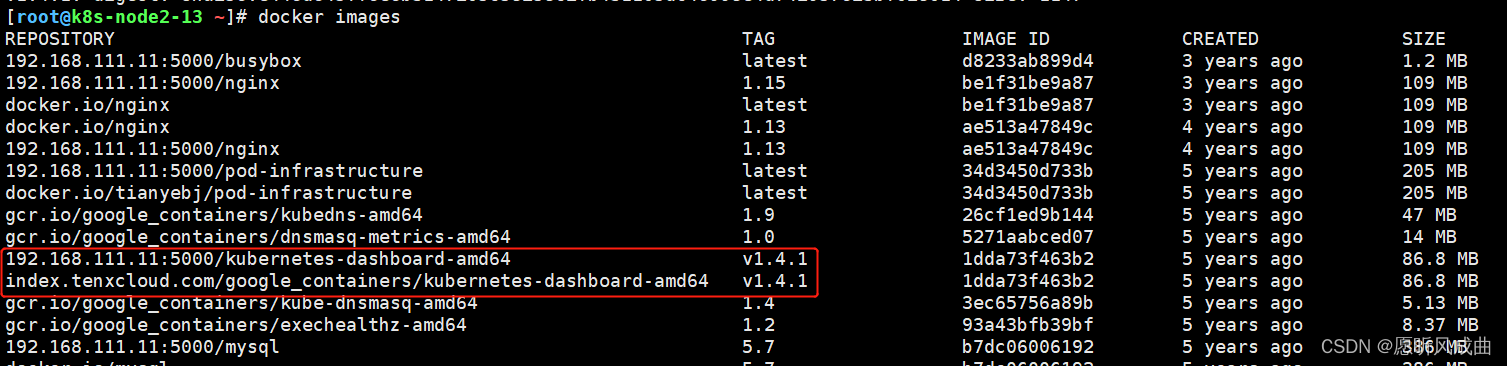
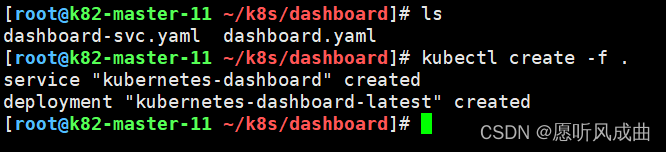
2:上传两个yaml文件,创建dashborad的deployment和service;注意修改yml文件的镜像地址
3:访问http://192.168.111.11:8080/ui/
4.5 通过apiservicer反向代理访问service
第一种:NodePort类型,这种类型直接使用nodeIP和port访问即可
type: NodePort
  ports:
    - port: 80
      targetPort: 80
      nodePort: 30008
第二种:ClusterIP类型,这种类型就是通过apiserver反向代理方式访问服务
 type: ClusterIP
  ports:
    - port: 80
      targetPort: 80
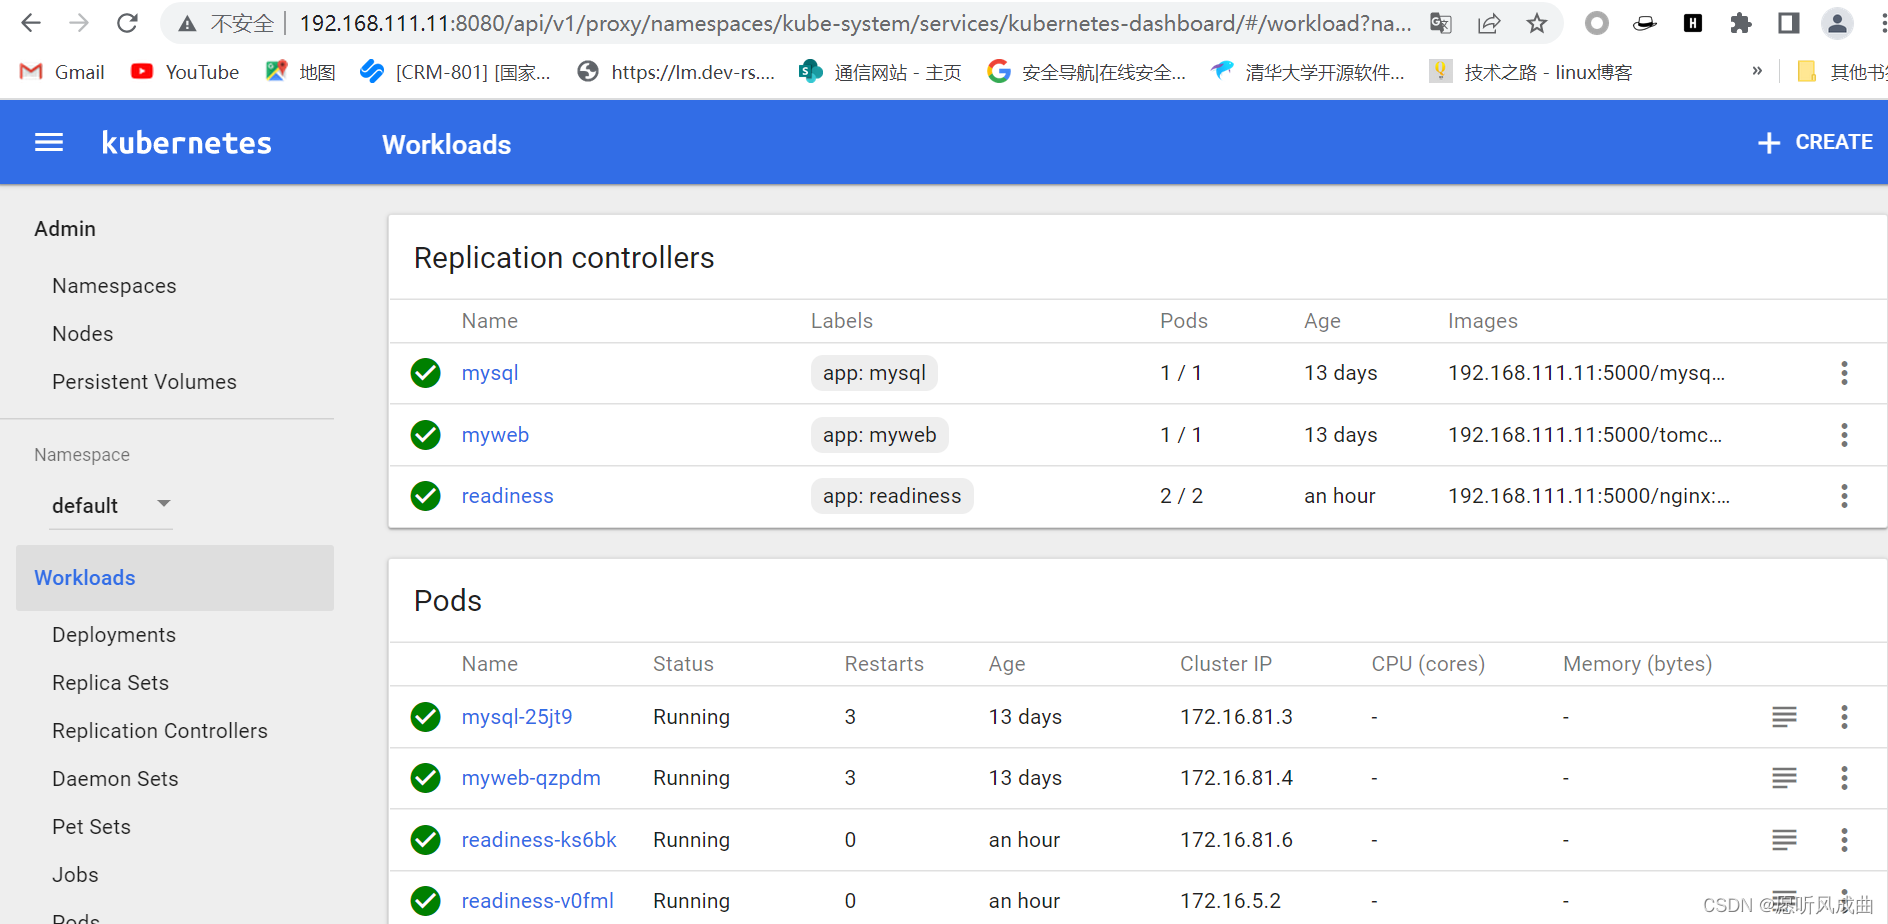
通过上面访问dashboard服务就是通过apiserver方式,也就是类型为:tyep:ClusterIP
http://192.168.111.11:8080/api/v1/proxy/namespaces/kube-system/services/kubernetes-dashboard/
http://192.168.111.11:8080/api/v1,表示apiserver的地址
proxy:表示代理的方式访问
namespaces=kube-system,表示选择哪个命名空间;
services=kubernetes-dashboard,表示svc的名字
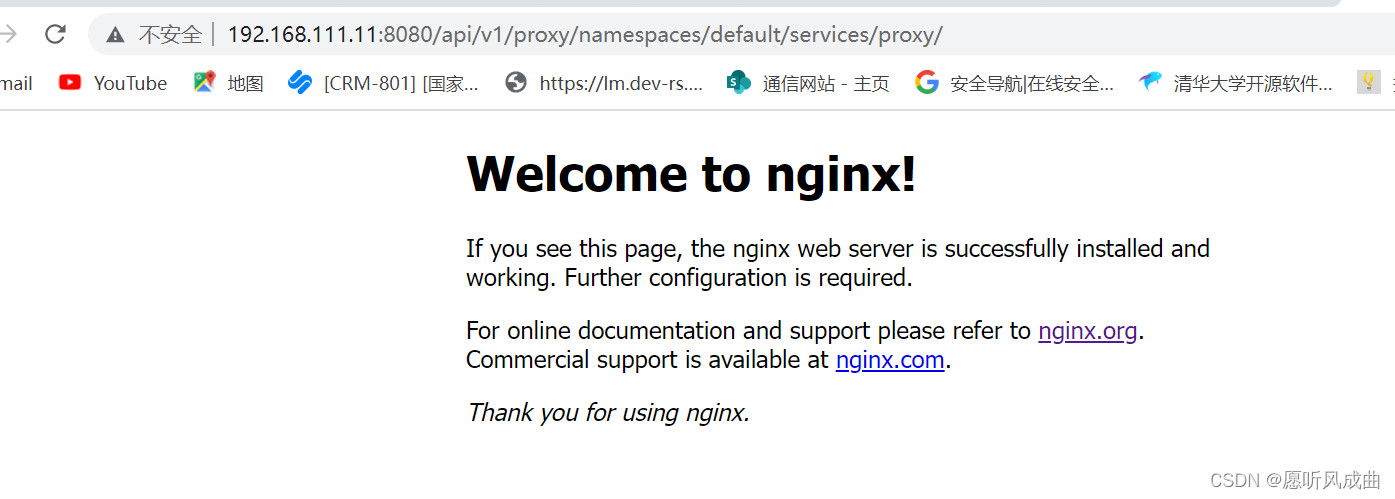
测试验证,创建一个的rc和svc;类型为ClusterIP
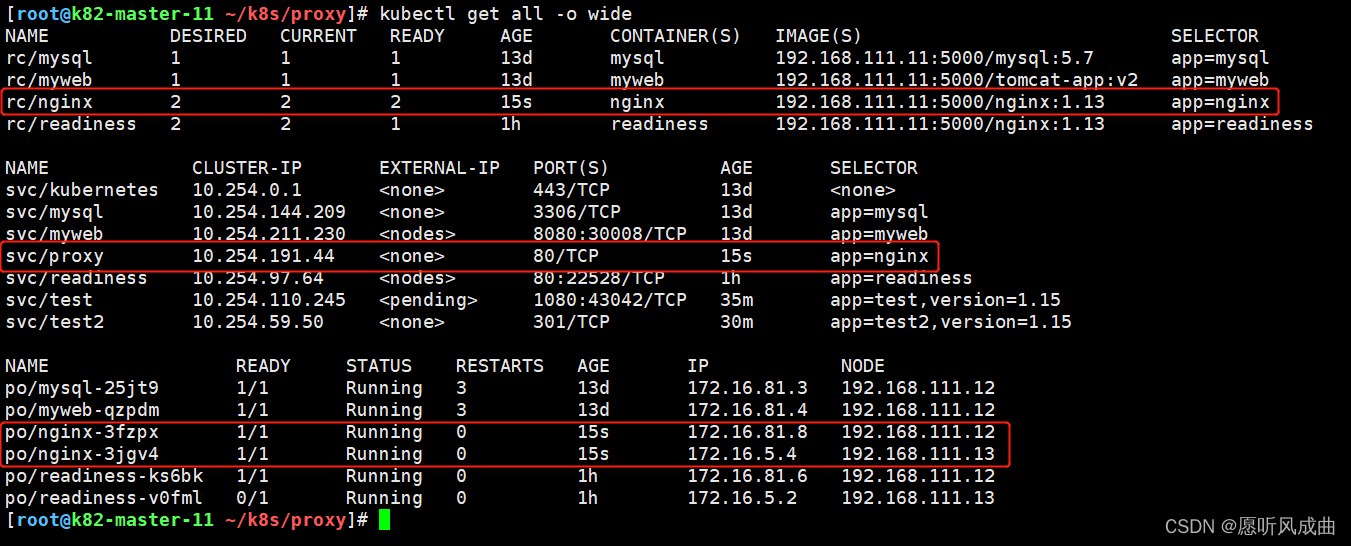
根据apiserver代理方式链接的格式进行拼接访问ng服务
http://192.168.111.11:8080/api/v1,表示apiserver的地址
proxy:表示代理的方式访问
namespaces=default,表示选择哪个命名空间;
services=proxy,表示svc的名字
#拼接之后的NG服务链接
http://192.168.111.11:8080/api/v1/proxy/namespaces/default/services/proxy/
访问链接成功出现NG界面


 305
305


 被折叠的 条评论
为什么被折叠?
被折叠的 条评论
为什么被折叠?
 到【灌水乐园】发言


