


目录
使用系统:ubuntu 20.04.3
harbor依赖于docker、docker-compose,因此下面先安装这两个项目
一、安装docker、docker-compose
可以进入清华大学镜像源看下安装步骤
https://mirrors.tuna.tsinghua.edu.cn/help/docker-ce/

1、首先安装依赖
sudo apt-get install apt-transport-https ca-certificates curl gnupg2 software-properties-common2、 信任 Docker 的 GPG 公钥:
curl -fsSL https://download.docker.com/linux/ubuntu/gpg | sudo gpg --dearmor -o /etc/apt/keyrings/docker.gpg3、 添加软件仓库
echo \
  "deb [arch=$(dpkg --print-architecture) signed-by=/etc/apt/keyrings/docker.gpg] https://mirrors.tuna.tsinghua.edu.cn/docker-ce/linux/ubuntu \
  $(lsb_release -cs) stable" | sudo tee /etc/apt/sources.list.d/docker.list > /dev/null
4、最后安装
sudo apt-get update
sudo apt-get install docker-ce
5、安装docker-compose
1、下载docker-compose二进制程序包
root@harbor:/apps# wget https://github.com/docker/compose/releases/download/v2.3.4/docker-compose-linux-x86_64

2、将docker-compose二进制文件赋予执行权限
root@harbor:/apps# chmod  a+x docker-compose-linux-x86_64

3、把文件移至系统全局环境变量/usr/bin中,并重命名为docker-compose
root@harbor:/apps# mv docker-compose-linux-x86_64 /usr/bin/docker-compose

4、查看docker-compose版本
root@harbor:/apps# docker-compose version
Docker Compose version v2.3.4
二、下载安装harbor
Releases · goharbor/harbor · GitHub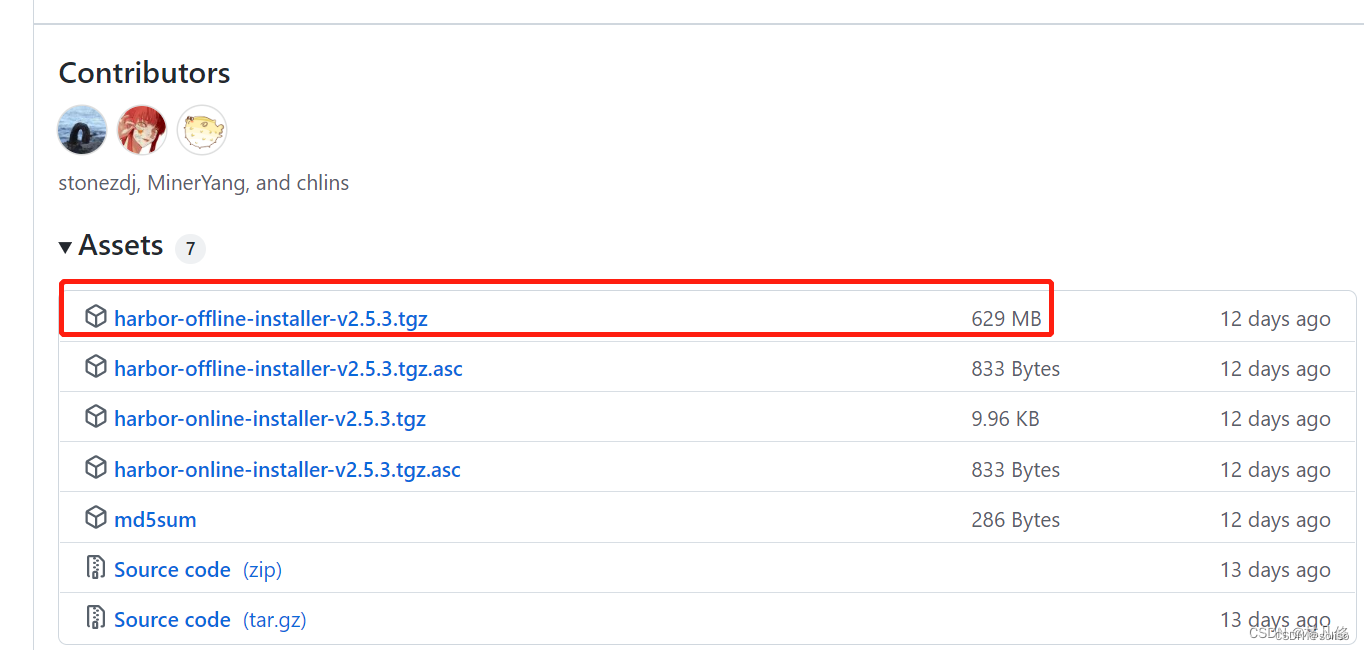
root@harbor:/apps# wget https://github.com/goharbor/harbor/releases/download/v2.5.3/harbor-offline-installer-v2.5.3.tgz
解压harbor
root@harbor:/apps# tar xvf harbor-offline-installer-v2.5.3.tgz
harbor/harbor.v2.5.3.tar.gz
harbor/prepare
harbor/LICENSE
harbor/install.sh
harbor/common.sh
harbor/harbor.yml.tmpl

root@harbor:/apps# ls
harbor  harbor-offline-installer-v2.5.3.tgz

root@harbor:/apps# cd harbor/
root@harbor:/apps/harbor# ls
certs  common  common.sh  docker-compose.yml  harbor.v2.5.3.tar.gz  harbor.yml.tmpl  install.sh  LICENSE  prepare


root@harbor:/apps/harbor# cp harbor.yml.tmpl harbor.yml

docker-compose.yml是默认的配置文件,将它作为cp一份作为配置文件
修改配置文件:其中需要添加公钥私钥,我在修改配置文件之前先完成密钥的签发
修改如下五项参数
hostname: harbor的名称可以使用IP或域名,推荐域名可以实现https
certificate: 添加公钥,需要按照官方方式进行签发证书
private_key: 添加私钥
data_volume: 定义存储
harbor_admin_password: 修改harbor登录密码
三、签发证书
签发证书
可进入harbor官网浏览
https://goharbor.io/docs/2.4.0/install-config/configure-https/
1、自签名CA机构1、创建certs目录存放证书文件 root@harbor:/apps/harbor# mkdir /apps/harbor/certs root@harbor:/apps/harbor# cd certs/ 2、创建CA私钥 root@harbor:/apps/harbor/certs# openssl genrsa -out ca.key 4096 Generating RSA private key, 4096 bit long modulus (2 primes) ................................................++++ ..............................++++ e is 65537 (0x010001) 3、自签发CA crt证书 root@harbor:/apps/harbor/certs# openssl req -x509 -new -nodes -sha512 -days 3650 \ > -subj "/C=CN/ST=Beijing/L=Beijing/O=example/OU=Personal/CN=magedu.com" \ > -key ca.key \ > -out ca.crt root@harbor:/apps/harbor/certs# ll total 16 drwxr-xr-x 2 root root 4096 Nov 7 11:52 ./ drwxr-xr-x 3 root root 4096 Nov 7 11:47 ../ -rw-r--r-- 1 root root 2041 Nov 7 11:52 ca.crt -rw------- 1 root root 3247 Nov 7 11:48 ca.key 这样就签发好了一对密钥了,就可以用它们来给harbor来颁发证书了 #参数说明: ## C,Country,代表国家 ## ST,STate,代表省份 ## L,Location,代表城市 ## O,Organization,代表组织,公司 ## OU,Organization Unit,代表部门 ## CN,Common Name,代表服务器域名 ## emailAddress,代表联系人邮箱地址。2、客户端私钥证书生成
root@harbor:/apps/harbor/certs# openssl genrsa -out magedu.net.key 4096
Generating RSA private key, 4096 bit long modulus (2 primes)
.....................................++++
.........................................++++
e is 65537 (0x010001)
root@harbor:/apps/harbor/certs# ls
ca.crt  ca.key  magedu.net.key

申请的这个magedu.net.key是给harbor用的magedu.net是harbor的域名


生成一个csr文件,但是这个文件暂时还不能使用
root@harbor:/apps/harbor/certs# openssl req -sha512 -new \
>             -subj "/C=CN/ST=Beijing/L=Beijing/O=example/OU=Personal/CN=magedu.net" \
>             -key magedu.net.key \
>             -out magedu.net.csr
3、准备签发环境
签发SAN文件
生成一个ext文本文件,内容就是签发信息,把这些证书签发给哪些目标的域名
所以harbor的域名必须选择下面的三个域名,签发的证书只对下面三个域名有效

root@harbor:/apps/harbor/certs# cat > v3.ext <<-EOF
>             authorityKeyIdentifier=keyid,issuer
>             basicConstraints=CA:FALSE
>             keyUsage = digitalSignature, nonRepudiation, keyEncipherment, dataEncipherment
>             extendedKeyUsage = serverAuth
>             subjectAltName = @alt_names
>             [alt_names]
>             DNS.1=magedu.com
>             DNS.2=harbor.magedu.net
>             DNS.3=harbor.magedu.local
> EOF

root@harbor:/apps/harbor/certs# ls
ca.crt  ca.key  magedu.net.key  v3.ext
4、使用自签名CA签发证书
root@harbor:/apps/harbor/certs# openssl x509 -req -sha512 -days 3650 \
>             -extfile v3.ext \
>             -CA ca.crt -CAkey ca.key -CAcreateserial \
>             -in magedu.net.csr \
>             -out magedu.net.crt
Signature ok
subject=C = CN, ST = Beijing, L = Beijing, O = example, OU = Personal, CN = magedu.net
Getting CA Private Key

-CA ca.crt -CAkey ca.key表示CA直接签发,指定magedu.net.csr这个文件,
签发完后是magedu.net.crt文件;并会加载v3.ext这个文件,v3.ext文件的
信息会被签发到magedu.net.crt文件信息证书里

我们harbor用的就是这个magedu.net.crt和magedu.net.key文件
四、修改配置文件
修改如下五项参数
hostname: harbor的名称可以使用IP或域名,推荐域名可以实现https
certificate: 添加公钥,需要按照官方方式进行签发证书
private_key: 添加私钥
data_volume: 定义存储路径(建议一个单独分区作为存储路径)
harbor_admin_password: 修改harbor登录密码
修改域名、添加公私钥,剩下两个参数根据自己需求配置即可

五、运行harbor
root@harbor:/apps/harbor# ./install.sh --with-trivy  --with-chartmuseum  --with-trivy


[Step 5]: starting Harbor ...
[+] Running 13/13
 ⠿ Network harbor_harbor              Created                                                                                            0.1s
 ⠿ Network harbor_harbor-chartmuseum  Created                                                                                            0.1s
 ⠿ Container harbor-log               Started                                                                                            1.0s
 ⠿ Container registryctl              Started                                                                                            3.5s
 ⠿ Container harbor-portal            Started                                                                                            3.6s
 ⠿ Container registry                 Started                                                                                            3.3s
 ⠿ Container chartmuseum              Started                                                                                            2.7s
 ⠿ Container redis                    Started                                                                                            3.7s
 ⠿ Container harbor-db                Started                                                                                            2.8s
 ⠿ Container harbor-core              Started                                                                                            4.7s
 ⠿ Container trivy-adapter            Started                                                                                            4.9s
 ⠿ Container harbor-jobservice        Started                                                                                            5.8s
 ⠿ Container nginx                    Started                                                                                            5.9s
✔ ----Harbor has been installed and started successfully.----
安装成功,登录查看
六、客户端测试:
使用客户端与harbor服务器端进行镜像传输测试
harbor服务端  172.31.7.104
客户端        172.31.7.110
配置两个主机域名解析:
客户端要使用tls与harbor服务端通信、使用的是自签证书,那么必须建立一个目录
/etc/docker/certs.d/xxx 最后的一级子目录名必须是harbor服务器的域名
这里harbor的域名是harbor.magedu.com
1、客户端创建证书目录
root@k8s-deploy:~# mkdir /etc/docker/certs.d/harbor.magedu.net -p2、harbor服务器端把公钥证书拷贝到客户端
root@harbor:~# scp /apps/harbor/certs/magedu.net.crt k8s-deploy:/etc/docker/certs.d/harbor.magedu.net3、客户端登录harbor服务端,如果证书不生效则无法登录成功

4、登录harbor后,在客户端的/root/.docker/config.json文件中有harbord的账号信息
root@k8s-deploy:~# cat /root/.docker/config.json
{
        "auths": {
                "harbor.magedu.net": {
                        "auth": "YWRtaW46MTIz"
                }
        },
        "HttpHeaders": {
                "User-Agent": "Docker-Client/19.03.15 (linux)"
        }
}root@k8s-deploy:~#

可对密码进行解密
root@k8s-deploy:~# echo YWRtaW46MTIz | base64 -d
admin:123root@k8s-deploy:~#
5、上传镜像至harbor
目前客户端还没用镜像,需要下载一个镜像并打好标签才能上传至harbor
1、配置docker镜像加速
添加阿里云镜像加速器,需要自己注册,每个人都不同,下面是我注册的阿里云加速器
root@k8s-deploy:~# cat /etc/docker/daemon.json
{"registry-mirrors":["https://7slsp6vu.mirror.aliyuncs.com/"]}

重启服务
root@k8s-deploy:~# systemctl restart docker.service
2、下载镜像,并重打标签
1、下载个busybox镜像
root@k8s-deploy:~# docker pull busybox
Using default tag: latest
latest: Pulling from library/busybox
5cc84ad355aa: Pull complete
Digest: sha256:5acba83a746c7608ed544dc1533b87c737a0b0fb730301639a0179f9344b1678
Status: Downloaded newer image for busybox:latest
docker.io/library/busybox:latest
root@k8s-deploy:~# docker images
REPOSITORY          TAG                 IMAGE ID            CREATED             SIZE
busybox             latest              beae173ccac6        10 months ago       1.24MB

2、打标签,想上传到harbor服务器,镜像第一部分必须是harbor的域名,第二部分是项目名称,最后是镜像
root@k8s-deploy:~# docker tag busybox:latest harbor.magedu.net/baseimages/busybox:latest
root@k8s-deploy:~#
root@k8s-deploy:~# docker images
REPOSITORY                             TAG                 IMAGE ID            CREATED             SIZE
busybox                                latest              beae173ccac6        10 months ago       1.24MB
harbor.magedu.net/baseimages/busybox   latest              beae173ccac6        10 months ago       1.24MB
在harbor上创建一个标签中指定baseimages名称的项目
3、上传镜像至harbor的baseimages项目中
root@k8s-deploy:~# docker push harbor.magedu.net/baseimages/busybox:latest
The push refers to repository [harbor.magedu.net/baseimages/busybox]
01fd6df81c8e: Pushed
latest: digest: sha256:62ffc2ed7554e4c6d360bce40bbcf196573dd27c4ce080641a2c59867e732dee size: 527
可以查看到该项目已经有了一个刚刚上传的镜像了
以上就是使用自签发的证书实现https的harbor服务器了


 被折叠的 条评论
为什么被折叠?
被折叠的 条评论
为什么被折叠?
 到【灌水乐园】发言


