


1、系统环境
ubuntu18.04,需要用到以下几个
sudo apt-install net-tools
sudo apt-install build-essential
sudo apt-install git
sudo apt-install vim
ubuntu18.04配置
2、源码下载
github项目地址
git clone https://github.com/qinguoyi/TinyWebServer.git
3、配置数据库
1、安装mysql
sudo apt-get install mysql-server
2、初始化配置
sudo mysql_secure_installation
如下:
#1
VALIDATE PASSWORD PLUGIN can be used to test passwords...
Press y|Y for Yes, any other key for No: N (我的选项)
#2
Please set the password for root here...
New password: (输入密码)
Re-enter new password: (重复输入)
#3
By default, a MySQL installation has an anonymous user,
allowing anyone to log into MySQL without having to have
a user account created for them...
Remove anonymous users? (Press y|Y for Yes, any other key for No) : N (我的选项)
#4
Normally, root should only be allowed to connect from
'localhost'. This ensures that someone cannot guess at
the root password from the network...
Disallow root login remotely? (Press y|Y for Yes, any other key for No) : Y (我的选项)
#5
By default, MySQL comes with a database named 'test' that
anyone can access...
Remove test database and access to it? (Press y|Y for Yes, any other key for No) : N (我的选项)
#6
Reloading the privilege tables will ensure that all changes
made so far will take effect immediately.
Reload privilege tables now? (Press y|Y for Yes, any other key for No) : Y (我的选项)
3、进入mysql
sudo mysql -u root -p
依次执行
	create database yourdb;
	USE yourdb;
    CREATE TABLE user(
        username char(50) NULL,
        passwd char(50) NULL
    )ENGINE=InnoDB;
    INSERT INTO user(username, passwd) VALUES('name', 'passwd');
继续执行
	show databases; //可以查看当前的数据库
	select *from user;
需要注意安装sudo apt-get install libmysqlclient-dev
4、配置Tinywebserver
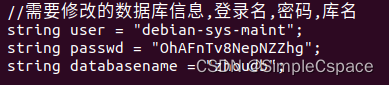
cd /etc/mysql
sudo vim debian.cnf
按照user和passwd修改main.cpp(TinyWebServer文件夹中)
编译运行
sh ./build.sh
./server
此时server应该是没有退出的,如果退出大概率是数据库没连上
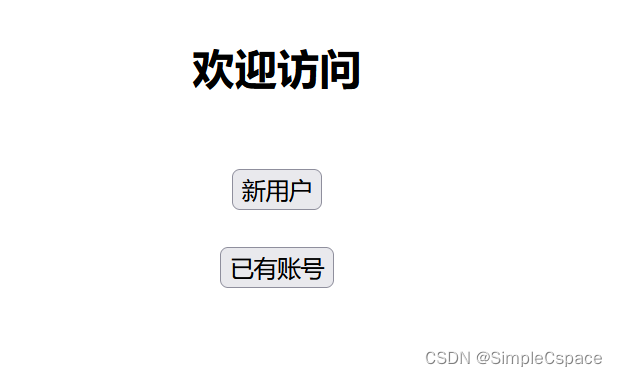
5、查看效果
默认端口是9006
用ifconfig指令查看ip,访问就用本地ip:9006即可
参考文章环境配置


 2070
2070


 被折叠的 条评论
为什么被折叠?
被折叠的 条评论
为什么被折叠?
 到【灌水乐园】发言


