


docker基于alpine制作haproxy镜像
1.目录结构
[root@localhost ~]# tree haproxy2
haproxy2
├── Dockerfile
└── files
    ├── haproxy-2.4.0.tar.gz
    ├── install.sh
    ├── run_haproxy.sh
    └── sysctl.conf

1 directory, 5 files
[root@localhost ~]#
2.查看结构内容
[root@localhost ~]# cd haproxy2
[root@localhost haproxy2]#
[root@localhost haproxy2]# ls
Dockerfile  files
[root@localhost haproxy2]# cat Dockerfile
FROM alpine

LABEL MAINTAINER "Lfei 1314@163.com"

ENV version 2.4.0

ADD files/haproxy-${version}.tar.gz /tmp/

ADD files/install.sh /tmp/

ADD files/run_haproxy.sh /tmp/

ADD files/sysctl.conf /tmp/

RUN /tmp/install.sh

ENTRYPOINT /tmp/run_haproxy.sh
[root@localhost haproxy2]#
3.查看files目录里得文件内容
[root@localhost files]# cat install.sh
#!/bin/sh

sed -i 's/dl-cdn.alpinelinux.org/mirrors.aliyun.com/' /etc/apk/repositories
apk update
adduser -S -H -s /sbin/nologin haproxy
addgroup haproxy
apk add --no-cache -U make gcc pcre-dev bzip2-dev openssl-dev elogind-dev libc-dev dahdi-tools dahdi-tools-dev libexecinfo libexecinfo-dev ncurses-dev zlib-dev zlib
cd /tmp/haproxy-${version}
make TARGET=linux-musl
USE_OPENSSL=1
USE_ZLIB=1
USE_PCRE=1
make install PREFIX=/usr/local/haproxy
cp haproxy  /usr/sbin/
mkdir /etc/haproxy
apk del gcc make
rm -rf /tmp/haproxy-${version}/* /tmp/install.sh
[root@localhost files]#
[root@localhost files]# cat run_haproxy.sh
#!/bin/sh
cat > /etc/haproxy/haproxy.cfg <<EOF
#--------------全局配置----------------
global
    log 127.0.0.1 local0  info
    #log loghost local0 info
    maxconn 20480
#chroot /usr/local/haproxy
    pidfile /var/run/haproxy.pid
    #maxconn 4000
    user haproxy
    group haproxy
    daemon
#---------------------------------------------------------------------
#common defaults that all the 'listen' and 'backend' sections will
#use if not designated in their block
#---------------------------------------------------------------------
defaults
    mode http
    log global
    option dontlognull
    option httpclose
    option httplog
    #option forwardfor
    option redispatch
    balance roundrobin
    timeout connect 10s
    timeout client 10s
    timeout server 10s
    timeout check 10s
    maxconn 60000
    retries 3
#--------------统计页面配置------------------
listen admin_stats
    bind 0.0.0.0:8189
    stats enable
    mode http
    log global
    stats uri /haproxy_stats
    stats realm Haproxy\ Statistics
    stats auth admin:admin
    #stats hide-version
    stats admin if TRUE
    stats refresh 30s
#---------------web设置-----------------------
listen webcluster
    bind 0.0.0.0:80
    mode http
    #option httpchk GET /index.html
    log global
    maxconn 3000
    balance roundrobin
    cookie SESSION_COOKIE insert indirect nocache

EOF

by=1
for RS in $(cat /opt/RS.text);do
cat >> /etc/haproxy/haproxy.cfg << EOF
    server web$by $RS:80 check inter 2000 fall 5
EOF
let by++

done

/usr/local/haproxy/sbin/haproxy -f /etc/haproxy/haproxy.cfg -db


[root@localhost files]#
[root@localhost files]# cat sysctl.conf
# sysctl settings are defined through files in
# /usr/lib/sysctl.d/, /run/sysctl.d/, and /etc/sysctl.d/.
#
# Vendors settings live in /usr/lib/sysctl.d/.
# To override a whole file, create a new file with the same in
# /etc/sysctl.d/ and put new settings there. To override
# only specific settings, add a file with a lexically later
# name in /etc/sysctl.d/ and put new settings there.
#
# For more information, see sysctl.conf(5) and sysctl.d(5).
net.ipv4.ip_nonlocal_bind = 1
net.ipv4.ip_forward = 1
[root@localhost files]#
4.查看变量
[root@localhost files]# cat  /opt/RS.text
172.17.0.3
172.17.0.4
[root@localhost files]#
5.制作镜像
[root@localhost haproxy2]# docker build -t test:v0.1
[root@localhost haproxy2]# docker images
REPOSITORY           TAG       IMAGE ID       CREATED         SIZE
test                 v0.1      7ed0f6f258d0   6 seconds ago   81MB
3199560936/haprxoy   v0.2      aed3938de260   3 hours ago     432MB
3199560936/httpd     v0.4      37f8ea813545   4 days ago      702MB
3199560936/httpd     v0.2      026478daf0c7   5 days ago      702MB
3199560936/nginx     v0.1      c98f0d7db627   9 days ago      579MB
busybox              latest    d23834f29b38   12 days ago     1.24MB
alpine               latest    c059bfaa849c   2 weeks ago     5.59MB
centos               latest    5d0da3dc9764   2 months ago    231MB
6.利用镜像启动容器并映射端口和目录
[root@localhost haproxy2]# docker run -d --name by -p 1314:80 -v /opt:/opt 7ed0f6f258d0
8e0adebbe5b21e185f833a221bc5fc761a38383626dc4575dc91639e4c48815c
[root@localhost haproxy2]# docker ps -a
CONTAINER ID   IMAGE          COMMAND                  CREATED         STATUS         PORTS                                   NAMES
8e0adebbe5b2   7ed0f6f258d0   "/bin/sh -c /tmp/run…"   5 seconds ago   Up 3 seconds   0.0.0.0:1314->80/tcp, :::1314->80/tcp   by
[root@localhost haproxy2]#
7.在已有的镜像中启动httpd和nginx两个容器
[root@localhost haproxy2]# docker run -itd --name httpd 37f8ea813545
7173ab00bb36863bf26f3e32002022d9abf662815b25d16b1f10ec39664d0942
[root@localhost haproxy2]# docker run -itd --name nginx c98f0d7db627
2cdcb7813f1dbf0dbe07796d8f08d3323831f8249666fc042e72f2da0215f0e2
[root@localhost haproxy2]#
[root@localhost haproxy2]# docker ps -a
CONTAINER ID   IMAGE          COMMAND                  CREATED              STATUS                     PORTS                                   NAMES
2cdcb7813f1d   c98f0d7db627   "bin/bash start.sh"      4 seconds ago        Exited (0) 3 seconds ago                                           nginx
7173ab00bb36   37f8ea813545   "/usr/local/apache/b…"   19 seconds ago       Up 18 seconds              80/tcp, 443/tcp                         httpd
8e0adebbe5b2   7ed0f6f258d0   "/bin/sh -c /tmp/run…"   About a minute ago   Up About a minute          0.0.0.0:1314->80/tcp, :::1314->80/tcp   by
[root@localhost haproxy2]#
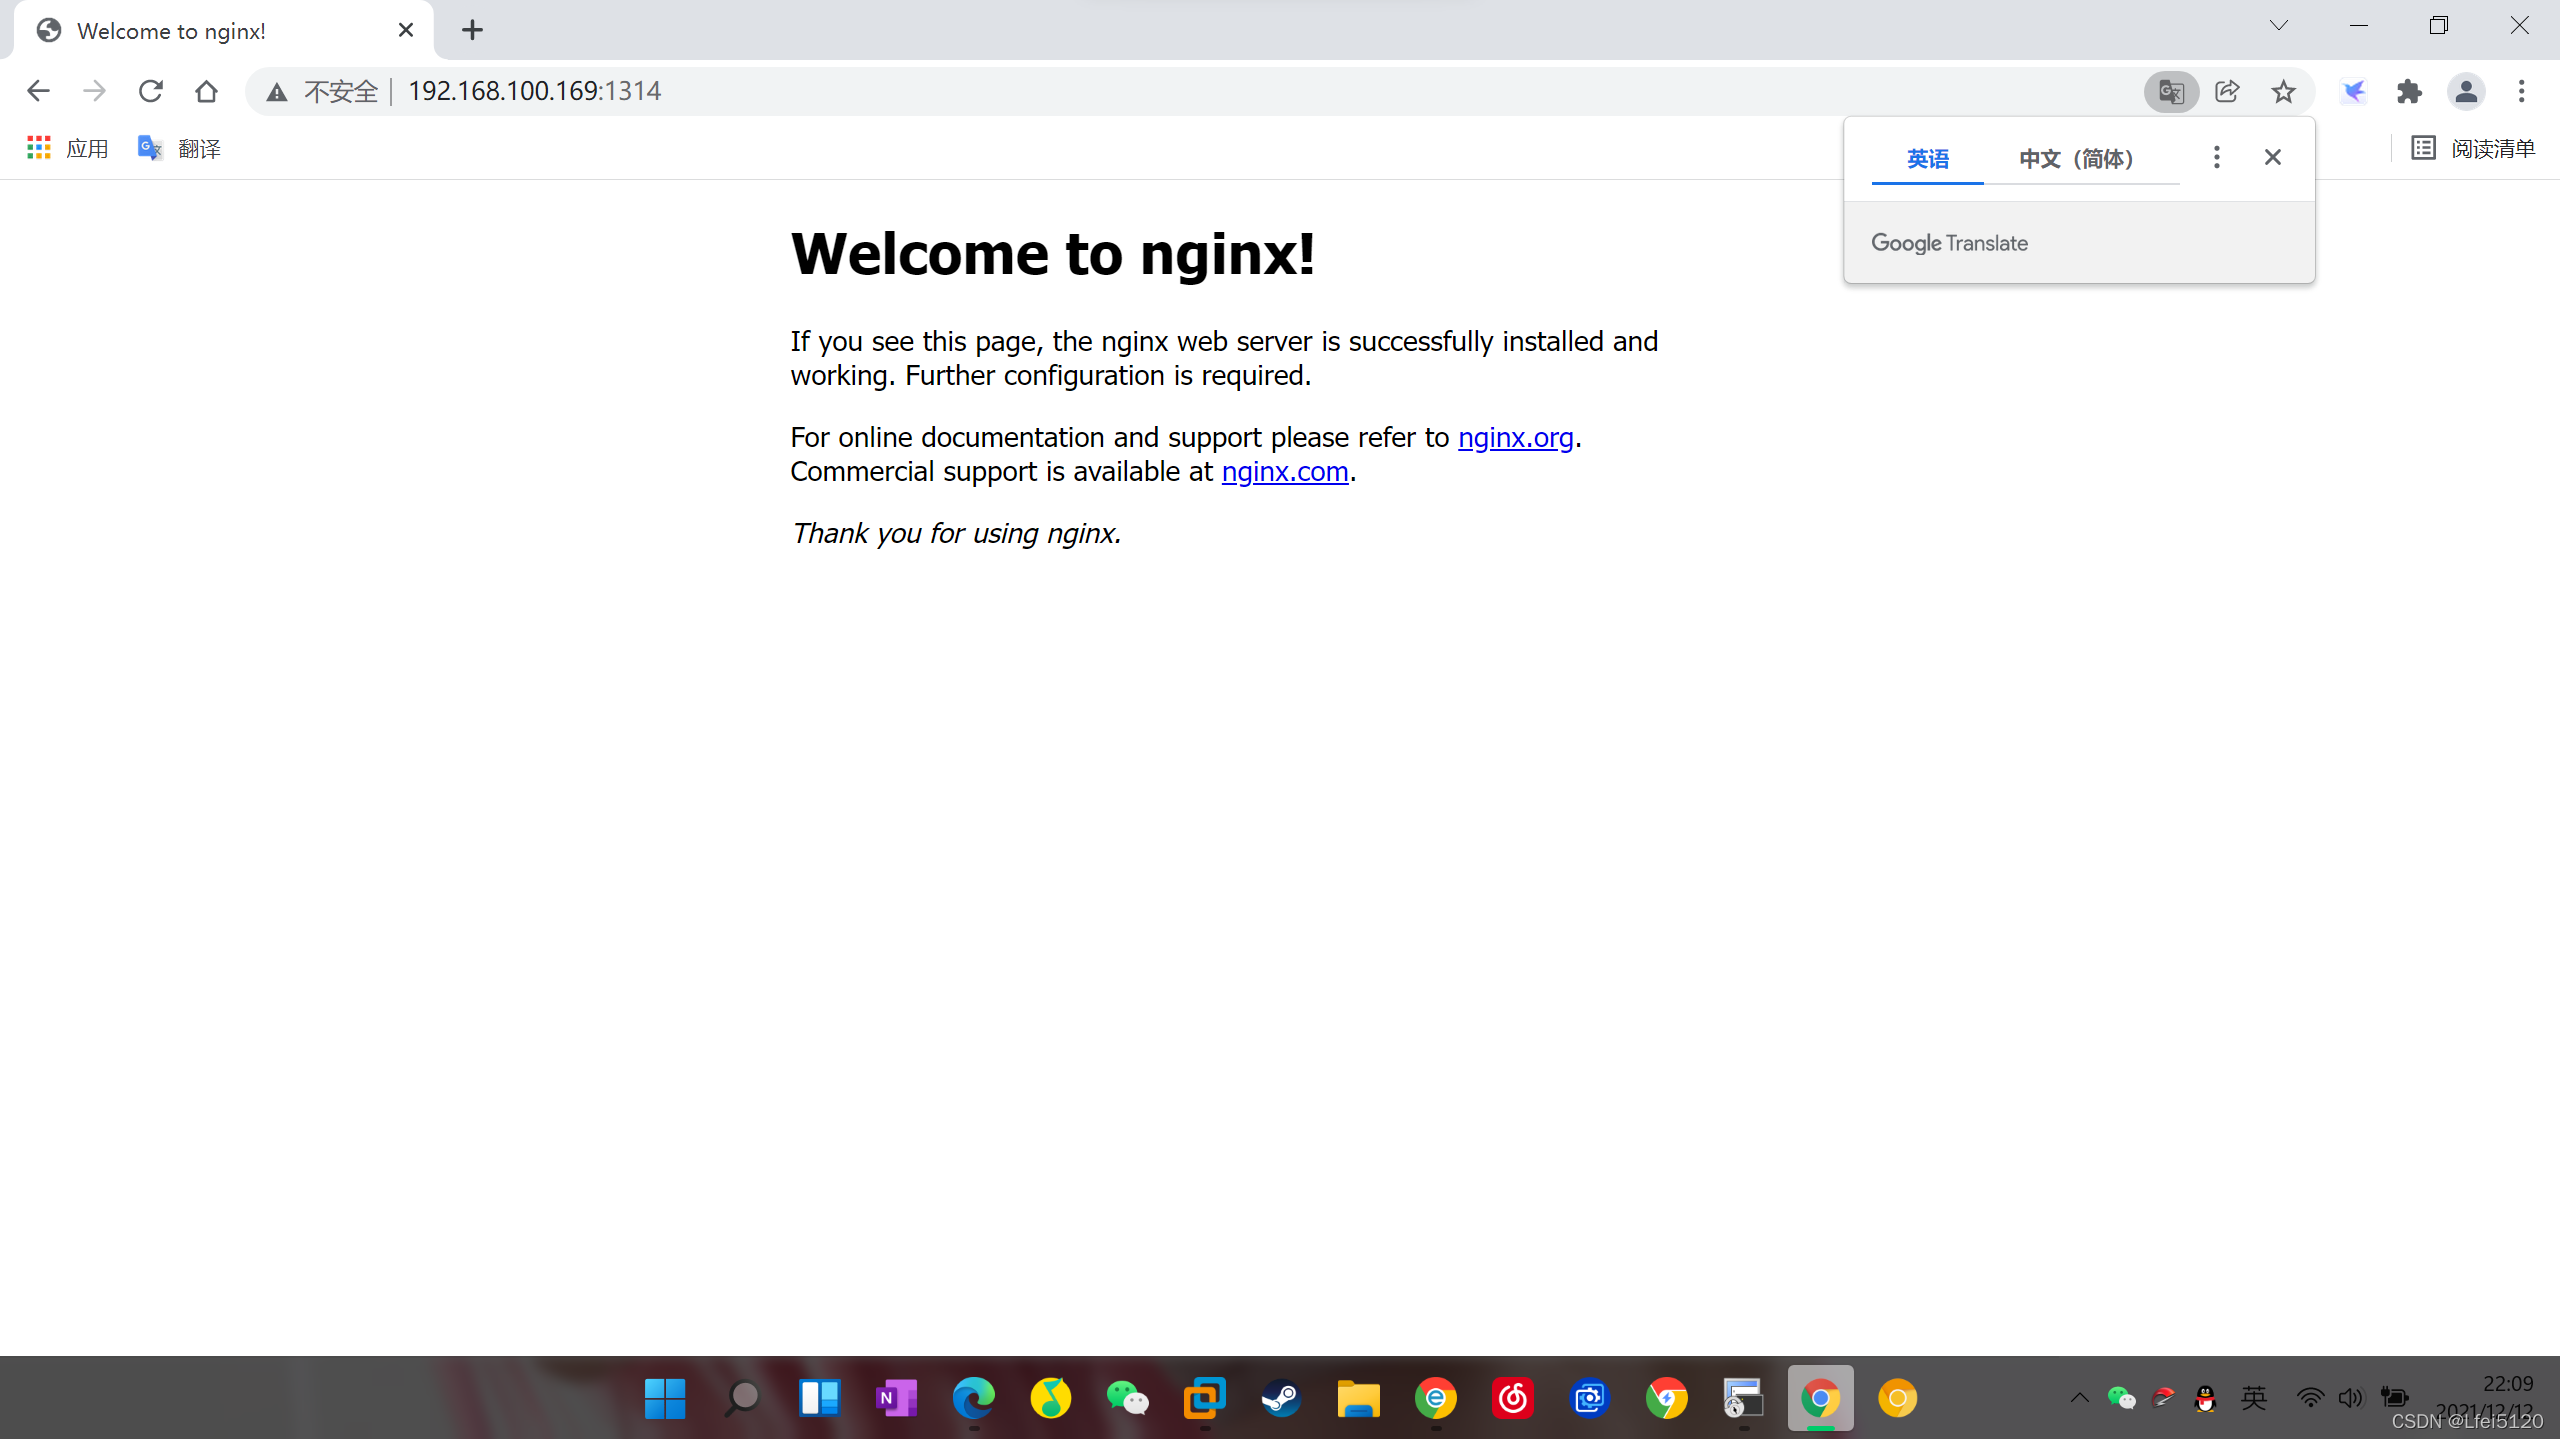
8.利用宿主机的ip进行访问
注意: 我们的映射端口是1314


 1058
1058


 被折叠的 条评论
为什么被折叠?
被折叠的 条评论
为什么被折叠?
 到【灌水乐园】发言


