


一、虚拟机安装
1、下载镜像
https://download.nus.edu.sg/mirror/ubuntu-releases/22.04.2/ubuntu-22.04.2-live-server-amd64.iso
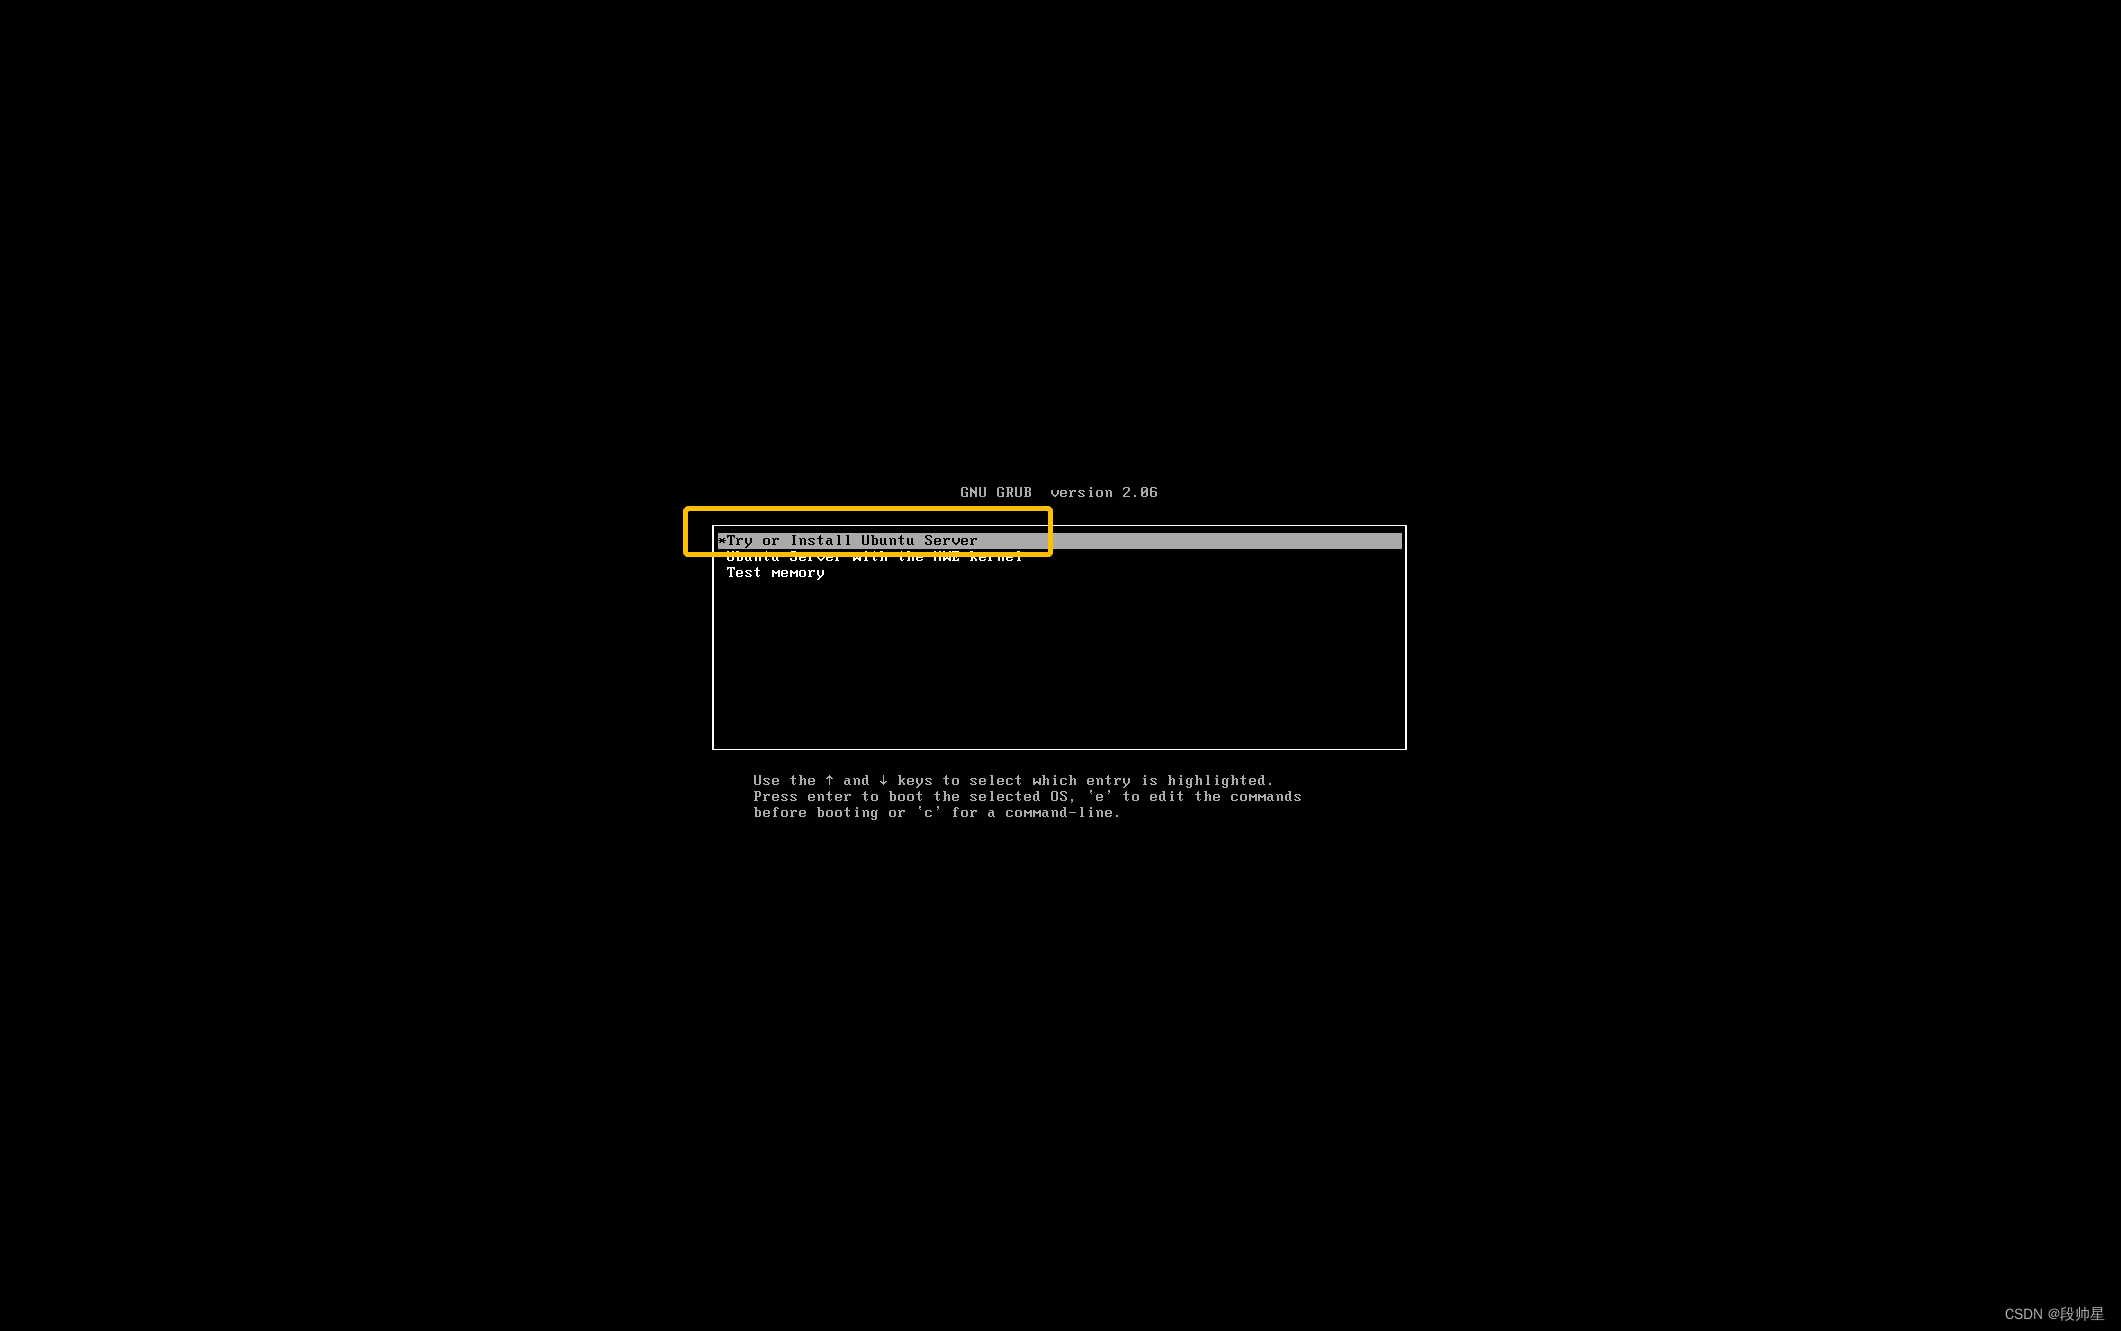
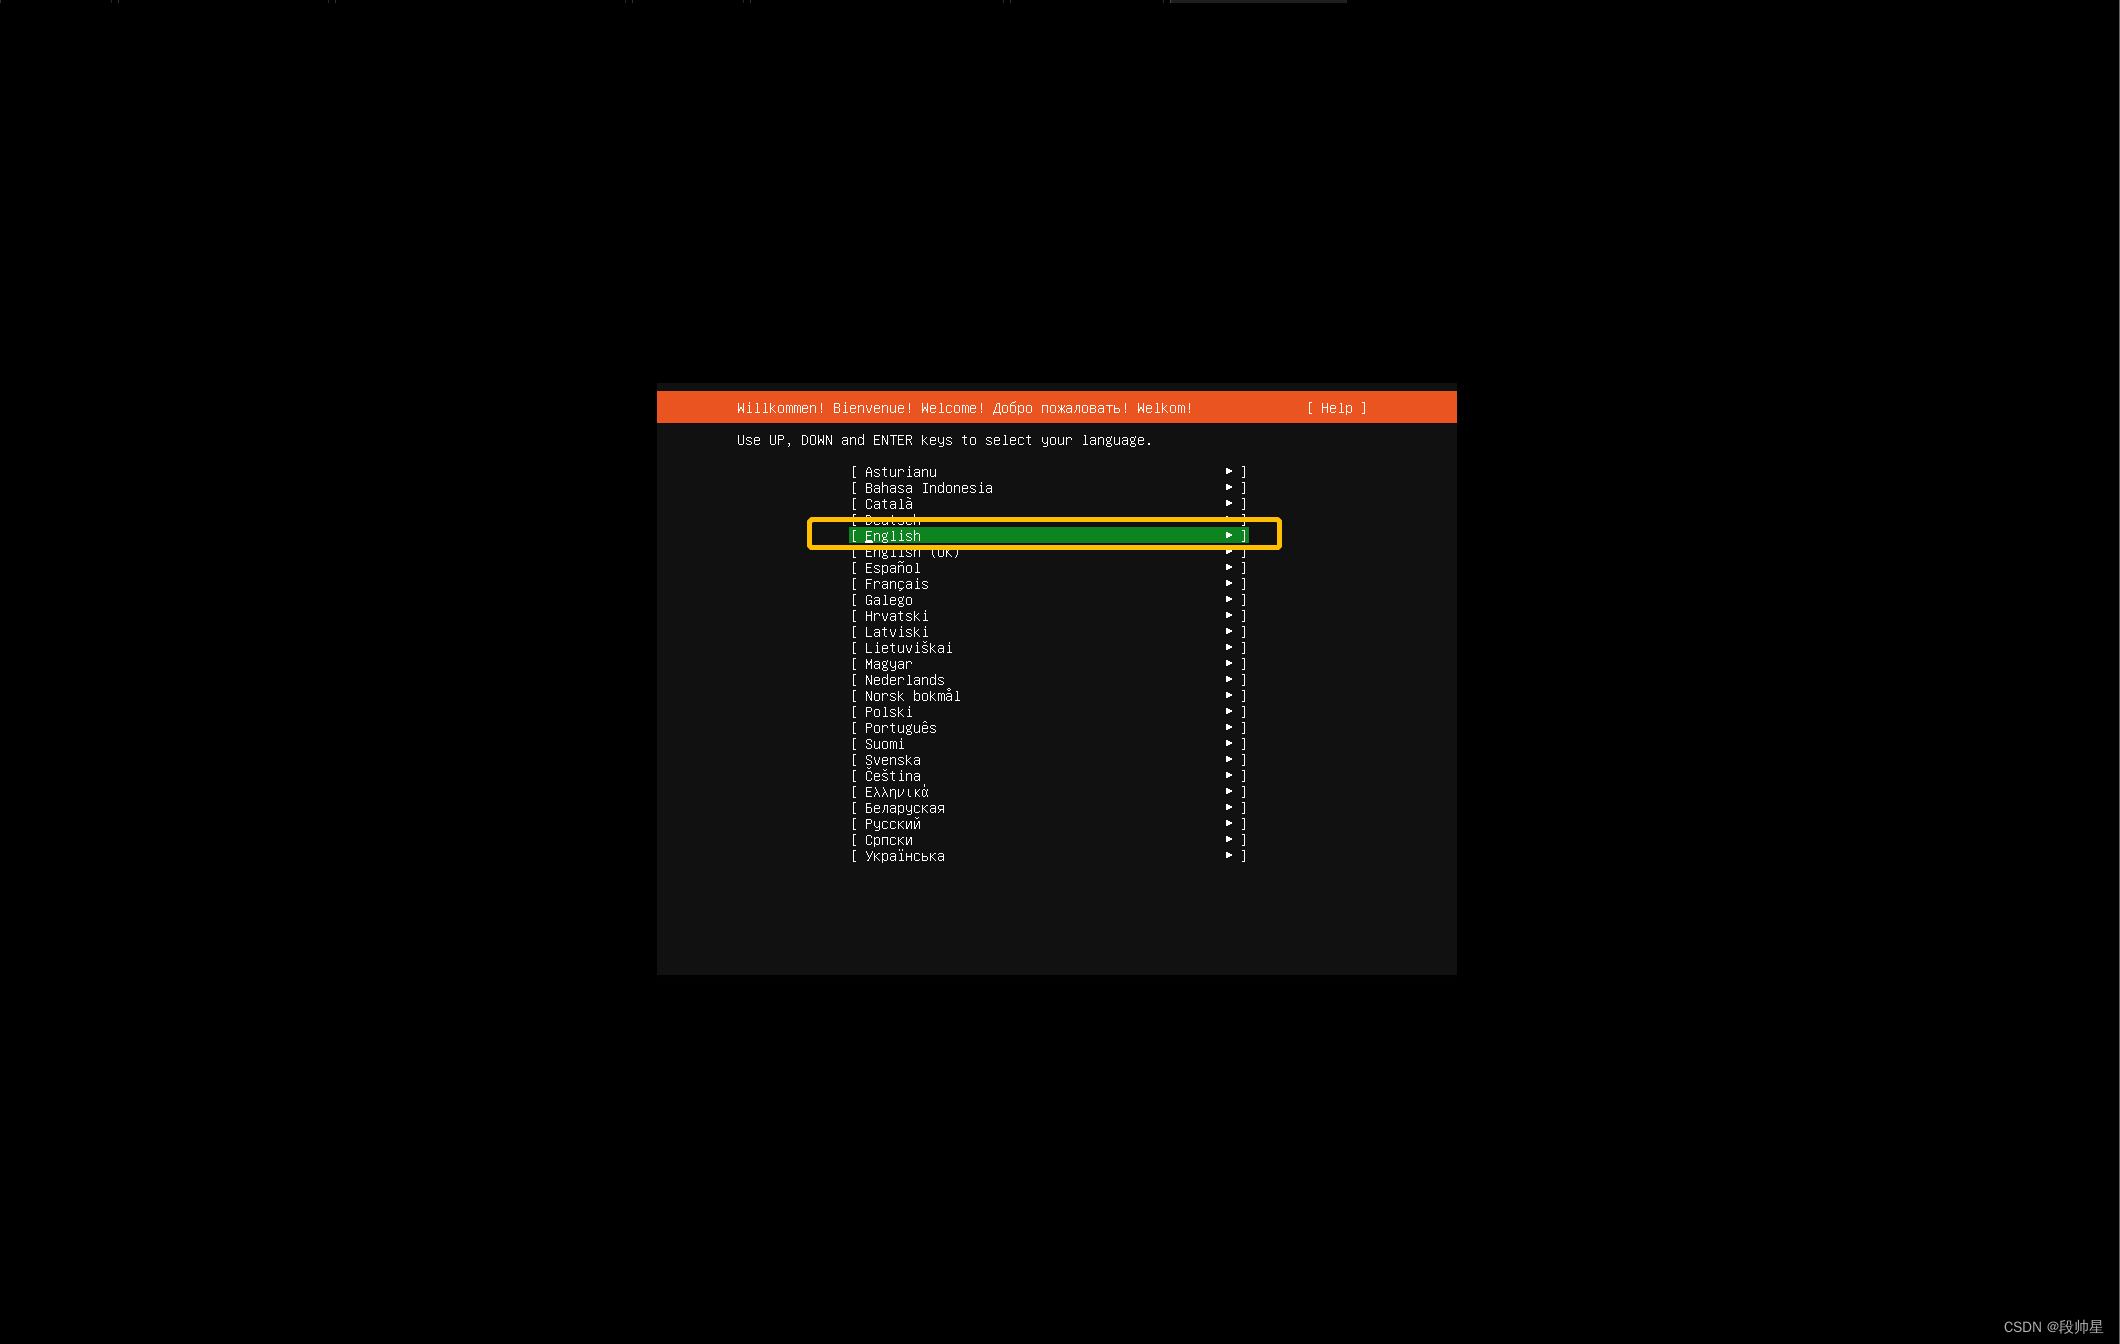
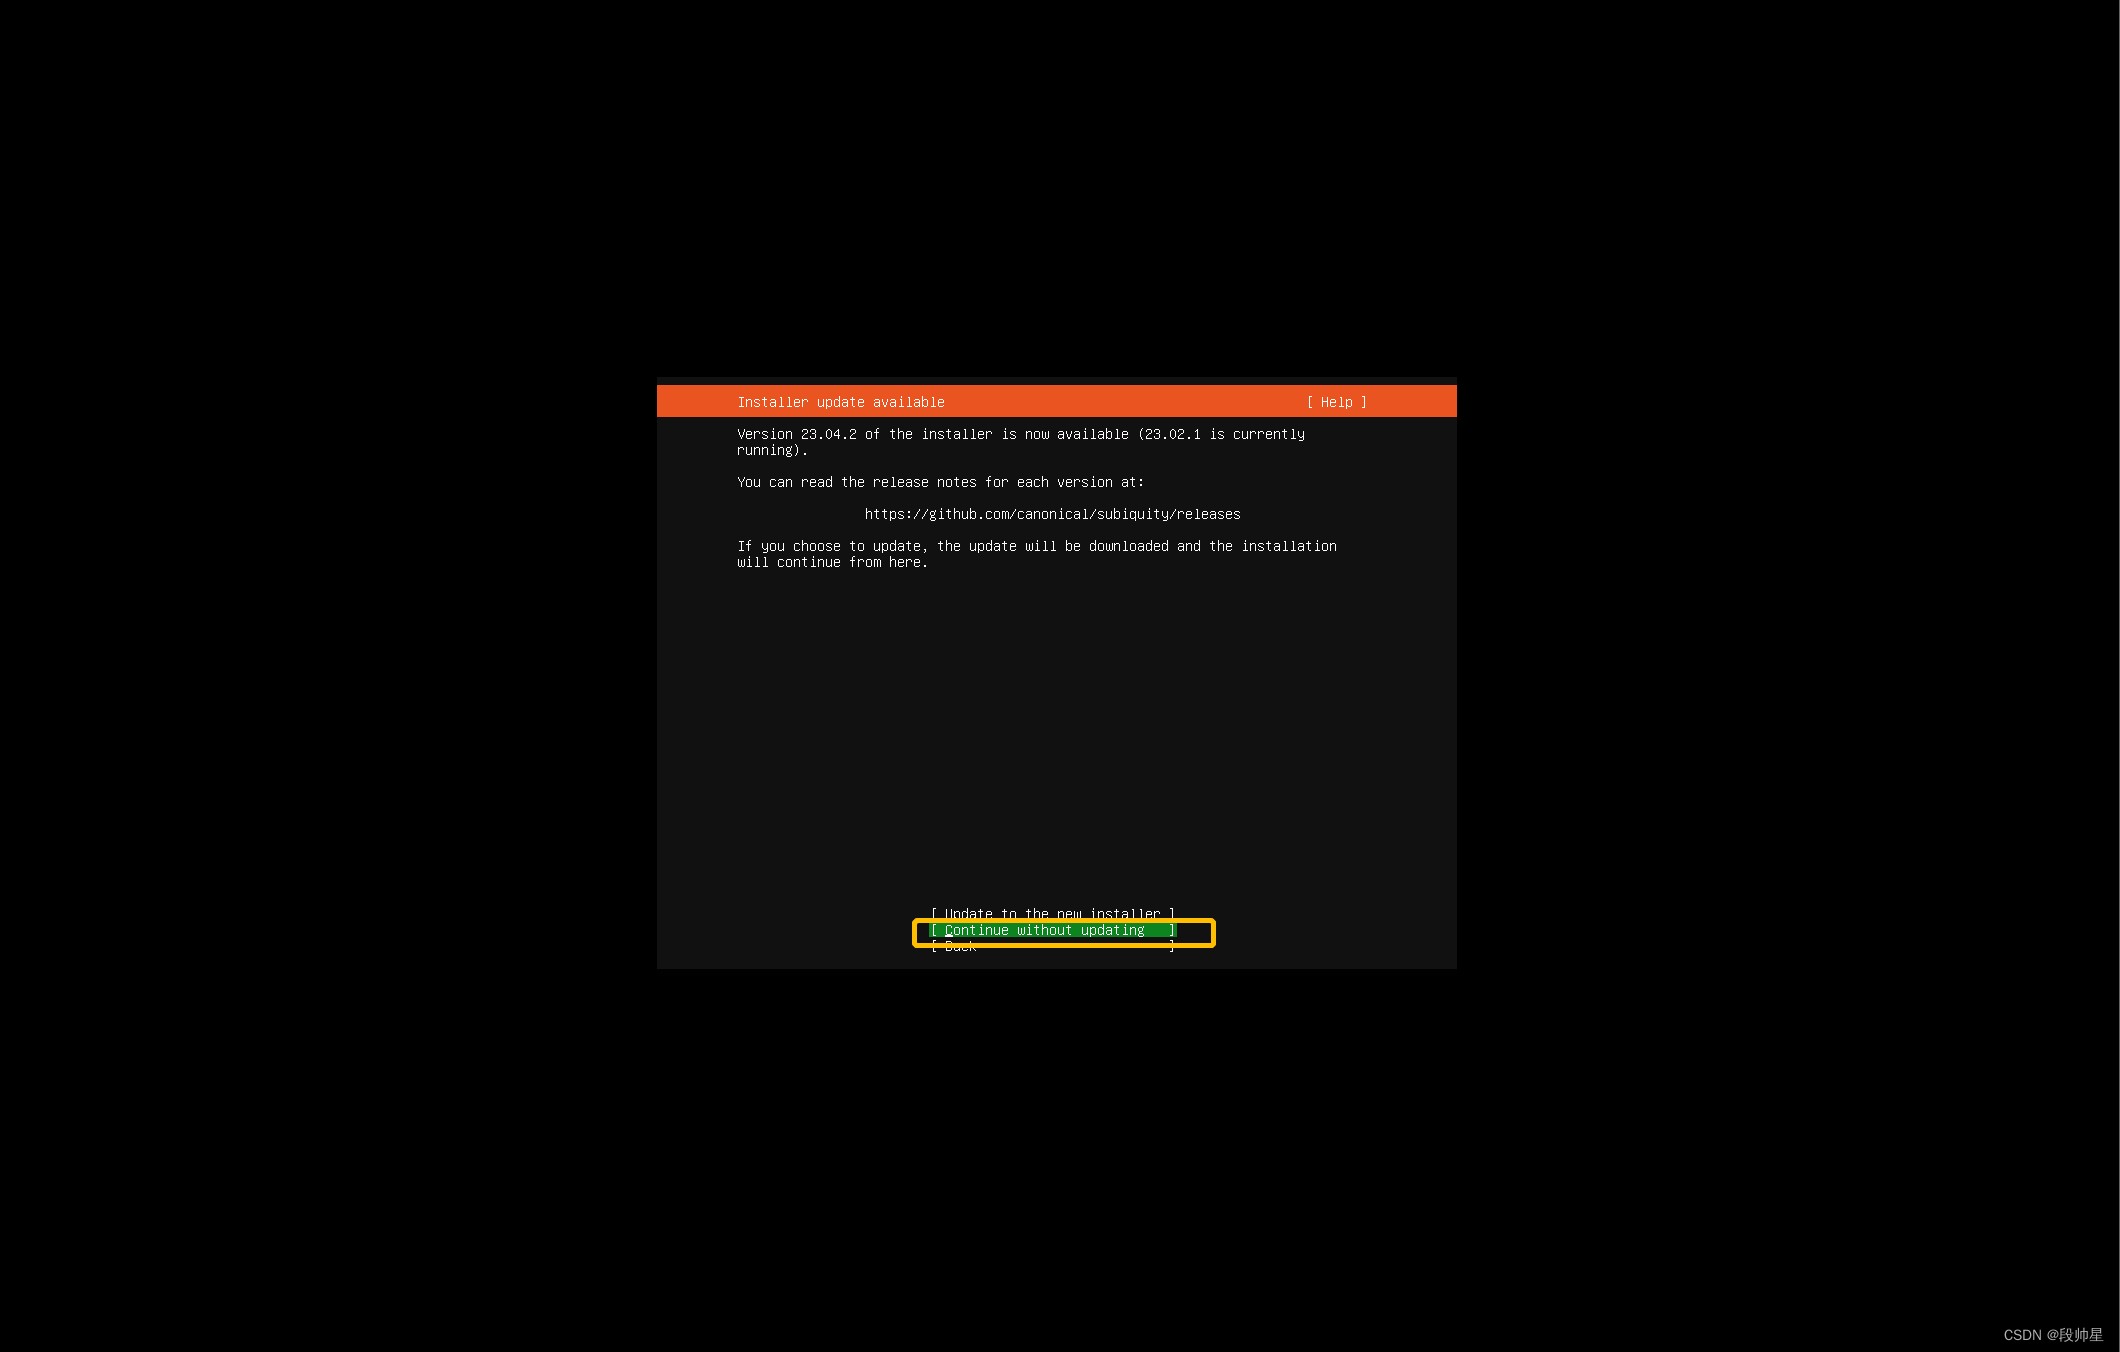
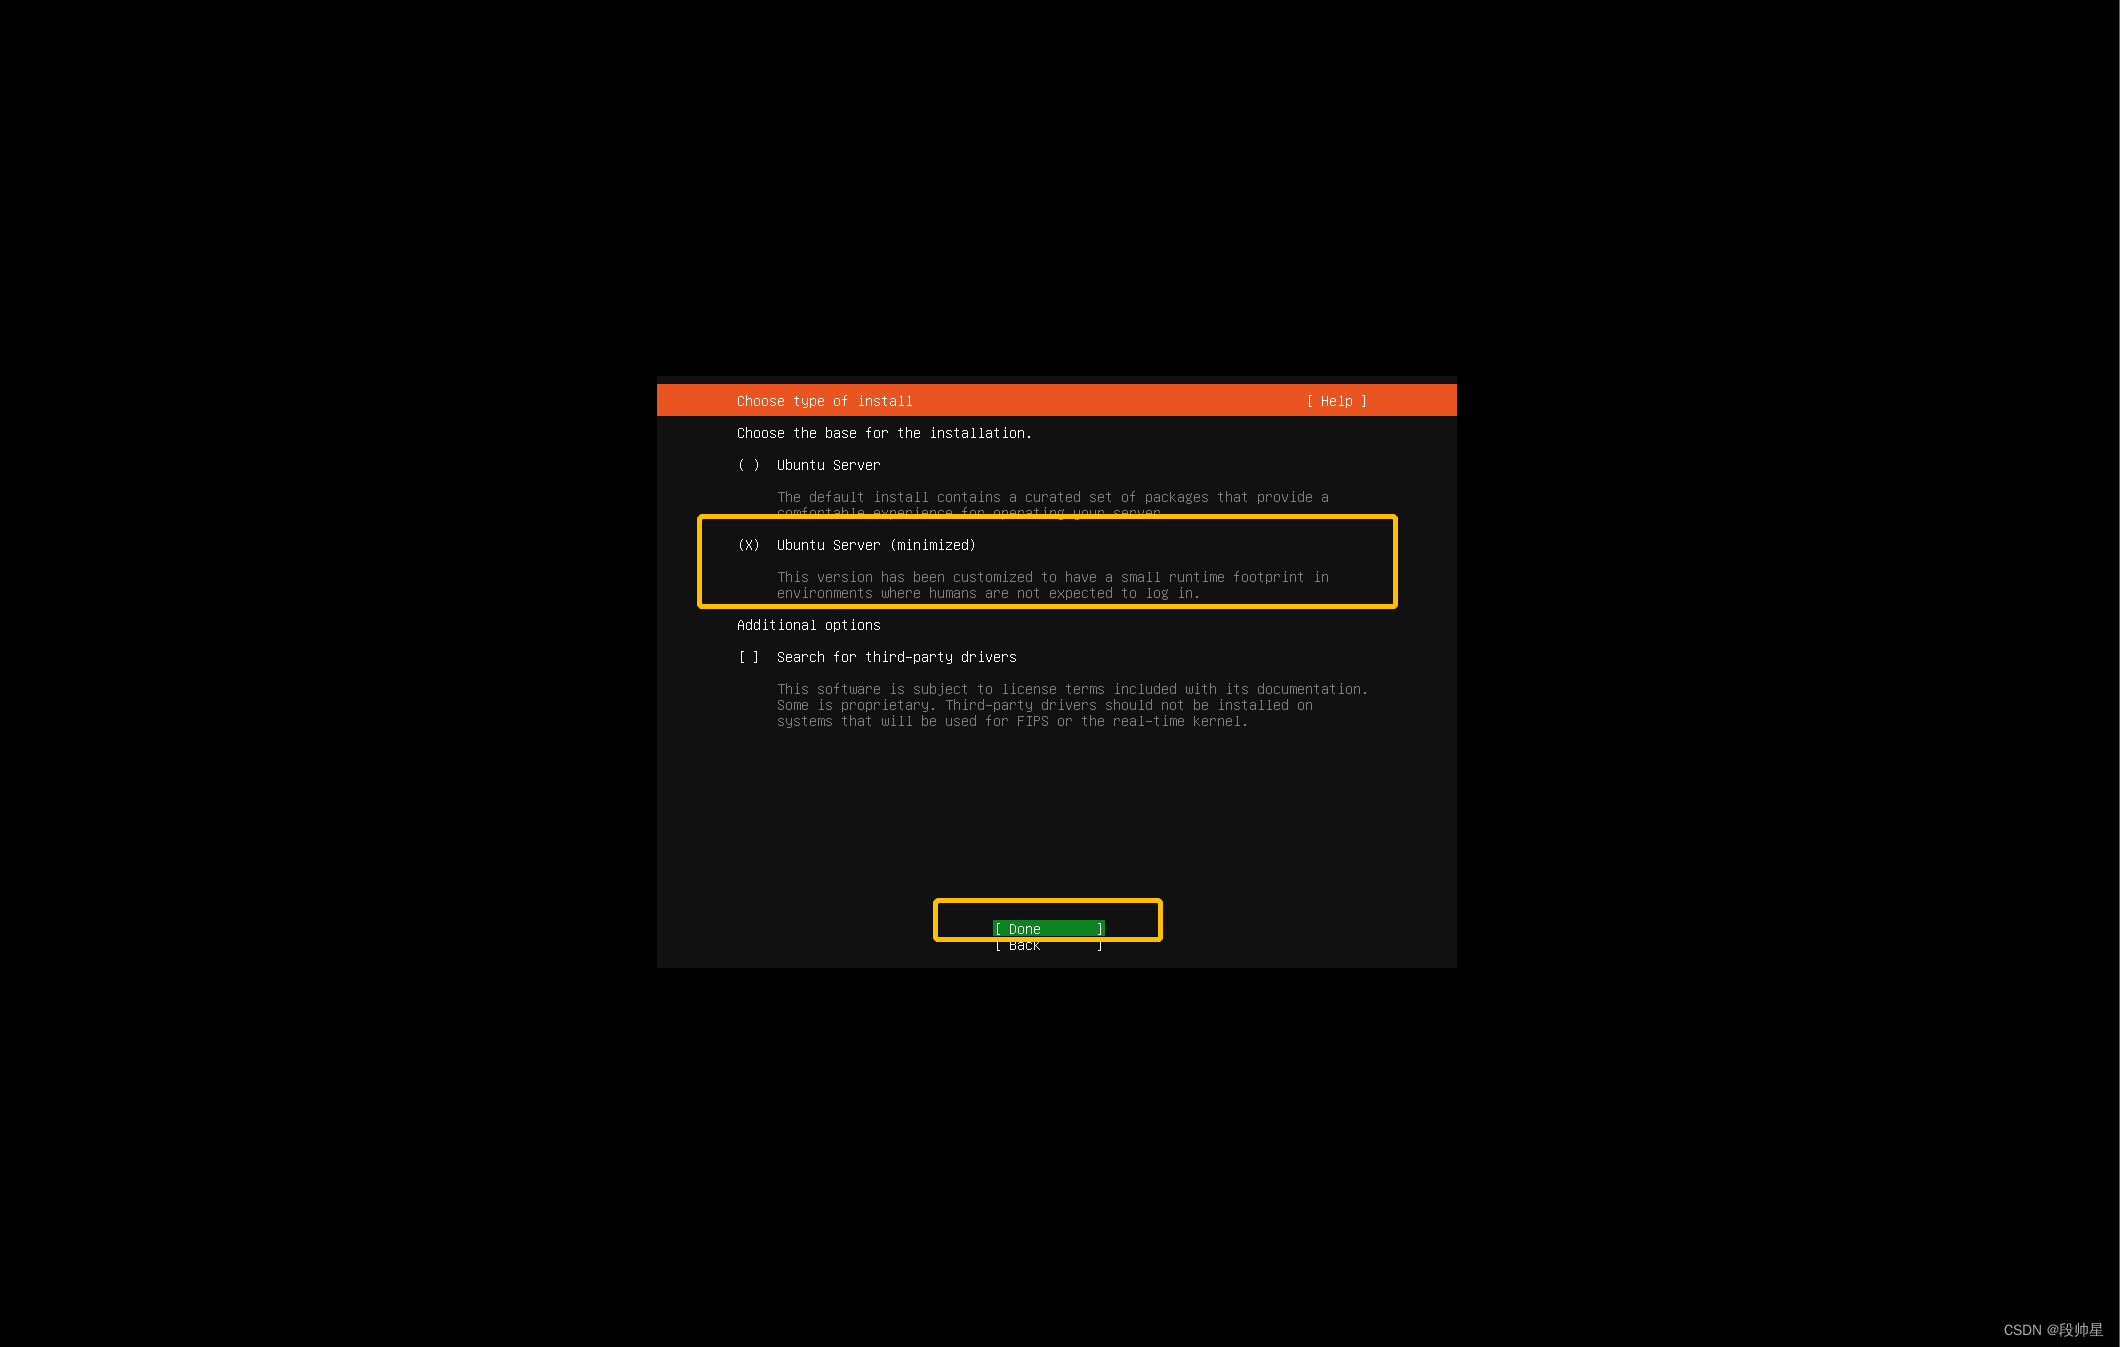
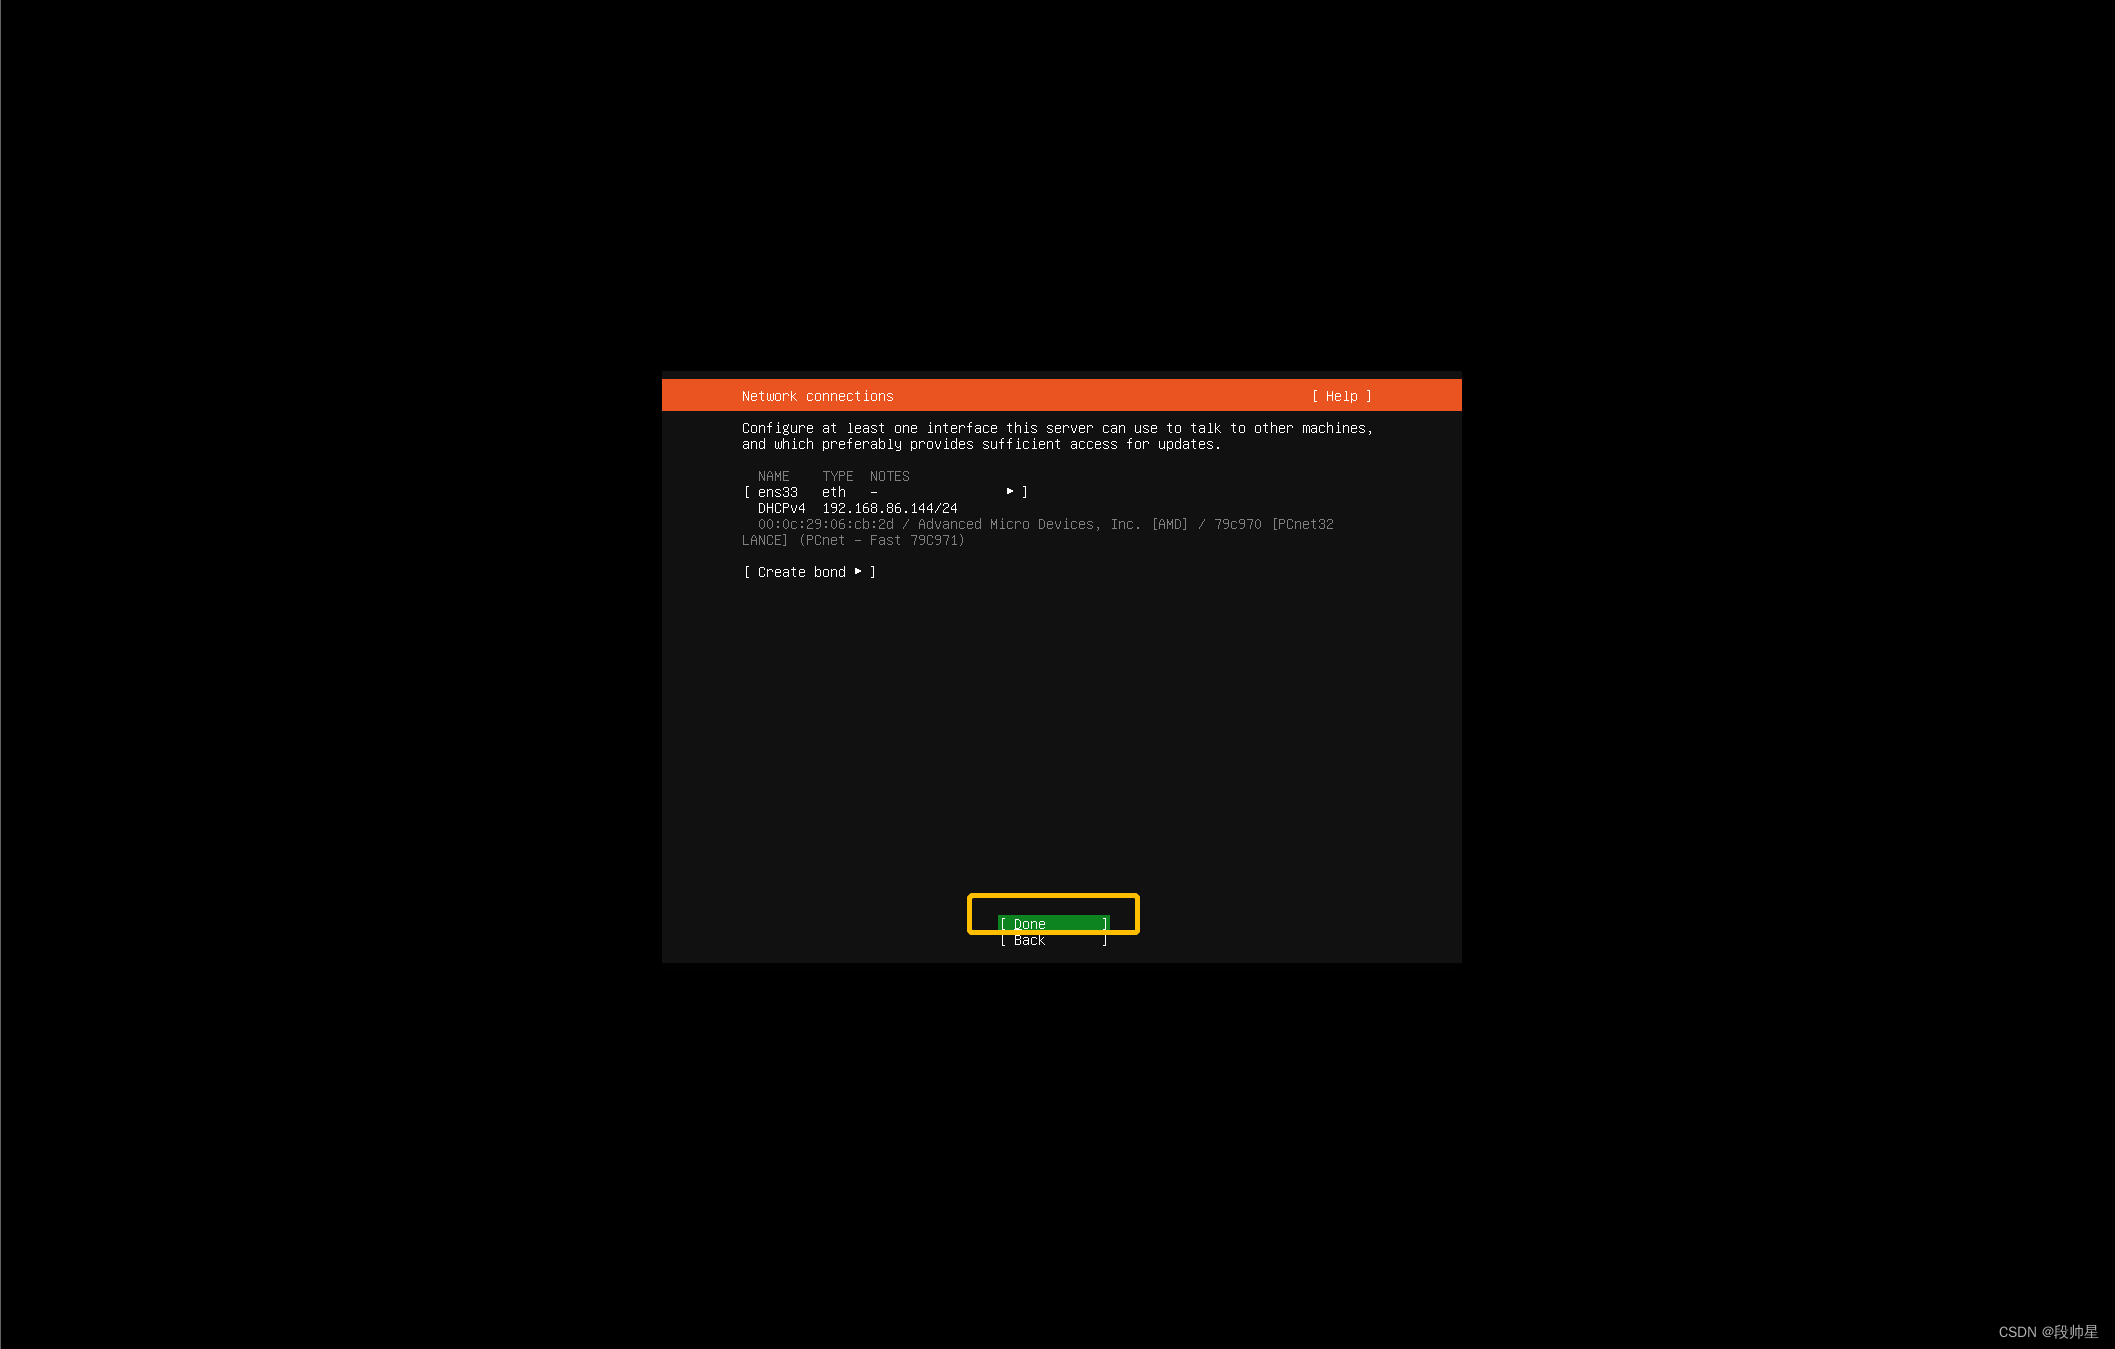
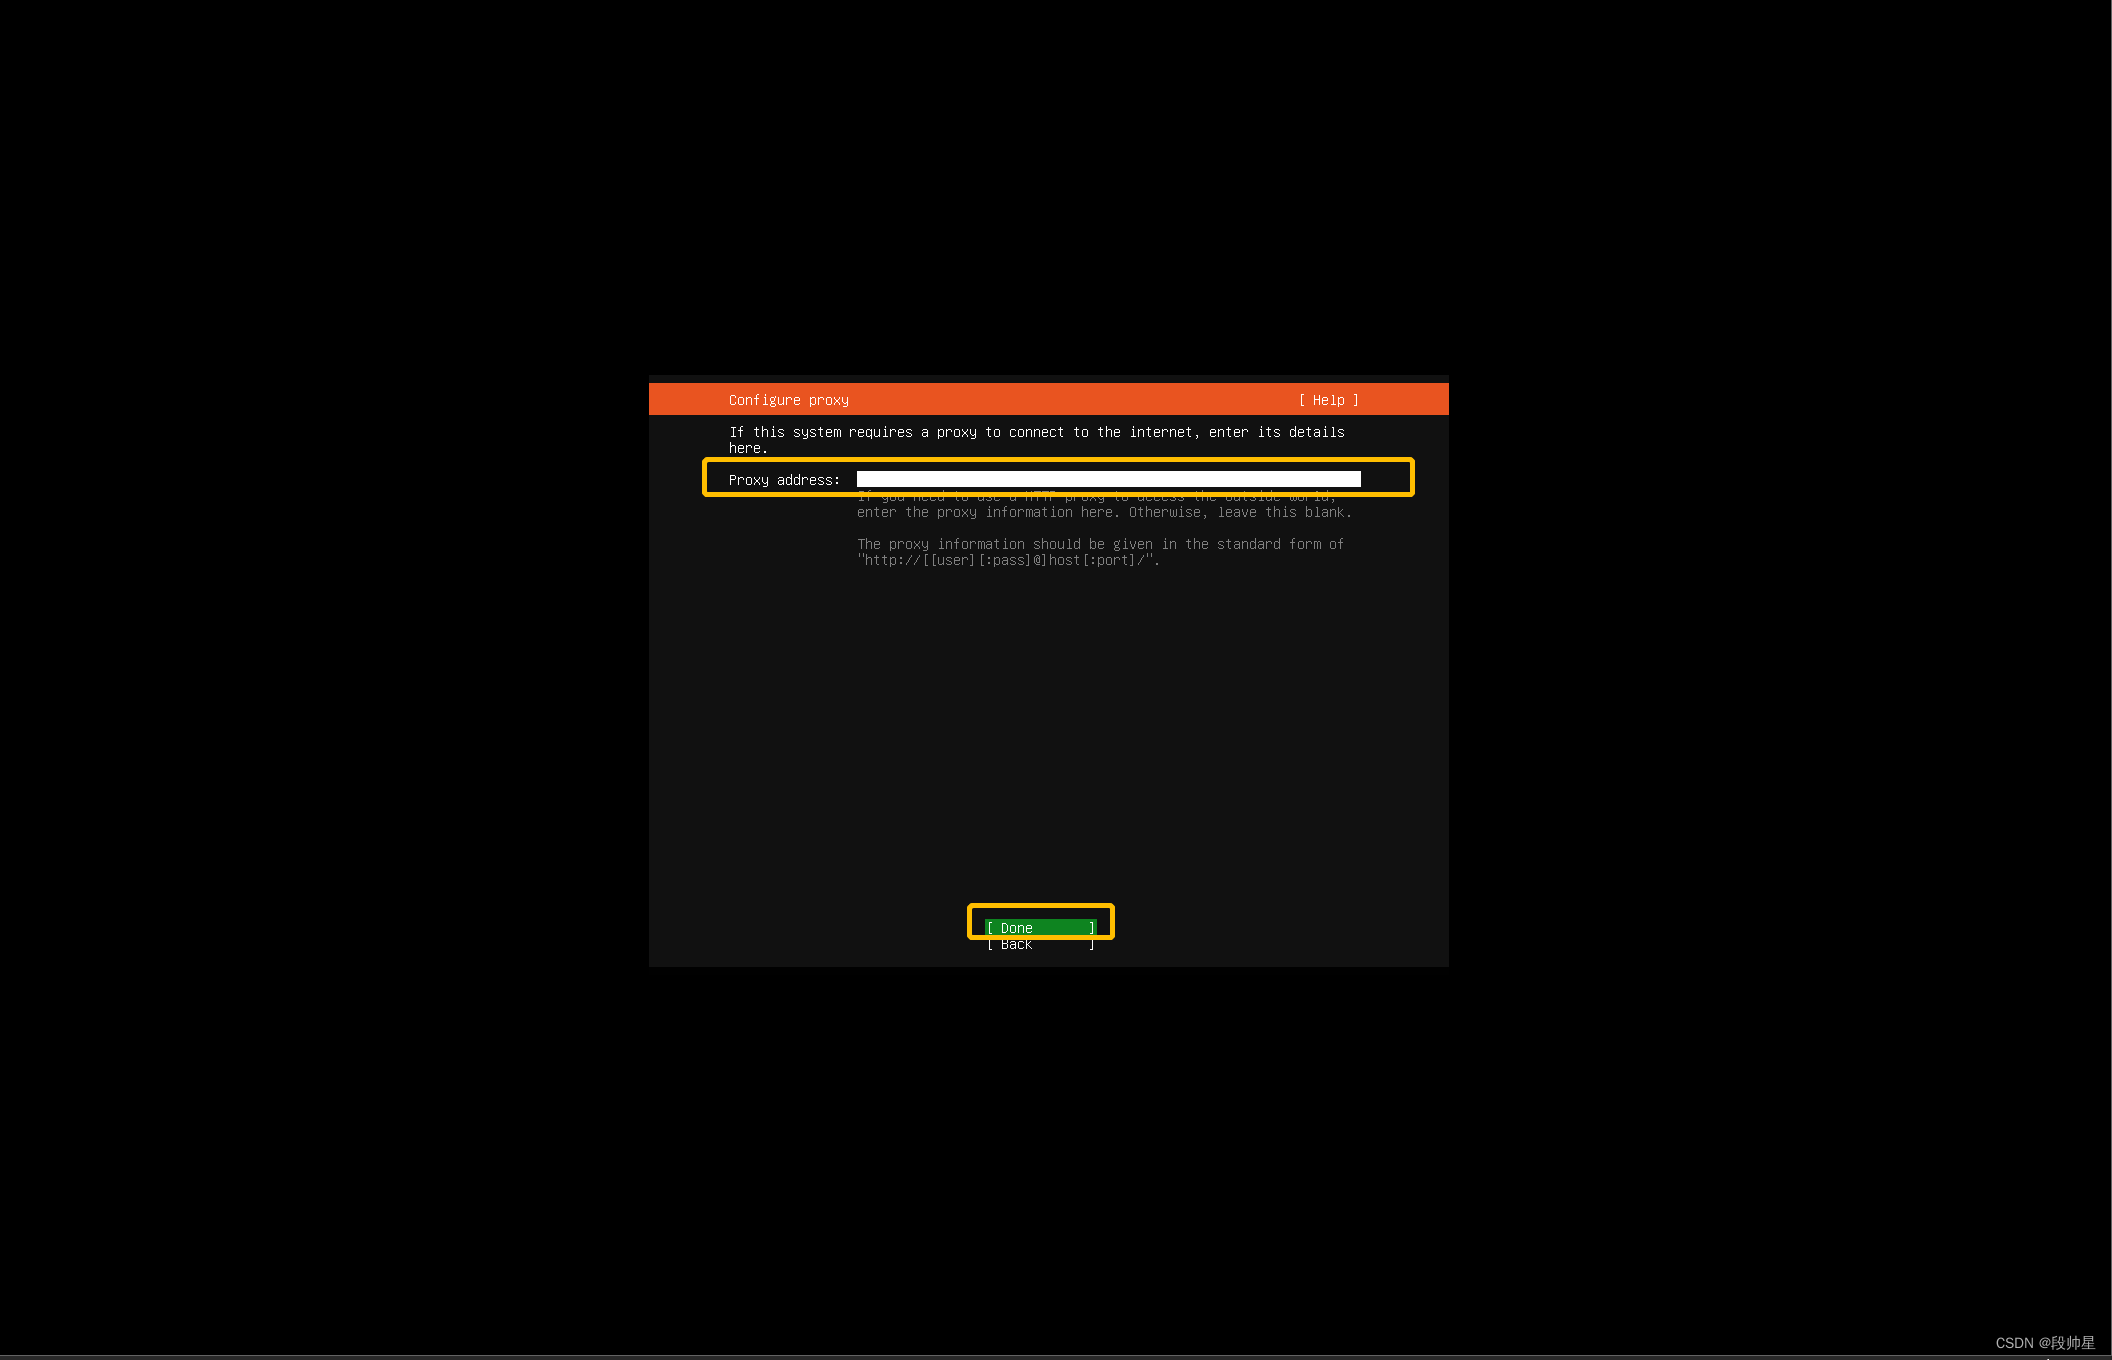
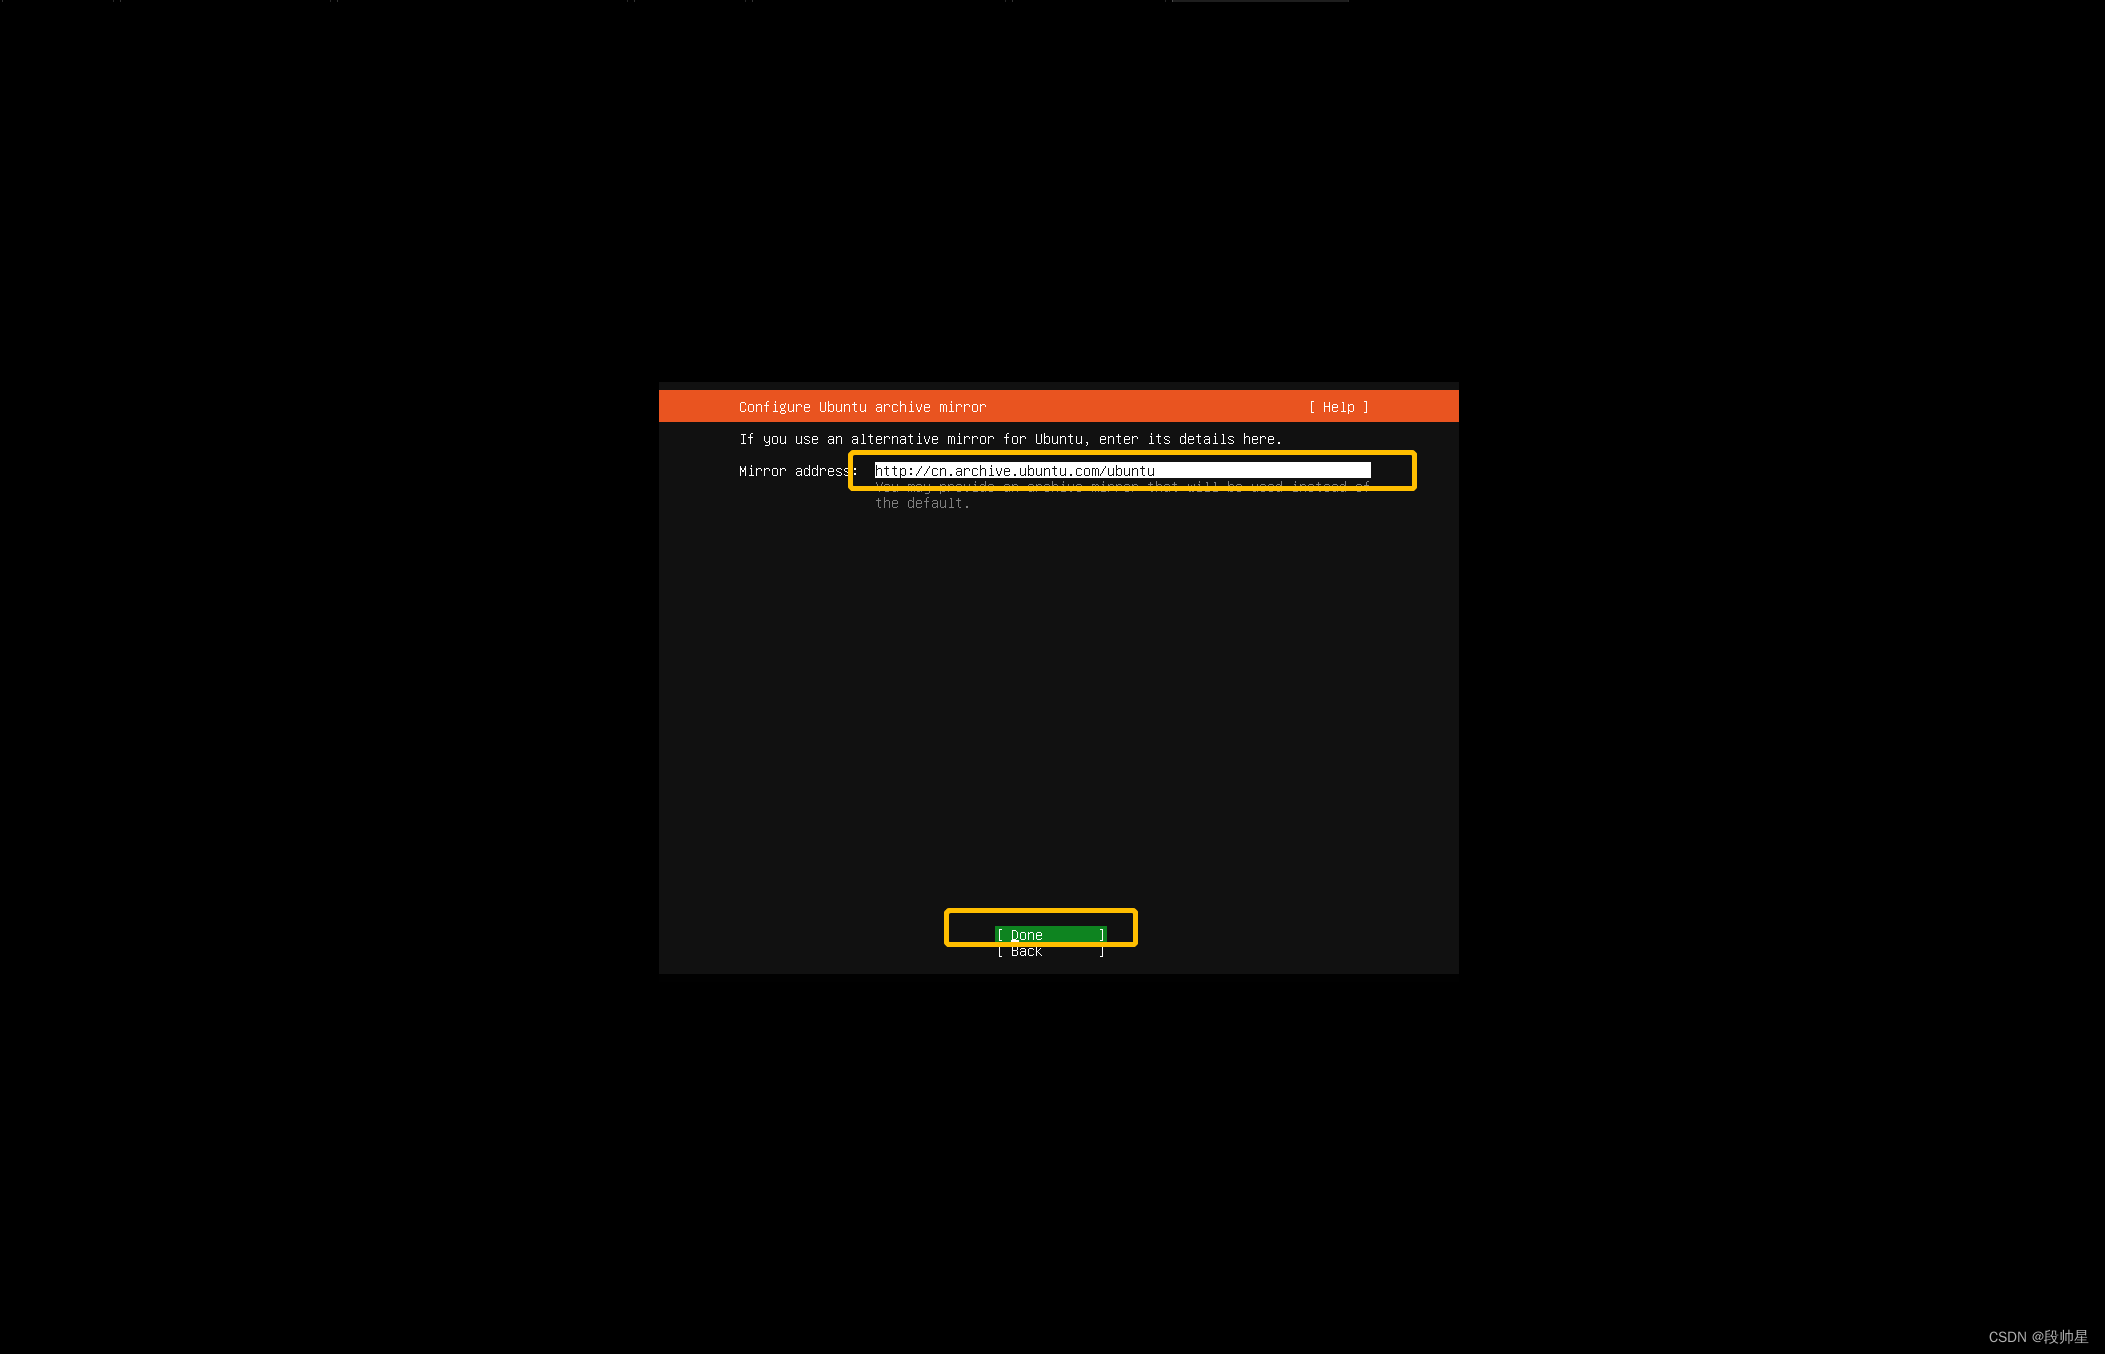
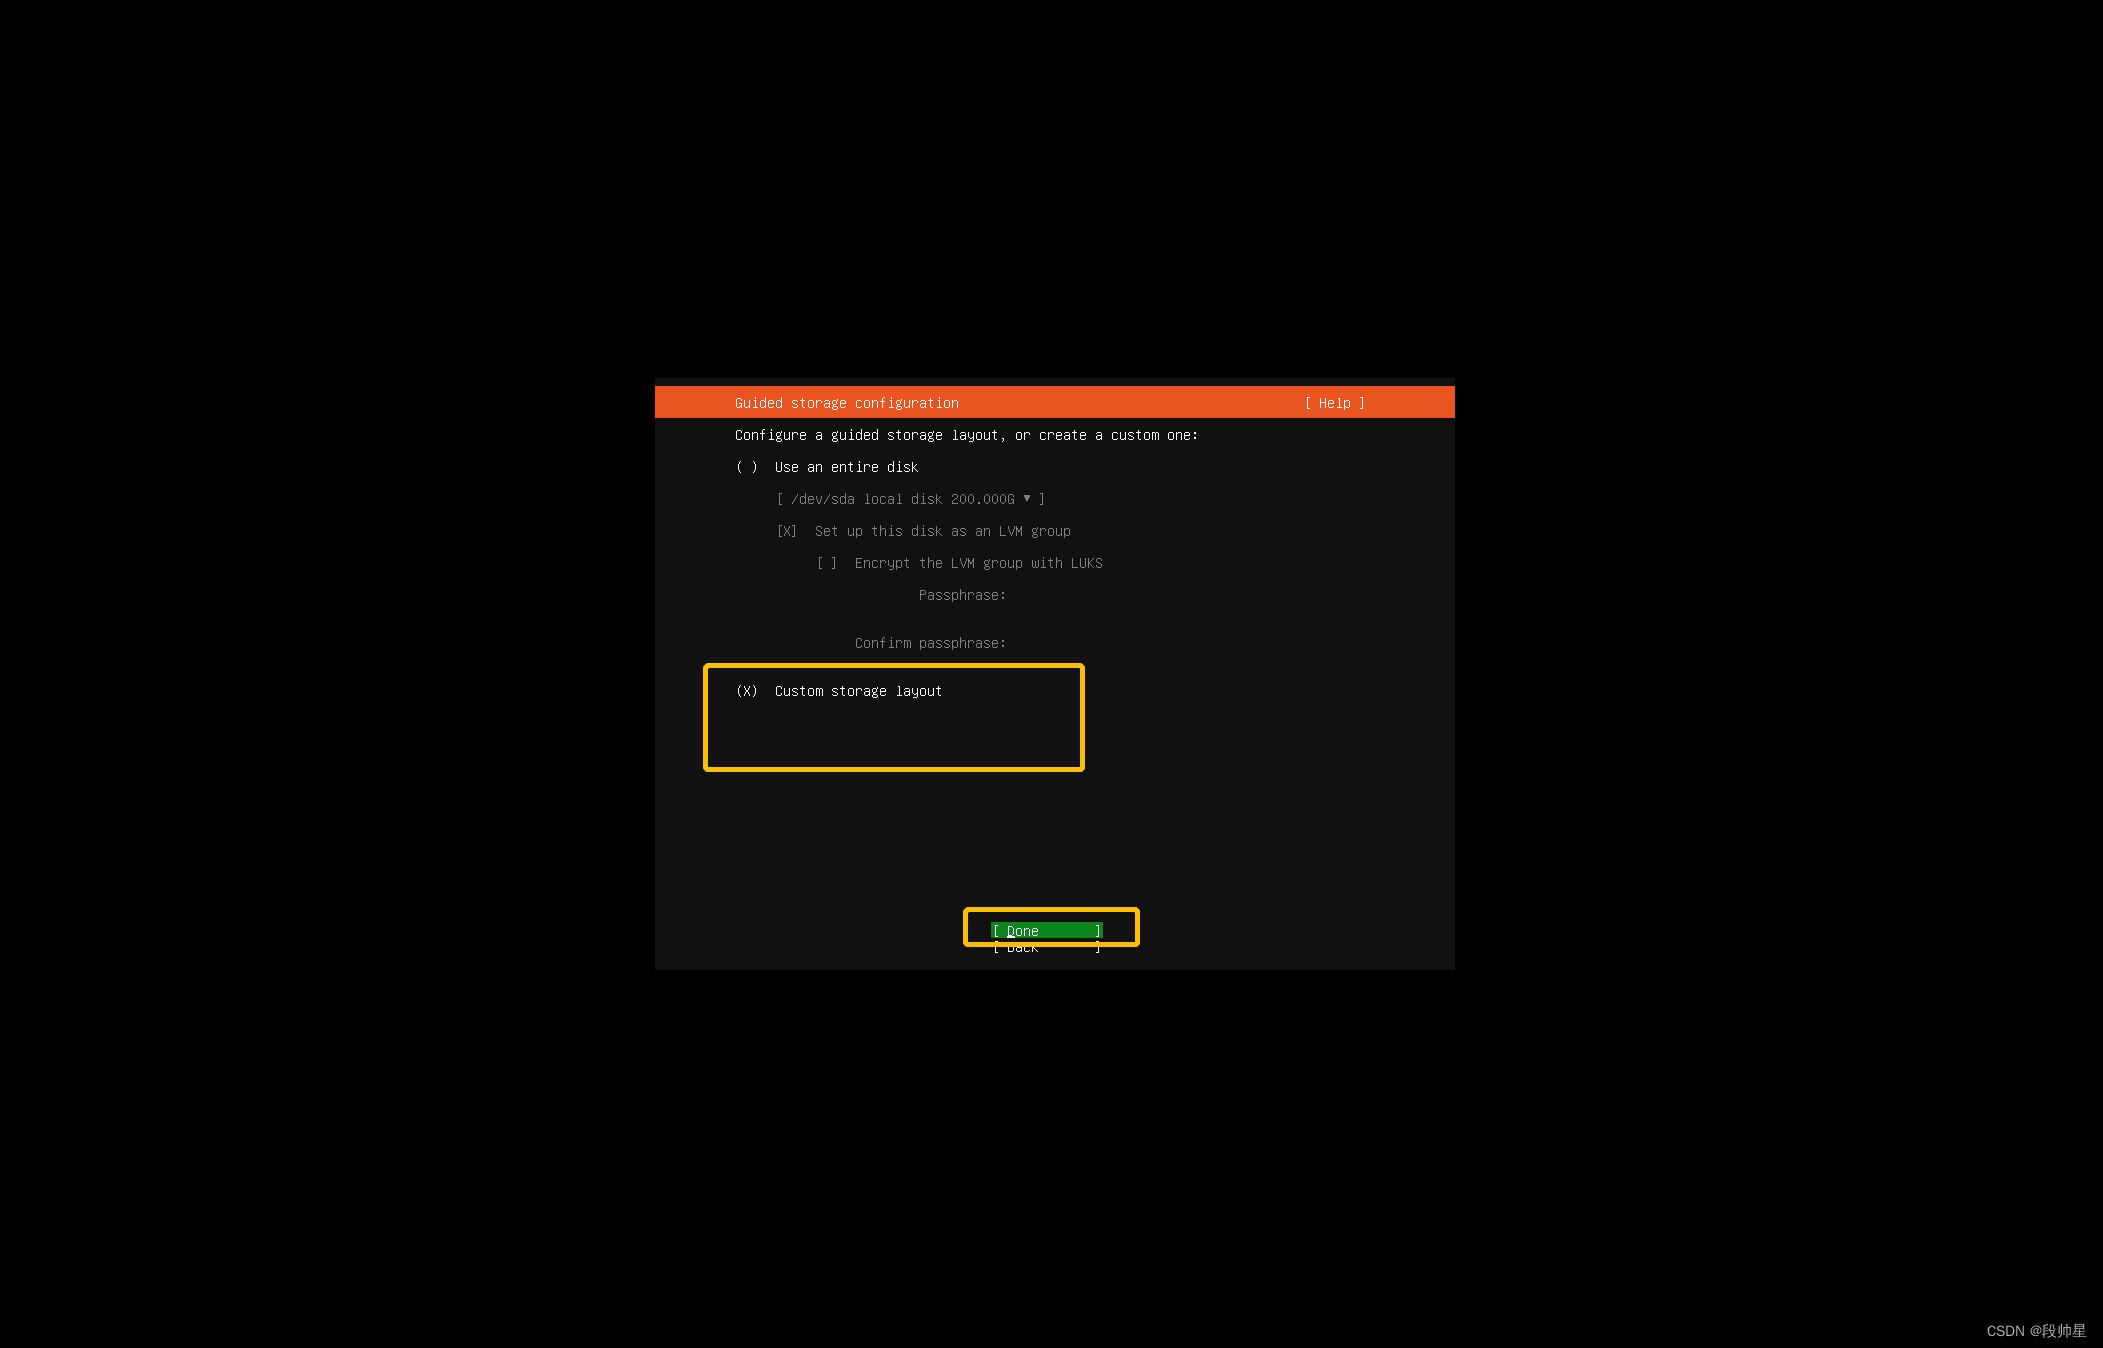
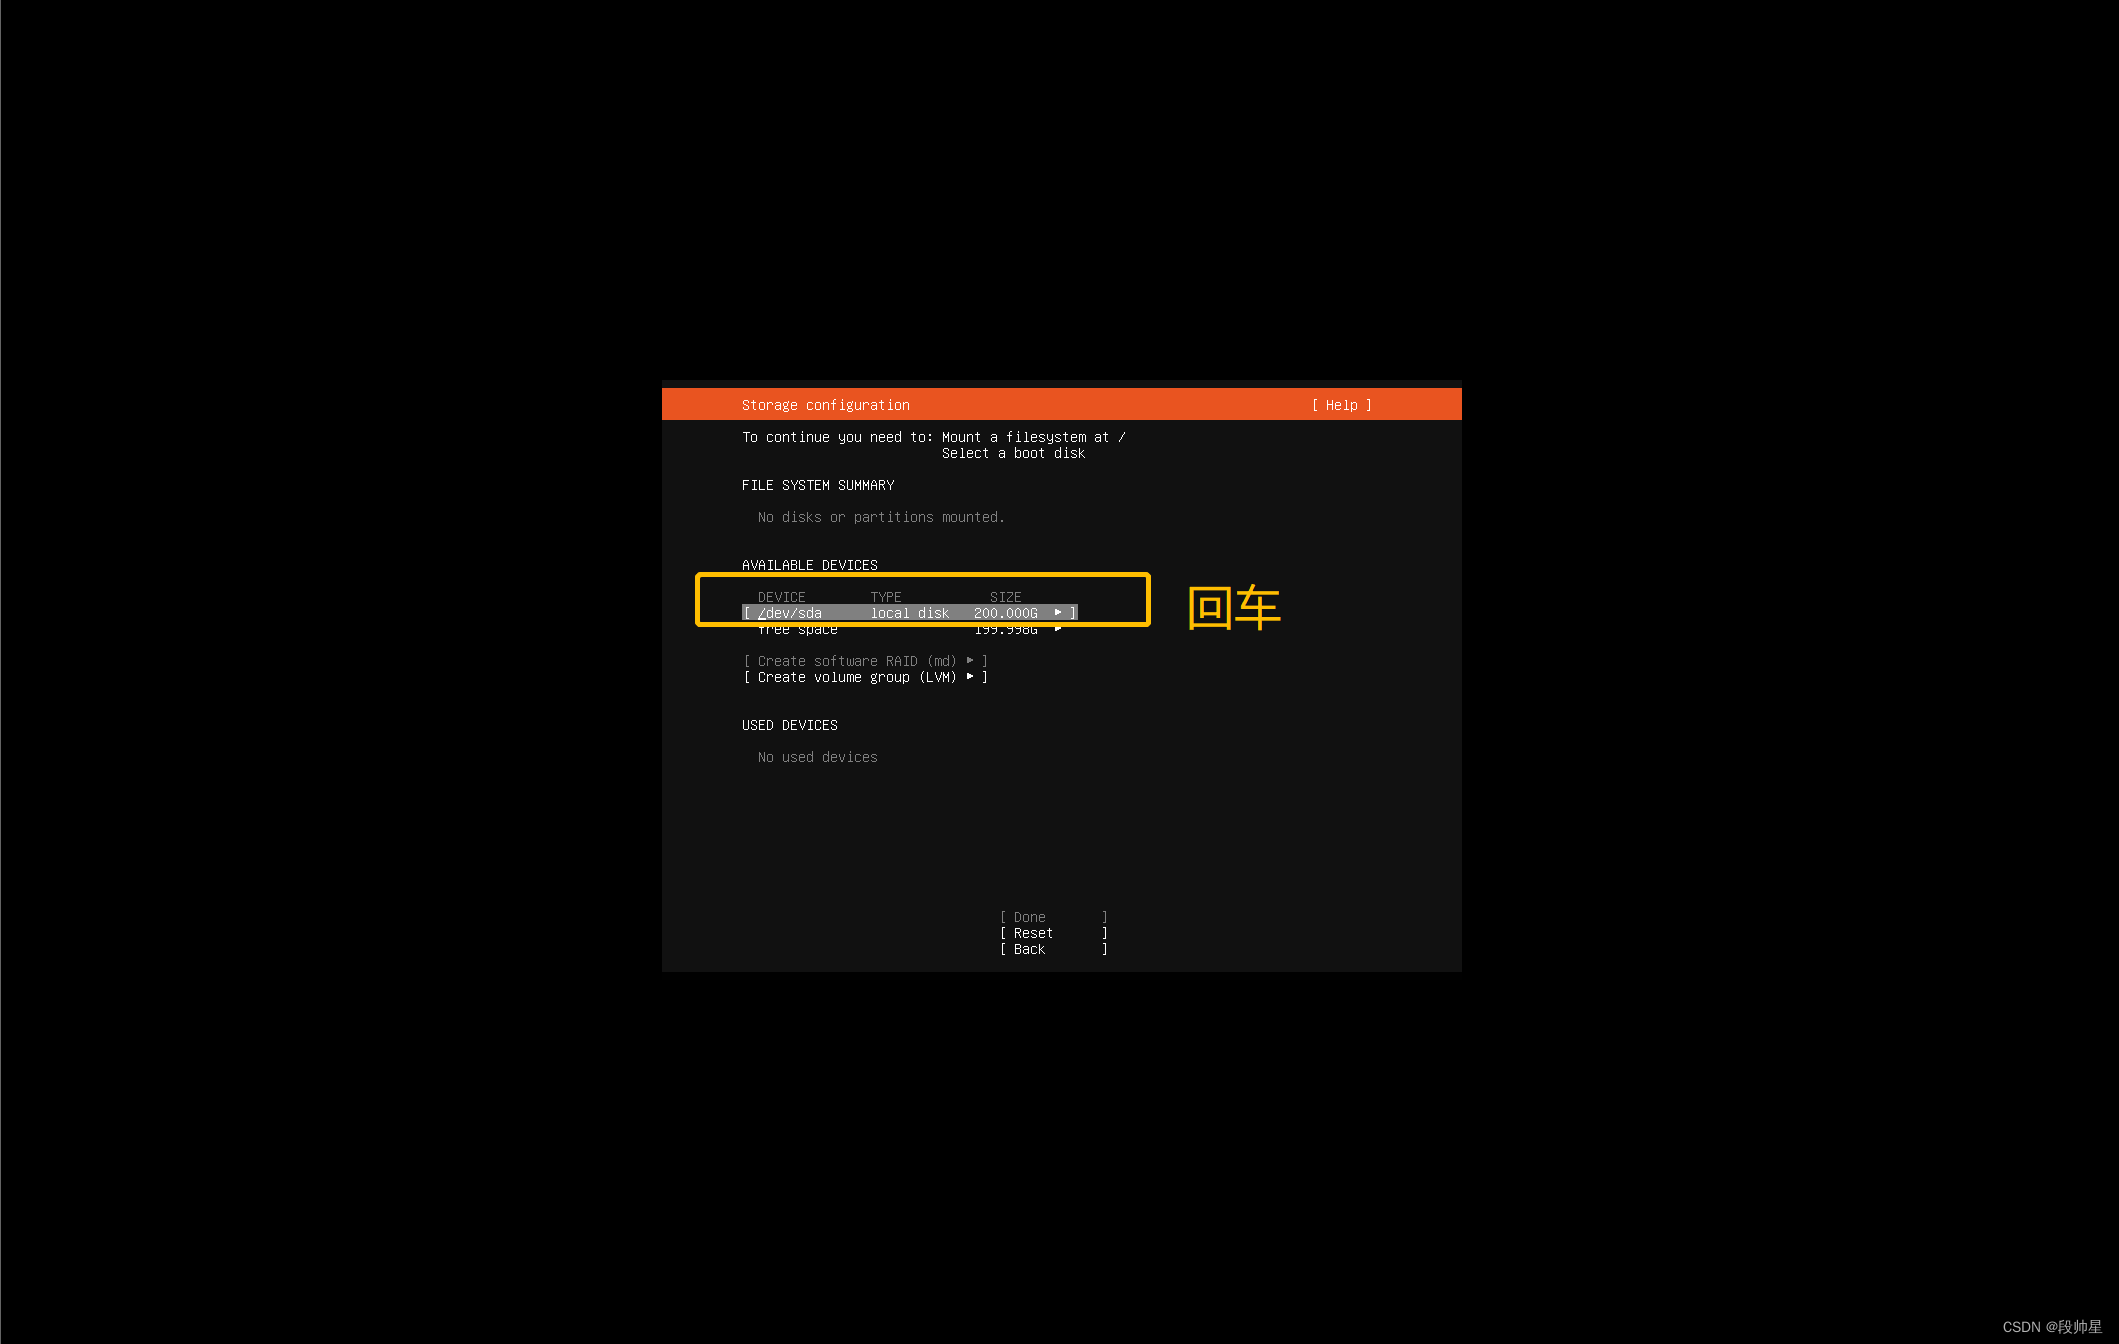
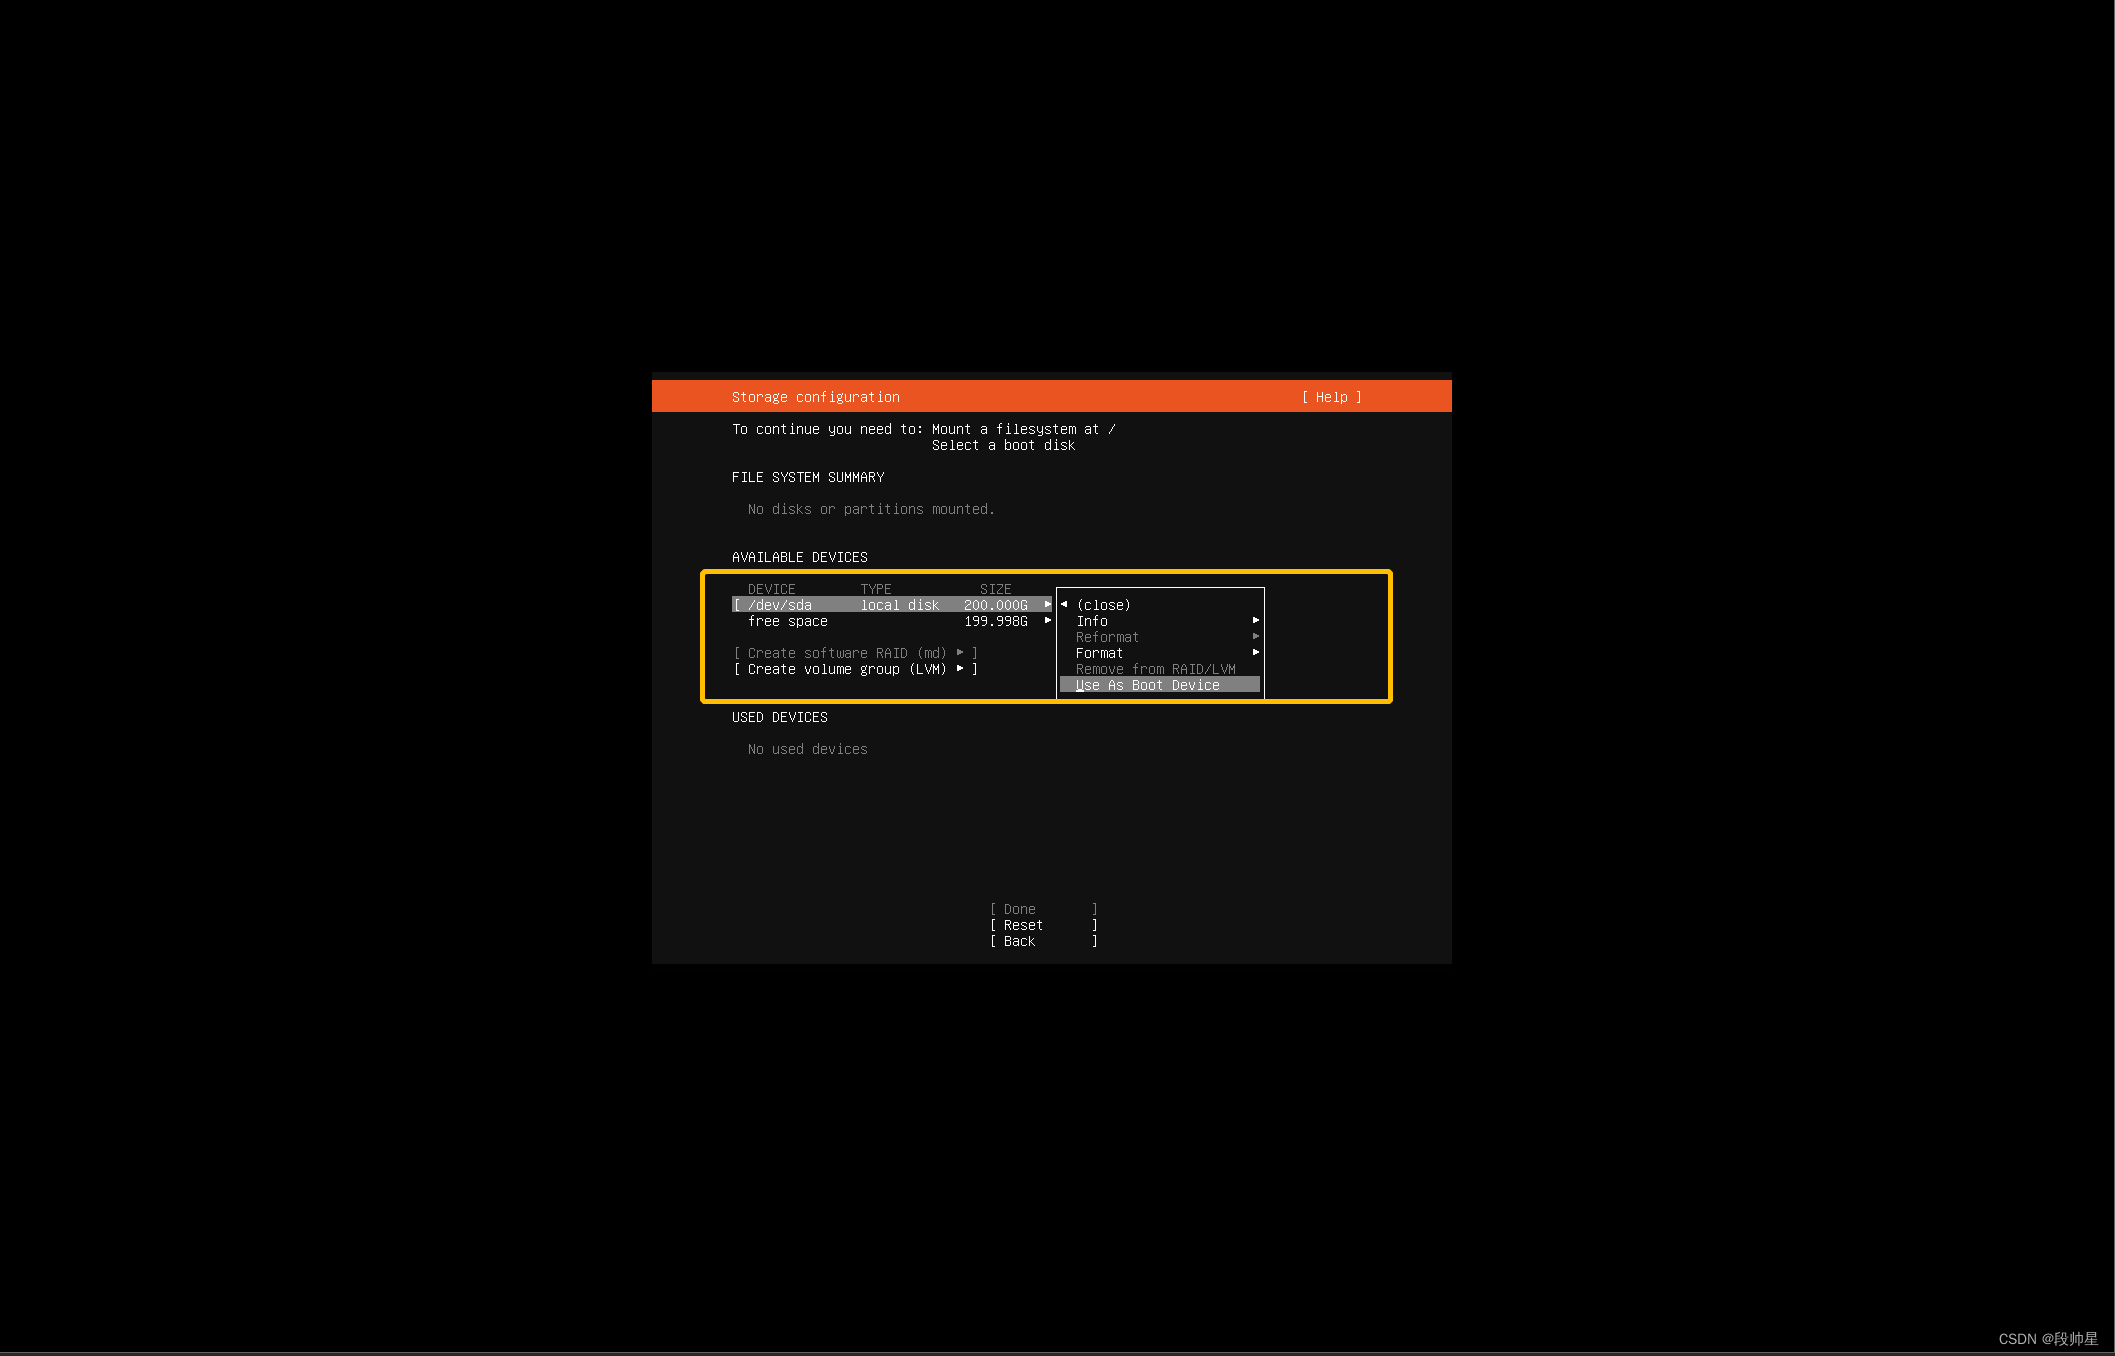
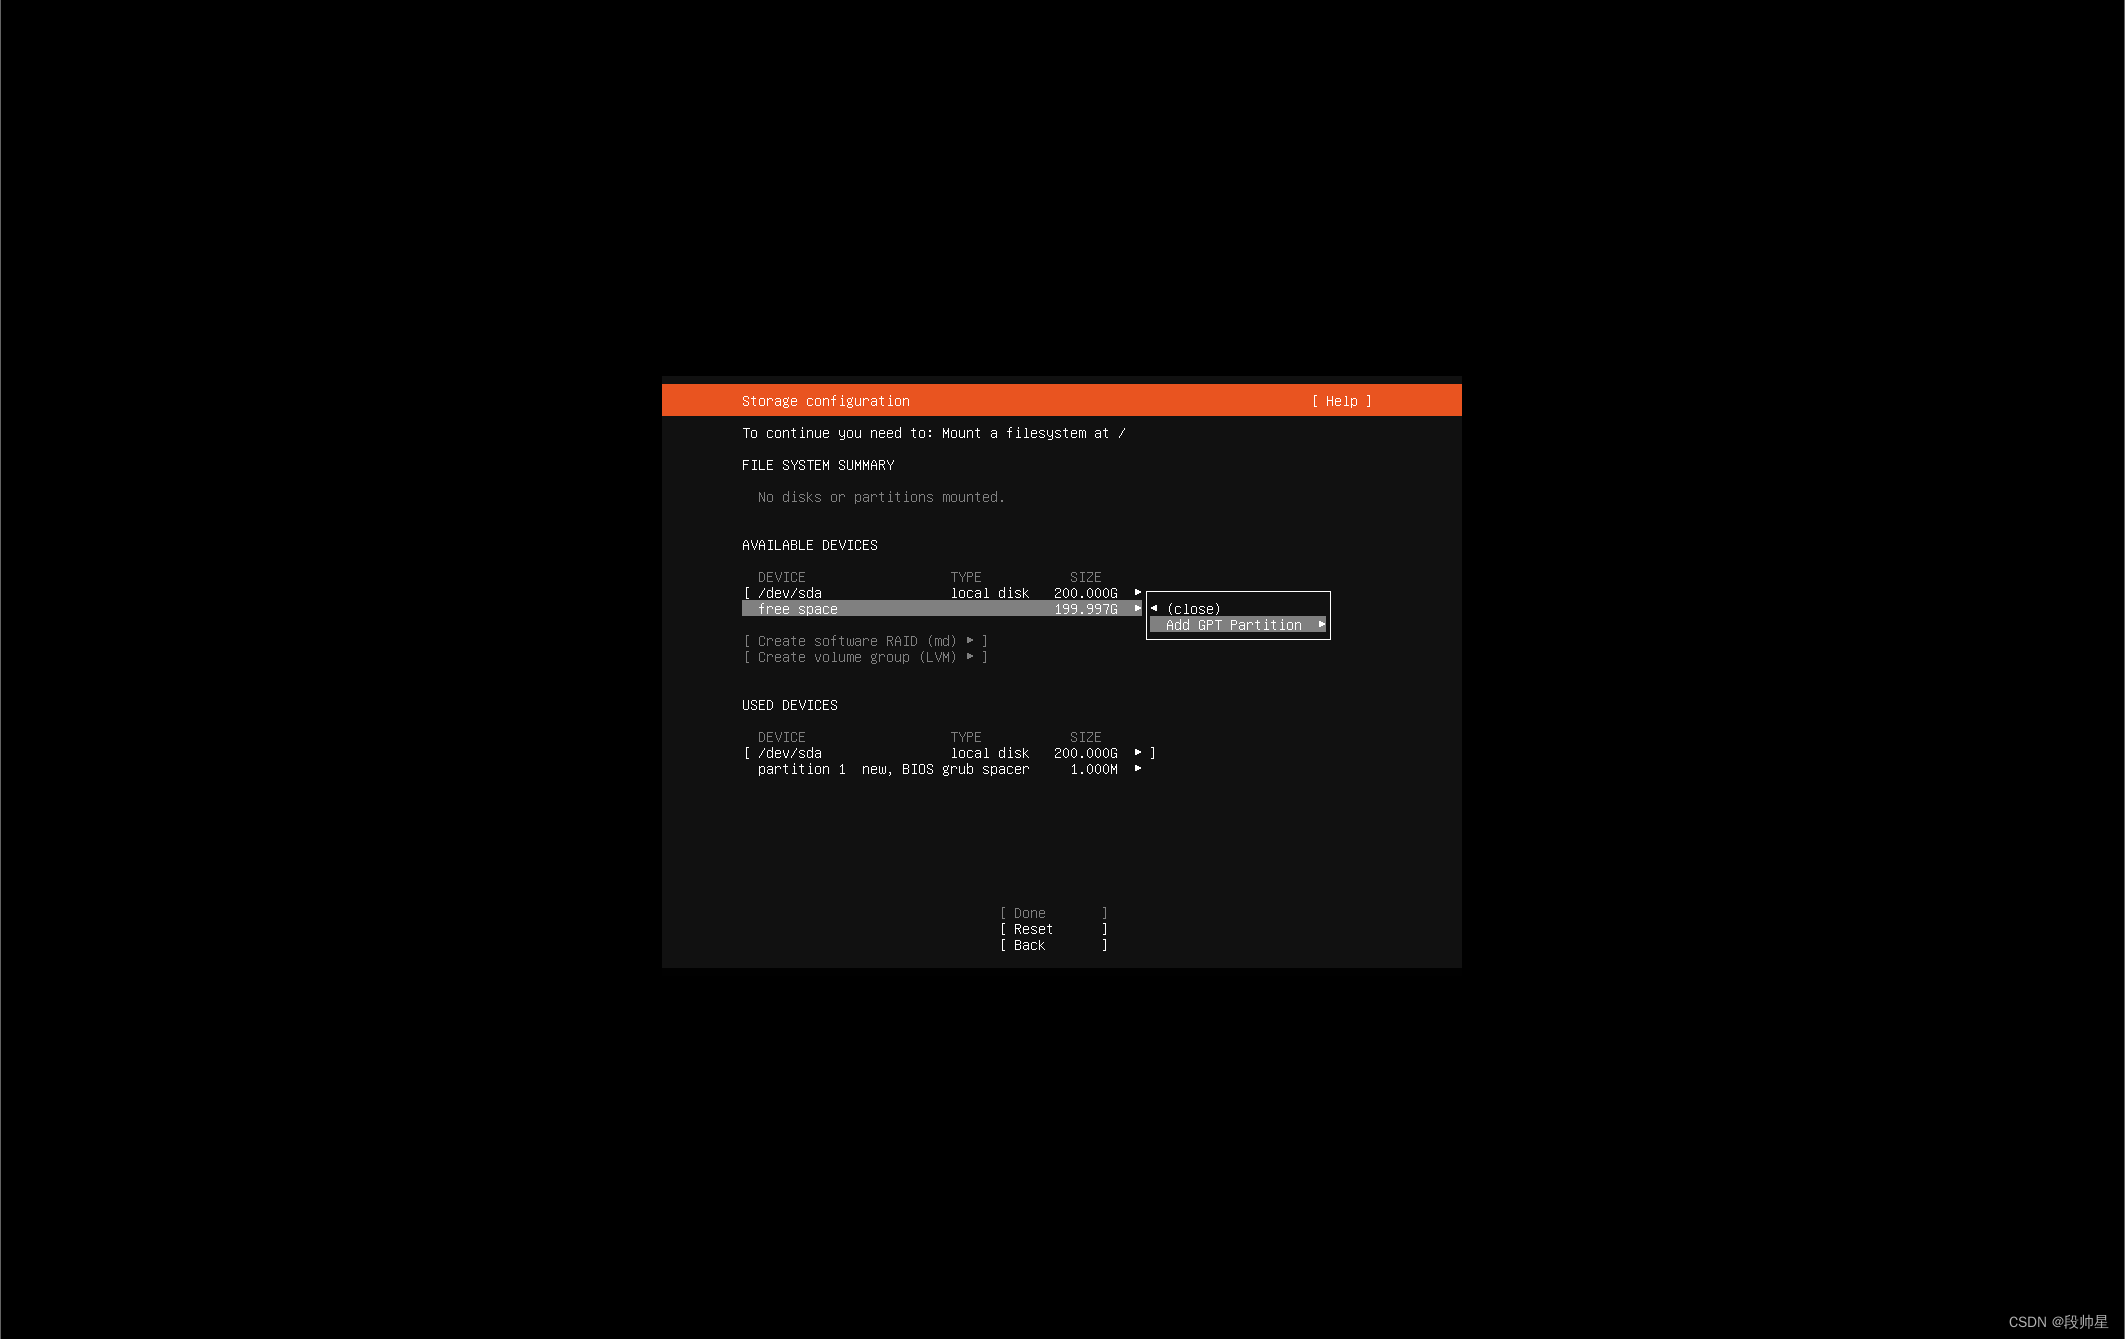
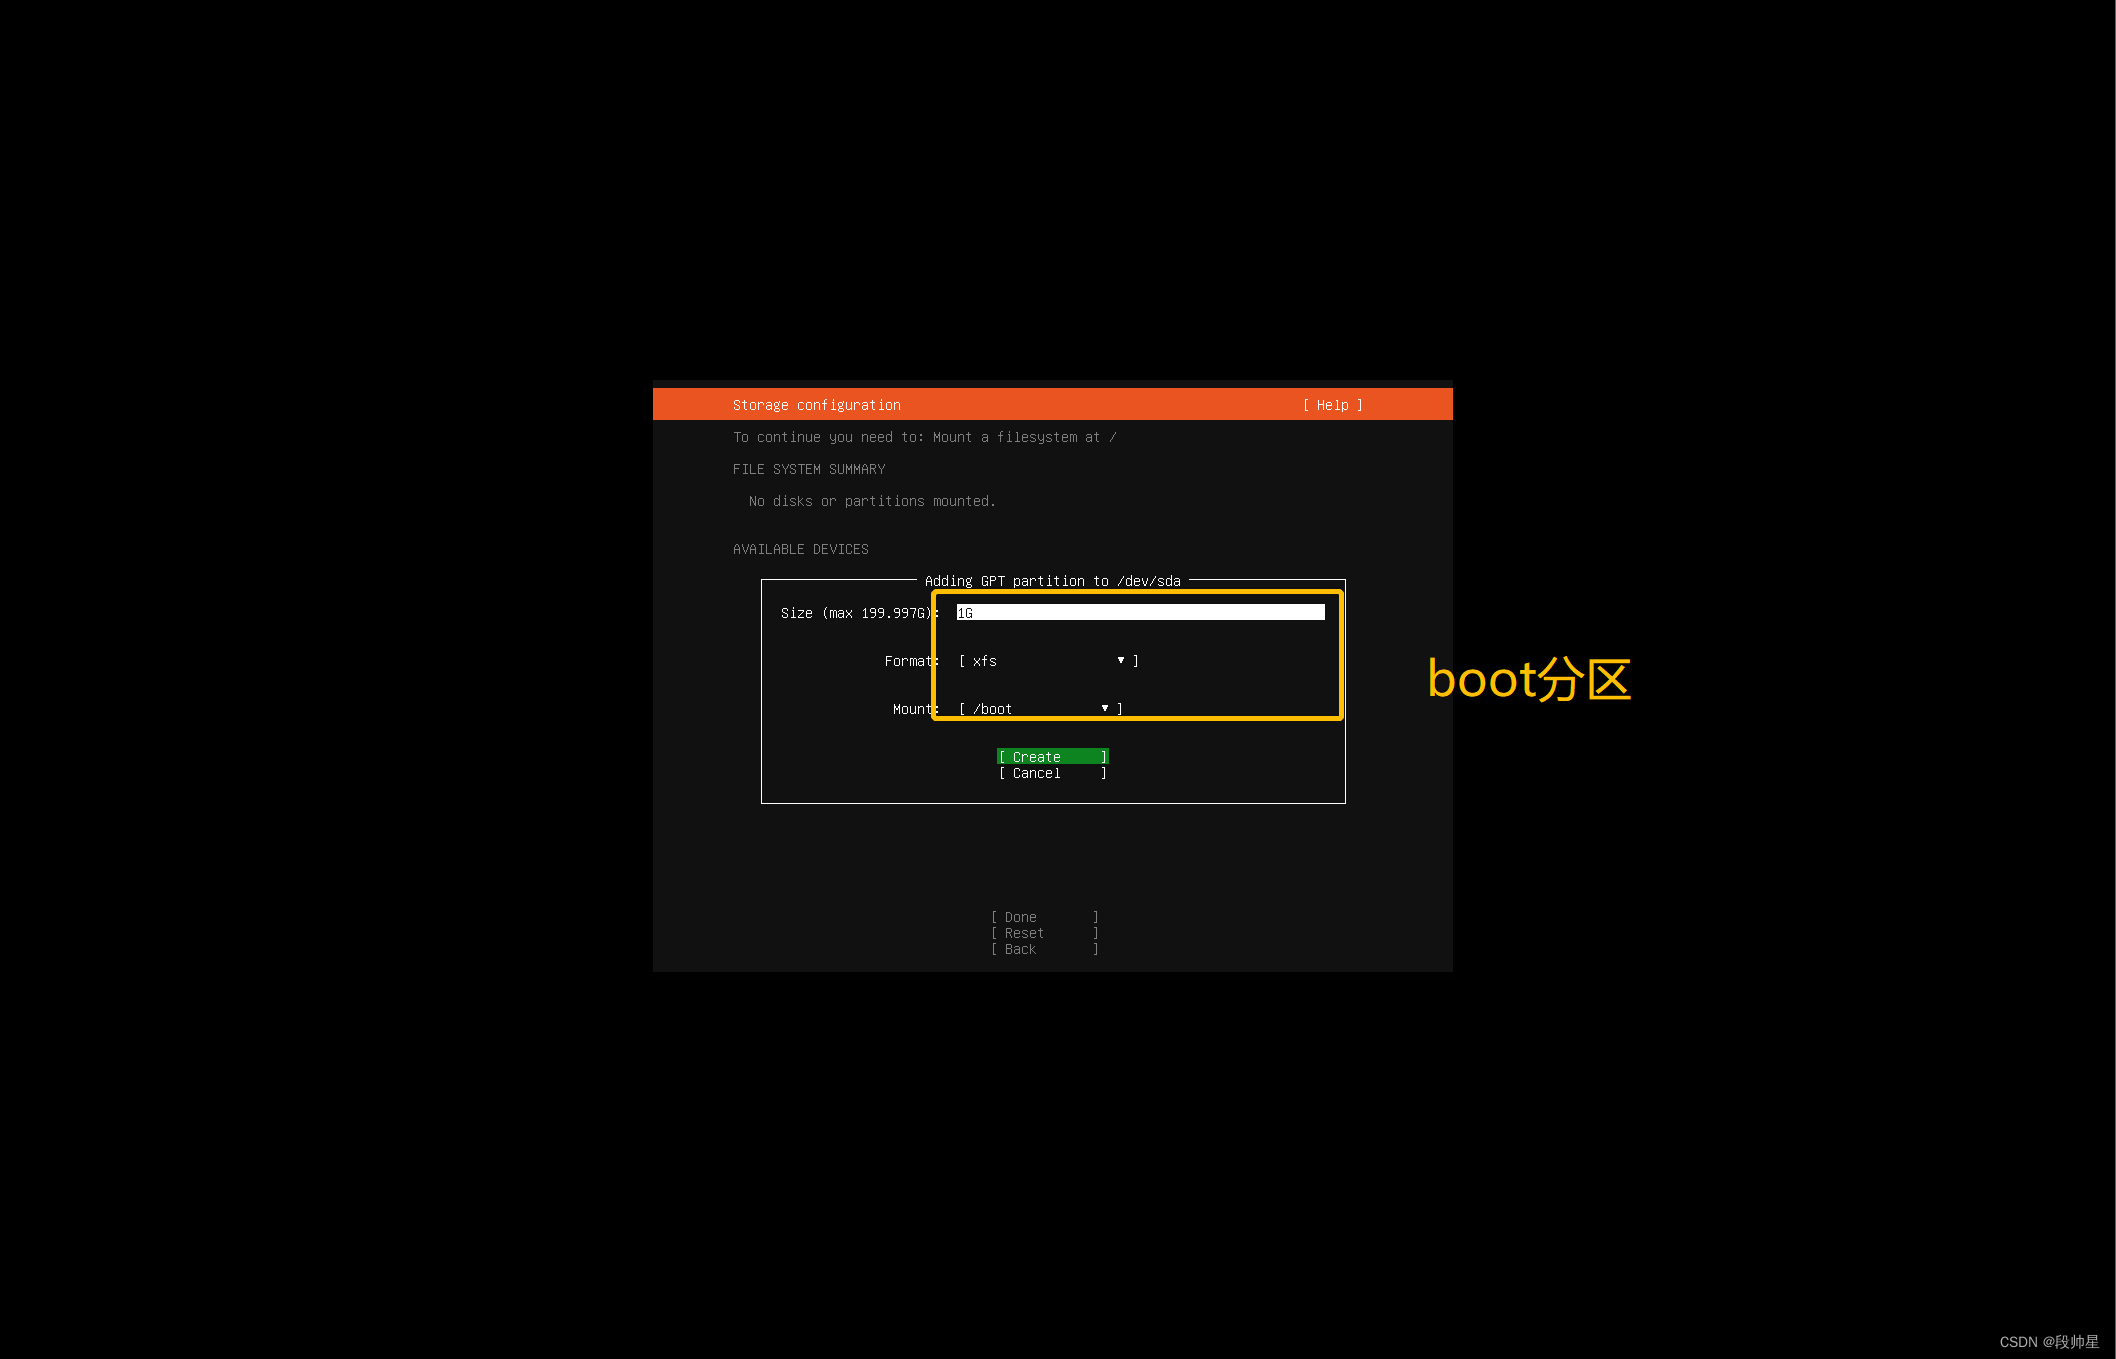
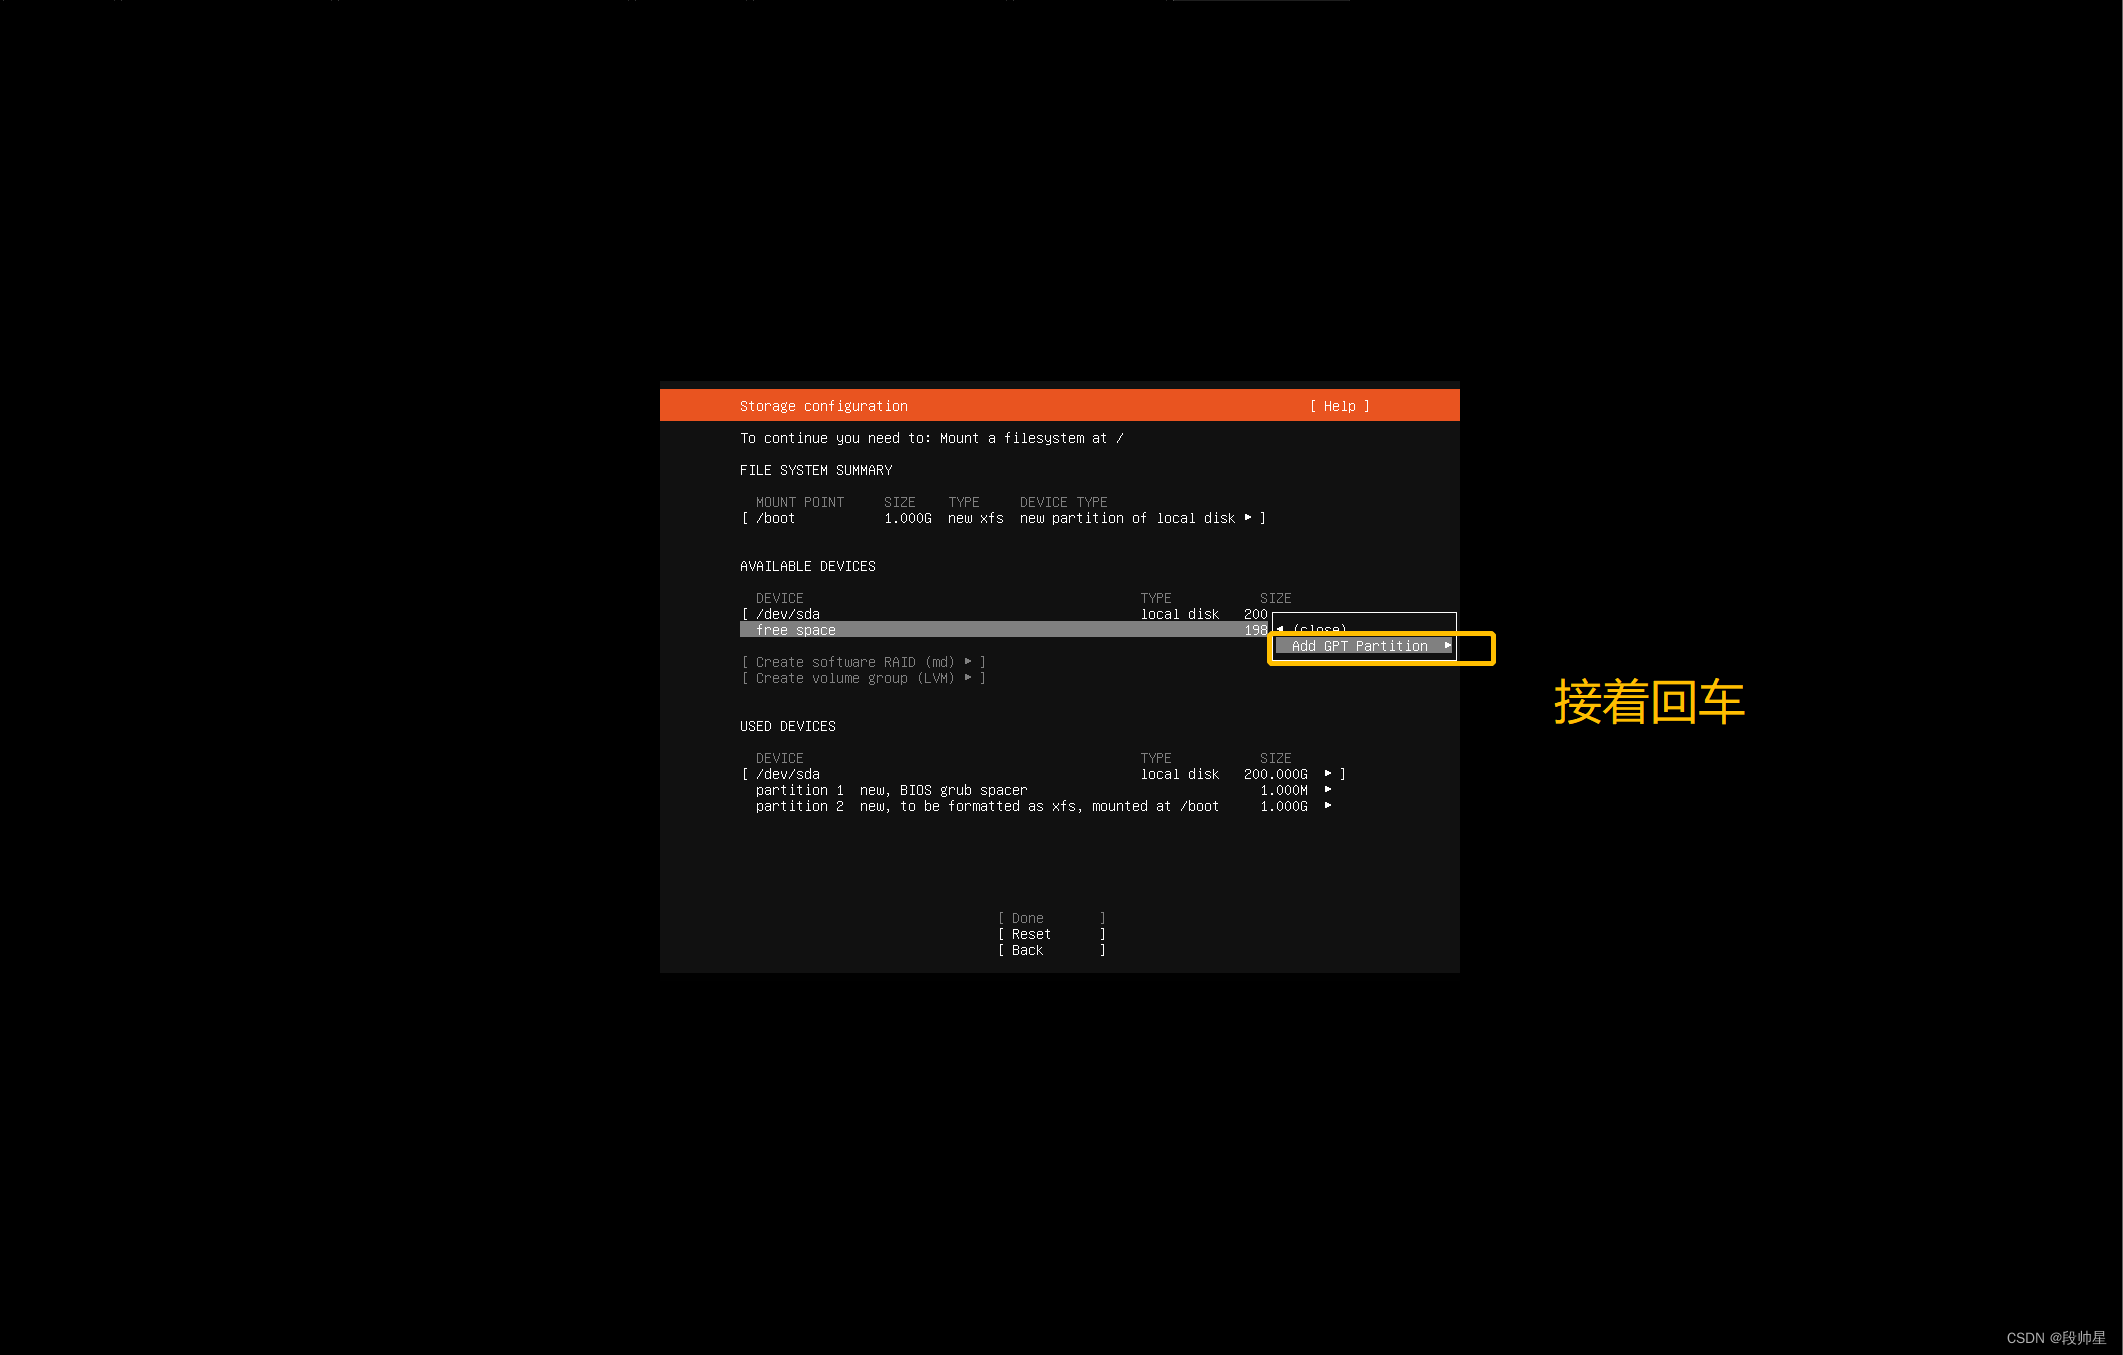
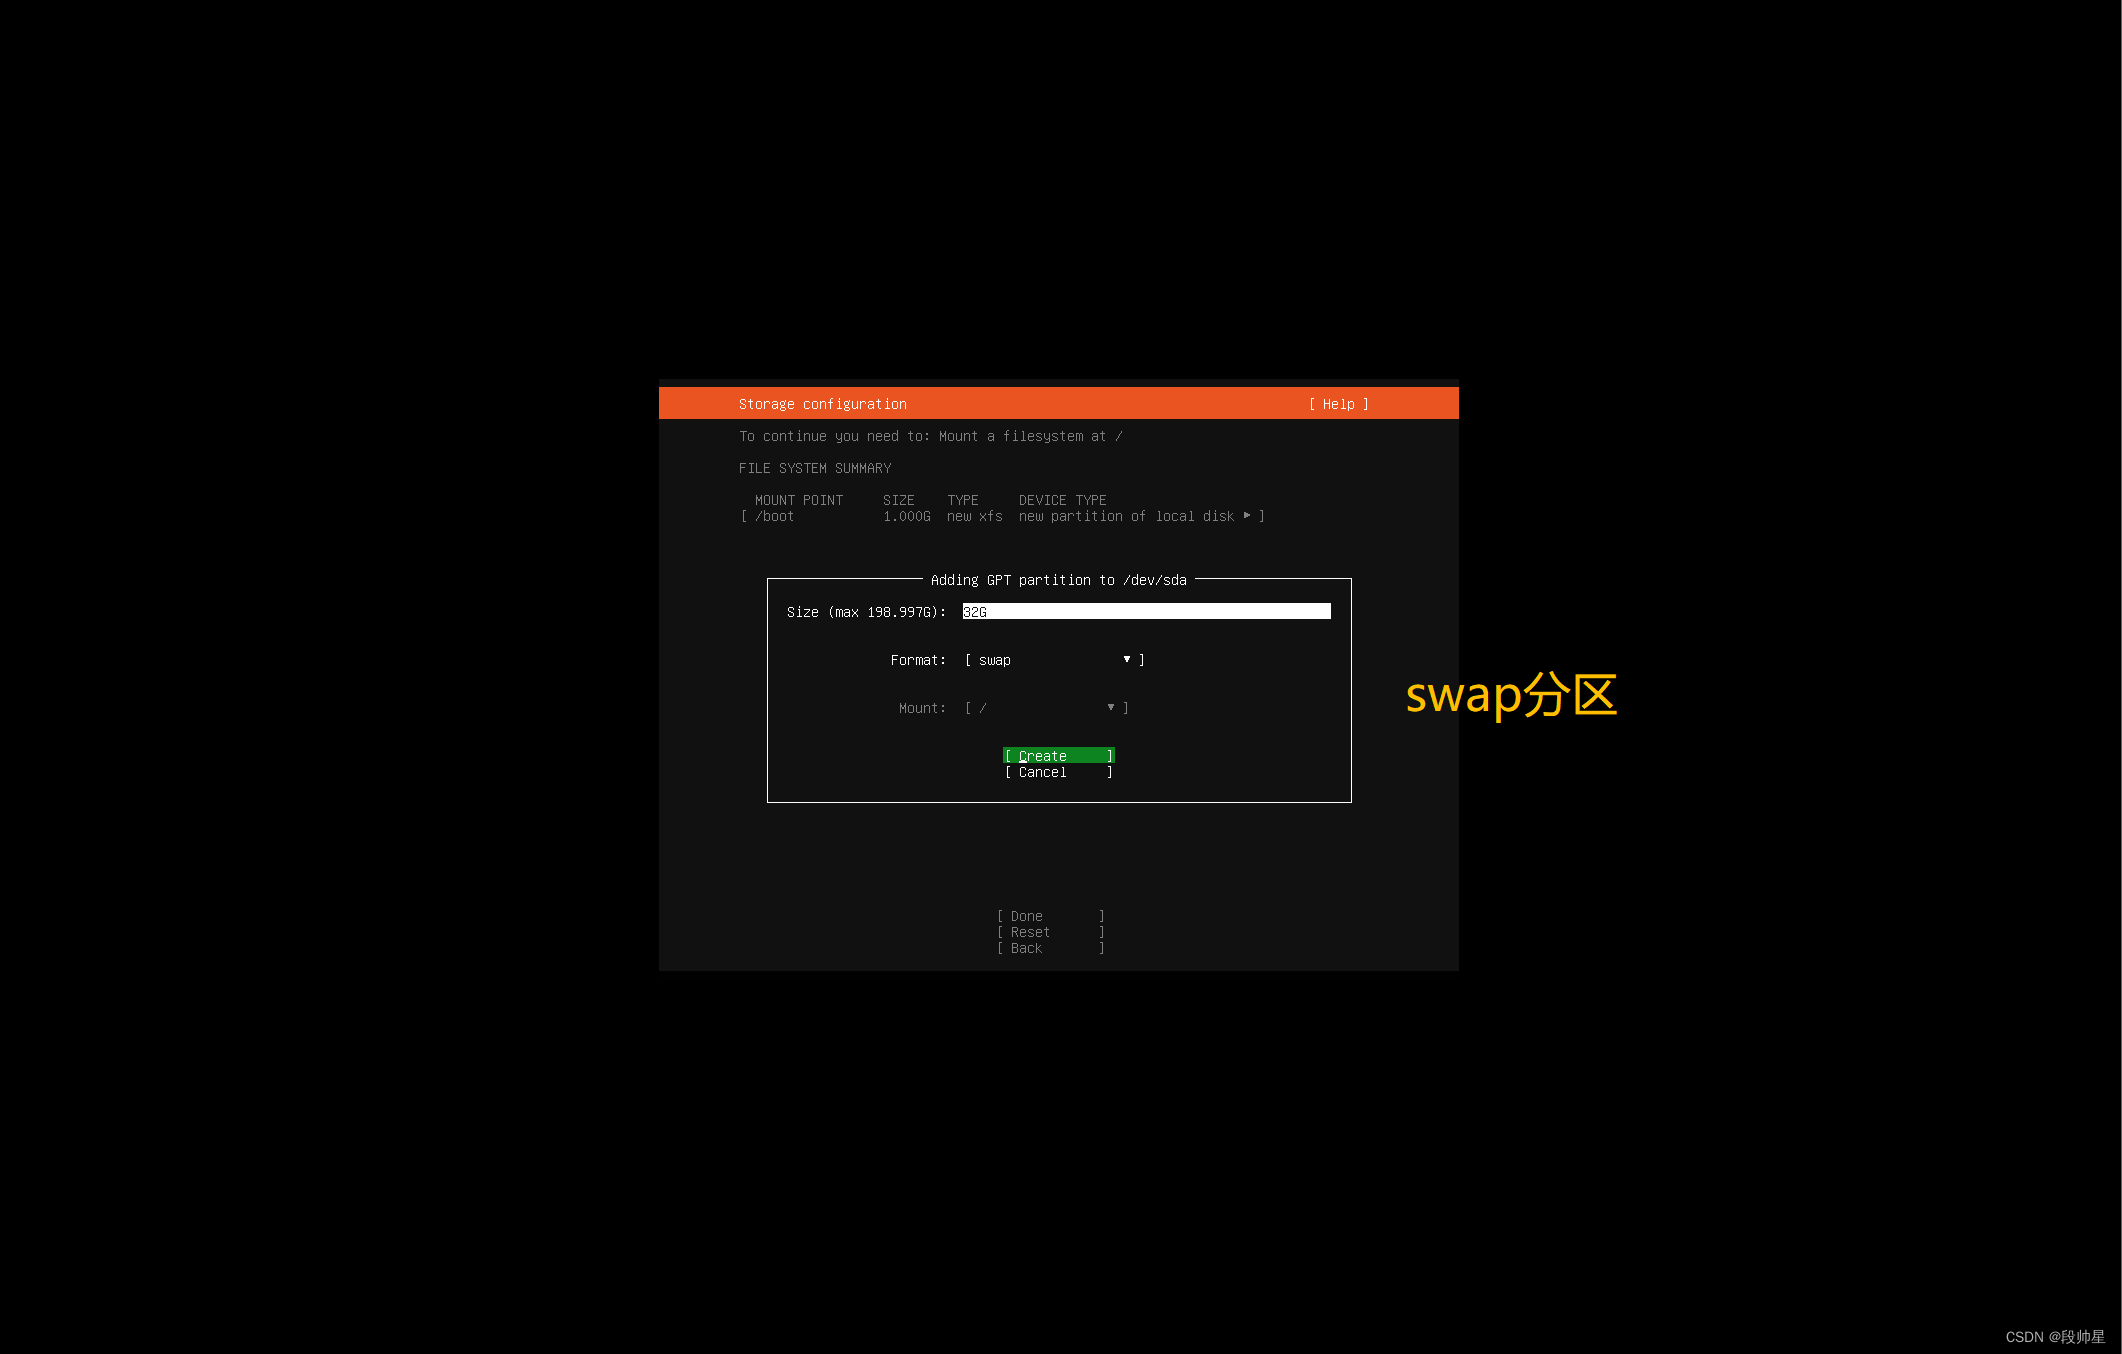
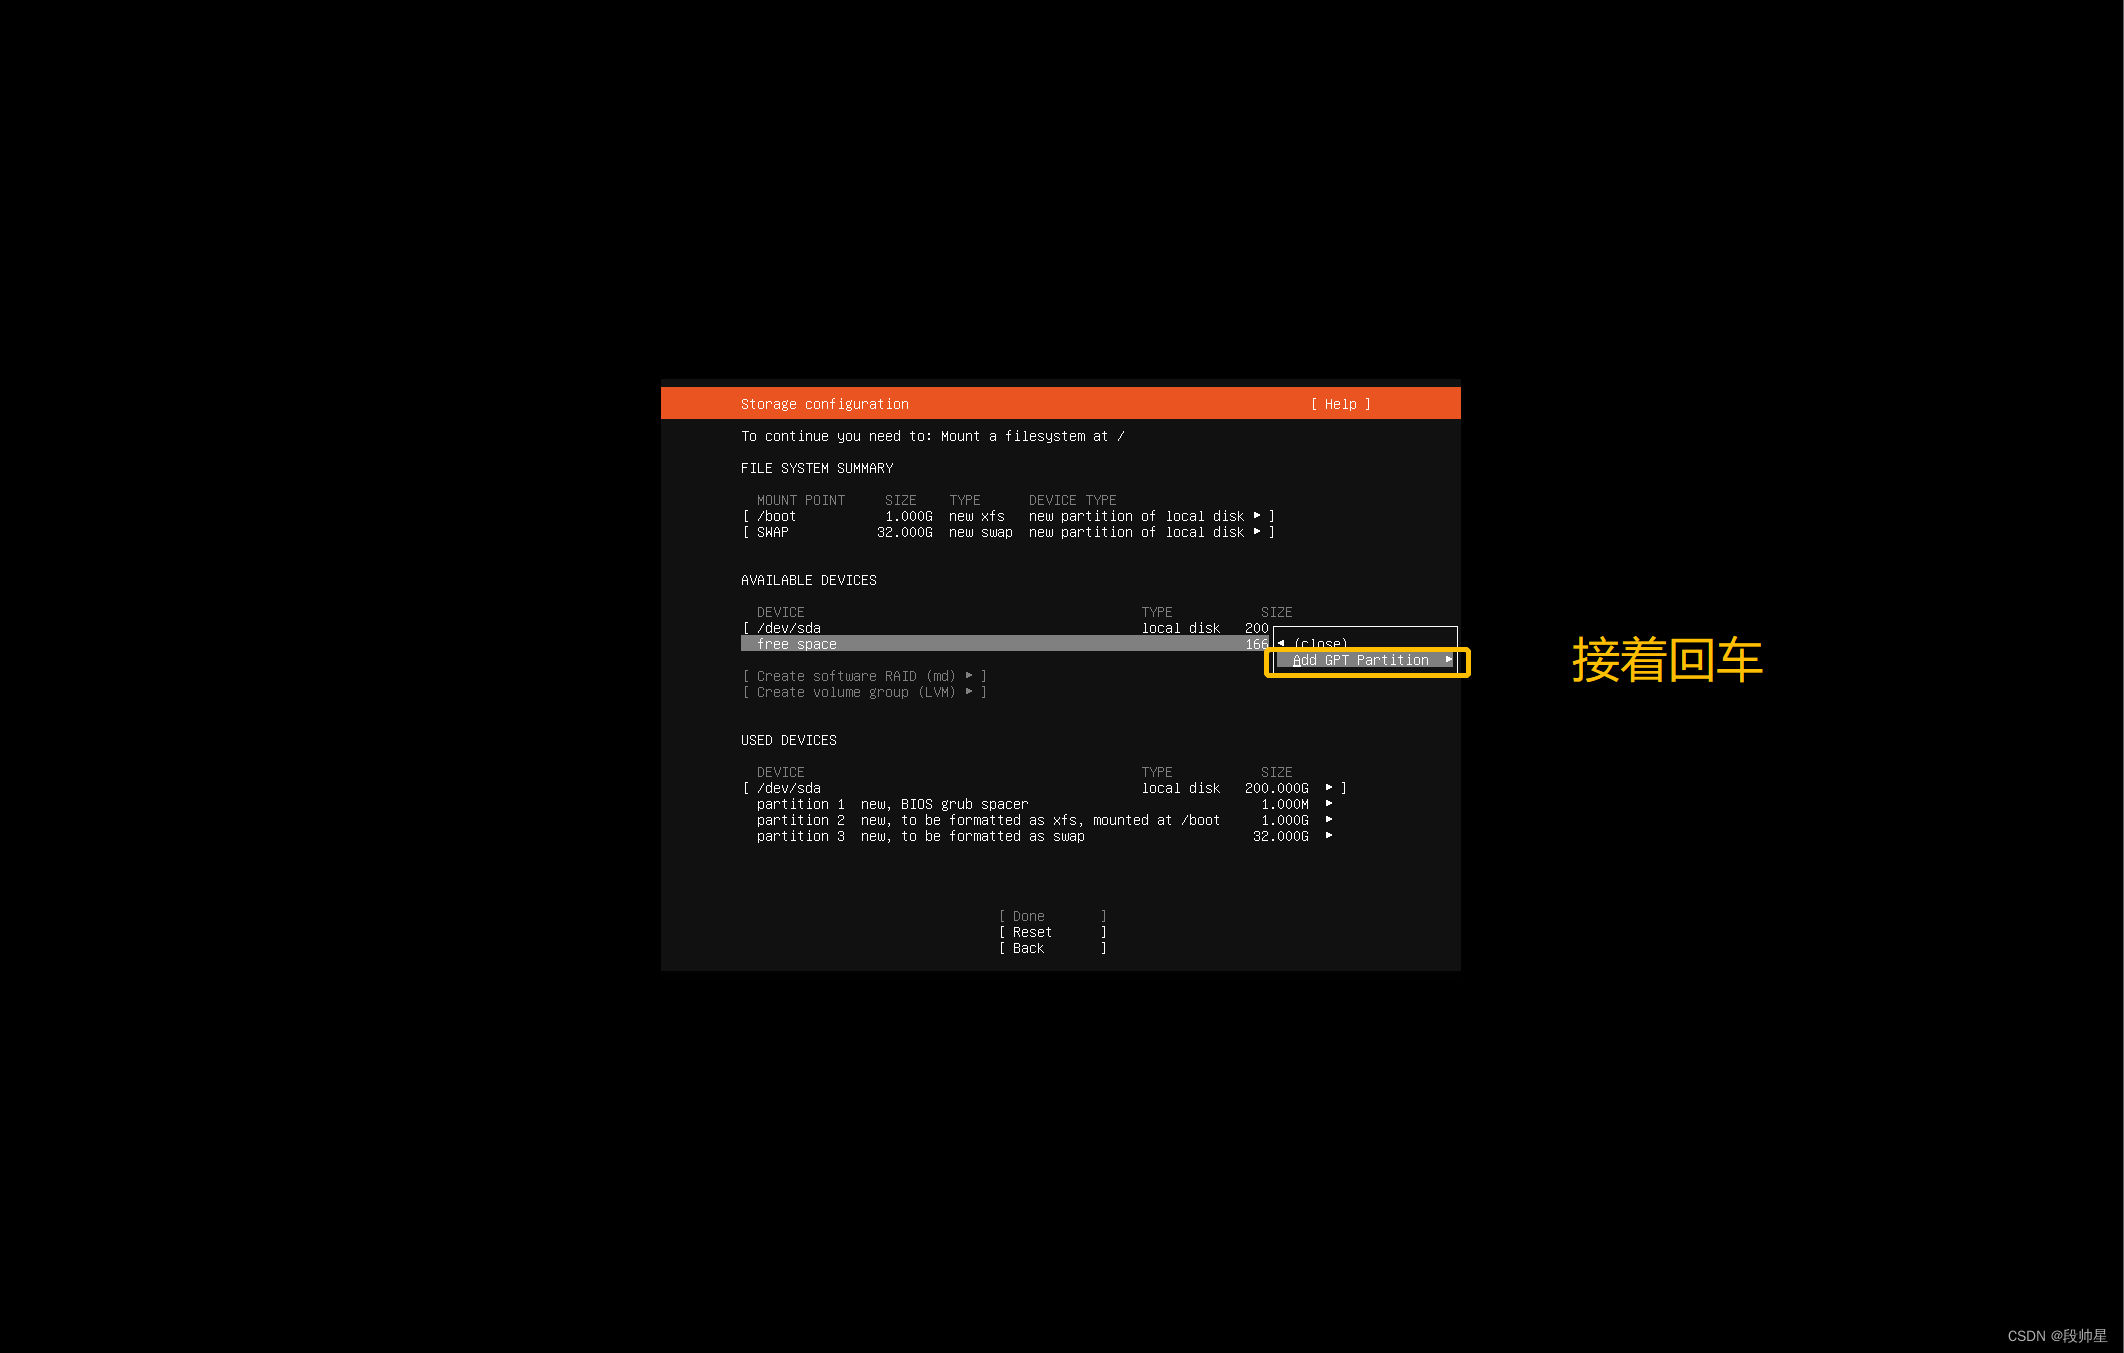
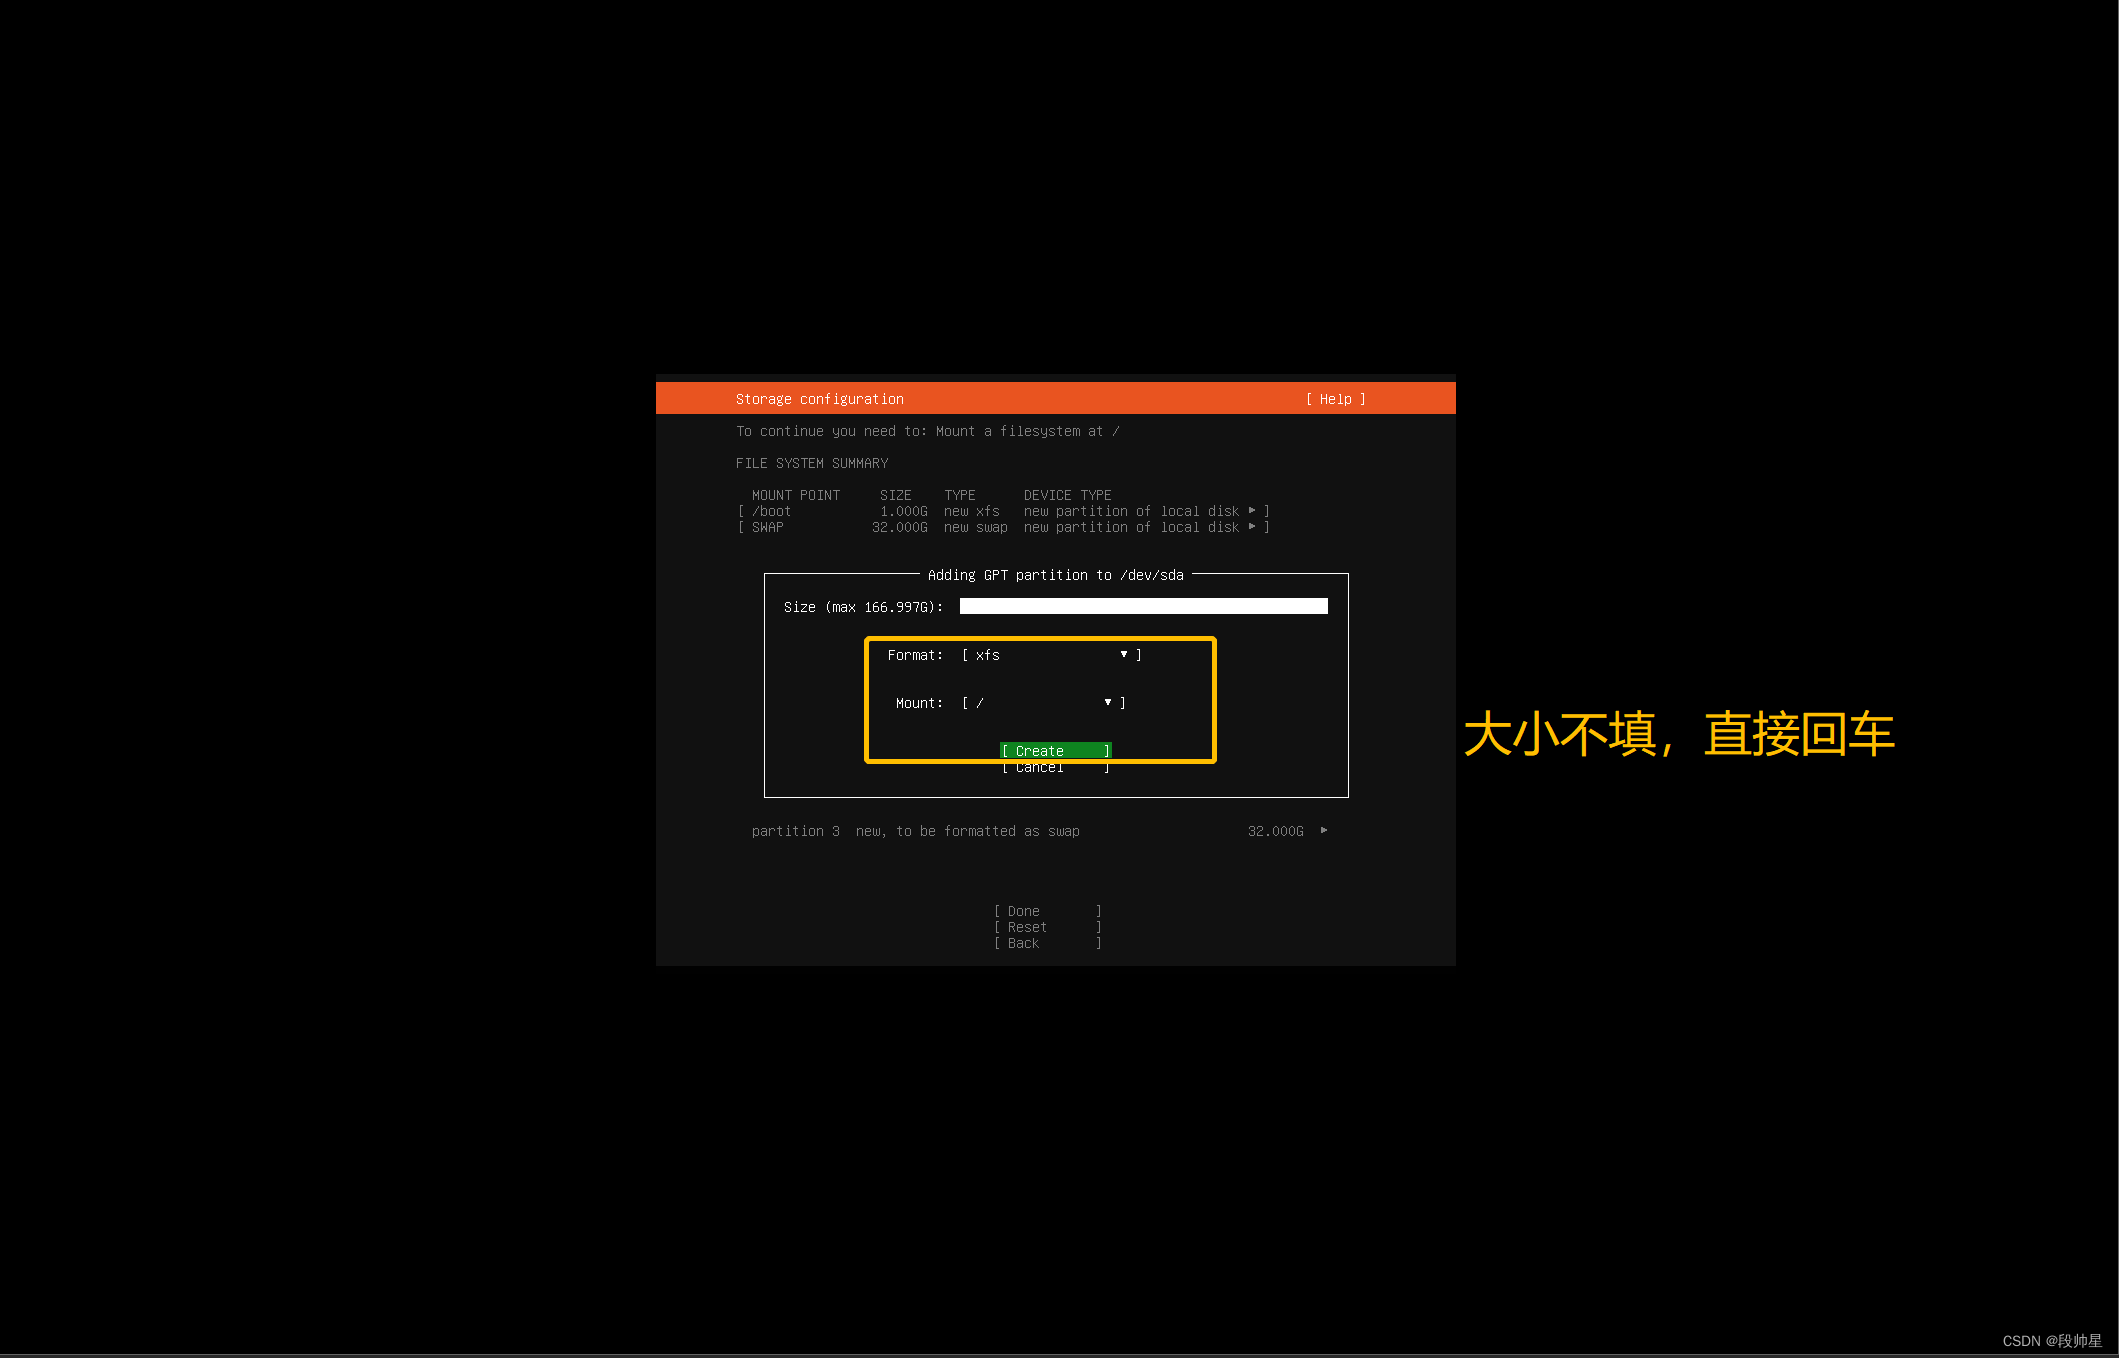
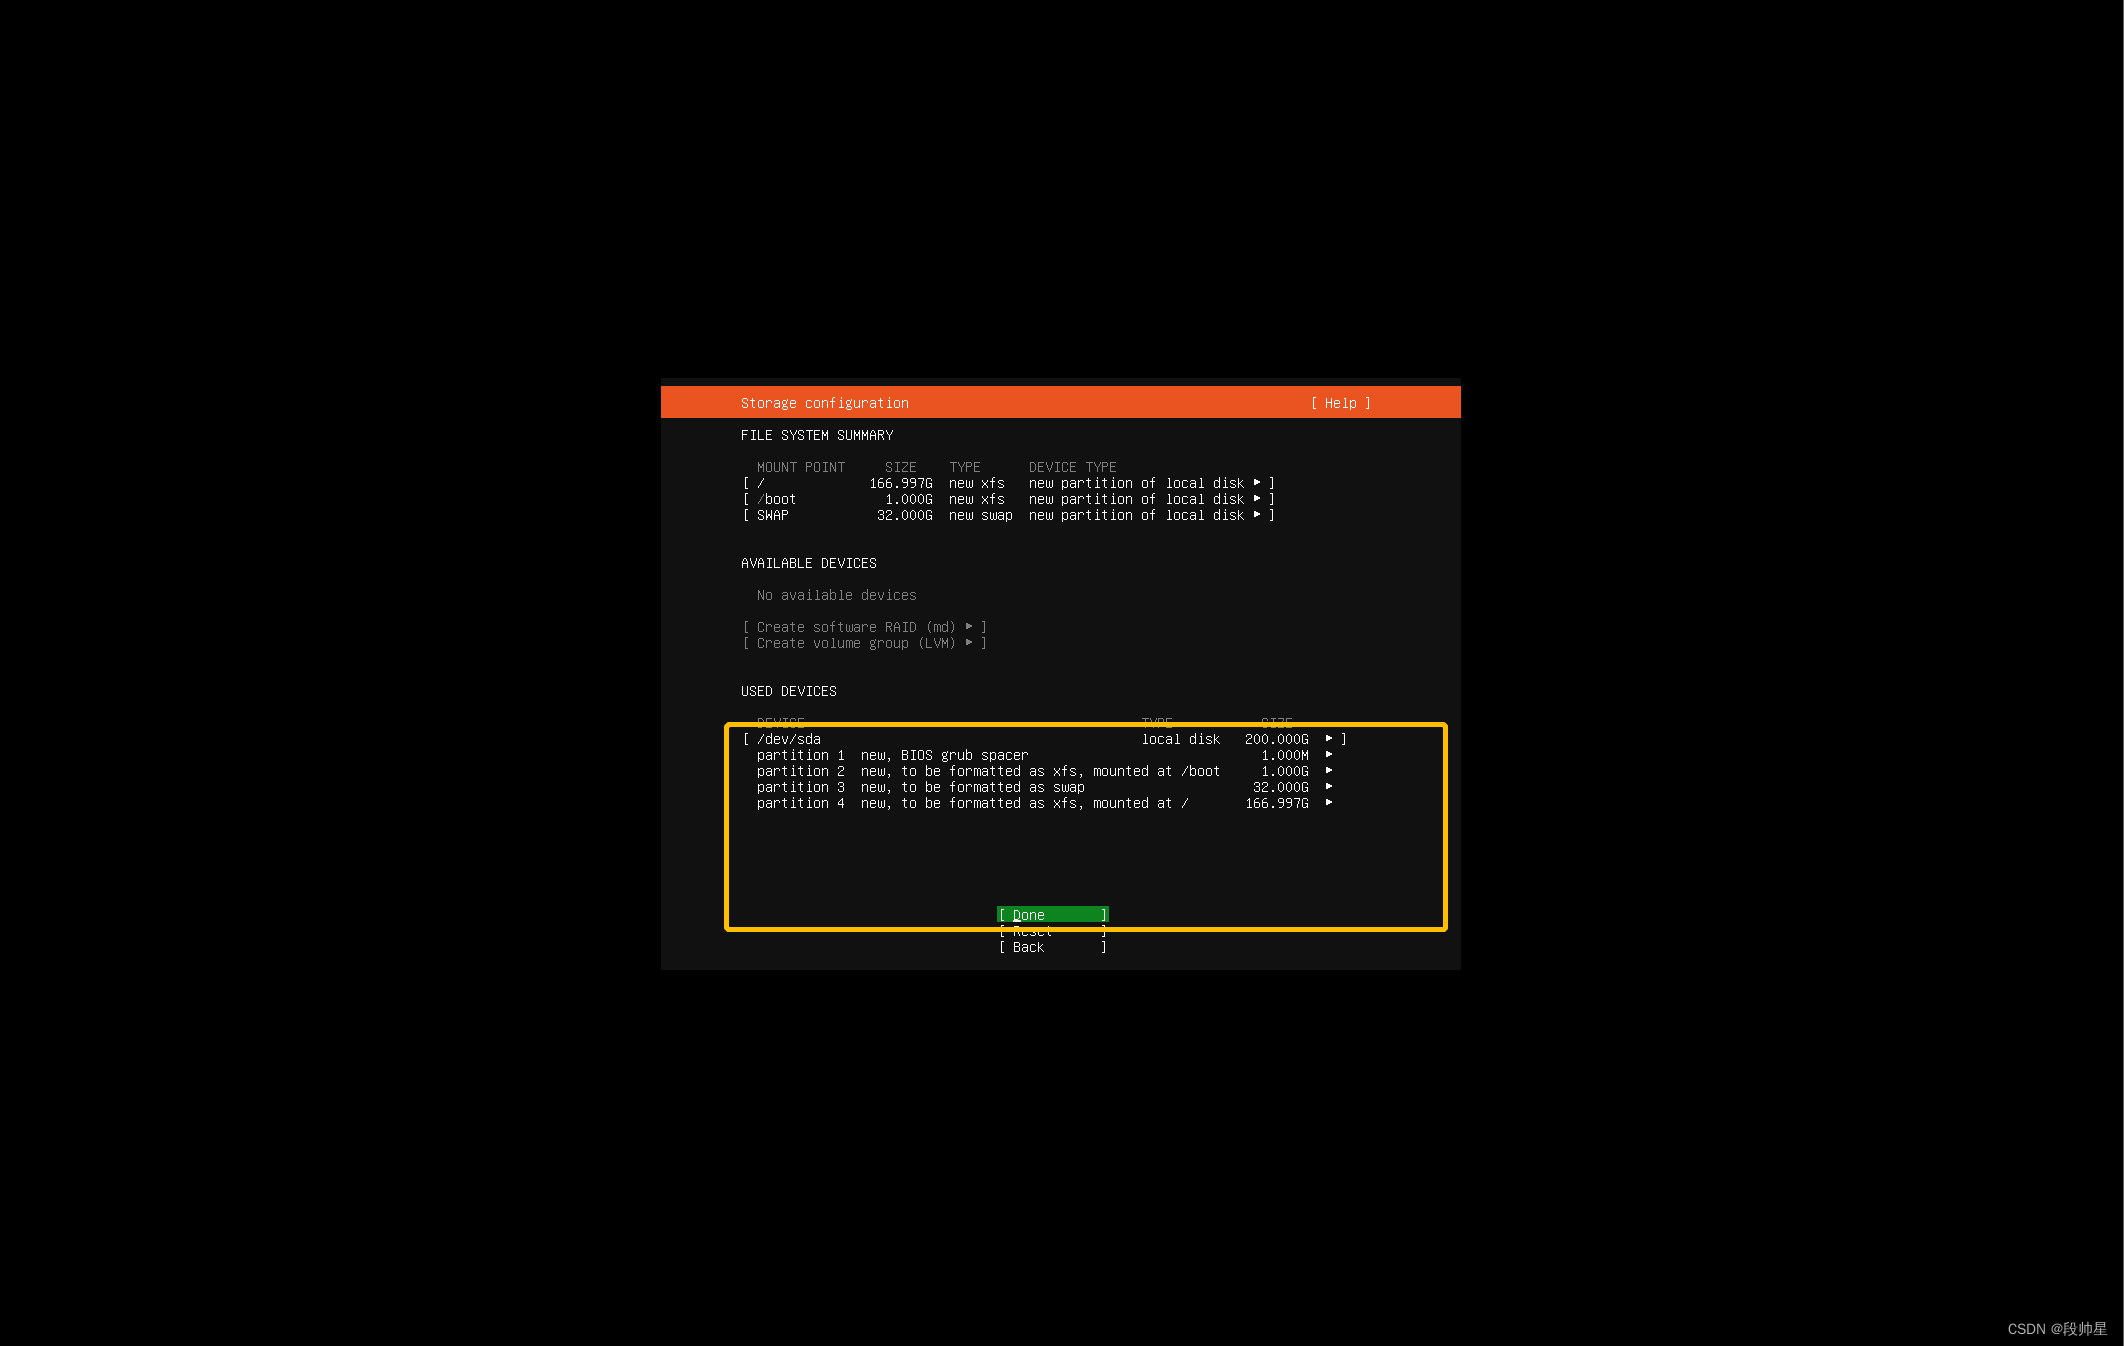
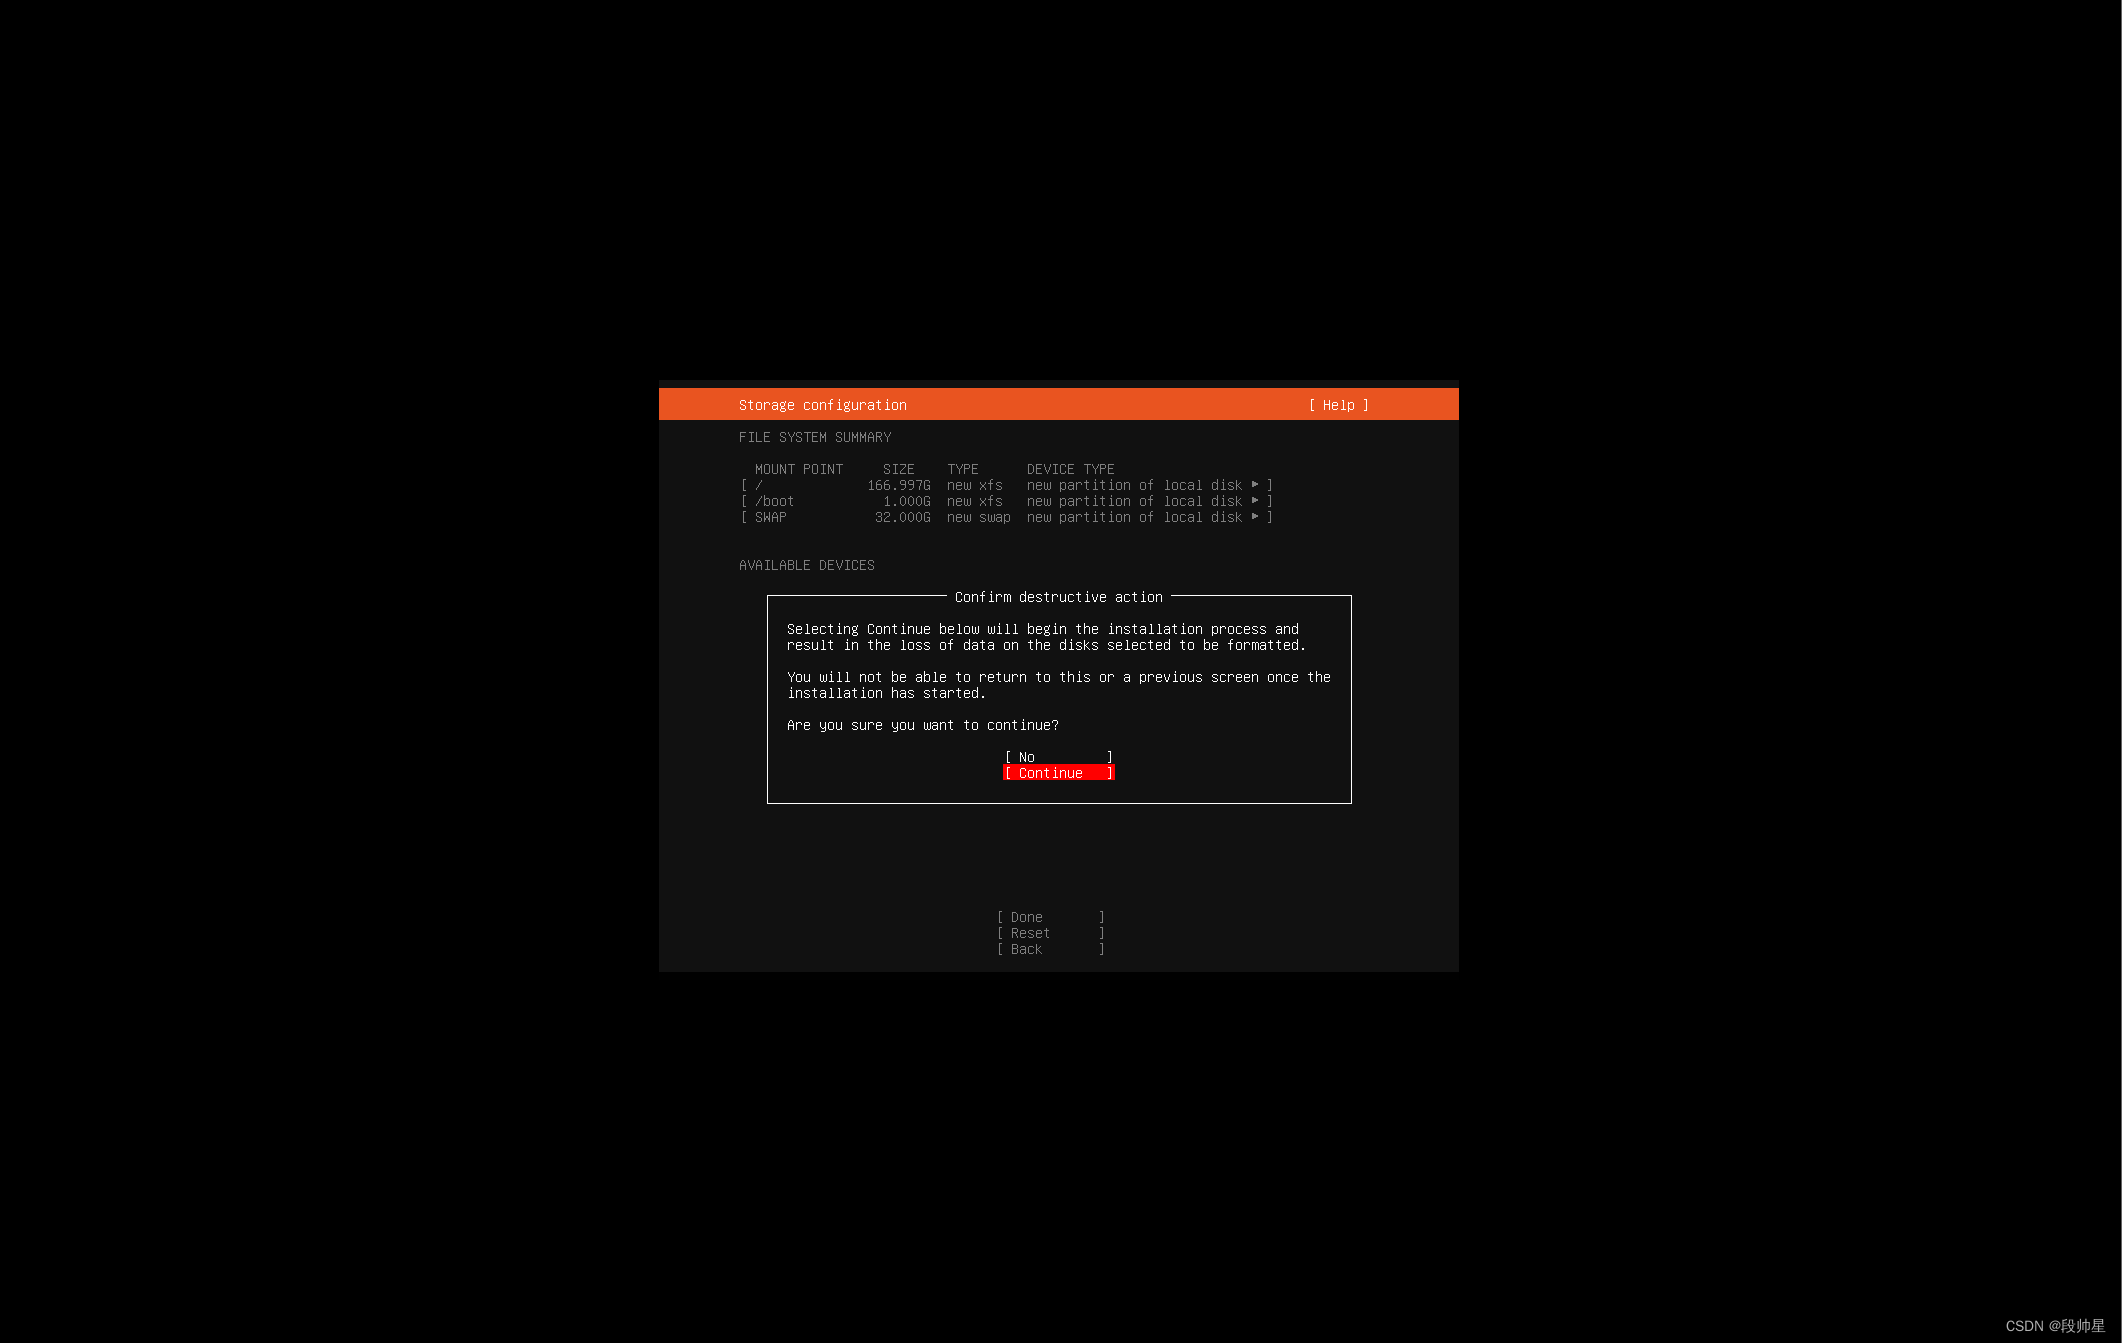
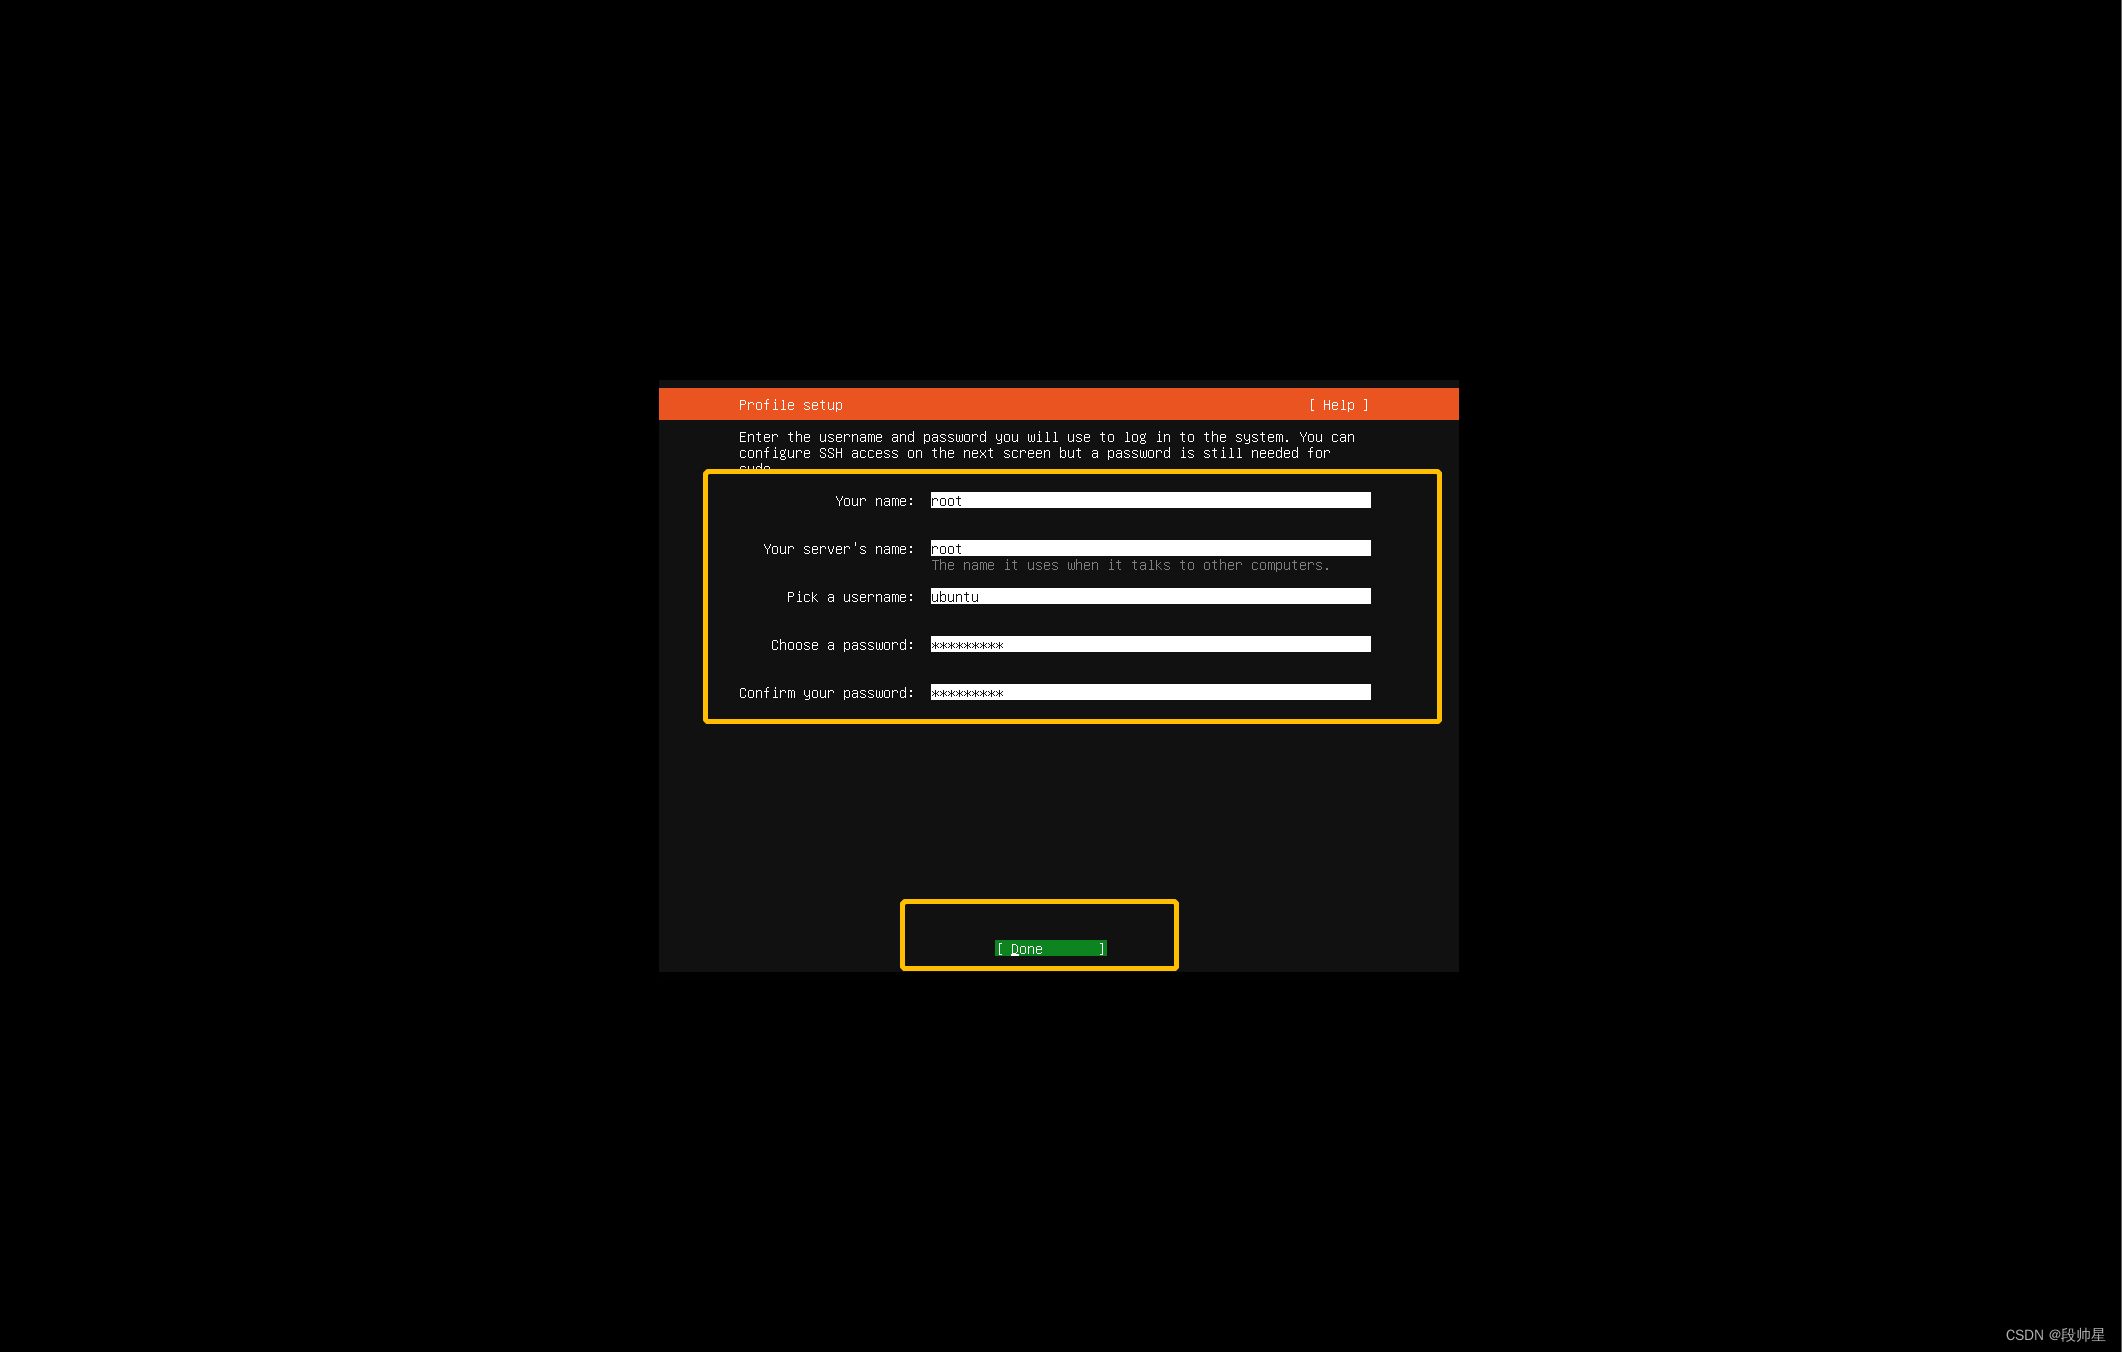
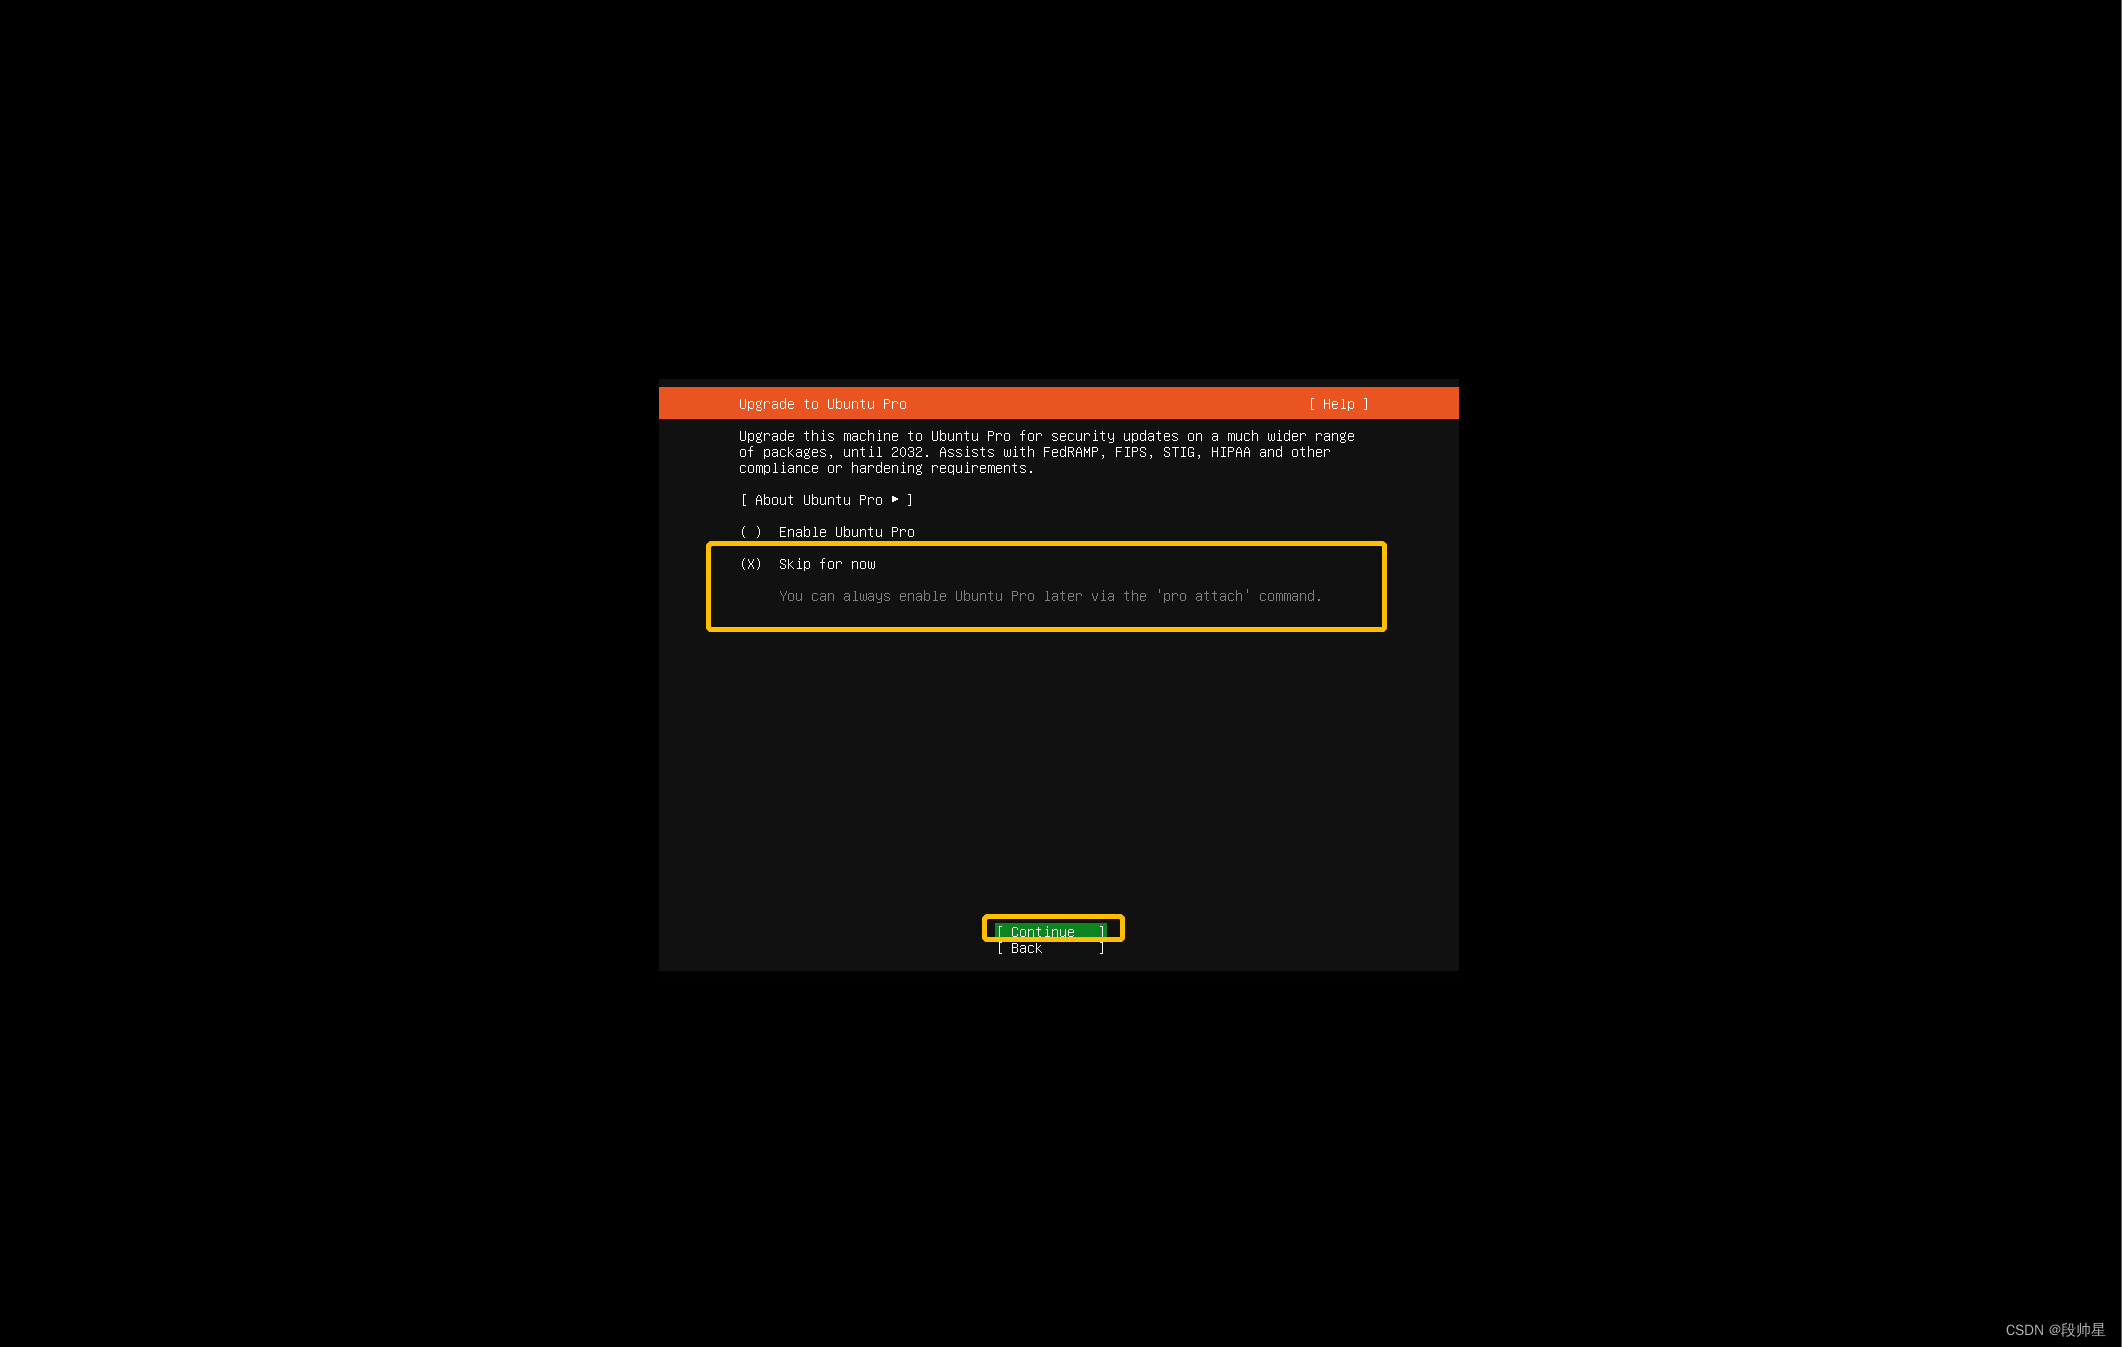
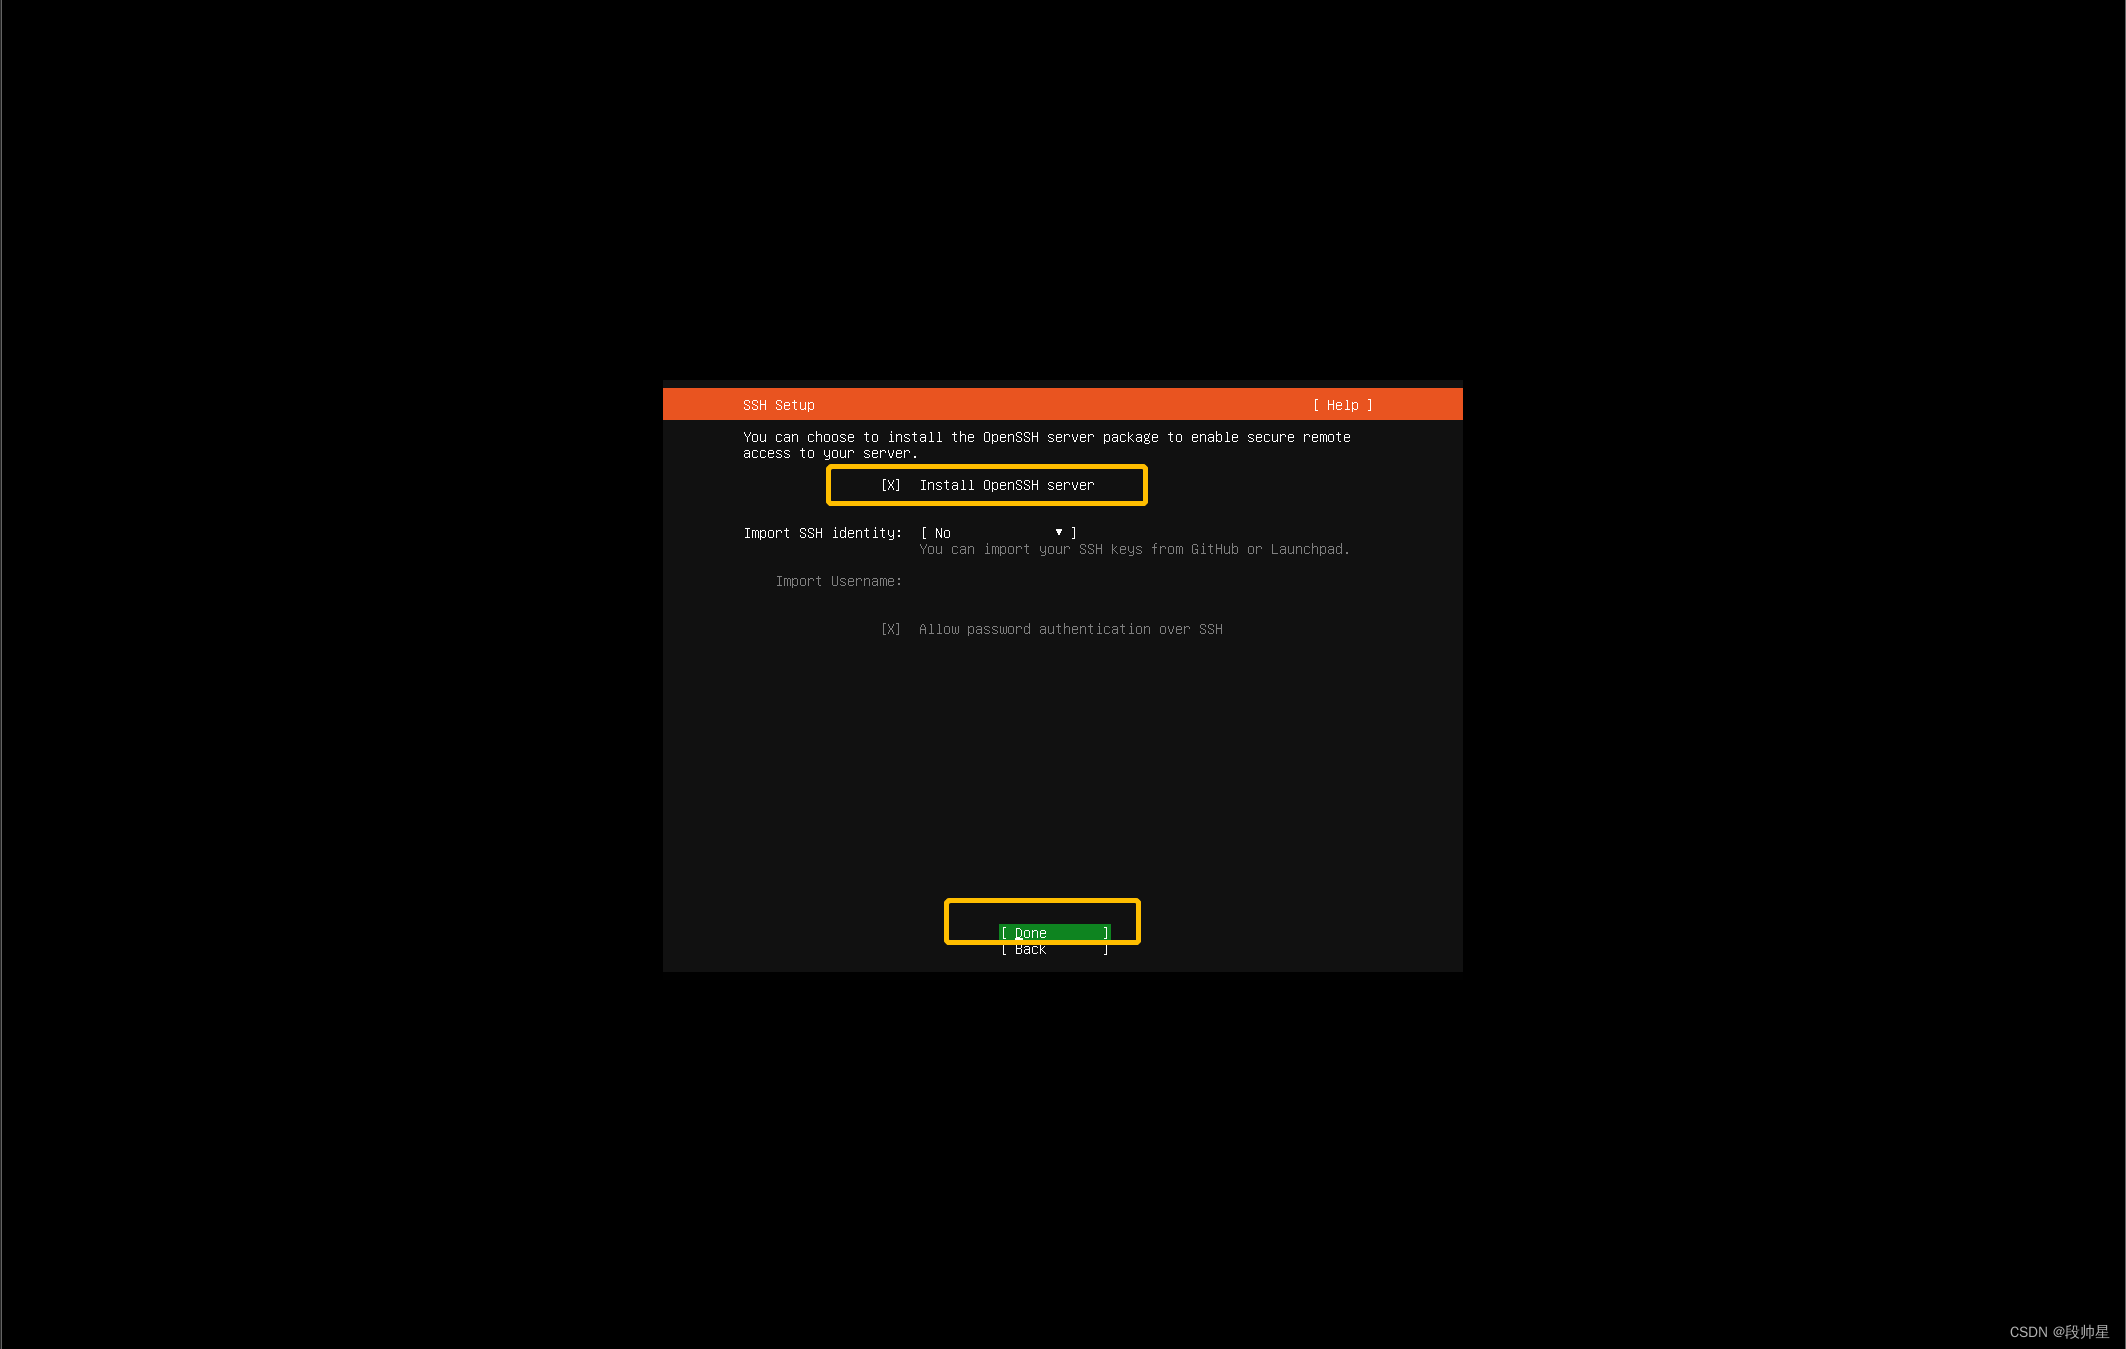
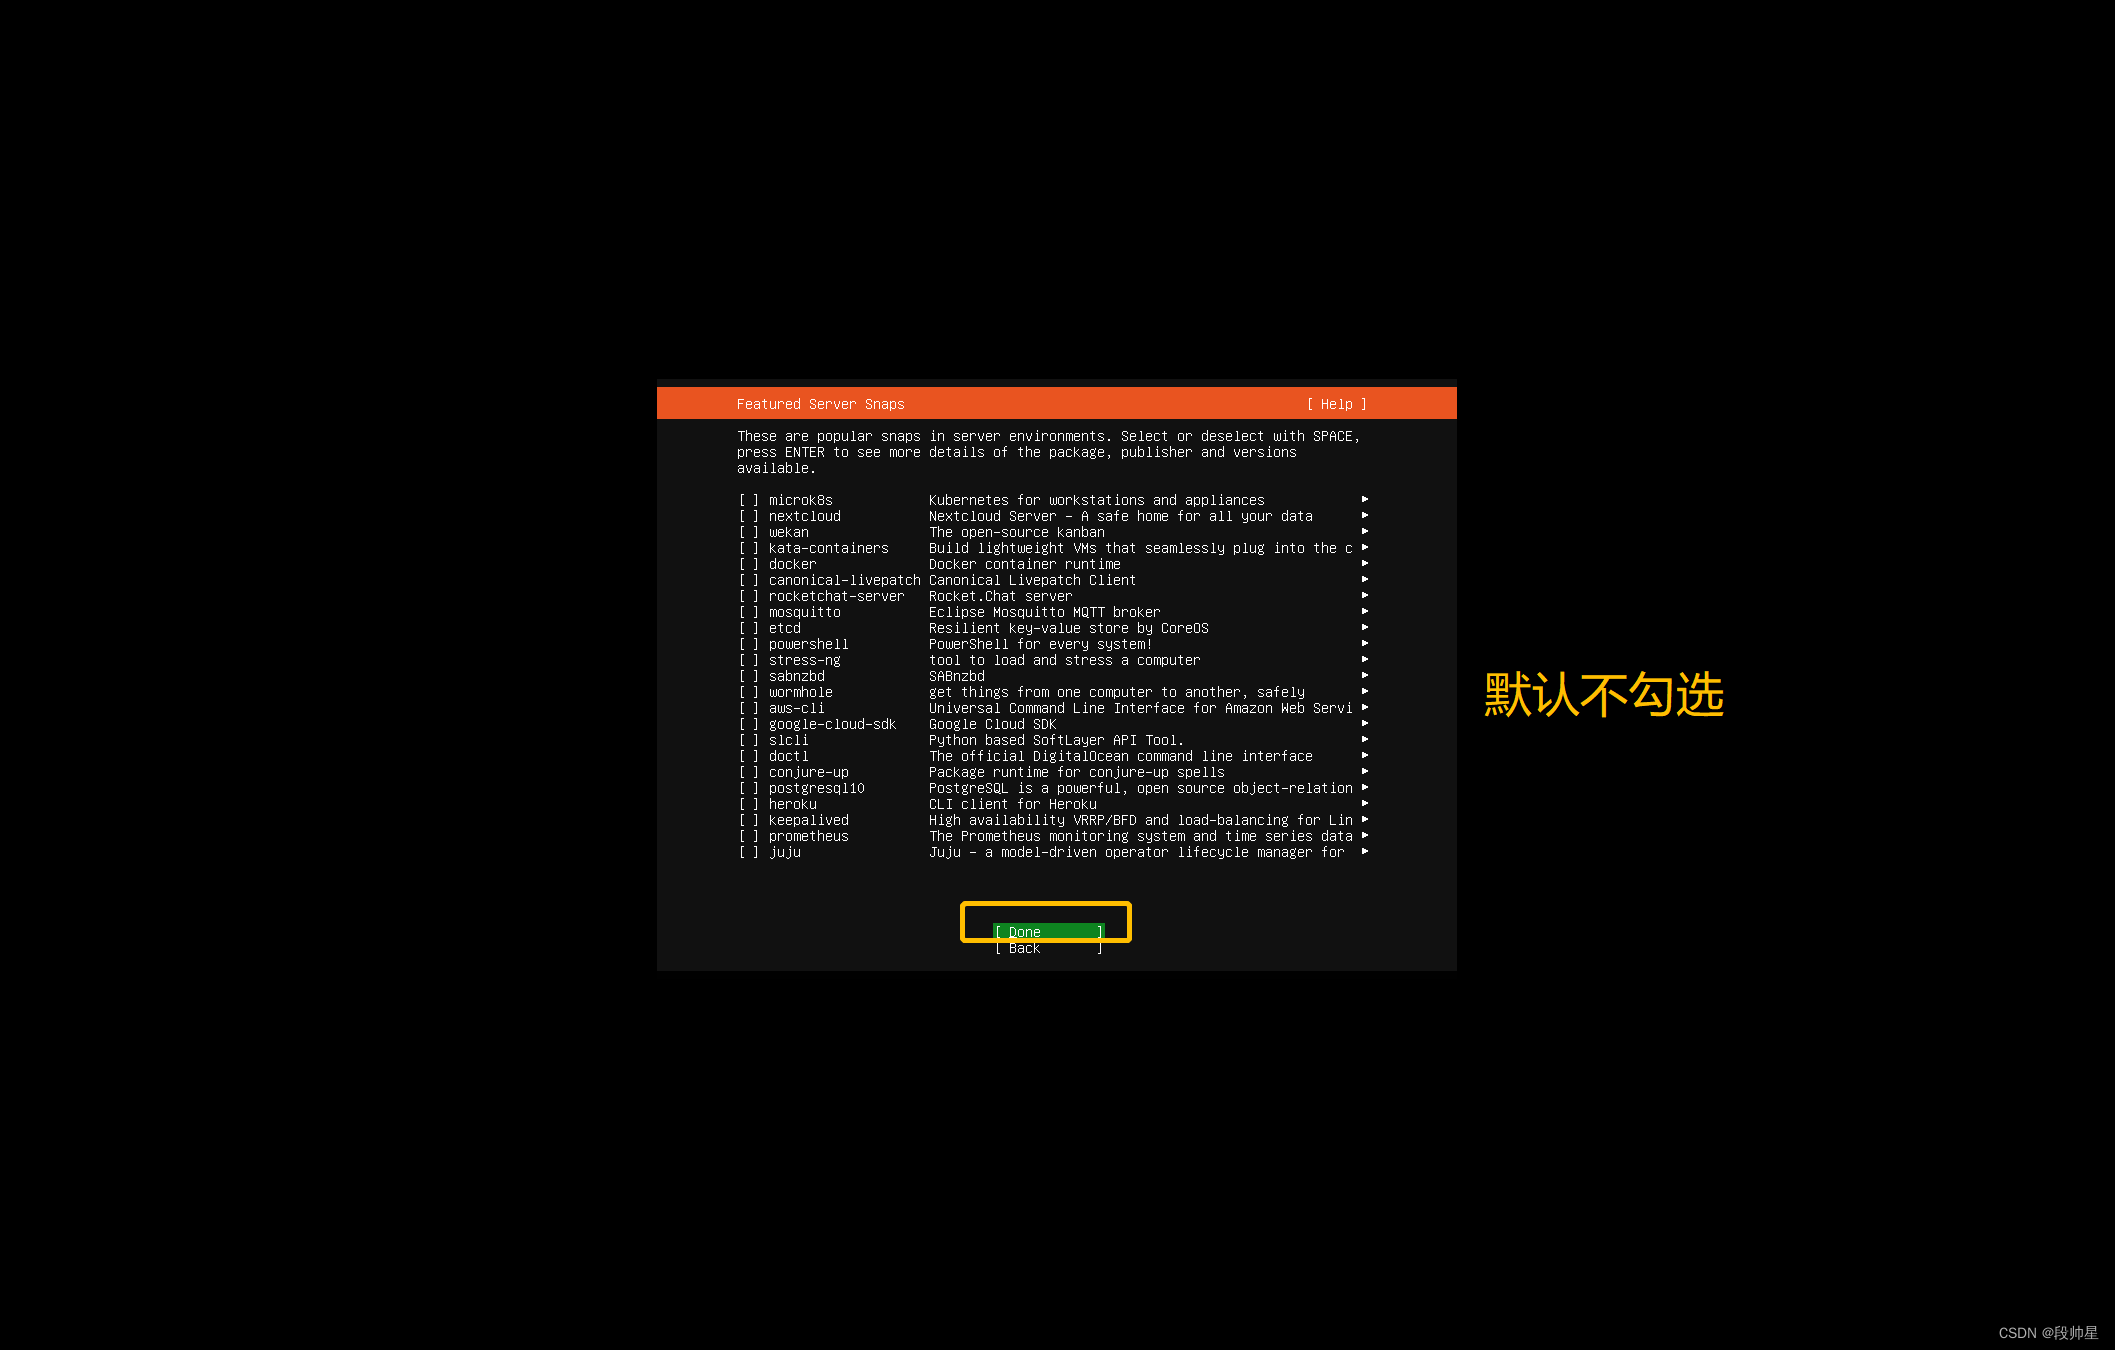
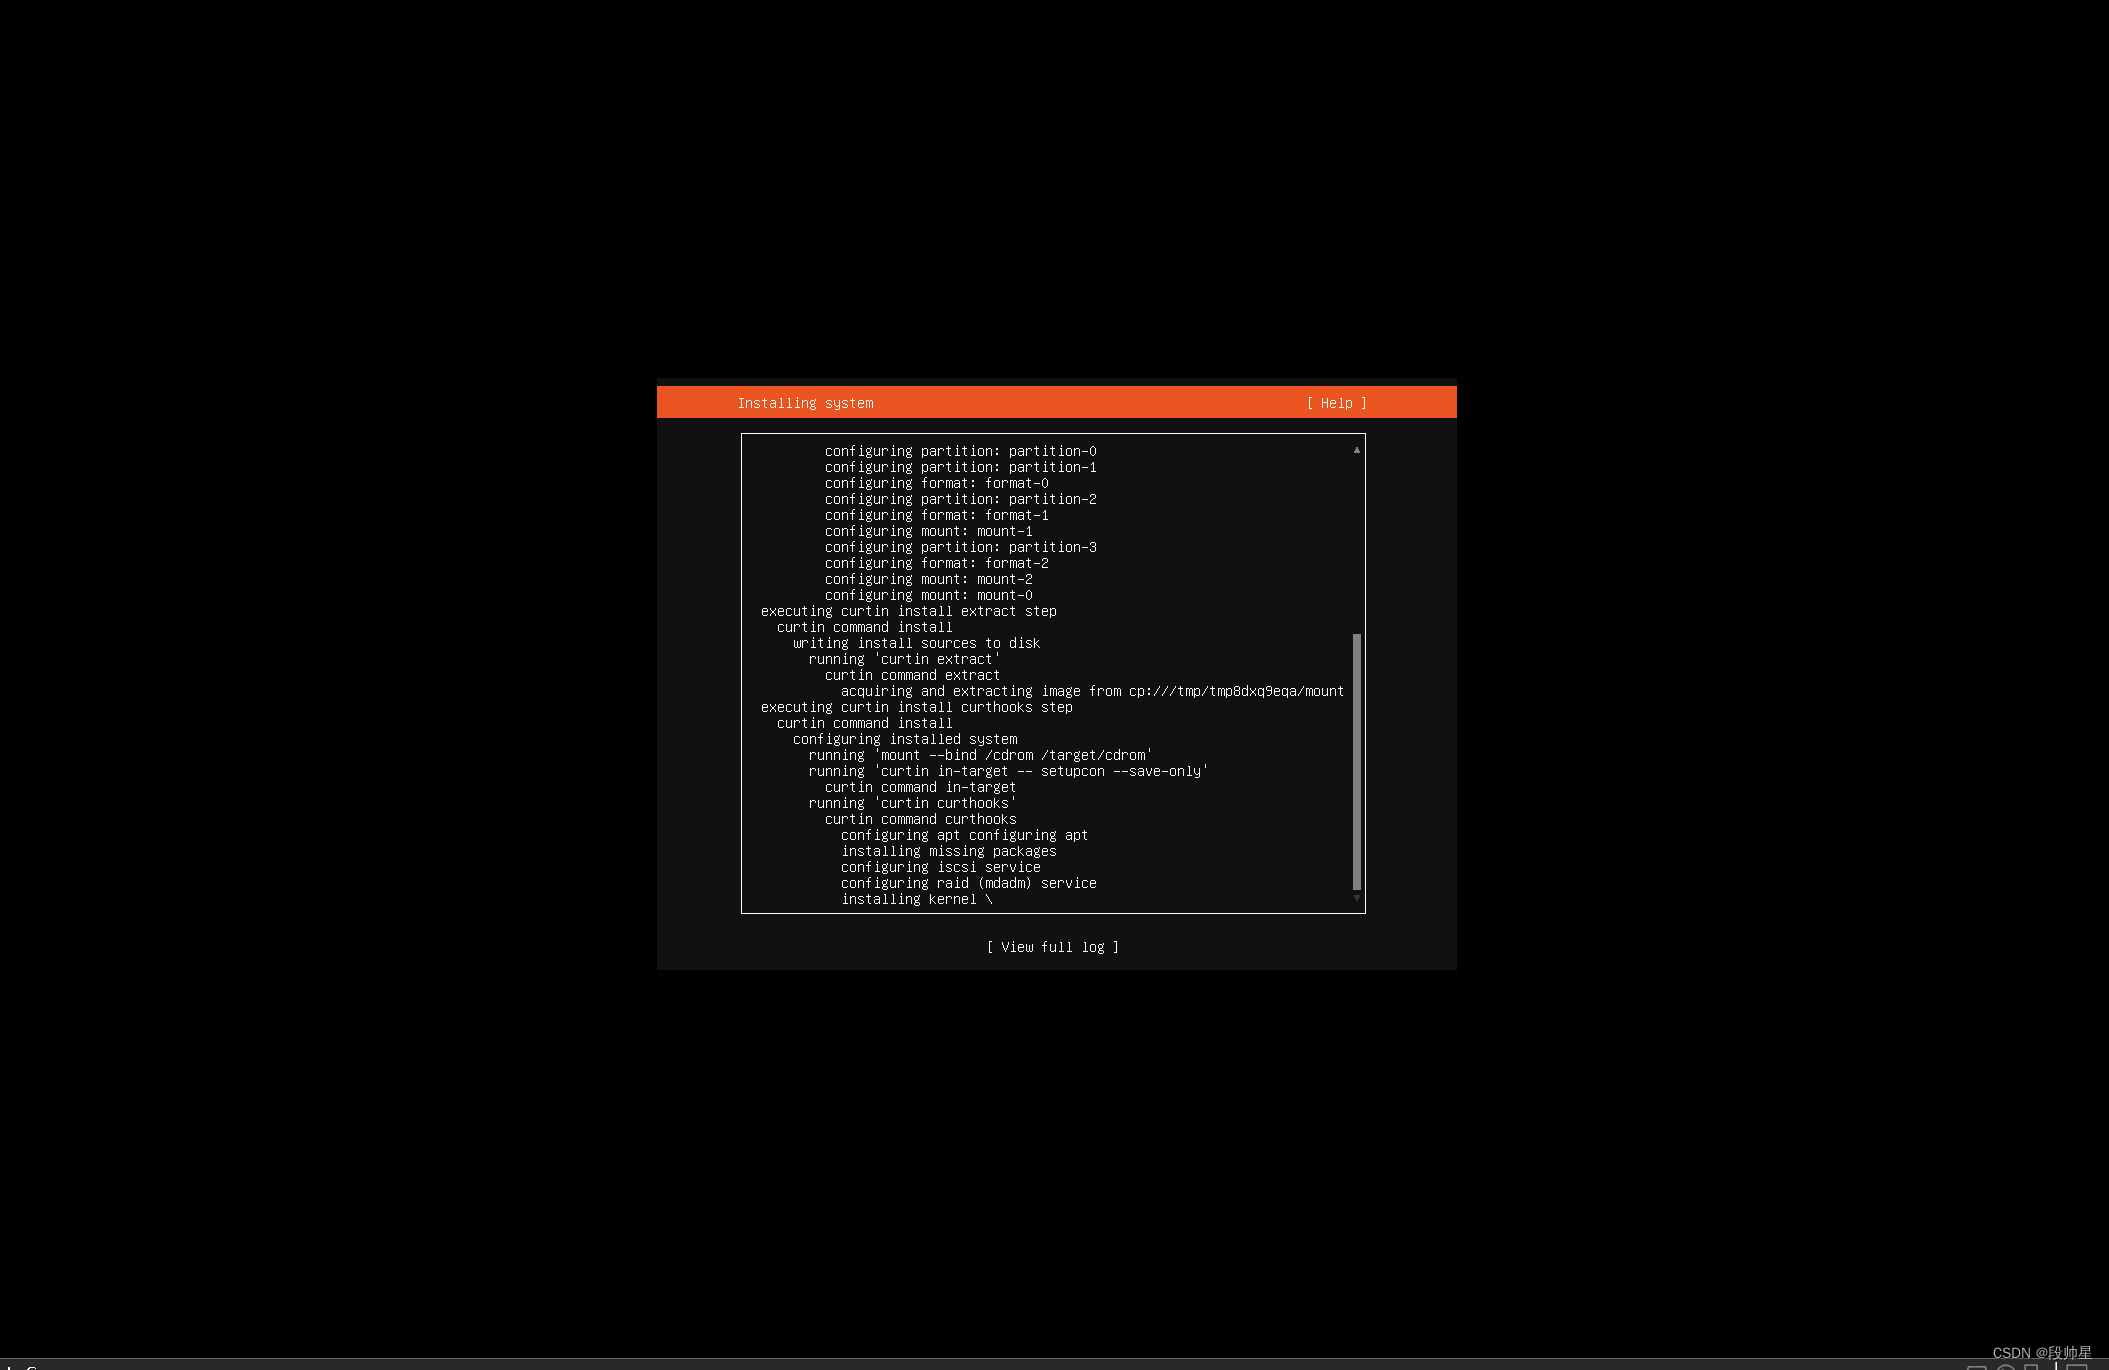
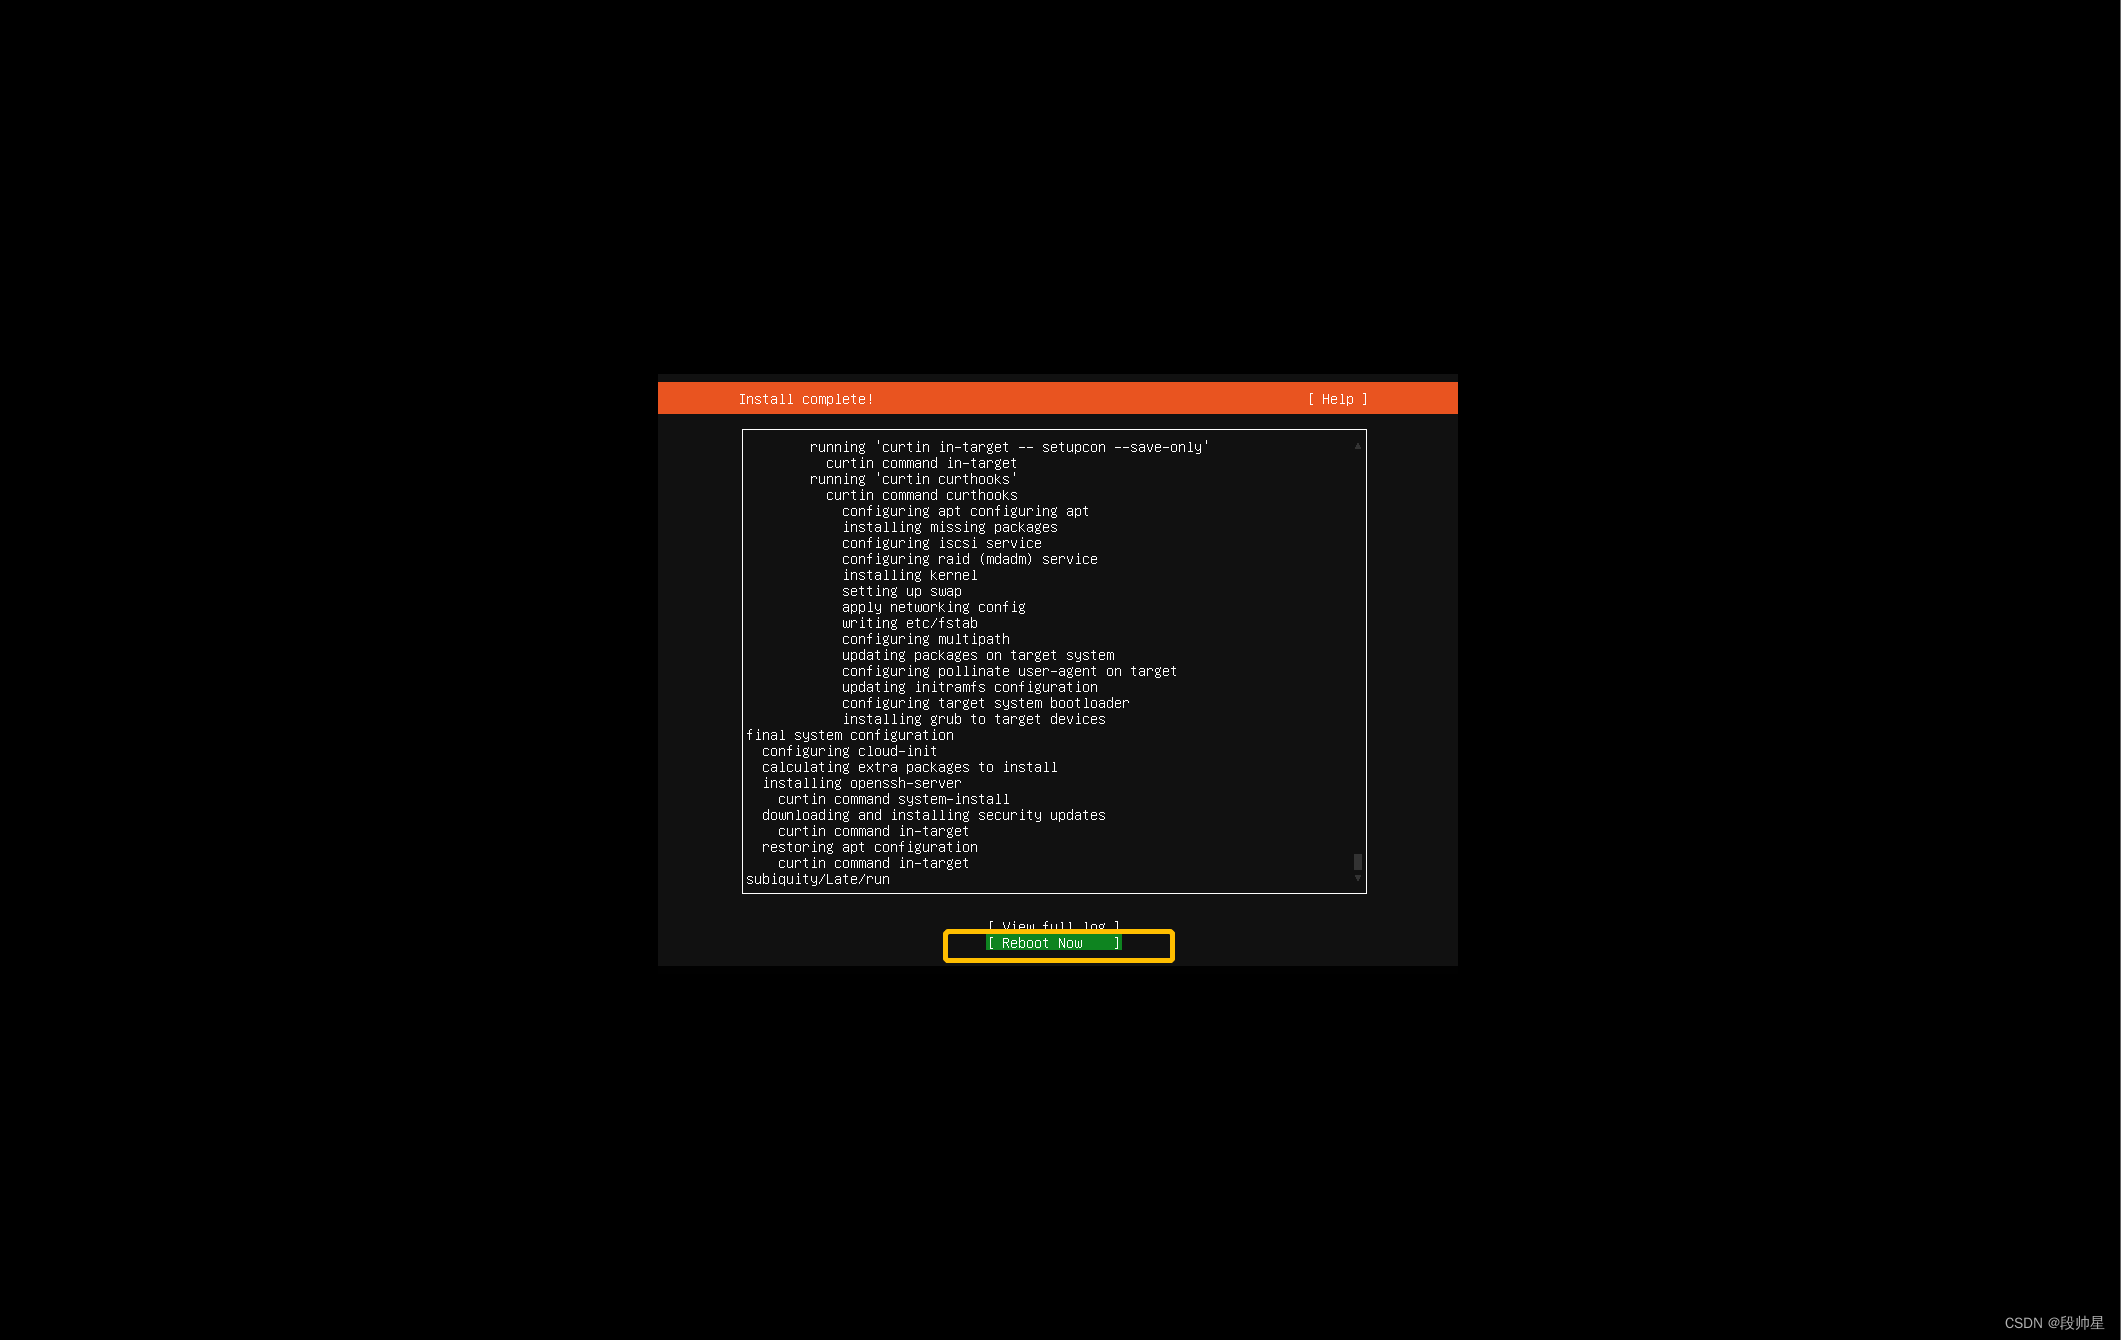
2、安装虚拟机


二、配置虚拟机模板
1、设置主机名
hostnamectl set-hostname ubuntu
2、开启root用户ssh登录、删除默认ubuntu用户
cp /etc/ssh/sshd_config /etc/ssh/sshd_config.bak
echo PermitRootLogin yes >>/etc/ssh/sshd_config
sed -i 's/PasswordAuthentication.*/PasswordAuthentication yes/' /etc/ssh/sshd_config
sed -i '/GSSAPIAuthentication/a\\GSSAPIAuthentication no' /etc/ssh/sshd_config
echo "UseDNS no" >>/etc/ssh/sshd_config
service sshd restart
echo -e "duan@1994\nduan@1994" | passwd root
echo 127.0.0.1 ubuntu >>/etc/hosts
userdel -r ubuntu

#添加公钥方便管理
3、修改网卡名称
cp /etc/default/grub /etc/default/grub.bak
sed -i 's/GRUB_CMDLINE_LINUX=""/GRUB_CMDLINE_LINUX="net.ifnames=0 biosdevname=0"/' /etc/default/grub

grub-mkconfig -o /boot/grub/grub.cfg
update-grub
sed -i "s/ens33/eth0/" /etc/netplan/00-installer-config.yaml
reboot
重启虚拟机生效
4、添加静态IP地址模板
root@ubuntu:~# cat /etc/netplan/00-installer-config.yaml
# This is the network config written by 'subiquity'
#############################################################
#STATIC
network:
  ethernets:
    eth0:
      dhcp4: true
  version: 2

#############################################################
#DHCP
#network:
#  ethernets:
#    eth0:
#      dhcp4: no
#      dhcp6: no
#      addresses: [192.168.86.xxx/24]
#      gateway4: 192.168.86.2
#      nameservers:
#        addresses: [192.168.86.2]
#  version: 2
#############################################################


# 修改后需要netplan apply 应用修改


ubuntu20.04配置如下(/etc/netplan/01-network-manager-all.yaml)
root@duanshuaixing:~# nmcli device show wlp0s20f3
GENERAL.DEVICE:                         wlp0s20f3
GENERAL.TYPE:                           wifi
GENERAL.HWADDR:                         38:7A:0E:A3:9C:8D
GENERAL.MTU:                            1500
GENERAL.STATE:                          100 (connected)
GENERAL.CONNECTION:                     WIFI_5G
GENERAL.CON-PATH:                       /org/freedesktop/NetworkManager/ActiveConnection/1
IP4.ADDRESS[1]:                         192.168.31.45/24
IP4.GATEWAY:                            192.168.31.1
IP4.ROUTE[1]:                           dst = 0.0.0.0/0, nh = 192.168.31.1, mt = 600
IP4.ROUTE[2]:                           dst = 192.168.31.0/24, nh = 0.0.0.0, mt = 600
IP4.ROUTE[3]:                           dst = 169.254.0.0/16, nh = 0.0.0.0, mt = 1000
IP4.DNS[1]:                             192.168.31.1
IP6.ADDRESS[1]:                         fe80::8cc9:c2bc:4694:9b79/64
IP6.GATEWAY:                            --
IP6.ROUTE[1]:                           dst = fe80::/64, nh = ::, mt = 600
root@duanshuaixing:~# cat /etc/netplan/01-network-manager-all.yaml
## Let NetworkManager manage all devices on this system
#network:
#  version: 2
#  renderer: NetworkManager
#

# Let NetworkManager manage all devices on this system
network:
  ethernets:
    wlp0s20f3:   # 配置的网卡的名称
      addresses: [192.168.31.45/24]   # 配置的静态ip地址和掩码
      dhcp4: false   # 关闭dhcp4
      optional: true
      routes:
        - to: default
          via: 192.168.31.1/24
      nameservers:
        addresses: [192.168.31.1,114.114.114.114]  # DNS服务器地址,多个DNS服务器地址需要用英文逗号分>隔开,可不配置
  version: 2
  renderer: NetworkManager

root@duanshuaixing:~# sudo netplan apply
5、调整文件描述符大小
echo "ulimit -SHn 655350" >>/etc/profile
echo "fs.file-max = 655350" >>/etc/sysctl.conf
echo "root soft nofile 655350" >>/etc/security/limits.conf
echo "root hard nofile 655350" >>/etc/security/limits.conf
echo "* soft nofile 655350" >>/etc/security/limits.conf
echo "* hard nofile 655350" >>/etc/security/limits.conf
echo "session required pam_limits.so" >>/etc/pam.d/common-session
source /etc/profile
6、优化history
echo 'export HISTTIMEFORMAT="%Y-%m-%d %H:%M:%S  `whoami` "' >>/etc/profile
cat /etc/profile
export HISTTIMEFORMAT="%Y-%m-%d %H:%M:%S  `whoami` "
export HISTFILESIZE=50000
export HISTSIZE=50000
source /etc/profile
7、检查防火墙和设置journalctl日志大小避免把系统盘占满
apt list --installed | grep ufw
如果ufw默认安装则需要关闭
ufw disable

journalctl 命令自动维护文件大小
只保留近一周的日志
journalctl --vacuum-time=1w

只保留500MB的日志
journalctl --vacuum-size=500M
8、修改apt源为国内源、安装常用软件
cp /etc/apt/sources.list /etc/apt/sources.list.bak

cat /etc/apt/sources.list
deb-src http://archive.ubuntu.com/ubuntu xenial main restricted #Added by software-properties
deb http://mirrors.aliyun.com/ubuntu/ xenial main restricted
deb-src http://mirrors.aliyun.com/ubuntu/ xenial main restricted multiverse universe #Added by software-properties
deb-src http://mirrors.aliyun.com/ubuntu/ xenial-updates main restricted multiverse universe #Added by software-properties
deb http://mirrors.aliyun.com/ubuntu/ xenial universe
deb http://mirrors.aliyun.com/ubuntu/ xenial-updates universe
deb http://mirrors.aliyun.com/ubuntu/ xenial multiverse
deb http://mirrors.aliyun.com/ubuntu/ xenial-updates multiverse
deb http://mirrors.aliyun.com/ubuntu/ xenial-backports main restricted universe multiverse
deb-src http://mirrors.aliyun.com/ubuntu/ xenial-backports main restricted universe multiverse #Added by software-properties
deb http://archive.canonical.com/ubuntu xenial partner
deb-src http://archive.canonical.com/ubuntu xenial partner
deb http://mirrors.aliyun.com/ubuntu/ xenial-security main restricted
deb-src http://mirrors.aliyun.com/ubuntu/ xenial-security main restricted multiverse universe #Added by software-properties
deb http://mirrors.aliyun.com/ubuntu/ xenial-security universe
deb http://mirrors.aliyun.com/ubuntu/ xenial-security multiverse

apt-get update
apt-get -y install vim wget git unzip zip ntp ntpdate lrzsz lftp tree bash-completion  elinks dos2unix tmux jq pdsh
apt-get -y install  nmap net-tools  mtr traceroute tcptraceroute aptitude htop iftop hping3 fping nethogs sshuttle tcpdump figlet  stress iperf iperf3 dnsutils
9、同步时区
timedatectl set-timezone Asia/Shanghai
10、优化内核参数
cp /etc/sysctl.conf /etc/sysctl.conf.bak

vi /etc/sysctl.conf
net.ipv4.tcp_syncookies = 1
net.ipv4.tcp_abort_on_overflow = 1
net.ipv4.tcp_max_tw_buckets = 6000
net.ipv4.tcp_sack = 1
net.ipv4.tcp_window_scaling = 1
net.ipv4.tcp_rmem = 4096        87380  4194304
net.ipv4.tcp_wmem = 4096        66384  4194304
net.ipv4.tcp_mem = 94500000 915000000 927000000
net.core.optmem_max = 81920
net.core.wmem_default = 8388608
net.core.wmem_max = 16777216
net.core.rmem_default = 8388608
net.core.rmem_max = 16777216
net.ipv4.tcp_max_syn_backlog = 1020000
net.core.netdev_max_backlog = 862144
net.core.somaxconn = 262144
net.ipv4.tcp_max_orphans = 327680
net.ipv4.tcp_timestamps = 0
net.ipv4.tcp_synack_retries = 1
net.ipv4.tcp_syn_retries = 1
net.ipv4.tcp_tw_reuse = 1
net.ipv4.tcp_fin_timeout = 15
net.ipv4.tcp_keepalive_time = 30
net.ipv4.ip_local_port_range = 1024    65535
net.netfilter.nf_conntrack_tcp_timeout_established = 180
net.netfilter.nf_conntrack_max = 1048576
net.nf_conntrack_max = 1048576
fs.file-max = 655350
使配置生效
modprobe nf_conntrack
sysctl -p /etc/sysctl.conf
sysctl -w net.ipv4.route.flush=1
11、垃圾清理、历史记录清理
apt-get autoclean
apt-get clean
apt-get autoremove
truncate -s 0 /var/log/btmp
cat /dev/null >/var/log/syslog
cat /dev/null >/var/log/dpkg.log
cat /dev/null >/var/log/lastlog
cat /dev/null >/var/log/auth.log
cat /dev/null >/var/log/alternatives.log
cat /dev/null >/var/log/bootstrap.log
cat /dev/null >/var/log/apt/history.log
cat /dev/null >/var/log/apt/term.log
cat /dev/null >~/.ssh/known_hosts
cat /dev/null >~/.bash_history
history -c


 7815
7815


 被折叠的 条评论
为什么被折叠?
被折叠的 条评论
为什么被折叠?
 到【灌水乐园】发言


