


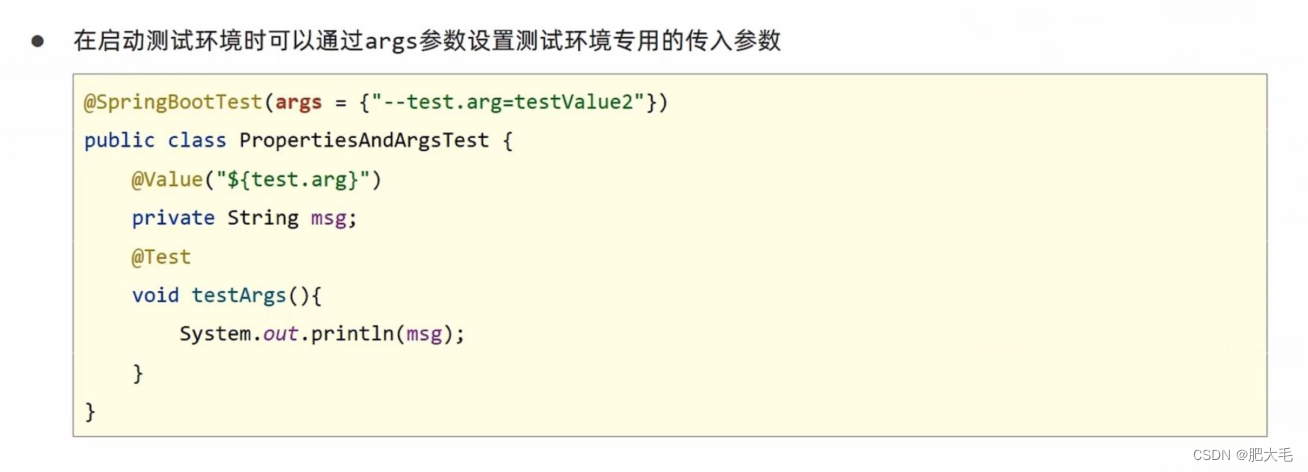
加载测试专用属性
在测试环境中可以通过properties参数设置环境专用的属性
@SpringBootTest(properties = {"test.prop=testValue1"})
class SpringbootBeanApplicationTests {

    @Value("${test.prop}")
    private String test1;
    @Test
    void contextLoads() {
        System.out.println(test1);
    }

}
优势:在多环境开发的情况下,影响较小,仅对当前测试类有效
加载测试专用配置
使用@Import()注解加载当前测试类专用的配置
@SpringBootTest(properties = {"test.prop=testValue1"})
@Import(MPConfig.class)
class SpringbootBeanApplicationTests {
}
测试类中启动Web环境
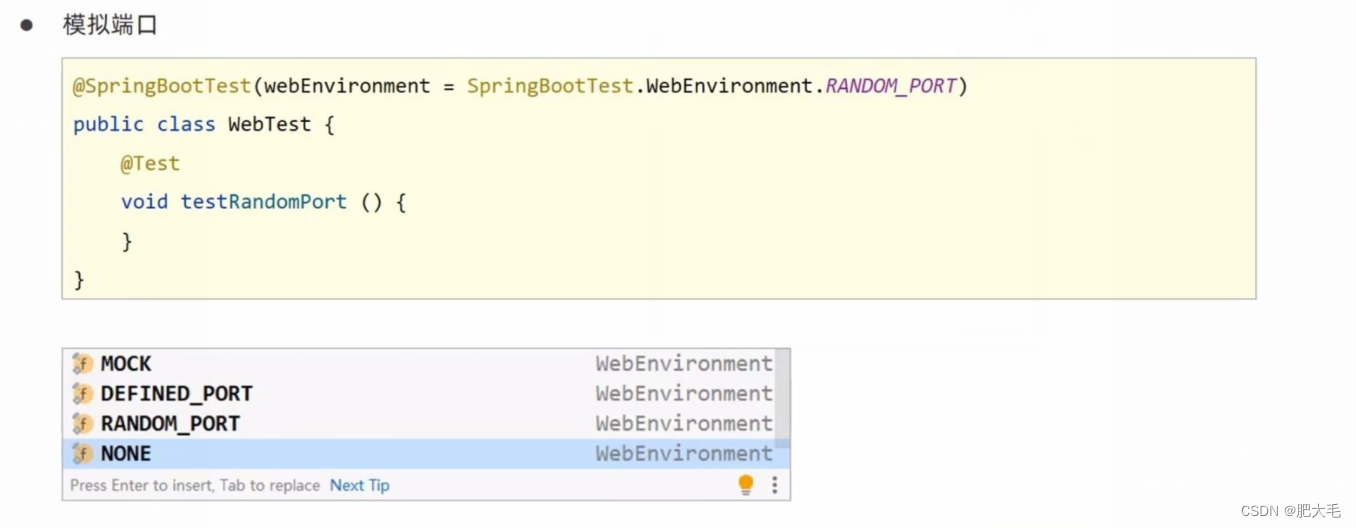
@SpringBootTest(webEnvironment = SpringBootTest.WebEnvironment.DEFINED_PORT)
至此,在测试环境下就可以启动web服务器
发送虚拟请求
在测试环境下,对controller层进行测试,模拟浏览器发送请求。
package com.itheima.config;

import org.junit.jupiter.api.Test;
import org.springframework.beans.factory.annotation.Autowired;
import org.springframework.boot.test.autoconfigure.web.servlet.AutoConfigureMockMvc;
import org.springframework.boot.test.context.SpringBootTest;
import org.springframework.mock.web.MockHttpServletRequest;
import org.springframework.test.web.servlet.MockMvc;
import org.springframework.test.web.servlet.ResultActions;
import org.springframework.test.web.servlet.request.MockHttpServletRequestBuilder;
import org.springframework.test.web.servlet.request.MockMvcRequestBuilders;

//在测试环境下开启web环境
@SpringBootTest(webEnvironment = SpringBootTest.WebEnvironment.RANDOM_PORT)
//开启虚拟MVC调用
@AutoConfigureMockMvc
public class WebTest {
    @Test
    //注入虚拟MVC调用对象
    public void test(@Autowired MockMvc mvc) throws Exception
    {
        //创建虚拟请求,访问/books
        MockHttpServletRequestBuilder builder= MockMvcRequestBuilders.get("/books");
        //执行请求
        ResultActions actions=mvc.perform(builder);
    }
}
匹配响应执行状态
设置预期响应结果,与真实响应结果进行比对,真实的访问路径为/books,这里对/books1访问,会报错。
package com.itheima.config;

import org.junit.jupiter.api.Test;
import org.springframework.beans.factory.annotation.Autowired;
import org.springframework.boot.test.autoconfigure.web.servlet.AutoConfigureMockMvc;
import org.springframework.boot.test.context.SpringBootTest;
import org.springframework.mock.web.MockHttpServletRequest;
import org.springframework.test.web.servlet.MockMvc;
import org.springframework.test.web.servlet.ResultActions;
import org.springframework.test.web.servlet.ResultMatcher;
import org.springframework.test.web.servlet.request.MockHttpServletRequestBuilder;
import org.springframework.test.web.servlet.request.MockMvcRequestBuilders;
import org.springframework.test.web.servlet.result.MockMvcResultMatchers;
import org.springframework.test.web.servlet.result.StatusResultMatchers;

//开启web环境
@SpringBootTest(webEnvironment = SpringBootTest.WebEnvironment.RANDOM_PORT)
//开启虚拟MVC调用
@AutoConfigureMockMvc
public class WebTest {
    @Test
    //注入虚拟MVC调用对象
    public void test(@Autowired MockMvc mvc) throws Exception
    {
        //创建虚拟请求,访问/books
        MockHttpServletRequestBuilder builder= MockMvcRequestBuilders.get("/books1");
        //执行请求
        ResultActions actions=mvc.perform(builder);

        //设置预期值与真实值进行比对,成功,测试通过,失败,测试失败
        //定义执行状态匹配器
        StatusResultMatchers status= MockMvcResultMatchers.status();
        //定义预期执行状态
        ResultMatcher ok=status.isOk();
        //使用本次真实执行结果与预期结果进行比对
        actions.andExpect(ok);
    }
}

可以看到期望的响应状态吗为200,实际上是404。
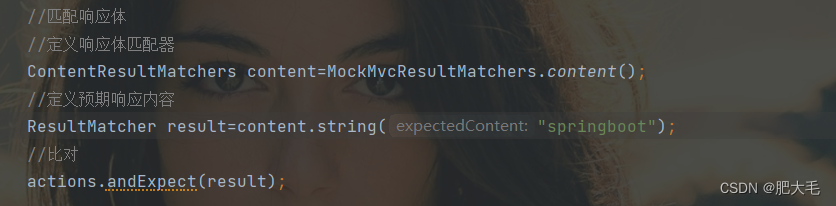
匹配响应体
通过设置响应体预期值与真实值进行比对
运行结果:

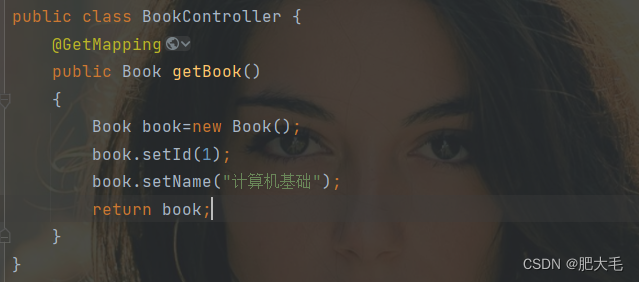
匹配响应体(JSON)
BookController:
测试中:

运行结果:

匹配响应头(Content type)

运行结果:

service层测试事务回滚
1.为测试用例添加事务,springboot会对测试用例响应的事务提交操作进行回滚
@Transactional
2.如果想在测试用例中提交事务,可以通过@Rollback注解设置
@Rollback默认为true,可以手动设置为false,@Rollback(false)
测试用例设置随机数据
在yml配置文件中添加
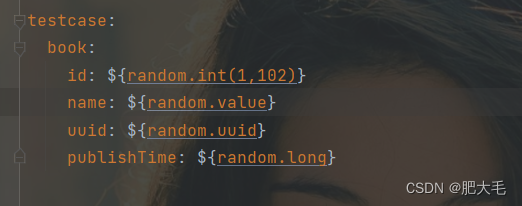
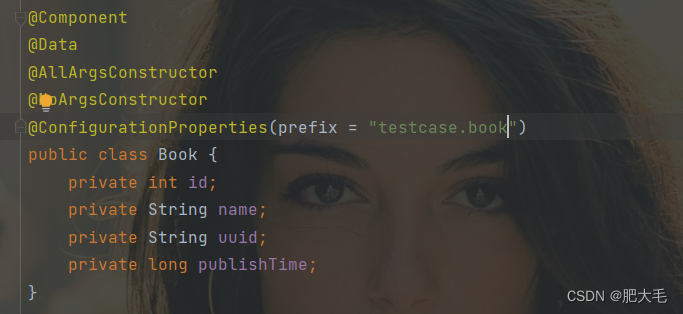
之后将数据通过@ConfigurationProperties(prefix=“testcase.book”)注入到实体类即可
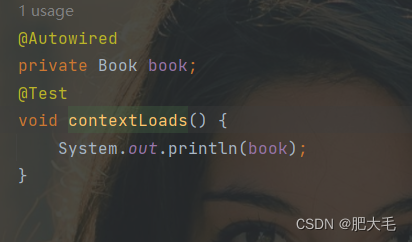
测试类中:
运行结果:


 1万+
1万+


 被折叠的 条评论
为什么被折叠?
被折叠的 条评论
为什么被折叠?
 到【灌水乐园】发言


