


DHCP中继原理
-
当企业的内部网络规模较大时,通常被划分为多个不同的子网,网络内配置了VLAN,VLAN能隔离广播,而DHCP协议使用广播
-
DHCP服务器在VLAN 100中,就 只有VLAN 100内的客户机能从在此获取地址
DHCP中继实验
实验环境:
一台win 10 一台win 7 一台centos 7
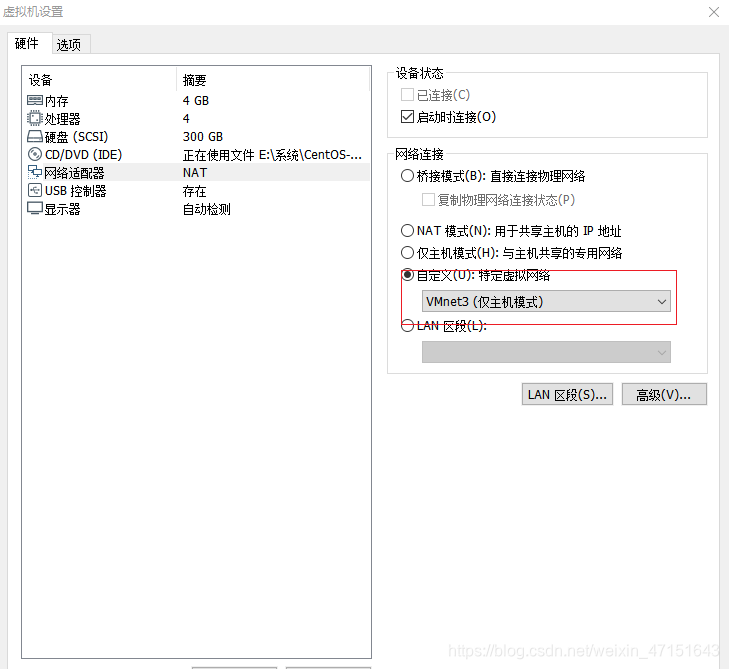
首先配置clould
拓扑图如图所示
首先配置二层交换机SW2
<sw2>undo terminal monitor             ##关闭信息提示
Info: Current terminal monitor is off.
[sw2]vlan batch 10 20 100              ##批量添加vlan 10 20 100
Info: This operation may take a few seconds. Please wait for a moment...done.
[sw2]dis this                         ##查看一下
#
sysname sw2
#
vlan batch 10 20 100
[sw2]int e0/0/2                        ##进入端口e0/0/2
[sw2-Ethernet0/0/2]port link-type access ##配置access接口
[sw2-Ethernet0/0/2]port de
[sw2-Ethernet0/0/2]port default vlan 10  ##划分vlan 10
[sw2-Ethernet0/0/2]int e0/0/3         ##进入e0/0/3接口
[sw2-Ethernet0/0/3]p l a              ##配置access口
[sw2-Ethernet0/0/3]p d v 20
[sw2-Ethernet0/0/3]int e0/0/4        ###进入e0/0/4接口
[sw2-Ethernet0/0/4]p l a
[sw2-Ethernet0/0/4]p d v 100
[sw2-Ethernet0/0/4]dis this           ##查看一下
interface Ethernet0/0/4
 port link-type access
 port default vlan 100
[sw2-Ethernet0/0/4]int e0/0/1
[sw2-Ethernet0/0/1]p l t              ##trunk端口设置
[sw2-Ethernet0/0/1]p t a v a
[sw2-Ethernet0/0/1]un sh
Info: Interface Ethernet0/0/1 is not shutdown.
[sw2-Ethernet0/0/1]dis this
#
interface Ethernet0/0/1
 port link-type trunk
 port trunk allow-pass vlan 2 to 4094
配置三层交换机SW1
[sw1]vlan batch 10 20 100              ##批量添加vlan 10 20 100
[sw1]int g0/0/1
[sw1-GigabitEthernet0/0/1]port link t
[sw1-GigabitEthernet0/0/1]p t a v a
[sw1-GigabitEthernet0/0/1]un sh
sw1-GigabitEthernet0/0/1]dis this
#
interface GigabitEthernet0/0/1
 port link-type trunk
 port trunk allow-pass vlan 2 to 4094
配置三层交换
[sw1]int vlan 10
[sw1-Vlanif10]
[sw1-Vlanif10]ip add 192.168.10.1 24
[sw1-Vlanif10]int vlan 20
[sw1-Vlanif20]ip add 192.168.20.1 24
[sw1-Vlanif20]int vlan 100
[sw1-Vlanif100]ip add 192.168.100.1 24
[sw1-Vlanif100]q
##配置DHCP中继
[sw1]dhcp enable              ##开启dhcp功能
[sw1]int vlan 10
[sw1-Vlanif10]dhcp select relay      ##开启中继功能
[sw1-Vlanif10]dhcp relay server-ip 192.168.100.100   ##指向中继地址
[sw1]int vlan 20
[sw1-Vlanif20]dhcp select relay
[sw1-Vlanif20]dhcp relay server-ip 192.168.100.100
[sw1]int vlan 100
[sw1-Vlanif100]dhcp select relay      ##开启中继功能
[sw1-Vlanif100]dhcp relay server-ip 192.168.100.100##指向中继地址
安装dhcp
[root@localhost ~]# yum -y install dhcp*
已加载插件:fastestmirror, langpacks
Loading mirror speeds from cached hostfile
 * base: mirrors.163.com
 * extras: mirrors.nju.edu.cn
 * updates: mirrors.nju.edu.cn
base                                                            | 3.6 kB  00:00:00
extras                                                          | 2.9 kB  00:00:00
updates                                                         | 2.9 kB  00:00:00
正在解决依赖关系
--> 正在检查事务
---> 软件包 dhcp.x86_64.12.4.2.5-79.el7.centos 将被 安装
--> 正在处理依赖关系 libisc-export.so.169()(64bit),它被软件包 12:dhcp-4.2.5-79.el7.centos.x86_64 需要
--> 正在处理依赖关系 libdns-export.so.1102()(64bit),它被软件包 12:dhcp-4.2.5-79.el7.c
[root@localhost ~]# rpm -q dhcp       ##查看是否安装dhcp
dhcp-4.2.5-79.el7.centos.x86_64
设置linux网络
[root@localhost ~]# vim /etc/sysconfig/network-scripts/ifcfg-ens33
####配置网卡信息
TYPE=Ethernet
PROXY_METHOD=none
BROWSER_ONLY=no
BOOTPROTO=static
DEFROUTE=yes
IPV4_FAILURE_FATAL=no
IPV6INIT=yes
IPV6_AUTOCONF=yes
IPV6_DEFROUTE=yes
IPV6_FAILURE_FATAL=no
IPV6_ADDR_GEN_MODE=stable-privacy
NAME=ens33
UUID=86503bd2-47b6-4518-8a5f-63e4de03d11e
DEVICE=ens33
ONBOOT=yes
IPADDR=192.168.100.100
PREFIX=24
GATEWAY=192.168.100.1
:wq         ##保存退出

[root@localhost ~]# systemctl restart network     ##重启网卡
[root@localhost ~]# ifconfig            ##查看网卡信息   可以看到已经配置好了
ens33: flags=4163<UP,BROADCAST,RUNNING,MULTICAST>  mtu 1500
        inet 192.168.100.100  netmask 255.255.255.0  broadcast 192.168.100.255
        inet6 fe80::fce1:77f:7a9:b103  prefixlen 64  scopeid 0x20<link>
        ether 00:0c:29:84:c1:e3  txqueuelen 1000  (Ethernet)
        RX packets 4869  bytes 6317526 (6.0 MiB)
        RX errors 0  dropped 0  overruns 0  frame 0
        TX packets 1544  bytes 119634 (116.8 KiB)
        TX errors 0  dropped 0 overruns 0  carrier 0  collisions 0

lo: flags=73<UP,LOOPBACK,RUNNING>  mtu 65536
        inet 127.0.0.1  netmask 255.0.0.0
        inet6 ::1  prefixlen 128  scopeid 0x10<host>
        loop  txqueuelen 1000  (Local Loopback)
        RX packets 216  bytes 21150 (20.6 KiB)
        RX errors 0  dropped 0  overruns 0  frame 0
        TX packets 216  bytes 21150 (20.6 KiB)
        TX errors 0  dropped 0 overruns 0  carrier 0  collisions 0

virbr0: flags=4099<UP,BROADCAST,MULTICAST>  mtu 1500
        inet 192.168.122.1  netmask 255.255.255.0  broadcast 192.168.122.255
        ether 52:54:00:95:60:04  txqueuelen 1000  (Ethernet)
        RX packets 0  bytes 0 (0.0 B)
        RX errors 0  dropped 0  overruns 0  frame 0
        TX packets 0  bytes 0 (0.0 B)
        TX errors 0  dropped 0 overruns 0  carrier 0  collisions 0
[root@localhost ~]# ping 192.168.100.1         ##ping一下网关看一下连接
PING 192.168.100.1 (192.168.100.1) 56(84) bytes of data.
64 bytes from 192.168.100.1: icmp_seq=1 ttl=128 time=1.93 ms
64 bytes from 192.168.100.1: icmp_seq=2 ttl=128 time=0.434 ms
64 bytes from 192.168.100.1: icmp_seq=3 ttl=128 time=0.693 ms
[root@localhost etc]# cd dhcp         ##进入到dhcp目录
[root@localhost dhcp]# ls             ##查看列表
dhclient.d  dhclient-exit-hooks.d  dhcpd6.conf  dhcpd.conf  scripts
[root@localhost dhcp]# cat dhcpd.conf
#
# DHCP Server Configuration file.
#   see /usr/share/doc/dhcp*/dhcpd.conf.example
#   see dhcpd.conf(5) man page
#
##复制上面的路径把“*”去掉改为- tab补全会有4.25版本
[root@localhost dhcp]# cp /usr/share/doc/dhcp
-4.2.5/dhcpd.conf.example /etc/dhcp/dhcpd.conf
cp:是否覆盖"/etc/dhcp/dhcpd.conf"? yes
[root@localhost dhcp]# vim /etc/dhcp/dhcpd.conf   ##编辑dhcp.conf
# option definitions common to all supported networks...
  7 option domain-name "example.org";
  8 option domain-name-servers 8.8.8.8:;         ##配置DNS
  9
 10 default-lease-time 600;
 11 max-lease-time 7200;
 12
 13 # Use this to enble / disable dynamic dns updates globally.
 14 #ddns-update-style none;
 15
 16 # If this DHCP server is the official DHCP server for the local
 17 # network, the authoritative directive should be uncommented.
 18 #authoritative;
 19
 20 # Use this to send dhcp log messages to a different log file (you also
 21 # have to hack syslog.conf to complete the redirection).
 22 log-facility local7;
 23
 24 # No service will be given on this subnet, but declaring it helps the
 25 # DHCP server to understand the network topology.
 26
 27 subnet 192.168.10.0 netmask 255.255.255.0 {
 28   range 192.168.10.128 192.168.10.200;
 29   option routers 192.168.10.1;
 30   option domain-name-servers 8.8.8.8;
 31 }
 32
 33 subnet 192.168.20.0 netmask 255.255.255.0 {
 34   range 192.168.20.128 192.168.20.200;
 35   option routers 192.168.20.1;
 36   option domain-name-servers 8.8.8.8;
 37 }
 38 subnet 192.168.100.0 netmask 255.255.255.0 {
 39   range 192.168.100.128 192.168.100.200;
 40   option routers 192.168.100.1;
 41   option domain-name-servers 8.8.8.8;
 42 }
 43 # This is a very basic subnet declaration.
 44
 45 subnet 10.254.239.0 netmask 255.255.255.224 {
 46   range 10.254.239.10 10.254.239.20;
 47   option routers rtr-239-0-1.example.org, rtr-239-0-2.example.org;
 48 }
[root@localhost dhcp]# setenforce 0                   ##关闭防火墙
[root@localhost dhcp]# iptables -F                    ##清空防火墙
[root@localhost dhcp]# systemctl restart dhcpd        ##重启DHCP服务
验证一下
PC>ipconfig /renew

IP Configuration

Link local IPv6 address...........: fe80::350f:e8de:f309:7058%4
IPv6 address......................: :: / 128
IPv6 gateway......................: ::
IPv4 address......................: 192.168.10.128
Subnet mask.......................: 255.255.255.0
Gateway...........................: 192.168.10.1
Physical address..................: 54-89-98-44-21-4C
DNS server........................: 8.8.8.8

PC>
已经分配到dhcp的地址


 1612
1612


 被折叠的 条评论
为什么被折叠?
被折叠的 条评论
为什么被折叠?
 到【灌水乐园】发言


