


文章目录
域对象共享数据
由于现在使用是Thymeleaf视图解析器,所以以下只对三种域对象进行解析
1.rueqest
2.session
3.application[本质就是servletContext域对象]
thymeleaf常用语法
Thymeleaf语法:

`@{}`:表示跳转路径
`${}`:表示获取共享域中的数据
	`request`存储共享数据,如:`request.setAttribute("scope","hello RequestAPI");`
	 直接:`${scope}`//直接写共享域中的键名,返回:hello RequestAPI

	 `session`存储共享数据,如:`session.setAttribute("scope","hello Session");`
	 `${session.scope}`//返回Session共享域中的数据,返回:hello Session

	 `ServletContext`存储共享数据,如:`servletContext.setAttribute("scope","hello servletContext");
	 `${appliaction.scope}`//返回servletContext共享域中的数据,返回:hello servletContext
一:Request域对象
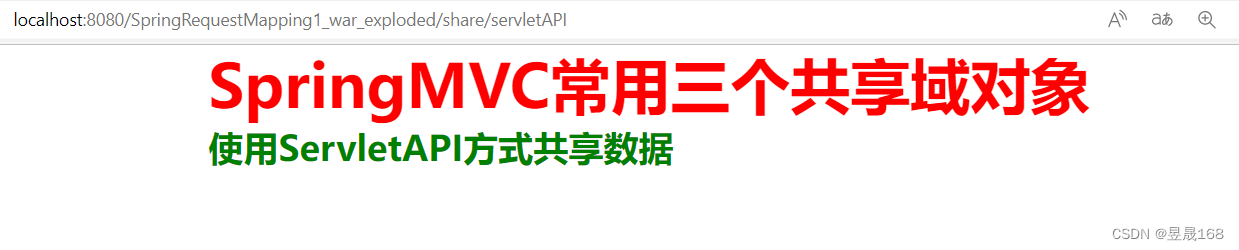
方式一:使用ServletAPI原始API的方式存储共享数据
使用原始API的方式向共享域中存储数据,HttpSetvletRequst请求对象中存储数据
案例
@Controller
@RequestMapping("/share")
public class ShareController {
    // 原始API方式
    @RequestMapping("/servletAPI")
    public String servletAPI(HttpServletRequest request){
        request.setAttribute("servletAPI","使用ServletAPI方式共享数据");
        return "/share/share";
    }
}
跳转到指定页面,并且在页面中获取request域中存储数据
<!DOCTYPE html>
<html lang="en" xmlns:th="http://www.thymeleaf.org">
<head>
    <meta charset="UTF-8">
    <title>共享数据</title>
    <style>
        * {
          margin: 0px auto;
        }
        .div {
            width: 500px;
        }
    </style>
</head>
<body>
<div class="div">
    <h3 style="color: green" th:text="${servletAPI}"></h3>
</div>
</body>
</html>
页面显示
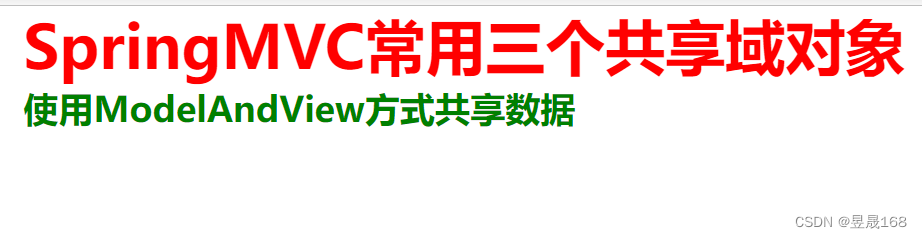
方式二:使用ModelAndView向request域对象共享数据[非常重要]
注意使用ModelAndView必须返回值类型ModelAndView类型,前端控制器才能解析,否则前端控制器无法处理[就是相当前端控制器不知该ModelAndView模型],ModelAndView有Model和View的功能,Model主要用于向请求域共享数据,View主要用于设置视图,实现页面跳转
案例
    // 使用SpringMVC提供的方式:ModelAndView
    @RequestMapping("/modelAndView")
    public ModelAndView modelAndView(){
        // 步骤1:创建ModelAndView对象
        ModelAndView mv = new ModelAndView();
        // Model中储存数据
        mv.addObject("modelAndView","使用ModelAndView方式共享数据");
        // 设置跳转视图名称
        mv.setViewName("/share/share");
        return mv;
    }
跳转到指定页面,并且在页面中获取request域中存储数据
<!DOCTYPE html>
<html lang="en" xmlns:th="http://www.thymeleaf.org">
<head>
    <meta charset="UTF-8">
    <title>共享数据</title>
    <style>
        * {
          margin: 0px auto;
        }
        .div {
            width: 500px;
        }
    </style>
</head>
<body>
<div class="div">
    <h1 style="color: red">SpringMVC常用三个共享域对象</h1>
    <h3 style="color: green" th:text="${servletAPI}"></h3>
    <h3 style="color: green" th:text="${modelAndView}"></h3>
</div>
</body>
</html>
页面显示
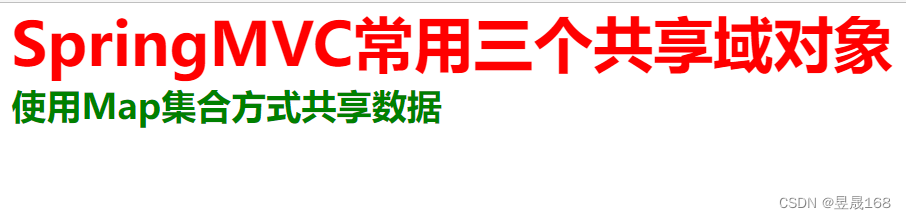
方式三:使用map向request域对象共享数据
使用Map集合在形参位置传入一个Map<String,Object>集合,会自动将数据封装放到request共享中
案例
    // 使用Map集合方式
    @RequestMapping("/map")
    public String map(Map<String,Object> map){
        map.put("map","使用Map集合方式共享数据");
        // 设置跳转视图名称
        return "/share/share";
    }
跳转到指定页面,并且在页面中获取request域中存储数据
<!DOCTYPE html>
<html lang="en" xmlns:th="http://www.thymeleaf.org">
<head>
    <meta charset="UTF-8">
    <title>共享数据</title>
    <style>
        * {
          margin: 0px auto;
        }
        .div {
            width: 500px;
        }
    </style>
</head>
<body>
<div class="div">
    <h1 style="color: red">SpringMVC常用三个共享域对象</h1>
    <h3 style="color: green" th:text="${servletAPI}"></h3>
    <h3 style="color: green" th:text="${modelAndView}"></h3>
    <h3 style="color: green" th:text="${map}"></h3>
</div>
</body>
</html>
页面显示
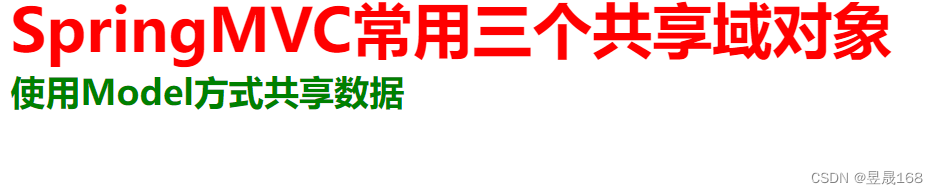
方式四:使用Model向request域对象共享数据
使用Model对象向request对象中共享数据,其实就是ModelAndView中的Model对象一样,用于向request域中存储共享数据的
案例
    // 使用Model方式
    @RequestMapping("/model")
    public String model(Model model){
        model.addAttribute("model","使用Model方式共享数据");
        return "/share/share";
    }
跳转到指定页面,并且在页面中获取request域中存储数据
<!DOCTYPE html>
<html lang="en" xmlns:th="http://www.thymeleaf.org">
<head>
    <meta charset="UTF-8">
    <title>共享数据</title>
    <style>
        * {
          margin: 0px auto;
        }
        .div {
            width: 500px;
        }
    </style>
</head>
<body>
<div class="div">
    <h1 style="color: red">SpringMVC常用三个共享域对象</h1>
    <h3 style="color: green" th:text="${servletAPI}"></h3>
    <h3 style="color: green" th:text="${modelAndView}"></h3>
    <h3 style="color: green" th:text="${map}"></h3>
    <h3 style="color: green" th:text="${model}"></h3>
</div>
</body>
</html>
页面显示
方式四:使用Model向request域对象共享数据
本质和上面的Model和Map方式一样,需要在形参的位置传入ModelMap对象
案例
    // 使用ModelMap方式
    @RequestMapping("/modelMap")
    public String modeMap(ModelMap modelMap){
        modelMap.addAttribute("modelMap","使用ModelMap方式共享数据");
        return "/share/share";
    }
跳转到指定页面,并且在页面中获取request域中存储数据
<!DOCTYPE html>
<html lang="en" xmlns:th="http://www.thymeleaf.org">
<head>
    <meta charset="UTF-8">
    <title>共享数据</title>
    <style>
        * {
          margin: 0px auto;
        }
        .div {
            width: 500px;
        }
    </style>
</head>
<body>
<div class="div">
    <h1 style="color: red">SpringMVC常用三个共享域对象</h1>
    <h3 style="color: green" th:text="${servletAPI}"></h3>
    <h3 style="color: green" th:text="${modelAndView}"></h3>
    <h3 style="color: green" th:text="${map}"></h3>
    <h3 style="color: green" th:text="${model}"></h3>
    <h3 style="color: green" th:text="${modelMap}"></h3>
</div>
</body>
</html>
页面显示
Model ModelMap Map关系
Model ModelMap Map类型的参数其实本质上都是BindingAwareModelMap类型的,就是在形参位置上传入的其实就是BindingAwarModelMap类型
查看类的源码 :ctrl+H
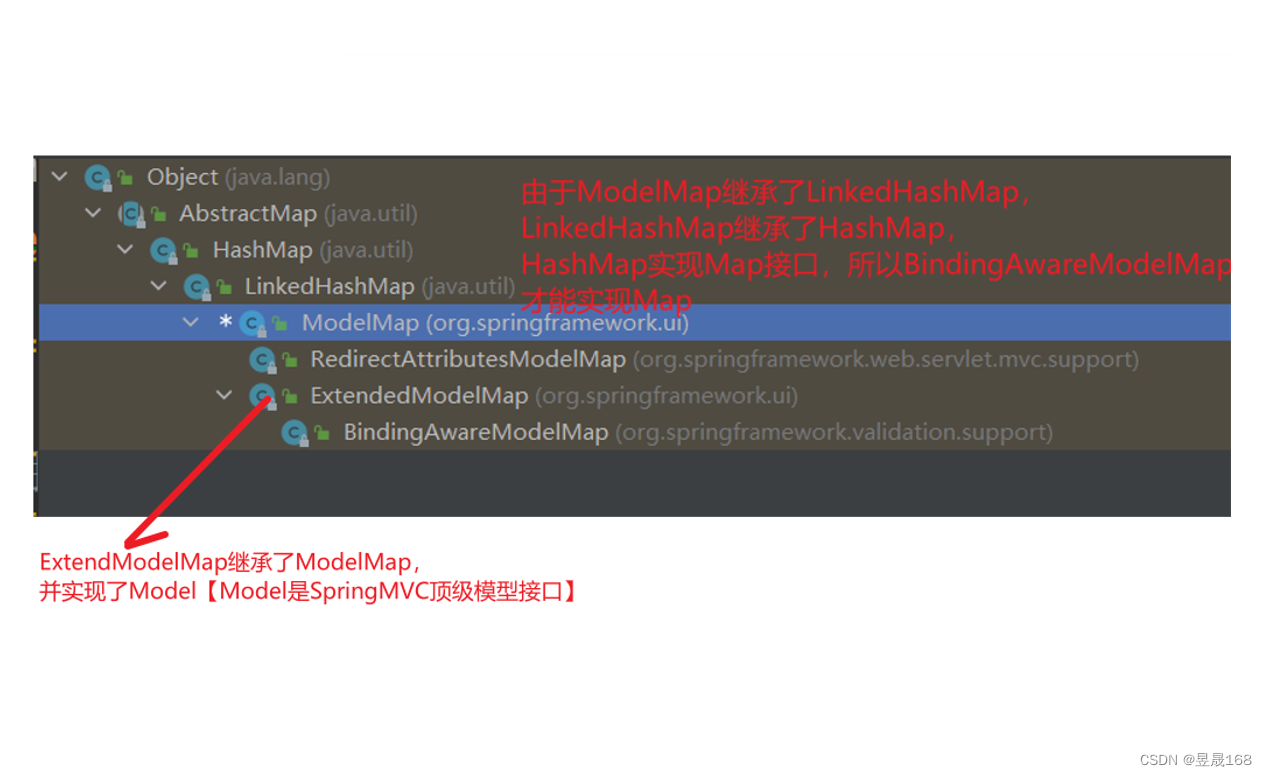
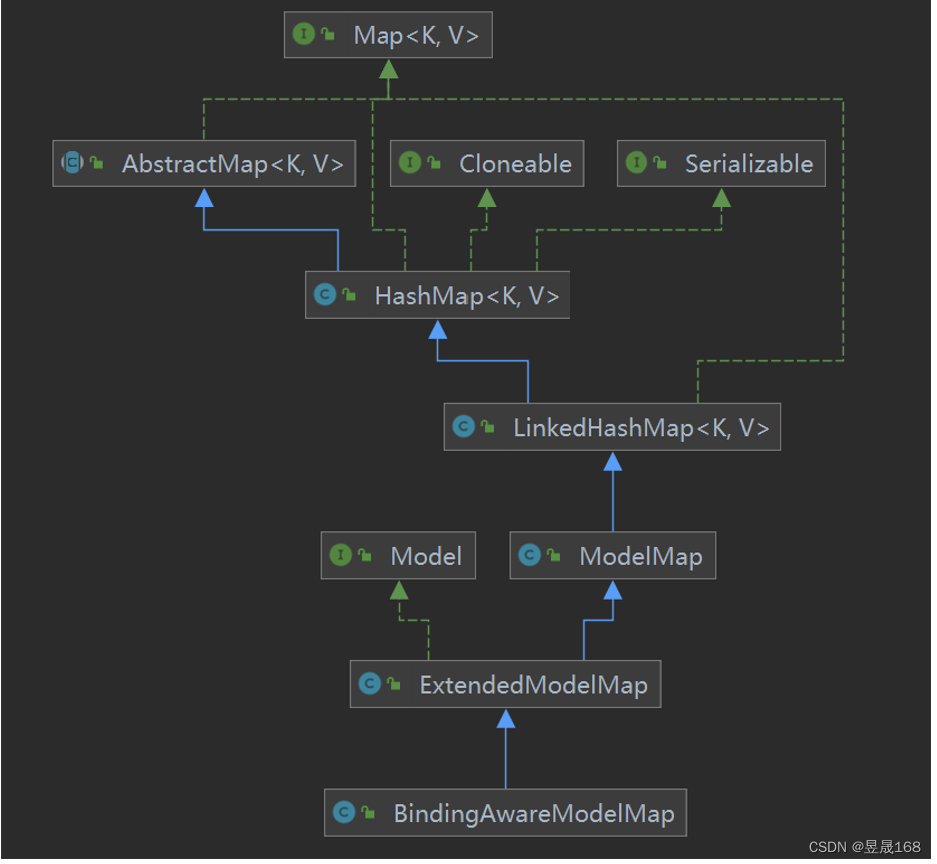
上面的关系图,对应的代码
public interface Model{}
public class ModelMap extends LinkedHashMap<String, Object> {}
public class ExtendedModelMap extends ModelMap implements Model {}
public class BindingAwareModelMap extends ExtendedModelMap {}
BindingAwareModelMap源码
public class BindingAwareModelMap extends ExtendedModelMap {
    public BindingAwareModelMap() {
    }

    public Object put(String key, Object value) {
        this.removeBindingResultIfNecessary(key, value);
        return super.put(key, value);
    }

    public void putAll(Map<? extends String, ?> map) {
        map.forEach(this::removeBindingResultIfNecessary);
        super.putAll(map);
    }

    private void removeBindingResultIfNecessary(Object key, Object value) {
        if (key instanceof String) {
            String attributeName = (String)key;
            if (!attributeName.startsWith(BindingResult.MODEL_KEY_PREFIX)) {
                String bindingResultKey = BindingResult.MODEL_KEY_PREFIX + attributeName;
                BindingResult bindingResult = (BindingResult)this.get(bindingResultKey);
                if (bindingResult != null && bindingResult.getTarget() != value) {
                    this.remove(bindingResultKey);
                }
            }
        }

    }
}
上面的ServletAPI原始方式 ModelAndView Model map ModelMap中的五种方式最终都是将数据和视图封装成ModelAndView对象
方式二:Session域对象
向Session域对象中存储数据,使用是Servlet原始的中API,在控制器方法的形参位置传入HttpSession对象
使用ServletAPI一个
Session对象,位置是在映射方法的形参位置传入HttpServletRequest对象,使用
HttpServletRequest对象获取一个Session对象
使用步骤是:
- 在控制器方法中的形参位置传入
HttpServletRequest对象 - 使用
HttpServletRequest对象获取一个Session对象 - 使用
Session对象中的setAttribute方法向Session域中存储数据
案例
    // 向Session域对象储存数据,使用原始ServletAPI
    @RequestMapping("/session")
    public String session(HttpServletRequest request){
        // 获取HttpSession对象
        HttpSession session = request.getSession();
        session.setAttribute("sessionAPI","使用Session方式共享数据");
        return "/share/share";
    }
<!DOCTYPE html>
<html lang="en" xmlns:th="http://www.thymeleaf.org">
<head>
    <meta charset="UTF-8">
    <title>共享数据</title>
    <style>
        * {
          margin: 0px auto;
        }
        .div {
            width: 500px;
        }
    </style>
</head>
<body>
<div class="div">
    <h1 style="color: red">SpringMVC常用三个共享域对象</h1>
    <h3 style="color: green" th:text="${servletAPI}"></h3>
    <h3 style="color: green" th:text="${modelAndView}"></h3>
    <h3 style="color: green" th:text="${map}"></h3>
    <h3 style="color: green" th:text="${model}"></h3>
    <h3 style="color: green" th:text="${modelMap}"></h3>
    <h3 style="color: green" th:text="${session.sessionAPI}"></h3>
    <h3 style="color: green" th:text="${application.servletContext}"></h3>
</div>
</body>
</html>
方式三:向ServletContext域存储数据
application域存储共享数[其实就是ServletContext域对象]
使用是原始的
ServletAPI获取ServletContext对象可以使用
HttpServeltRequest对象和HttpSession对象及PageContext都可以获取ServletContext对象建议使用是
HttpServeltRequest对象获取,就是在控制器方法的形参位置传入HttpServletRequest对象
使用步骤是:
- 在控制器方法中的形参位置传入
HttpServletRequest对象 - 使用
HttpServletRequest对象获取一个ServletContext对象 - 使用
ServletContext对象中的setAttribute方法向application域中存储数据
案例:
    // 向Application域对象存储数据,使用原始ServletAPI
    @RequestMapping("/application")
    public String application(HttpServletRequest request){
        // 获取 ServletContext 对象
        ServletContext servletContext = request.getServletContext();
        // ServletContext域中存储数据
        servletContext.setAttribute("servletContext","使用ServletContext方式共享数据");
        return "/share/share";
    }
<!DOCTYPE html>
<html lang="en" xmlns:th="http://www.thymeleaf.org">
<head>
    <meta charset="UTF-8">
    <title>共享数据</title>
    <style>
        * {
          margin: 0px auto;
        }
        .div {
            width: 500px;
        }
    </style>
</head>
<body>
<div class="div">
    <h1 style="color: red">SpringMVC常用三个共享域对象</h1>
    <h3 style="color: green" th:text="${servletAPI}"></h3>
    <h3 style="color: green" th:text="${modelAndView}"></h3>
    <h3 style="color: green" th:text="${map}"></h3>
    <h3 style="color: green" th:text="${model}"></h3>
    <h3 style="color: green" th:text="${modelMap}"></h3>
    <h3 style="color: green" th:text="${session.sessionAPI}"></h3>
    <h3 style="color: green" th:text="${application.servletContext}"></h3>
</div>
</body>
</html>
总结
- 向
Request存储数据建议使用ModelAndView对象 - 向
Session存储数据建议使用HttpSession对象【就是ServletAPI原始方式】 - 向
ServletContext存储数据建议使用HttpServletRequest对象【使用HttpServletRequest对象先获取ServeltContext对象,再向ServletContext域对象中共享数据】【就是ServletAPI原始方式】
可以理解为除了向Request域对象中存储数据,使用SpringMVC框架封装的ModelAndView对象,其他两种Session共享域对象和ServletContext共享域对象使用原生态的ServltAPI存储共享数据


 3480
3480


 被折叠的 条评论
为什么被折叠?
被折叠的 条评论
为什么被折叠?
 到【灌水乐园】发言


