


Spring Boot开发入门——RESful接口的Web服务
首先创建一个spring boot项目,详见我的上一篇博客https://blog.csdn.net/weixin_47593895/article/details/120395286?spm=1001.2014.3001.5501
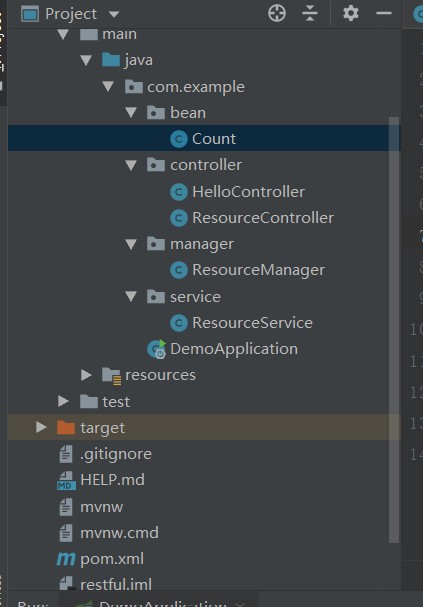
创建项目
创建一个计数器项目,这是项目目录
Count类
package com.example.bean;

public class Count {
      private int count;

              public int getCount() {
                 return count;
             }

              public void setCount(int count) {
                 this.count = count;
              }
}

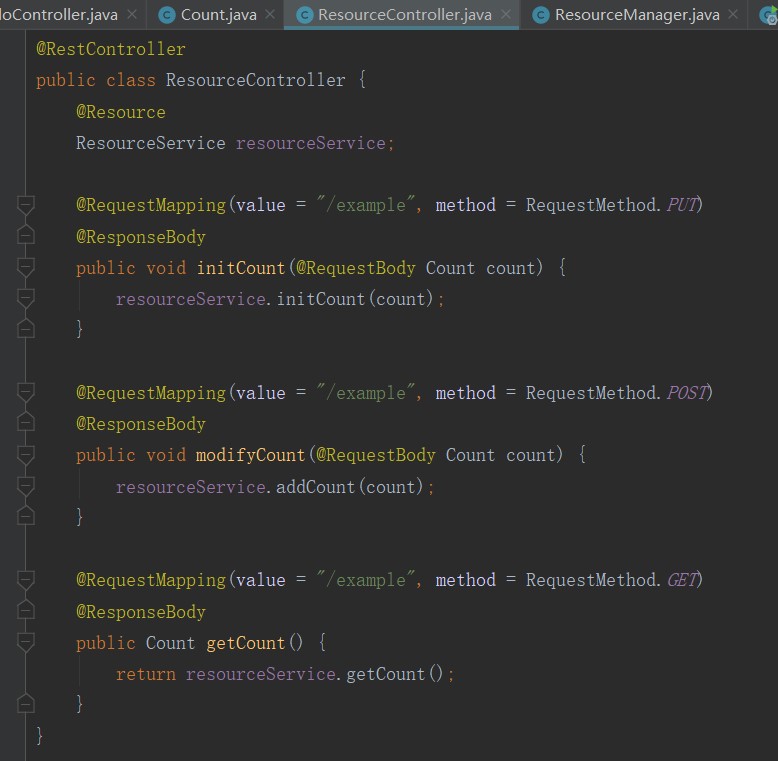
ResourceController类
@RequestMapping(value = “/example”, method = RequestMethod.PUT)
value: 指定请求的实际地址,指定的地址可以是URI Template 模式(后面将会说明);
method: 指定请求的method类型, GET、POST、PUT、DELETE等;
package com.example.controller;

import com.example.bean.Count;
import com.example.service.ResourceService;

import org.springframework.web.bind.annotation.*;

import javax.annotation.Resource;

@RestController
public class ResourceController {
    @Resource
    ResourceService resourceService;

    @RequestMapping(value = "/example", method = RequestMethod.PUT)
    @ResponseBody
    public void initCount(@RequestBody Count count) {
        resourceService.initCount(count);
    }

    @RequestMapping(value = "/example", method = RequestMethod.POST)
    @ResponseBody
    public void modifyCount(@RequestBody Count count) {
        resourceService.addCount(count);
    }

    @RequestMapping(value = "/example", method = RequestMethod.GET)
    @ResponseBody
    public Count getCount() {
        return resourceService.getCount();
    }
}
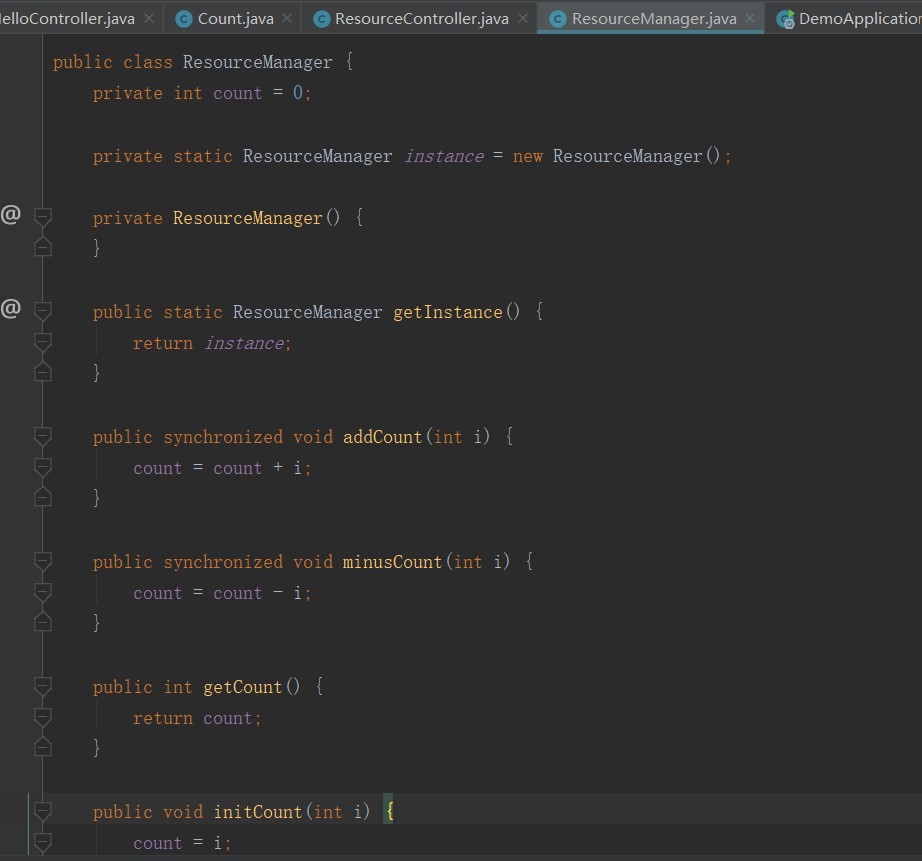
ResourceManger类
package com.example.manager;

public class ResourceManager {
    private int count = 0;

    private static ResourceManager instance = new ResourceManager();

    private ResourceManager() {
    }

    public static ResourceManager getInstance() {
        return instance;
    }

    public synchronized void addCount(int i) {
        count = count + i;
    }

    public synchronized void minusCount(int i) {
        count = count - i;
    }

    public int getCount() {
        return count;
    }

    public void initCount(int i) {
        count = i;
    }
}
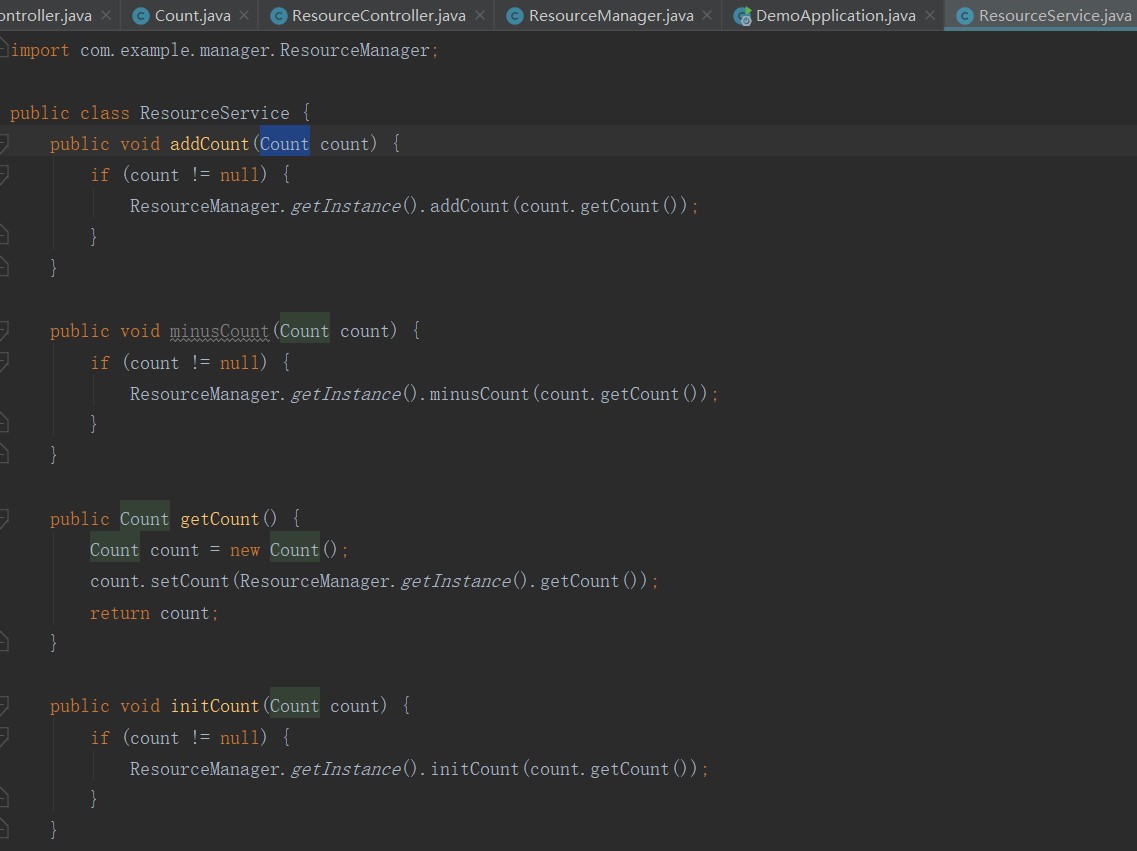
ResourceService类
package com.example.service;

import com.example.bean.Count;
import com.example.manager.ResourceManager;

public class ResourceService {
    public void addCount(Count count) {
        if (count != null) {
            ResourceManager.getInstance().addCount(count.getCount());
        }
    }

    public void minusCount(Count count) {
        if (count != null) {
            ResourceManager.getInstance().minusCount(count.getCount());
        }
    }

    public Count getCount() {
        Count count = new Count();
        count.setCount(ResourceManager.getInstance().getCount());
        return count;
    }

    public void initCount(Count count) {
        if (count != null) {
            ResourceManager.getInstance().initCount(count.getCount());
        }
    }
}
启动项目
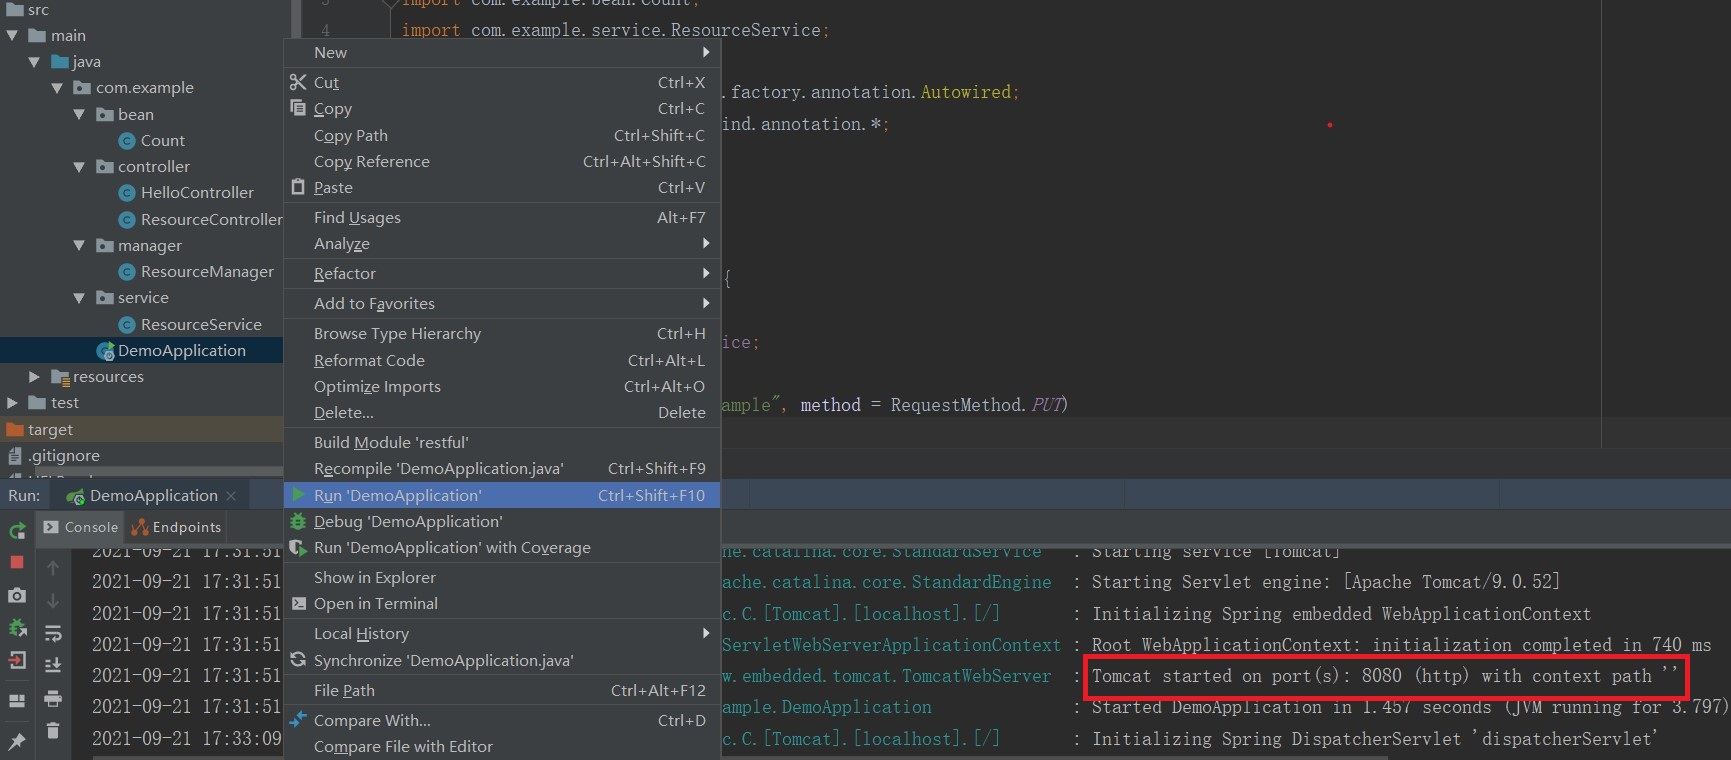
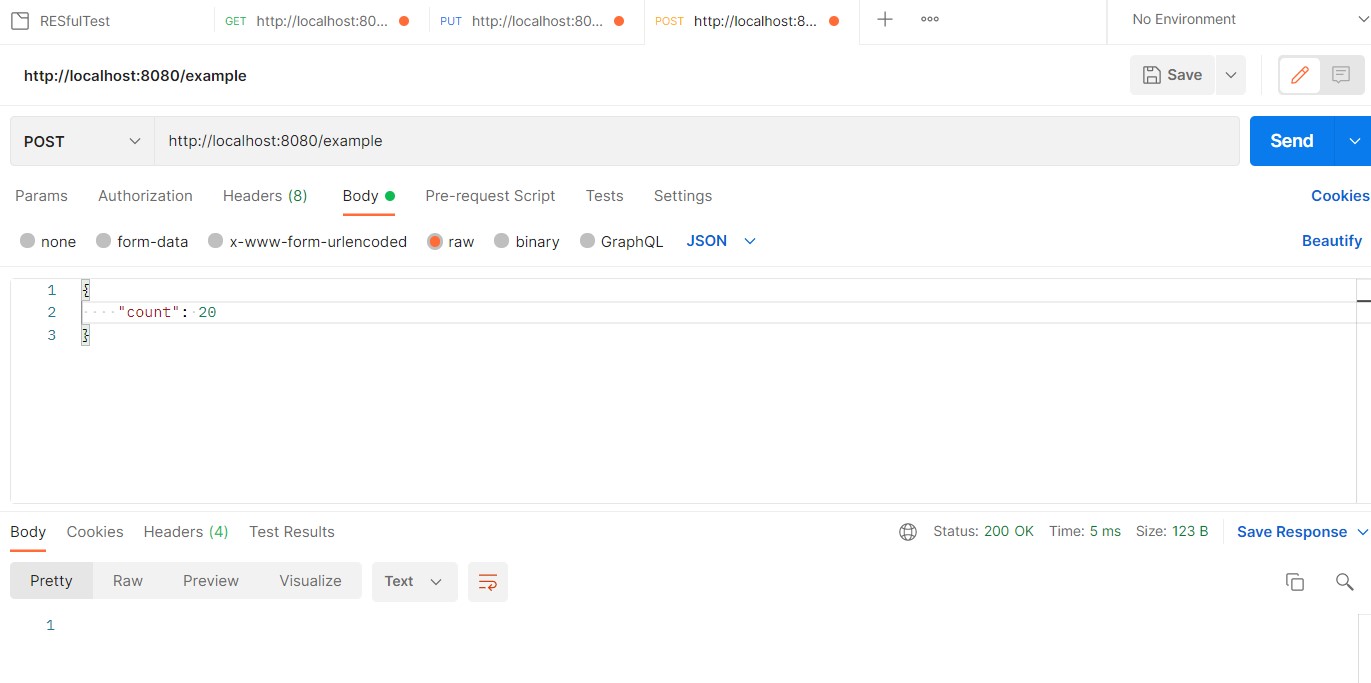
使用postman进行测试
打开postman,file->new->Collection

URL都是:/example,GET用于查询,PUT用于初始化,POST用于修改
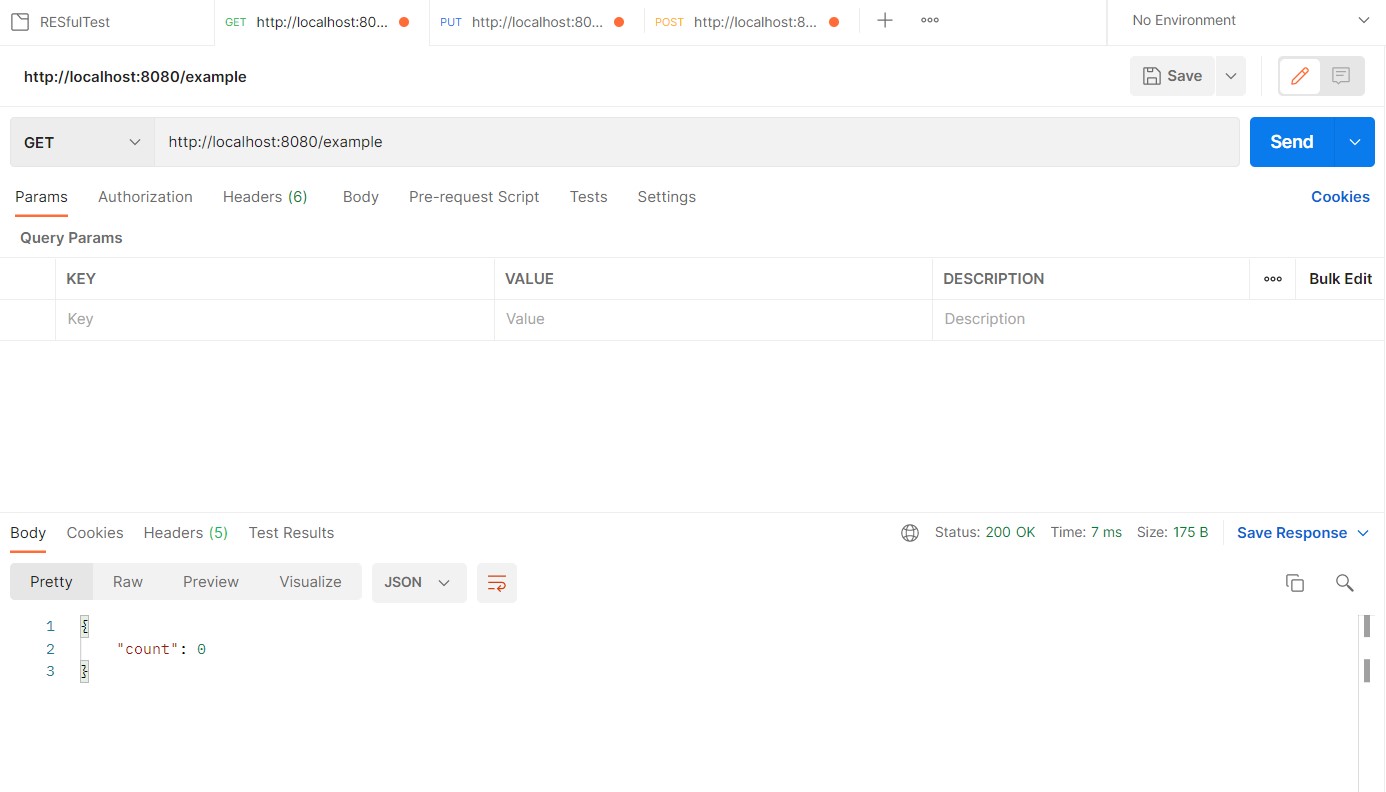
启动查询接口,count默认为0
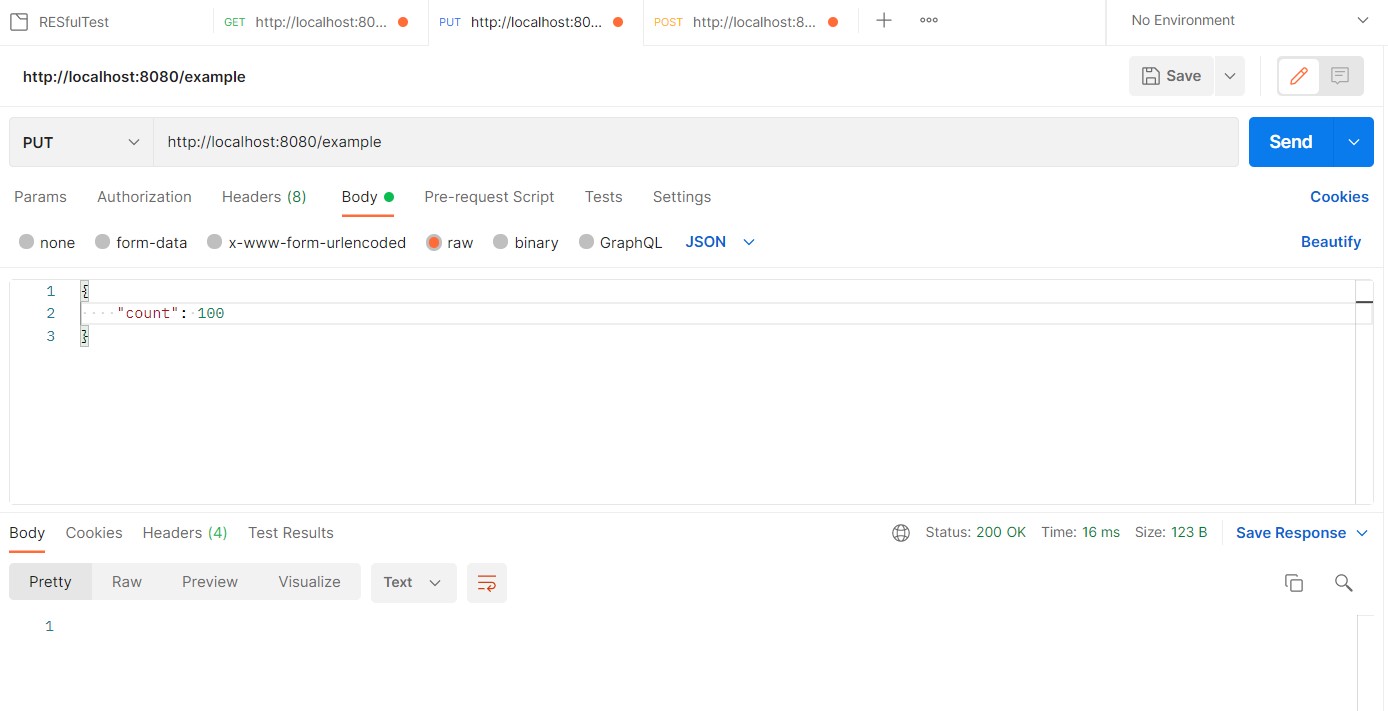
启动初始化接口,初始化count为100
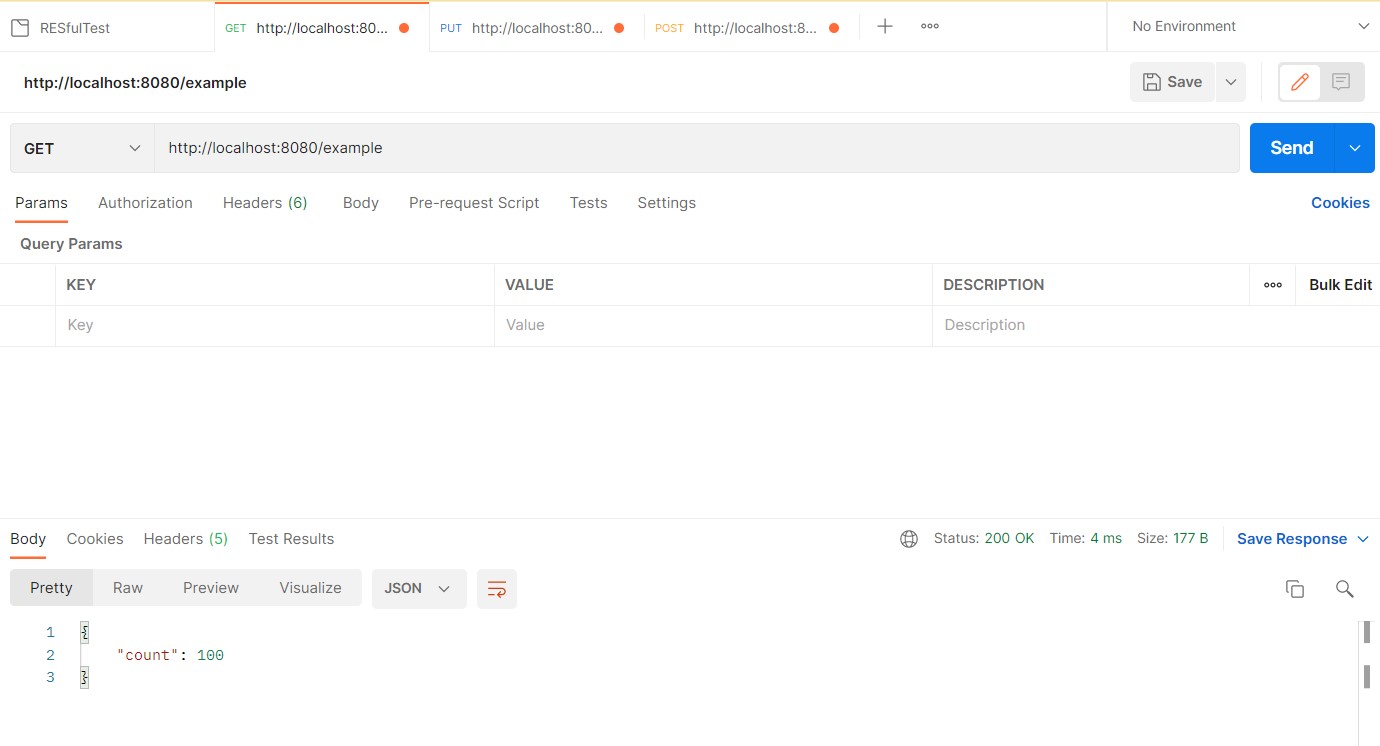
使用GET查询
启动修改接口,count加20
使用GET查询


 5993
5993


 被折叠的 条评论
为什么被折叠?
被折叠的 条评论
为什么被折叠?
 到【灌水乐园】发言


