


前言
前面两篇文章,我们简单讲述了 WebContainer/api 、Terminal 的基本使用,离完备的在线代码编辑器就差一个代码编辑了。今天通过 monaco editor ,来实现初级代码编辑功能,讲述的是整个应用的搭建,并不单独针对monaco editor的使用哈,因为Monaco editor 确实有些难度,仅在使用到的API 、功能模块上做讲解。如果大家有需要,可以留言,会考虑后期做一篇monaco的保姆级教程。
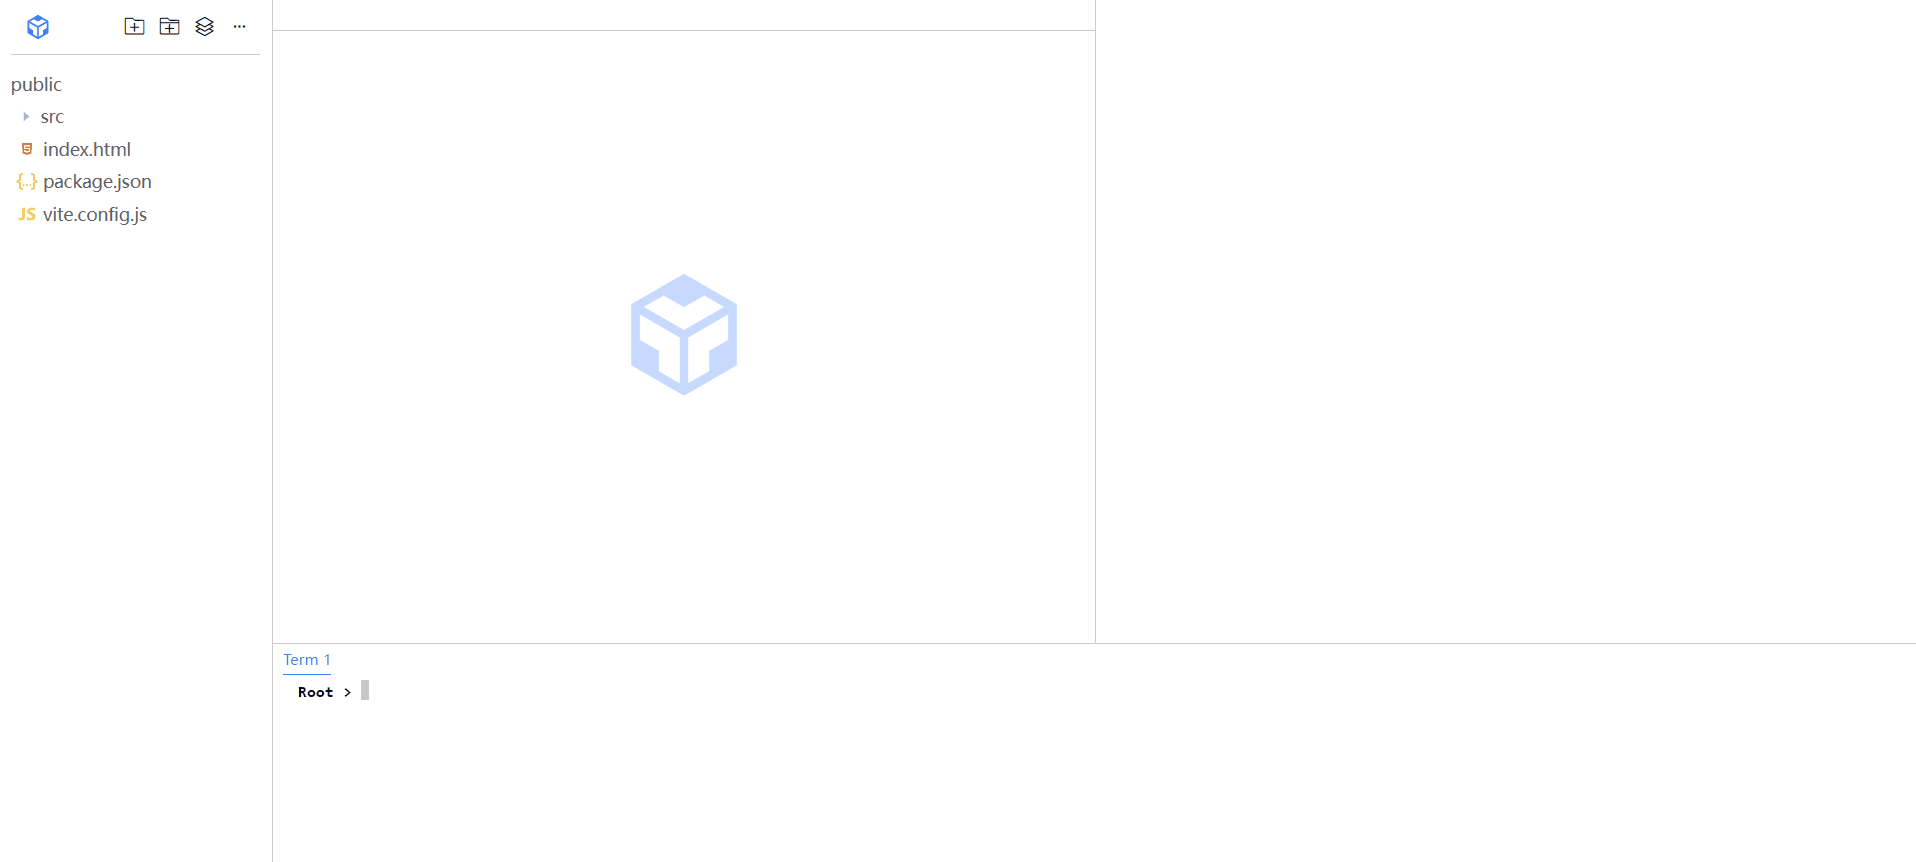
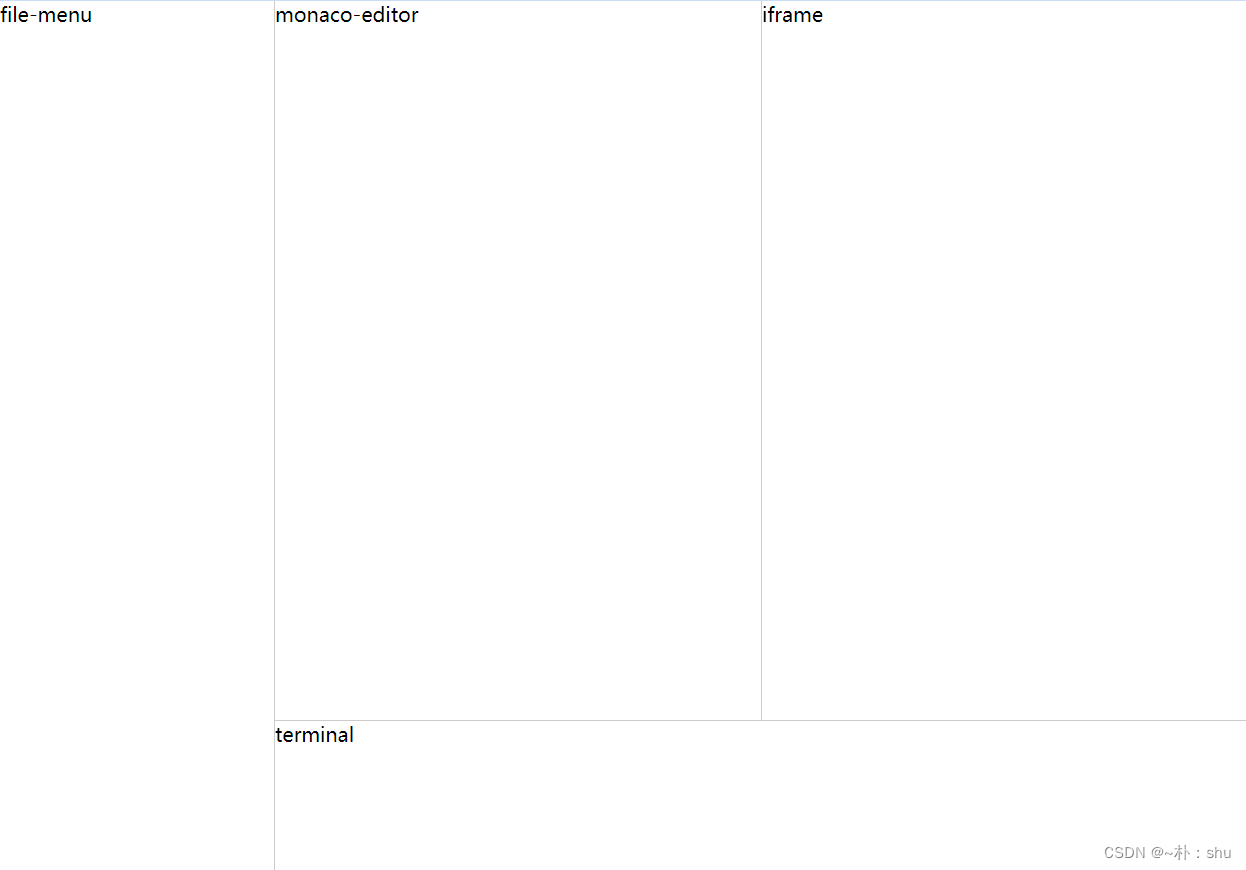
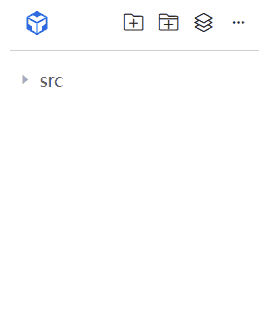
页面布局
初始化 pnpm、vite、typescript的项目,将页面初始化为下:
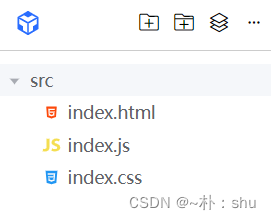
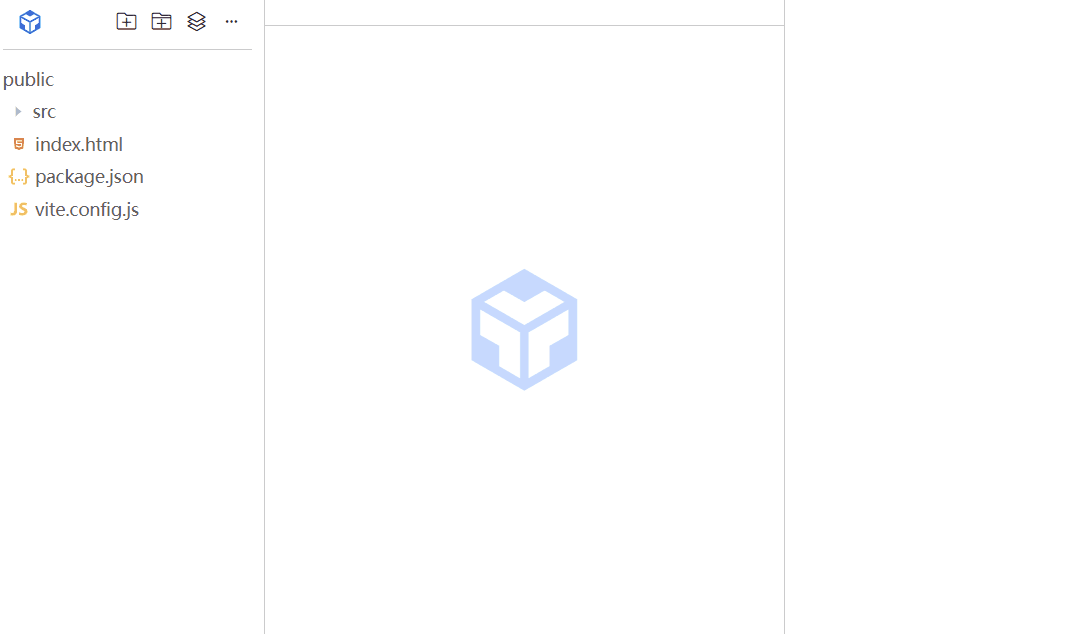
文件树
此处的文件树,是指项目左侧的文件列表,使用ElementPlus tree 组件进行渲染,如下:
// 定义 filemenu tree data
export interface ITreeDataFile {
  id: string;
  icon?: string;
  label: string;
  suffix: string;
}
// 文件夹数据结构
export interface ITreeDataFolder {
  id: string;
  label: string;
  isFolder: boolean;
  children: ITreeDataFile[];
}
// 可能是新建文件
export interface ITreeDataIsNew {
  id: string;
  isNew: boolean;
  isFolder: boolean;
}
针对新建文件/文件夹时,需要知道当前层级,例如我是在 根目录新建 还是在src内新建,因此,需要监听tree 的click 事件:
 /**
   * 节点点击回调 - 通过该参数实现识别当前的目录层级
   * @param data
   */
  function nodeClick(data: ITree) {
    currentNodeKey.value = data.id;
  }
同时,在点击外部时,还需要取消目录选中:
  /**
   * cancelChecked
   */
  function cancelChecked() {
    //  .is-current 通过该类实现的当前文件激活样式
    currentNodeKey.value = "";
    treeRef.value?.setCurrentKey();
  }
事件响应
  // 折叠所有文件
  function collapseAll() {
    // 全部展开 - 可用于定位某个文件
    // Object.values(treeRef.value!.store.nodesMap).forEach((v) => v.expand())
    Object.values(treeRef.value!.store.nodesMap).forEach((v) => v.collapse());
  }
新建文件/文件夹的核心就是blur后,使用 newFileName push到指定位置上:
  /**
   * confirm 新建文件/文件夹确认事件
   */
  function confirm() {
    removeNewItem(dataSource);
    if (!newFileName.value) return;
    // 不然,就根据当前位置,push 真实的数据到dataTree中,通过 newFileFlag.value 识别是文件还是文件夹
    const fileSuffix = newFileName.value.split(".")[1];
    const data: ITreeDataFile | ITreeDataFolder = {
      id: `${new Date().getTime()}`,
      label: newFileName.value,
      isFolder: !newFileFlag.value,
      children: [],
      icon: newFileFlag.value ? getFileIcon(fileSuffix) : "",
    };
    if (currentNodeKey.value) {
      // 如果有节点被选中,则看是文件,还是文件夹,是文件-在父级添加,是文件夹-直接在当前添加
      const currentNode = treeRef.value?.getNode(currentNodeKey.value);
      if (currentNode?.data.isFolder) {
        // 如果是文件夹,则在当前节点下添加
        treeRef.value?.append(data, currentNodeKey.value);
      } else {
        // 如果是文件,则在 Tree 中给定节点后插入一个节点
        treeRef.value?.insertAfter(data, currentNodeKey.value);
      }
    } else {
      // 如果没有节点被选中,则直接添加到根目录
      dataSource.push(data);
    }
  }
Terminal
这块应该是简单的,参考上篇文章哈Terminal Web终端基础(Web IDE 技术探索 二)
往后可能需要拓展多终端场景,因此设计上需要考虑周全,剩下的功能待开发时再细说。
Web Container
这里强调下哈!Web Container的API基本都是 async / await 方式,因此,在使用时一定需要注意执行时机和等待结果!!!
配置 WebContainer/api 跨源隔离:
headers: {
      "Cross-Origin-Embedder-Policy": "require-corp",
      "Cross-Origin-Opener-Policy": "same-origin",
    }
WebContainer的很多事件都需要await执行,在设计上需要考虑周全,因为多处需要共享container的状态,因此我们直接使用pinia实现全局状态管理:
// Web Container 共享文件,因为 fileTree Container对象需要在其他文件中共享
import { WebContainer } from "@webcontainer/api";
import { defineStore } from "pinia";

// 第一个参数是应用程序中商店的唯一 id
export const useContainerStore = defineStore("container", {
  state: () => {
    return {
      container: <InstanceType<typeof WebContainer> | null>null,
      boot: false, // 定义容器是否启动
    };
  },

  actions: {
    // 1. bootContainer 启动容器
    async bootContainer() {
      // @ts-ignore
      this.container = await WebContainer.boot();
      this.boot = true;
    },
  },
});
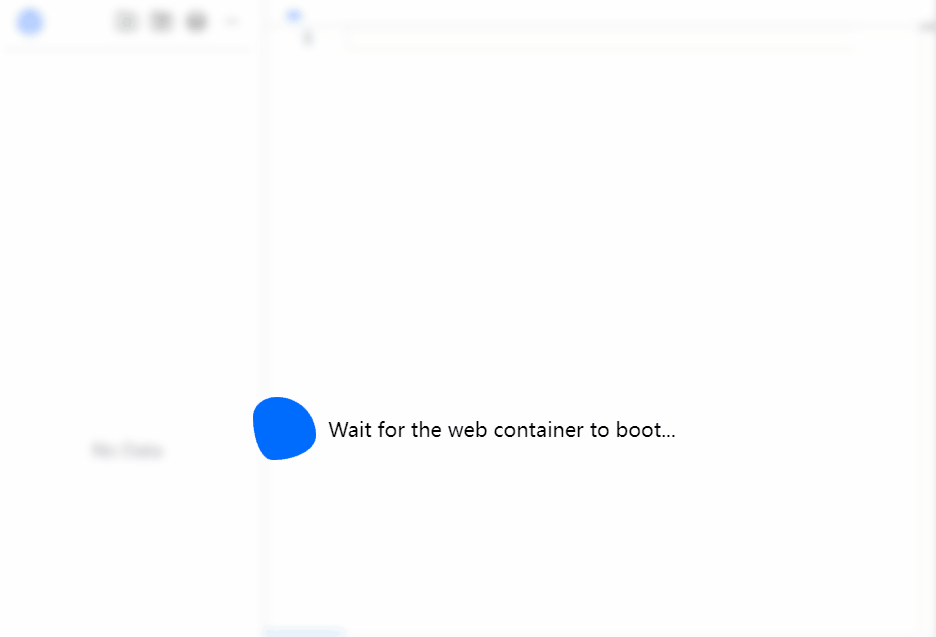
在App页面监听 boot 实现loading效果:
    <!-- loading -->
    <div class="loading" v-if="!containerStore.boot">
      <div class="loader"></div>
      <span>Wait for the web container to boot...</span>
    </div>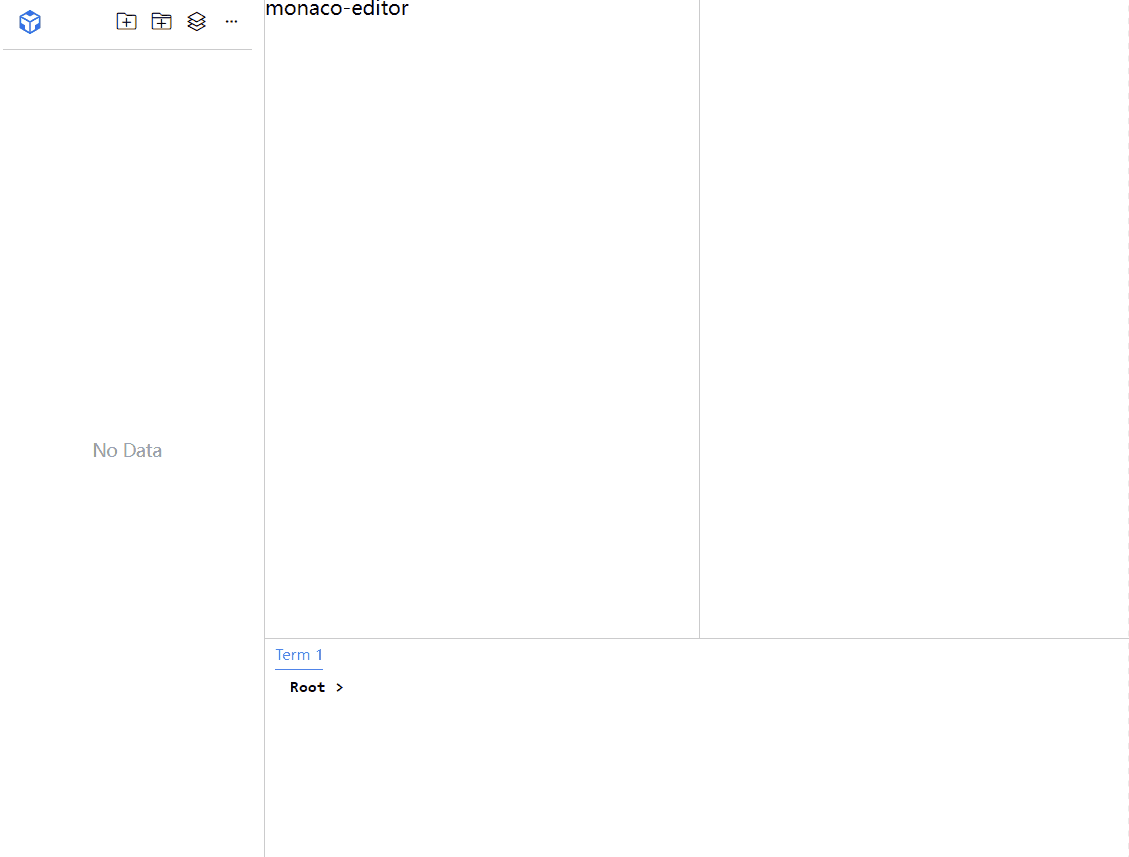
在Container中,需要频繁监听输出流,统一做事件封装处理:
    // 封装统一的输出函数 - 监听容器输出
    async output(stdout: WebContainerProcess, fun: voidFun) {
      stdout.output.pipeTo(
        new WritableStream({
          write(data) {
            fun(data);
          },
        })
      );
    },
封装统一的命令执行函数,提供给terminal执行:
    // 3. 执行 terminal 命令
    async runTerminal(cmd: string, fun: voidFun) {
      if (!this.container) return;
      const command = cmd.split(" "); // 这里是按空格进行分割
      const state = await this.container.spawn(command[0], command.slice(1));
      // 如果是下载命令,则需要获取状态码
      if (command[1] === "install" || command[1] === "i") {
        const code = await state.exit;
        if (code === 0) // ... 执行相关代码
      }
      // 不管成功还是失败,都输出
      this.output(state, fun);
    },
在terminal 中,监听 command事件,直接传递到 container中执行,通过回传参数实现terminal的终端显示:
function command(
  cmdKey: string,
  command: string,
  success: voidFun,
  failed: voidFun,
  name: string
) {
  containerStore.runTerminal(command, (content) => {
    success({ content });
    console.log(name, "执行command:", command);
}); 
文件菜单与FileSystemTree
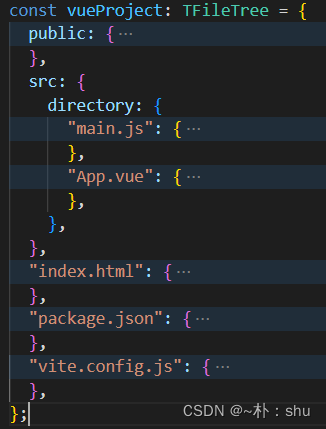
在逻辑上,是先有的文件,才去执行 mounted 操作,因此,当我新建文件的时候,都去调用 mounted 。在初始化时,我们提供三种基本的项目结构:mockVueProject、mockNodeProject、mockReactProject,用Vue 举例哈,其他类似,具体的FileSystemTree可以参考我的上篇文章File System Tree:
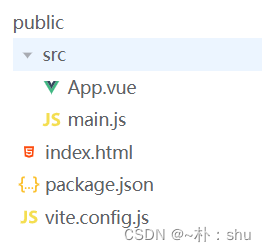
读取成树结构
通过以上的树结构,读取成El-tree 组件的数据源,应该不是难事,递归实现即可,在上一篇中已经实现了,但是注意哈,需要在结束时,进行排序,先排目录结构 isFolder,在排name属性,这样就是与vscode类似的效果:
新增文件
  /**
   *  将新建的文件/文件夹挂载到Web Container File System Tree 中
   */
  function mountedFileSystemTree() {
    tryCatch(async () => {
      let path = "/";
      // 如果有选中节点,则需要处理选中节点的路径问题
      if (currentNodeKey.value) {
        // 需要在这里加上父级 - 这里还需要判断激活的是文件还是文件夹
        const currentNode = treeRef.value?.getNode(currentNodeKey.value); // 当前激活节点
        const dataMap = JSON.parse(JSON.stringify(dataSource)) as TFullData;
        let fullpath = <string[]>getFullPath(dataMap, currentNodeKey.value);
        if (currentNode?.data.isFolder) path += fullpath?.join("/");
        else {
          // 删除最后一项
          fullpath = fullpath?.slice(0, -1);
          path += fullpath?.join("/");
        }
        path += "/";
      }
      // 如果没有选中节点,则直接拼接文件名称,放置到根路径下即可
      // 例如 /vite.config.js
      path += newFileName.value;
      console.log("### path ==> ", path);
      newFileFlag.value
        ? containerStore.addFile(path)
        : containerStore.addFolder(path);
    });
  }
Monaco Editor
上诉简单介绍了整个系统的文件系统、container与termina的关系与核心实现,并通过新增文件/文件夹实现Web Container FileSystemTree的文件挂载、写入、创建文件夹,但是还是没有实质性的文件内容编辑,现在通过monaco editor 插件实现文件内容编辑,monaco确实是有难度的,本文不过及底层原理,仅在应用层面上做叙述。
create
// use monaco editor
import { editor } from "monaco-editor";
/**
* init monaco
*/
function initMonaco(selector: string) {
const dom = document.querySelector(selector) as HTMLElement;
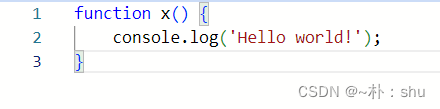
editor.create(dom, {
value: "function x() {\n\tconsole.log('Hello world!');\t\n}",
language: "javascript",
});
}但是这样是要报错的:Uncaught Error: Unexpected usage,详见ISSUES,解决办法:
// 解决 monaco editor 报错 Uncaught Error: Unexpected usage:

import editorWorker from "monaco-editor/esm/vs/editor/editor.worker?worker";
import jsonWorker from "monaco-editor/esm/vs/language/json/json.worker?worker";
import cssWorker from "monaco-editor/esm/vs/language/css/css.worker?worker";
import htmlWorker from "monaco-editor/esm/vs/language/html/html.worker?worker";
import tsWorker from "monaco-editor/esm/vs/language/typescript/ts.worker?worker";

export function fixEnvError() {
  window.MonacoEnvironment = {
    getWorker(_, label) {
      if (label === "json") {
        return new jsonWorker();
      }
      if (label === "css" || label === "scss" || label === "less") {
        return new cssWorker();
      }
      if (label === "html" || label === "handlebars" || label === "razor") {
        return new htmlWorker();
      }
      if (label === "typescript" || label === "javascript") {
        return new tsWorker();
      }
      return new editorWorker();
    },
  };
}
create 之前,先调用 fixEnvError 方法,导入需要的worker文件:
  function initMonaco(selector: string) {
    fixEnvError();
    const dom = document.querySelector(selector) as HTMLElement;
    editor.create(dom, {
      value: "function x() {\n\tconsole.log('Hello world!');\t\n}",
      language: "javascript",
    });
  }
动态设置属性
/** 为了避免Vue响应式对编辑器的影响,使用toRaw转成普通对象 */
getEditor() {
return toRaw(this.editor);
},
/** 设置编辑器的值 + 设置语言模型 */
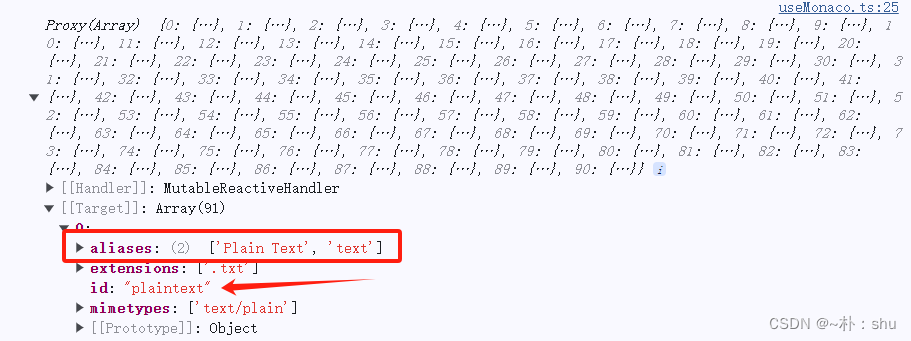
setValue(value: string, language: string) {
this.getEditor()?.setValue(value);
// 1. 文件后缀与语言模型匹配
const languageModel = this.languages.find((item) => {
return item.extensions?.includes(`.${language}`);
});
editor.setModelLanguage(
this.getEditor()?.getModel()!,
languageModel?.id || ""
);
},
/** 获取编辑器的值 */
getValue() {
return this.getEditor()?.getValue();
},在菜单点击时,获取文件内容,进行editor赋值,处理上,直接使用 this.editor.setValue会导致页面卡死,转成普通对象,避免响应式的影响,同时,在设置值上,需要动态调整语言类型,不然不会高亮显示:
监听保存事件
通过保存事件,实现真正的文件存储:
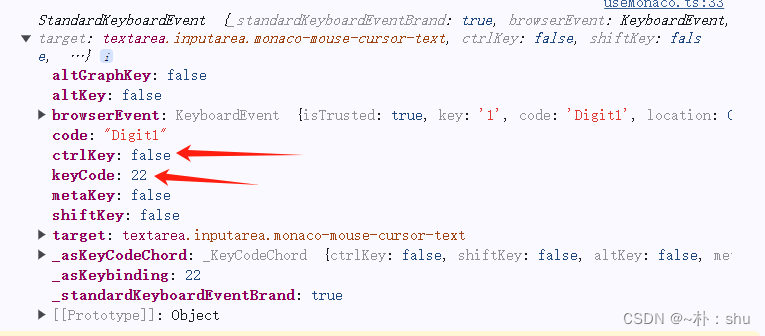
    onKeyDownHandle(e: any) {
      // 通过keycode/ctrlKey/shiftKey/altKey 的状态唯一确定一个事件- 有值为true,无值为false
      const eventMap: TKeyMap<string, voidFun> = {
        "49/true/false/false": () => {
          console.log("Ctrl S");
        },
      };
      const key = `${e.keyCode}/${e.ctrlKey}/${e.shiftKey}/${e.altKey}`;
      if (eventMap[key]) {
        eventMap[key]();
        e.browserEvent.preventDefault();
      }
    },
// eventCtrlS
eventSave() {
const containerStore = useContainerStore();
const fileMenuStore = useFileMenuStore();
// 1. 获取当前编辑器的内容
const contents = this.getEditor()?.getValue() as string;
// 2. 调用 container 的 saveFile 方法
containerStore.writeFile(fileMenuStore.filePath, contents);
},
针对依赖下载的优化
// 特殊的命令需要单独处理
    if (installCmdList.includes(command)) {
      // 执行下载依赖,应该用回显模式
      success(flash);
      containerStore.runTerminal(command, (content) => {
        console.log(content, content.includes("Done"));
        if (content.includes("Done")) {
          flash.finish();
          // 把最后的信息输出
          success({ content: "✅ " + content });
        } else flash.flush(content);
      });
    }
使用回显模式展示依赖下载,会更加合适
多tab页模式
tab 切换的和核心,是通过记录editor 的状态及语言模型实现的:
// 1. 关键参数 map
const fileStateMap = new Map();
// 切换文件 - 需要保存 state
async switchFile(index: number) {
const fileSuffix = this.fileList[index].suffix;
// 2. 跳转到指定文件
this.currentFile = index;
// 3. 看看跳转后文件时候有 model 有的话直接使用,没有就创建新的
const file = this.fileStateMap.get(this.getCurrentFileID());
if (file && file.model) {
this.setModel(toRaw(file.model));
this.restoreViewState(toRaw(file.state)); // 恢复文件的编辑状态
} else {
// 2. 读取文件内容赋给monaco
const contents = await this.containerStore.readFile(
this.fileMenuStore.filePath
);
const model = this.createModel(
contents || "",
this.getLanguageModel(fileSuffix)?.id as string
);
this.setModel(model);
this.fileStateMap.set(this.getCurrentFileID(), {
model: this.getModel(),
state: this.saveViewState(),
});
}
this.getEditor()?.focus();
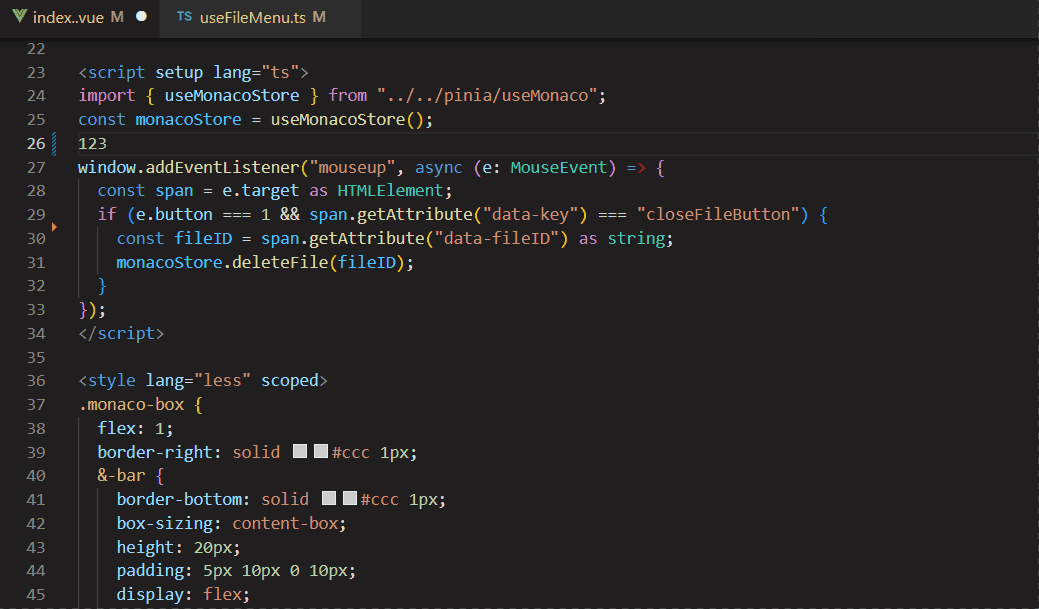
},关闭则是通过监听事件实现:
window.addEventListener("mouseup", (e: MouseEvent) => {
  const span = e.target as HTMLElement;
  if (e.button === 1 && span.getAttribute("data-key") === "closeFileButton") {
    // 1. 先保存
    monacoStore.eventSave();
    // 2. 关闭文件
    const index = span.getAttribute("data-index");
    monacoStore.deleteFile(Number(index));
  }
});
在你关闭的是其他tab页的时候,涉及到不同的model获取内容,因此,需要先跳转到需要关闭的页面,获取完内容,再跳转回正常的页面,类似VScode,不然你获取的内容是不对的哈!
总结
通过WebContainer、Terminal、MonacoEditor的结合,初步实现了Web IDE在线编辑器的开发,整体实现过程还是比较顺利的,但是monaco的应用太痛苦了,全英文,官网API还是.d.ts类型文件!
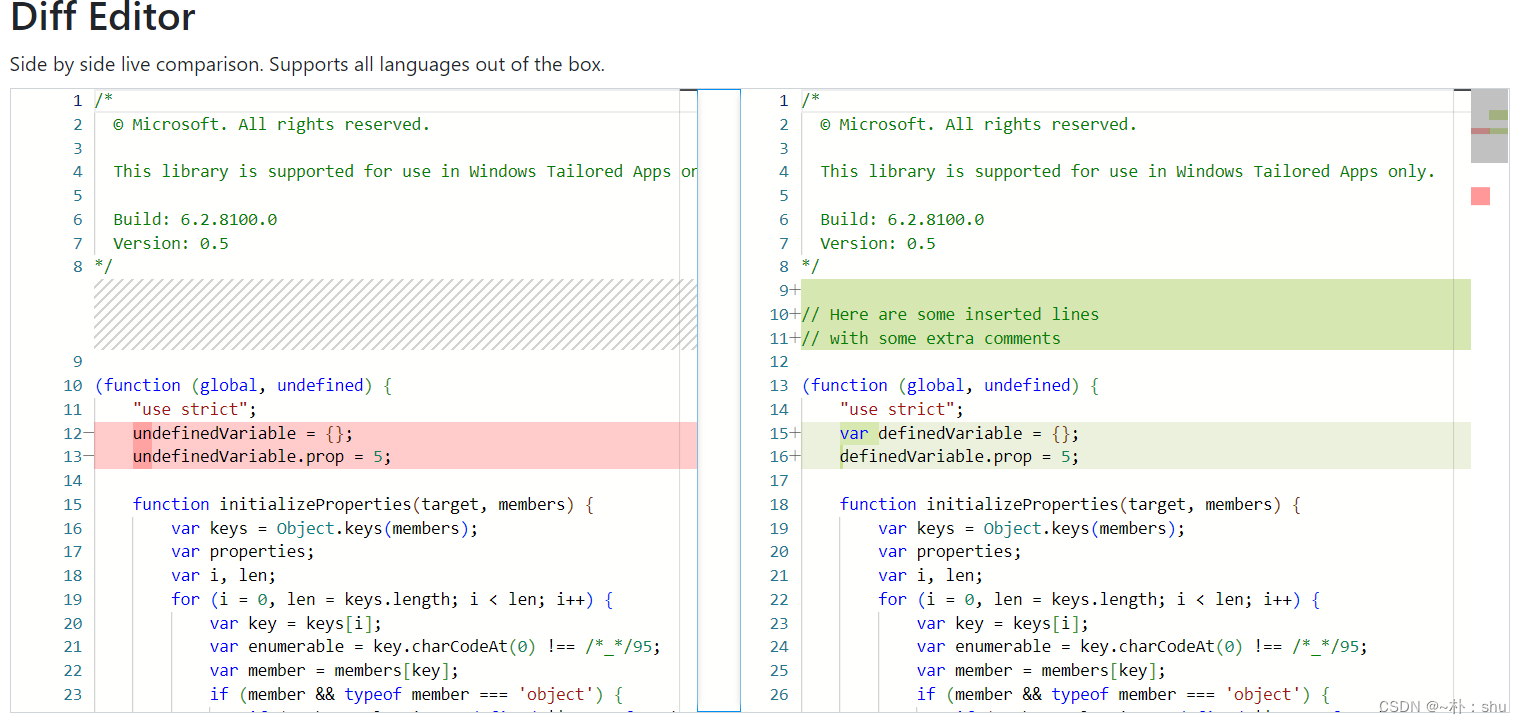
不过不得不说,monaco的强大之处,远不止这么简单,支持git冲突模型对比:
利用yjs 原生支持 y- monaco:
大家感兴趣,后续会考虑整理Monaco Editor的保姆级使用教程,大家多多支持呀~


 6628
6628

 被折叠的 条评论
为什么被折叠?
被折叠的 条评论
为什么被折叠?
 到【灌水乐园】发言


