


文章目录
2.components目录下新建SvgIcon.vue组件
前言
本文主要记录,在开发Nuxt3项目是遇到的一些问题和解决办法以及一些插件的使用方法。
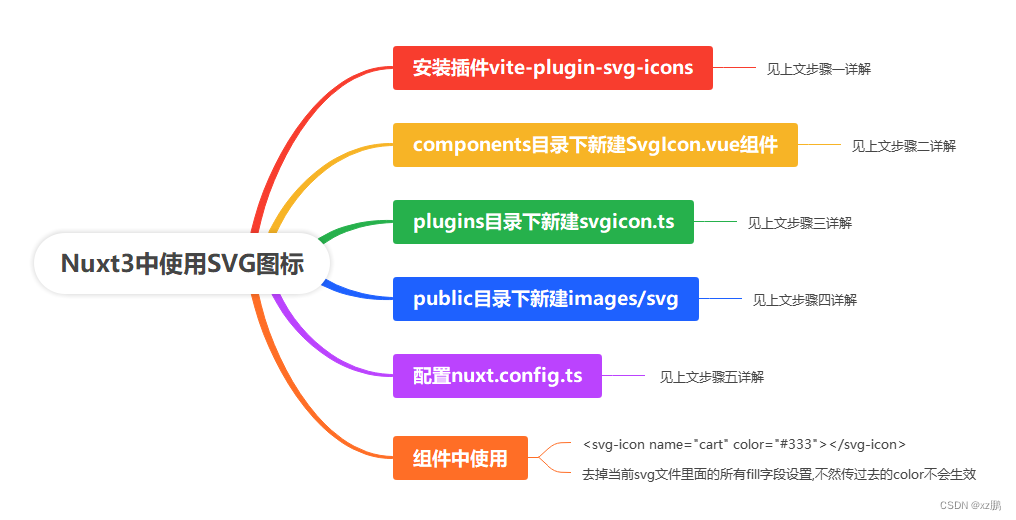
当前文章记录在Nuxt3项目中如何使用svg图标文件,使用的是第三方插件:vite-plugin-svg-icons,希望能帮助到需要的小伙伴们。
一、详细步骤
1.安装插件vite-plugin-svg-icons
npm i vite-plugin-svg-icons -D
// 或者
yarn add vite-plugin-svg-icons -D
// 或者
pnpm install vite-plugin-svg-icons -D2.components目录下新建SvgIcon.vue组件
| components/
--| SvgIcon.vue
SvgIcon.vue
<template>
  <svg
    :class="svgClass"
    v-bind="$attrs"
    :style="{ color: color }"
    aria-hidden="true"
  >
    <use :xlink:href="iconName" />
  </svg>
</template>

<script setup>
import { computed } from "vue";
// 定义 props 接收
const props = defineProps<{
  name: string
  color: string
}>()
const iconName = computed(() => `#icon-${props.name}`);
const svgClass = computed(() => {
  if (props.name) {
    return `svg-icon icon-${props.name}`;
  }
  return "svg-icon";
});
</script>

<style lang="scss" scoped>
.svg-icon {
  width: 1em;
  height: 1em;
  fill: currentColor;
  vertical-align: middle;
}
</style>
3.plugins目录下新建svgicon.ts
import svgIcon from '@/components/SvgIcon.vue'
import 'virtual:svg-icons-register' // 注册脚本,不进行nuxt.config.ts里面的配置,会报错
export default defineNuxtPlugin(nuxtApp => {
    nuxtApp.vueApp.component('svg-icon', svgIcon)
})
4.public下新建images/svg
public是固定的,后面的路径看你自己怎么去存放
| public/
--| images/
----| svg/
------| cart.svg
------| search.svg
5.配置nuxt.config.ts
import path from "path";
import { createSvgIconsPlugin } from "vite-plugin-svg-icons";

export default defineNuxtConfig({
   ..., // 其他配置
   vite: {
     plugins: [
       createSvgIconsPlugin({
         iconDirs: [path.resolve(process.cwd(), "public/images/svg")], // 这个是我自己的路径
       }),
     ],
   },
   ...,// 其他配置
})
6.组件中使用
<svg-icon name="cart" color="#333"></svg-icon>

// 去掉当前svg文件里面的所有fill字段设置,不然传过去的color不会生效
// 所以如果就想用原文件的颜色,且没有其他动作去改变颜色,就不需要管fill字段了
到这里就大功告成了,希望能帮助到需要的小伙伴们。
二、图文展示


 1830
1830

 被折叠的 条评论
为什么被折叠?
被折叠的 条评论
为什么被折叠?
 到【灌水乐园】发言


