rabbitMQ的简单模式
1.简单模式(一个生产者对应一个消费者)

从图上可以看到只有三个角色:
   p 【product】: 生产者  发生消息的
   红色[queue]: 队列。  存储消息的
   C [consumer]: 消费者  消费消息
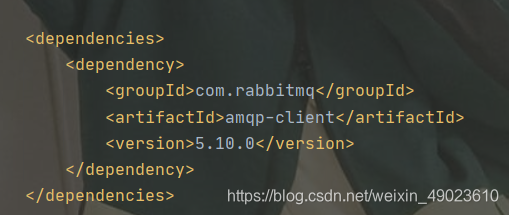
1.首先引入rabbitMQ的依赖架包
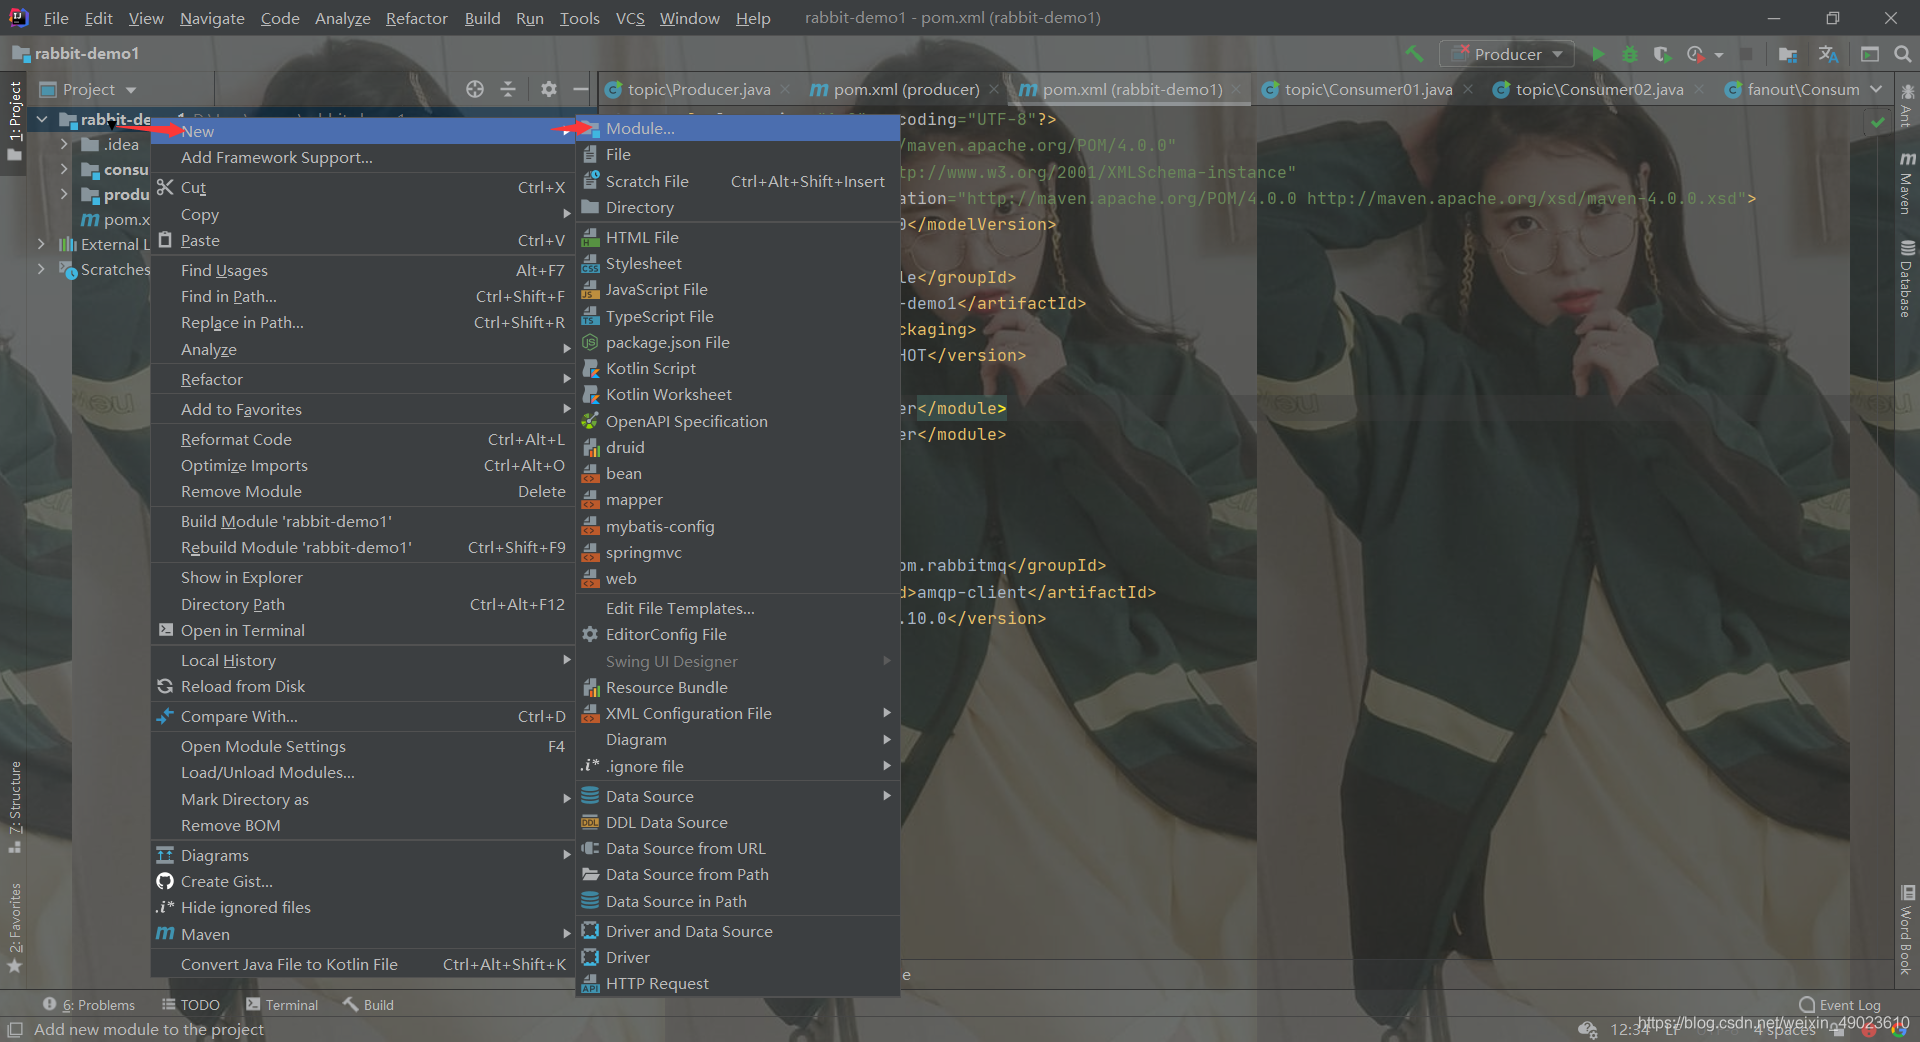
2.在主项目文件中添加子项目
3.编写生产者代码
package com.aaa.qy129;
import com.rabbitmq.client.Channel;
import com.rabbitmq.client.Connection;
import com.rabbitmq.client.ConnectionFactory;
import java.io.IOException;
import java.util.concurrent.TimeoutException;
public class Producer {
public static void main(String[] args) {
ConnectionFactory factory = new ConnectionFactory();
factory.setHost("192.168.81.166");
Connection connection = null;
try {
connection = factory.newConnection();
} catch (IOException e) {
e.printStackTrace();
} catch (TimeoutException e) {
e.printStackTrace();
}
Channel channel = null;
try {
channel = connection.createChannel();
} catch (IOException e) {
e.printStackTrace();
}
try {
channel.queueDeclare("zmj",true,false,false,null);
} catch (IOException e) {
e.printStackTrace();
}
String str="仲梦君是大帅哥!!!!!!!";
try {
channel.basicPublish("","zmj",null,str.getBytes());
} catch (IOException e) {
e.printStackTrace();
}
}
}
4.编写消费者代码
package com.aaa.qy129;
import com.rabbitmq.client.*;
import java.io.IOException;
import java.util.concurrent.TimeoutException;
public class Consumers {
public static void main(String[] args) {
ConnectionFactory factory = new ConnectionFactory();
factory.setHost("192.168.81.166");
Connection connection = null;
try {
connection = factory.newConnection();
} catch (IOException e) {
e.printStackTrace();
} catch (TimeoutException e) {
e.printStackTrace();
}
Channel channel = null;
try {
channel = connection.createChannel();
} catch (IOException e) {
e.printStackTrace();
}
DefaultConsumer callback=new DefaultConsumer(channel){
@Override
public void handleDelivery(String consumerTag, Envelope envelope, AMQP.BasicProperties properties, byte[] body) throws IOException {
System.out.println("消息内容:"+new String(body));
}
};
try {
channel.basicConsume("zmj",true,callback);
} catch (IOException e) {
e.printStackTrace();
}
}
}


 993
993

 被折叠的 条评论
为什么被折叠?
被折叠的 条评论
为什么被折叠?
 到【灌水乐园】发言


