


实现效果
1,点击上传,上传文件;

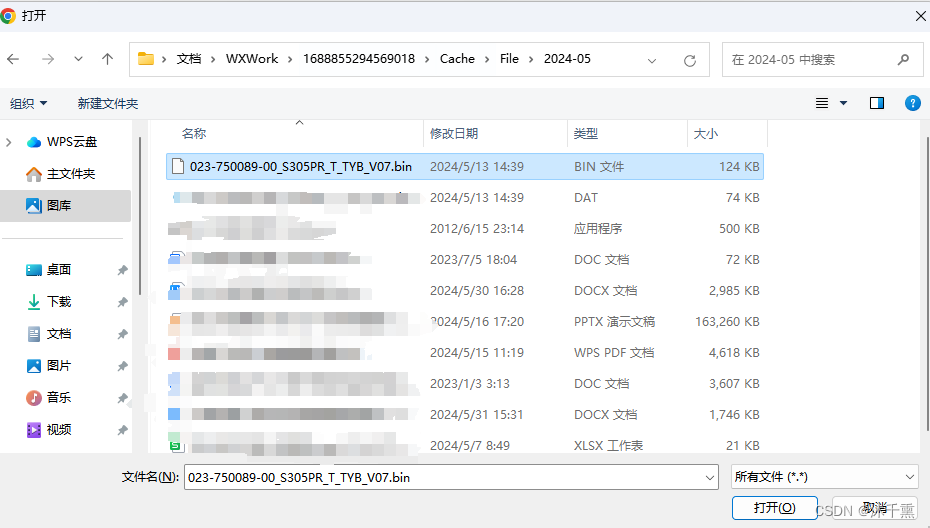
2,选择文件;
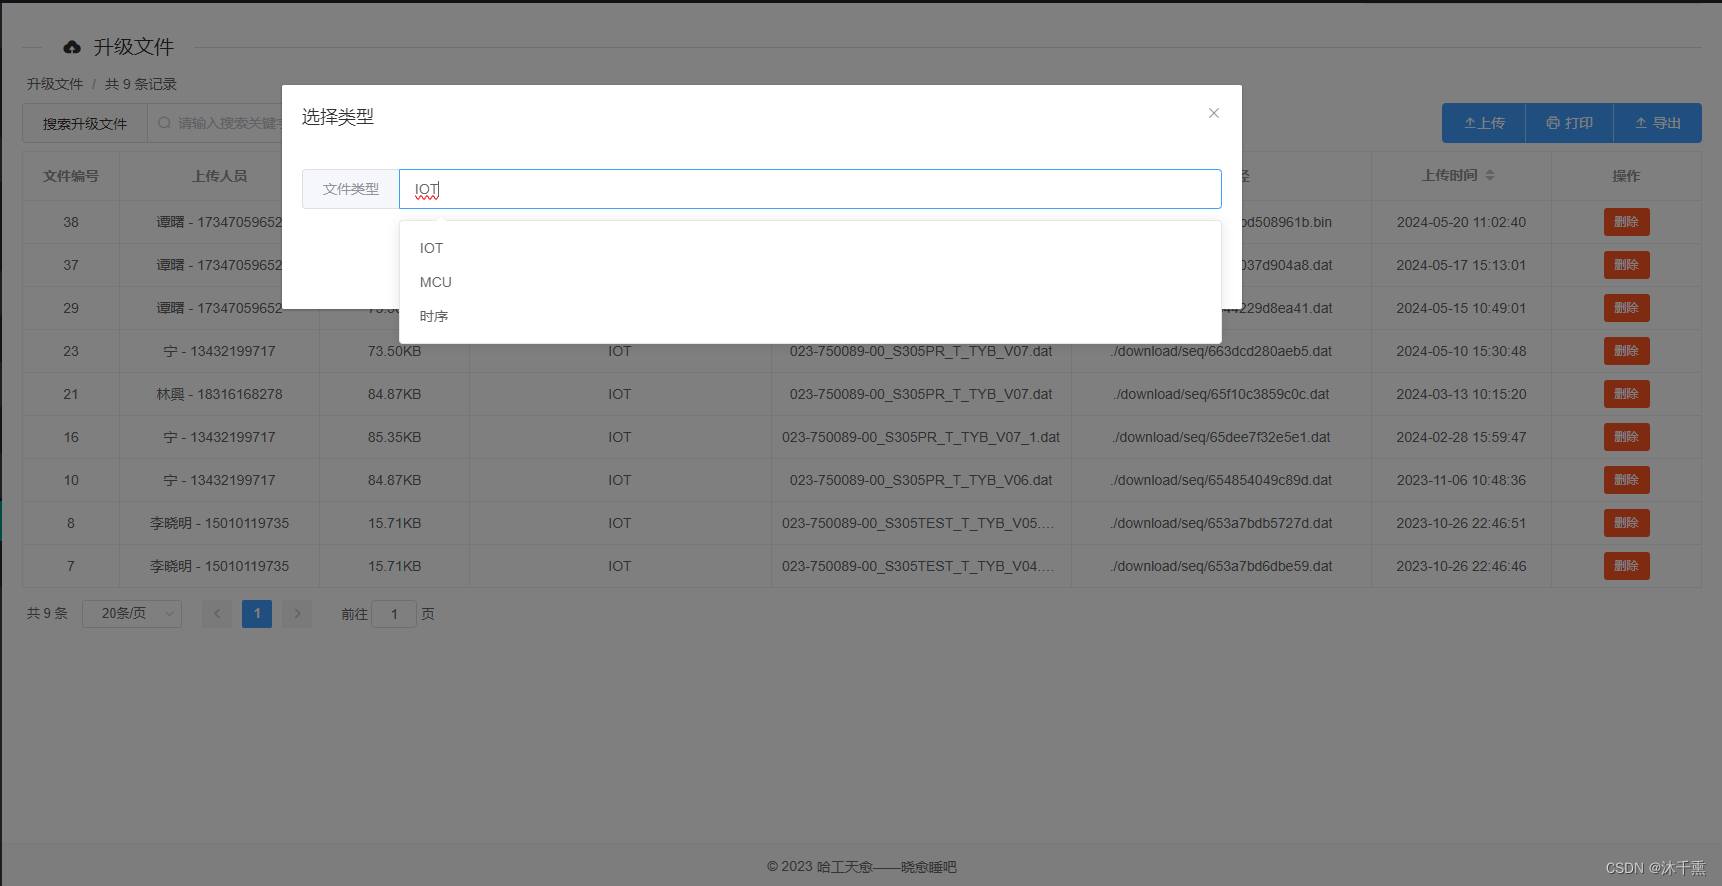
3,弹框选择文件类型;
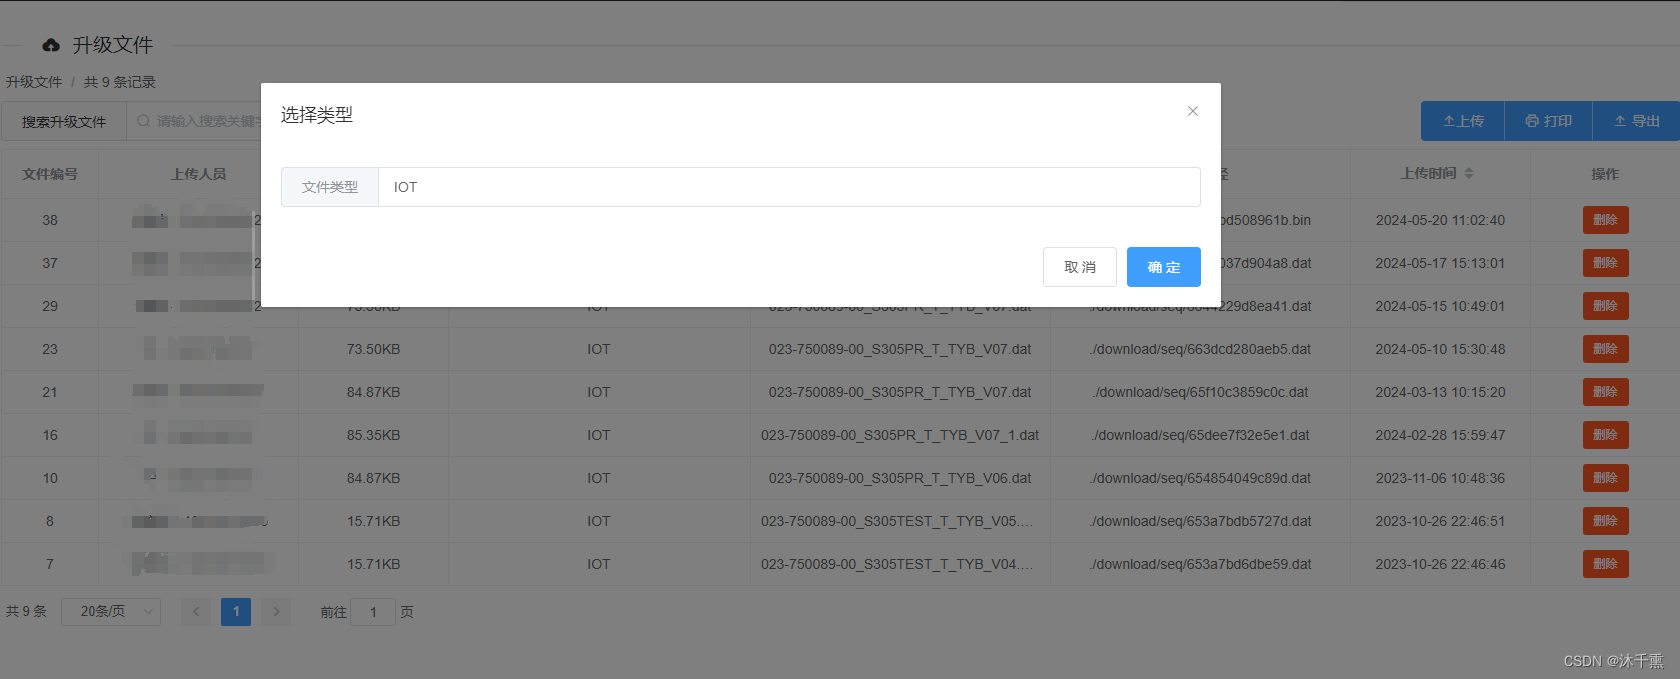
4,选择类型后确定上传;

一,上传
跳过;
二,定义弹框+下拉框
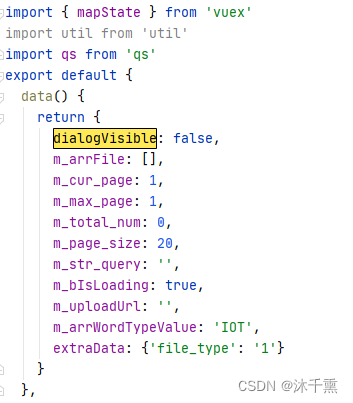
1,定义属性
dialogVisible: false, //初始页面关闭弹框
2,定义弹框
el-autocomplete 组件在 input输入框中,’带输入建议‘;
dialogVisible:属性; @close=“decisionTyoe(false)”:点击×时调用关闭函数传入false,停止上传;
@click=“decisionTyoe(false)”:点击取消时调用关闭函数传入false,停止上传;
@click=“decisionTyoe(true)”:点击取消时调用关闭函数传入false,上传文件;
    <el-dialog title="选择类型" :visible.sync="dialogVisible" @close="decisionTyoe(false)">
      <el-autocomplete class="feed-word-type" v-model="m_arrWordTypeValue"
                       :fetch-suggestions="doWordTypeValue"
                       @select="handleQueryWordType">
      <template slot="prepend">文件类型</template>
    </el-autocomplete>

      <span slot="footer" class="dialog-footer">
        <el-button @click="decisionTyoe(false)">取 消</el-button>
        <el-button type="primary" @click="decisionTyoe(true)">确 定</el-button>
      </span>
    </el-dialog>
3,函数定义
注意!!!一定要开启监听,原因是后续的方法需要根据监听来判断是否选择了文件类型(取消,确定)
    decisionTyoe(flag){
      this.dialogVisible= false;
      // 开启监听
      this.$emit('dialog-closed', flag);
    }
4,下拉框框函数定义
	//下拉框数据
    doWordTypeValue(queryString, cb) {
      var results = [{
        value: 'IOT',
        file_type: 1,
      }, {
        value: 'MCU',
        file_type: 2,
      }, {
        value: '时序',
        file_type: 3,
      }]
      // 调用 callback 返回建议列表的数据
      cb(results);
    },
    //选择下拉框
    handleQueryWordType(inItem){
      this.m_arrWordTypeValue = inItem.value;
      this.extraData.file_type = inItem.file_type;
    },
三,上传合并弹框
1,弹框选择要在上传后台前,所以要使用到 上传组件的before-upload属性(上传文件之前的钩子,参数为上传的文件,若返回 false 或者返回 Promise 且被 reject,则停止上传。)
              <el-upload
                :action="m_uploadUrl"
                :auto-upload="true"
                :data="extraData"
                :show-file-list="false"
                :before-upload="doImportBefore"
                :on-success="doImportSuccess">
                <i class="el-icon-upload2">上传</i>
              </el-upload>
2,定义doImportBefore函数来选择上传文件与打开弹框
    doImportBefore(inFile) {
      // 打开对话框
      this.dialogVisible = true;

      // 需要来进行等待用户弹框选择文件类型;
      // 使用Promise函数等待监听dialog-closed
      return new Promise((resolve, reject) => {
      	// 当用户点击了确定或取消时触发监听,
        this.$once('dialog-closed', (confirmed) => {
          if (confirmed) {
            console.log('用户点击了确认按钮');

            ///
			// 文件的逻辑处理
            let nPos = inFile.name.lastIndexOf('.');
            if (nPos < 0) {
              this.$message.error('支持的文件格式 => dat 或 bin');
              resolve(false);
              return;
            }
            let strExt = inFile.name.substring(nPos + 1);
            strExt = strExt.toLowerCase();

            if (strExt !== 'dat' && strExt !== 'bin') {
              this.$message.error('支持的文件格式 => dat 或 bin');
              resolve(false);
              return;
            }
            ///

            // 直接设置异步加载状态...
            this.m_bIsLoading = true
            resolve(true);
            return;
          } else {
            this.$message.error('用户取消了上传');
            reject(false);
            return;
          }
        });
      });

    }


 770
770

 被折叠的 条评论
为什么被折叠?
被折叠的 条评论
为什么被折叠?
 到【灌水乐园】发言


