


@EnableAspectJAutoProxy代码如下
结构:
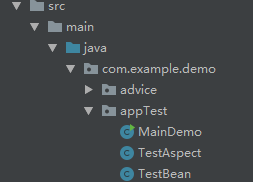
接下来是appTest中的代码:
@Component
public class TestBean {
    public void  hello(){
        System.out.println("hello");
    }
}
@Aspect
@Component //交给spring容器
public class TestAspect {
//定义切入点
//第一个 * 表示返回值为任意类型
// .*(..) 表示任何方法名,括号表示参数,两个点表示任何参数类型
@Pointcut("execution(* com.example.demo.appTest.TestBean.*(..))")
private void pointcut(){
}
@Before("pointcut()")
public void before(JoinPoint joinPoint){
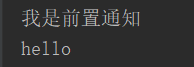
System.out.println("我是前置通知");
}
}
@Configuration
@ComponentScan
@EnableAspectJAutoProxy  //切面
public class MainDemo {

/*    @Bean
    public TestAspect testAspect(){
        return new TestAspect();
    }*/


    public static void main(String[] args) {
        AnnotationConfigApplicationContext context = new AnnotationConfigApplicationContext(MainDemo.class);
        TestBean testBean = context.getBean(TestBean.class);
        testBean.hello();
    }

}
可以测试得到结论:
1、当TestAspect类中,加上注解@Component,该类就自动提交到spring容器中。
2、当TestAspect类中,没有加上注解,必须要在MainDemo类中,加上@Bean来获取TestAspect对象。
3、@EnableAspectJAutoProxy 注解定位到TestAspect类,输出:


 3127
3127


 被折叠的 条评论
为什么被折叠?
被折叠的 条评论
为什么被折叠?
 到【灌水乐园】发言


