


composer require chillerlan/php-qrcode
用到的扩展自己安装(注:只生成二维码只要开gd扩展就行)
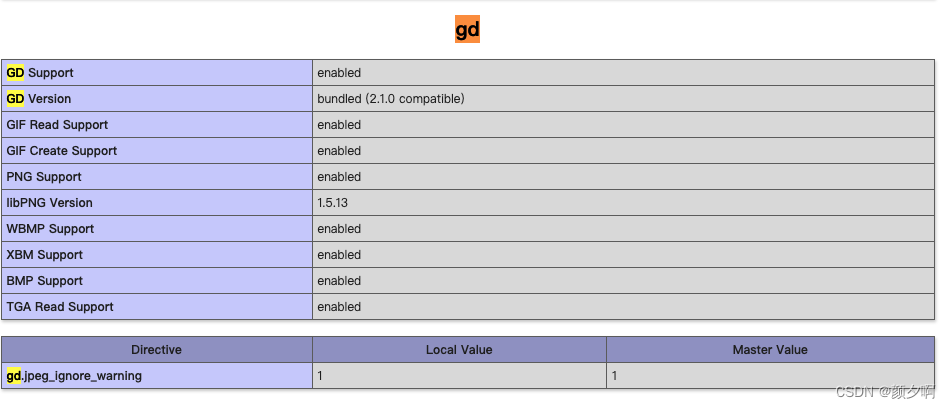
仅生成二维码看这个:
use chillerlan\QRCode\QRCode;

    public function QRCode()
    {
        $qrcode = new QRCode();
        $url = "http://www.******.com/demo?id=".$id;
        $response = $qrcode->render($url);

        return Tools::showJsonMsg('success','操作成功','',$response);
    }
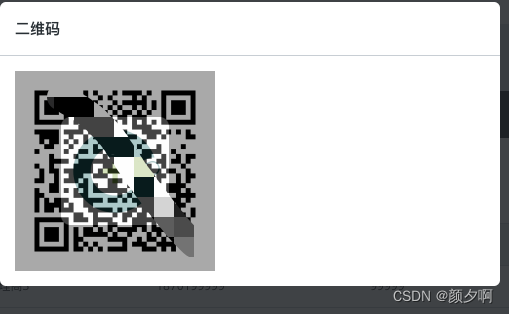
生成二维码包含logo图片(代码仅供参考,逻辑按照自己的写)
二维码展示大概这样
use chillerlan\QRCode\QRCode;
public function QRCode()
{
$aid = $this->request->getPost('aid');
$imgPath = 'uploads/admin/qrcode/'.$aid.'.png';
if (file_exists($imgPath)){
return Tools::showJsonMsg('success','操作成功','',$imgPath);
}
if (!$aid) {
return Tools::showJsonMsg("error", "id不存在");
}
$One = $this->agentModel->where(["aid" => $aid])->first();
if (!$One) {
return Tools::showJsonMsg("error", "不存在");
}
$qrcode = new QRCode(new QROptions([
'version' => 4, // 设置二维码的版本,版本越高,二维码越大
'scale'=>10 //二维码大小
]));
$url = "http://www.******.com/demo?id=".$aid;
$response = $qrcode->render($url);
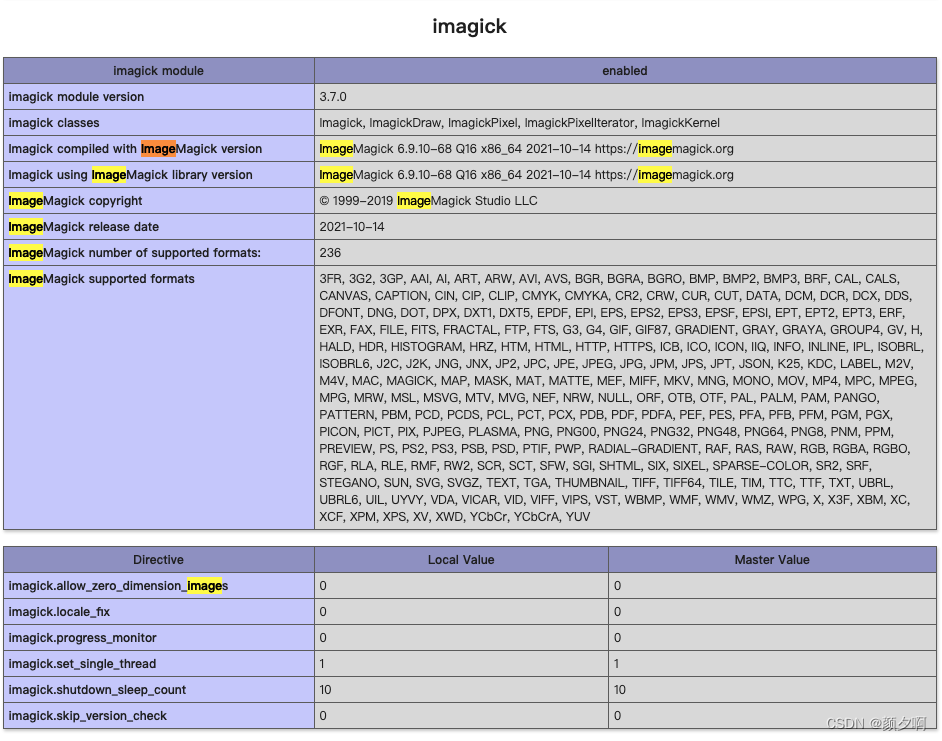
// 将SVG格式的二维码数据转换为PNG格式
$svgData = str_replace('data:image/svg+xml;base64,', '', $response);
$decodedSvgData = base64_decode($svgData);
$imagick = new \Imagick();
// 读取SVG数据
$imagick->readImageBlob($decodedSvgData);
// 设置输出格式为PNG
$imagick->setImageFormat('png');
// 将SVG转换为PNG并获取转换后的数据
$pngData = $imagick->getImageBlob();
// 创建PNG图像资源
$pngImage = imagecreatefromstring($pngData);
// 要插入的 Logo 图片路径
$logoPath = 'theme/admin/img/logo.png';
// 创建 Logo 图片资源
$logo = imagecreatefrompng($logoPath);
// 获取二维码和 Logo 的宽度和高度
$qrCodeWidth = imagesx($pngImage);
$qrCodeHeight = imagesy($pngImage);
$logoWidth = imagesx($logo);
$logoHeight = imagesy($logo);
$combinedImage = imagecreatetruecolor(200, 200);
// 计算缩放比例
$scale = min(200 / $qrCodeWidth, 200 / $qrCodeHeight);
// 计算缩放后的宽度和高度
$newWidth = $qrCodeWidth * $scale;
$newHeight = $qrCodeHeight * $scale;
// 创建一个临时画布用于缩放二维码图像
$tempImage = imagecreatetruecolor($newWidth, $newHeight);
// 将二维码图像缩放到临时画布
imagecopyresampled($tempImage, $pngImage, 0, 0, 0, 0, $newWidth, $newHeight, $qrCodeWidth, $qrCodeHeight);
// 计算Logo应该放置的位置
$logoX = ($newWidth - $logoWidth) / 2;
$logoY = ($newHeight - $logoHeight) / 2;
// 创建一个新的空白画布,大小为200x200
$combinedImage = imagecreatetruecolor(200, 200);
// 将Logo图像复制到新的画布上
imagecopy($combinedImage, $logo, $logoX, $logoY, 0, 0, $logoWidth, $logoHeight);
// 将缩放后的二维码图像叠加在Logo图像的上方
imagecopymerge($combinedImage, $tempImage, 0, 0, 0, 0, $newWidth, $newHeight, 70);
// 确保目录存在,如果不存在则创建
$directory = 'uploads/admin/qrcode/';
if (!file_exists($directory)) {
mkdir($directory, 0777, true); // 创建目录
}
// 输出合并后的图像
imagepng($combinedImage, $imgPath);
// 释放内存
imagedestroy($combinedImage);
return Tools::showJsonMsg('success','操作成功','',$imgPath);
}
前端你自己列表读uploads/admin/qrcode/‘.$aid.’.png这个就行


 被折叠的 条评论
为什么被折叠?
被折叠的 条评论
为什么被折叠?
 到【灌水乐园】发言


