


目录
2.registerForActivityResult()的使用方法
验证第二次在 textview界面中,显示数据来源(代码自己编写)
也可直接下载进行操作:
第一个:基础跳转示例
第二个:使用跳转实例
1.情况说明
startActivityForResult();函数过时
使用了
registerForActivityResult()进行了代替
2.registerForActivityResult()的使用方法
数据来源
(2条消息) registerForActivityResult()的使用方法例子_发狂先生的博客-CSDN博客_registerforactivityresult用法
registerForActivityResult(ActivityResultContracts.TakeVideo())始终为空 - 我爱学习网 (5axxw.com)
https://blog.csdn.net/weixin_44618862/article/details/98209369
过时的OnActivityResult替代品-registerForActivityResult源码解析 - 未知用户的博客 (7449.github.io)
其中最为详细的在
(2条消息) registerForActivityResult()的使用方法例子_发狂先生的博客-CSDN博客_registerforactivityresult用法
3.例子
数据来源
(2条消息) registerForActivityResult()的使用方法例子_发狂先生的博客-CSDN博客_registerforactivityresult用法

然后在Studio编写如下(自己加了一些)

在第一个activity中
在1中得java
package com.example.test1;
import androidx.activity.result.ActivityResultLauncher;
import androidx.activity.result.contract.ActivityResultContracts;
import androidx.appcompat.app.AppCompatActivity;
import android.app.Activity;
import android.content.Intent;
import android.os.Bundle;
import android.provider.MediaStore;
import android.util.Log;
import android.view.View;
import android.widget.Button;
import android.widget.TextView;
public class ChuangShuFrist extends AppCompatActivity {
TextView text_message;
@Override
protected void onCreate(Bundle savedInstanceState) {
super.onCreate(savedInstanceState);
setContentView(R.layout.chuangshufrist);
text_message = (TextView) findViewById(R.id.cshi1);
Button button_transfer1 = findViewById(R.id.cshibu11);
//按钮1
ActivityResultLauncher requestDataLauncher = registerForActivityResult(new ActivityResultContracts.StartActivityForResult(),
result -> {
Log.d("FirstActivity", result.getData().getStringExtra("data_return"));
//tag表示标签信息,第二个参数表示要打印的信息,在这里表示可以在日志中看到该方法的执行
});
button_transfer1.setOnClickListener(new View.OnClickListener() {
@Override
public void onClick(View v) {
Intent intent=new Intent(ChuangShuFrist.this,ChuangShuSecond.class);
requestDataLauncher.launch(intent);//用的是requestDataLauncher
}
});
}
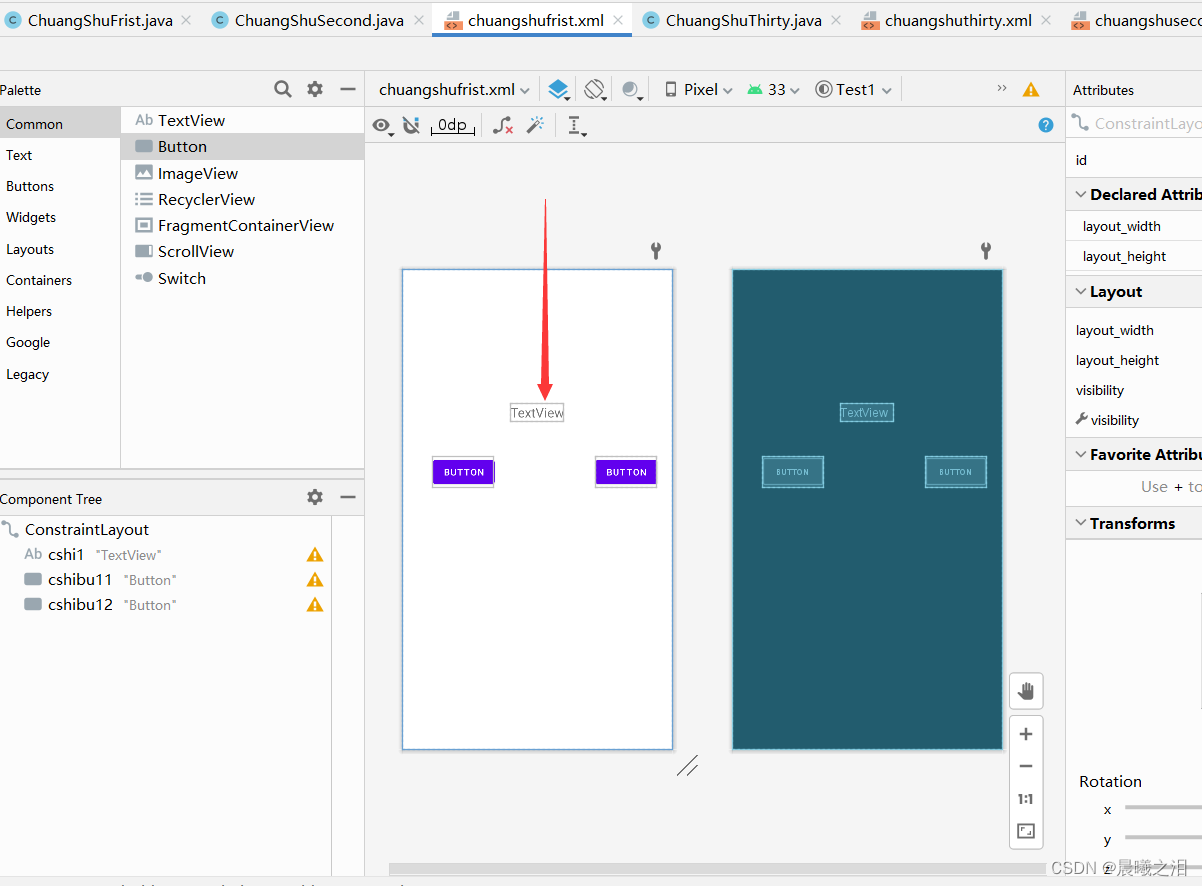
}在1得xml中
<?xml version="1.0" encoding="utf-8"?>
<androidx.constraintlayout.widget.ConstraintLayout xmlns:android="http://schemas.android.com/apk/res/android"
    xmlns:app="http://schemas.android.com/apk/res-auto"
    xmlns:tools="http://schemas.android.com/tools"
    android:layout_width="match_parent"
    android:layout_height="match_parent">

    <TextView
        android:id="@+id/cshi1"
        android:layout_width="wrap_content"
        android:layout_height="wrap_content"
        android:text="TextView"
        android:textSize="20sp"
        app:layout_constraintBottom_toBottomOf="parent"
        app:layout_constraintEnd_toEndOf="parent"
        app:layout_constraintHorizontal_bias="0.498"
        app:layout_constraintStart_toStartOf="parent"
        app:layout_constraintTop_toTopOf="parent"
        app:layout_constraintVertical_bias="0.289" />

    <Button
        android:id="@+id/cshibu11"
        android:layout_width="wrap_content"
        android:layout_height="wrap_content"
        android:text="Button"
        app:layout_constraintBottom_toBottomOf="parent"
        app:layout_constraintEnd_toStartOf="@+id/cshibu12"
        app:layout_constraintHorizontal_bias="0.228"
        app:layout_constraintStart_toStartOf="parent"
        app:layout_constraintTop_toTopOf="parent"
        app:layout_constraintVertical_bias="0.415" />

    <Button
        android:id="@+id/cshibu12"
        android:layout_width="wrap_content"
        android:layout_height="wrap_content"
        android:layout_marginEnd="24dp"
        android:text="Button"
        app:layout_constraintBottom_toBottomOf="parent"
        app:layout_constraintEnd_toEndOf="parent"
        app:layout_constraintTop_toTopOf="parent"
        app:layout_constraintVertical_bias="0.415" />
</androidx.constraintlayout.widget.ConstraintLayout>
如下图
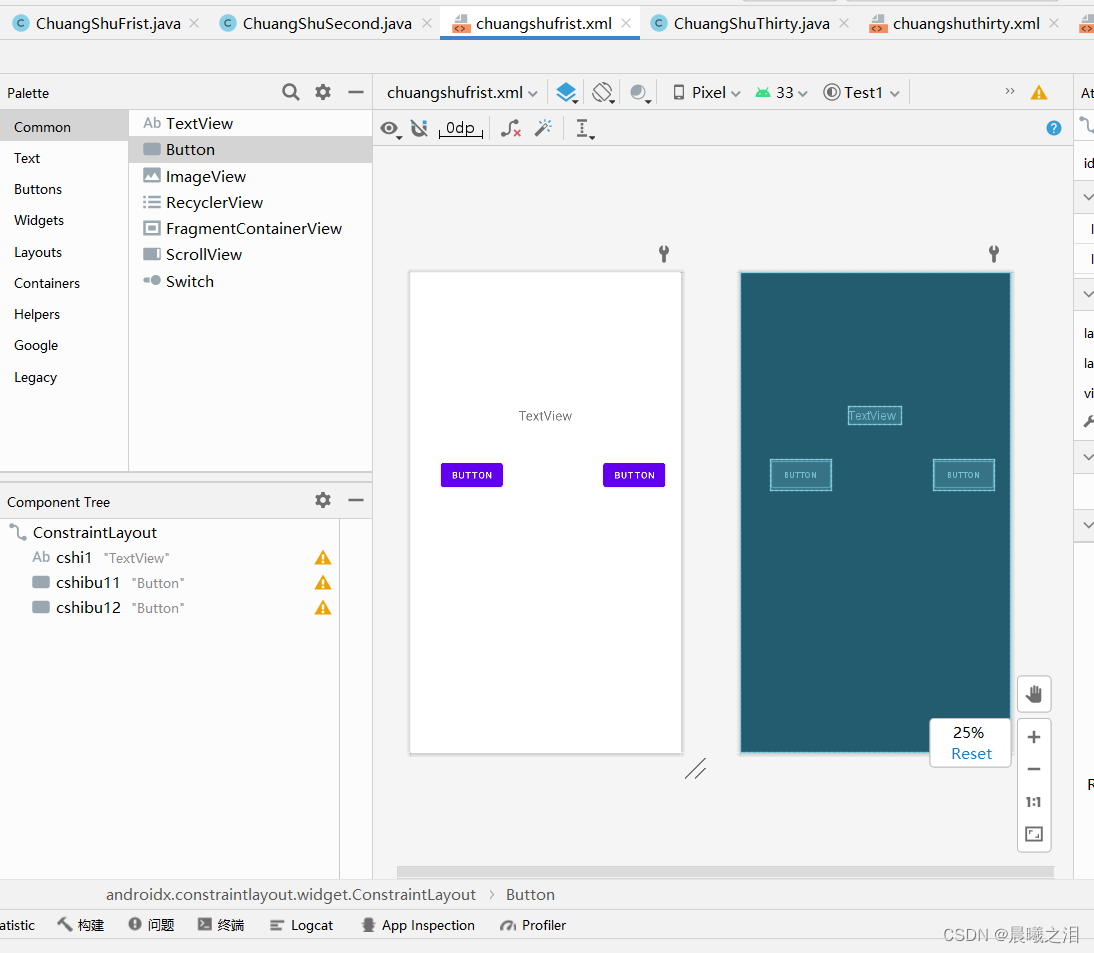
在第二个activity中
在2中得java
package com.example.test1;
import androidx.appcompat.app.AppCompatActivity;
import android.content.Intent;
import android.os.Bundle;
import android.view.View;
import android.widget.Button;
public class ChuangShuSecond extends AppCompatActivity {
@Override
protected void onCreate(Bundle savedInstanceState) {
super.onCreate(savedInstanceState);
setContentView(R.layout.chuangshusecond);
Button button3=findViewById(R.id.but2);
button3.setOnClickListener(new View.OnClickListener() {
@Override
public void onClick(View v) {
Intent intent=new Intent();
intent.putExtra("data_return","Hello FirstActivity");
setResult(RESULT_OK,intent);
finish();
}
});
}
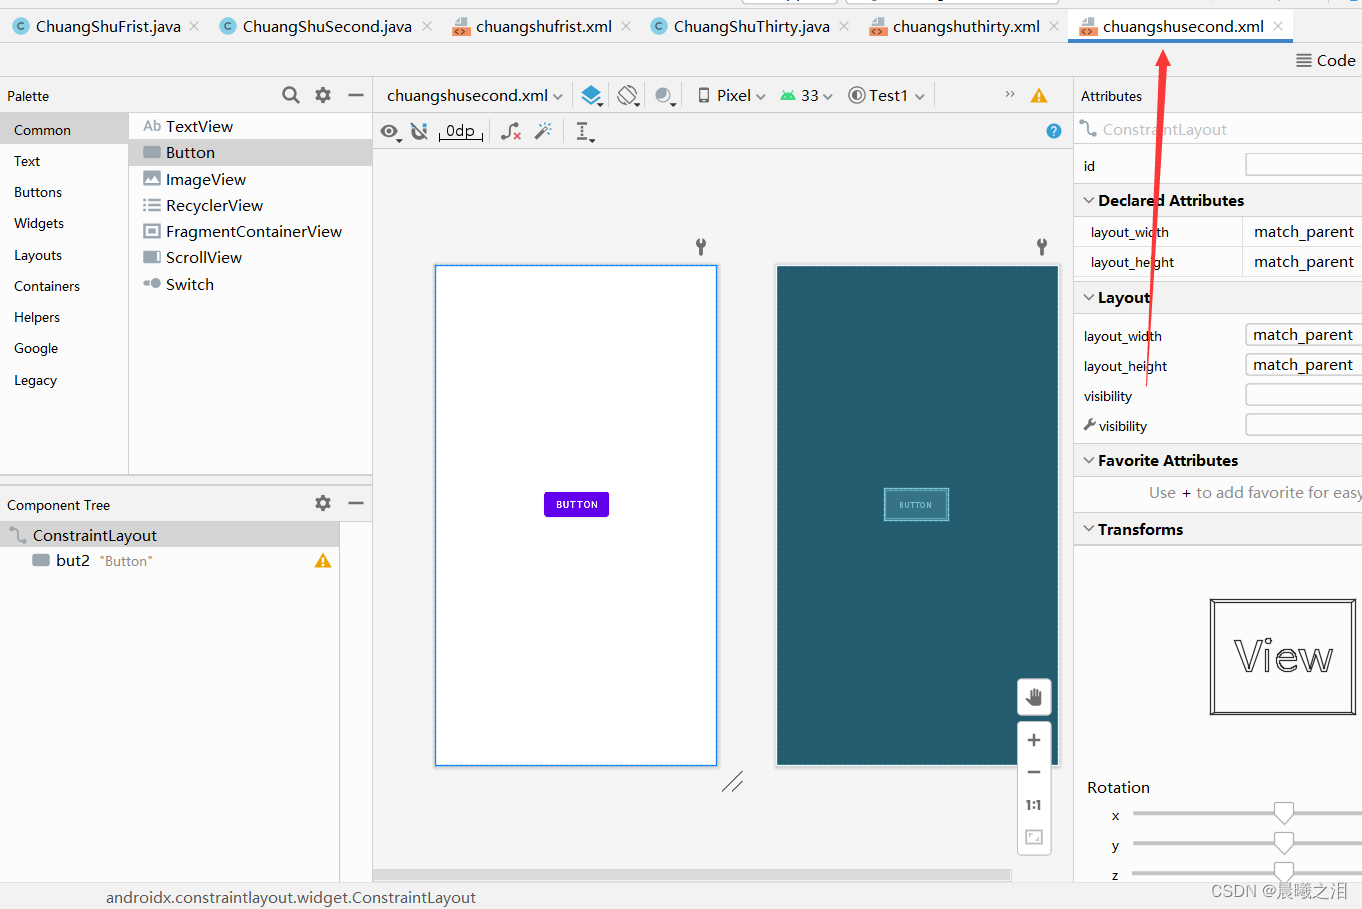
}在2得xml中
<?xml version="1.0" encoding="utf-8"?>
<androidx.constraintlayout.widget.ConstraintLayout xmlns:android="http://schemas.android.com/apk/res/android"
    xmlns:app="http://schemas.android.com/apk/res-auto"
    xmlns:tools="http://schemas.android.com/tools"
    android:layout_width="match_parent"
    android:layout_height="match_parent">

    <Button
        android:id="@+id/but2"
        android:layout_width="wrap_content"
        android:layout_height="wrap_content"
        android:text="Button"
        app:layout_constraintBottom_toBottomOf="parent"
        app:layout_constraintEnd_toEndOf="parent"
        app:layout_constraintStart_toStartOf="parent"
        app:layout_constraintTop_toTopOf="parent"
        app:layout_constraintVertical_bias="0.475" />
</androidx.constraintlayout.widget.ConstraintLayout>
如下图
验证
QQ录屏20221206140057
验证第二次在 textview界面中,显示数据来源(代码自己编写)
31


 758
758


 被折叠的 条评论
为什么被折叠?
被折叠的 条评论
为什么被折叠?
 到【灌水乐园】发言


