


import matplotlib.pyplot as plt
import numpy as np
# plt.rcParms['axes.unicode_minus'] = False
'''subplot()'''
#2行2列
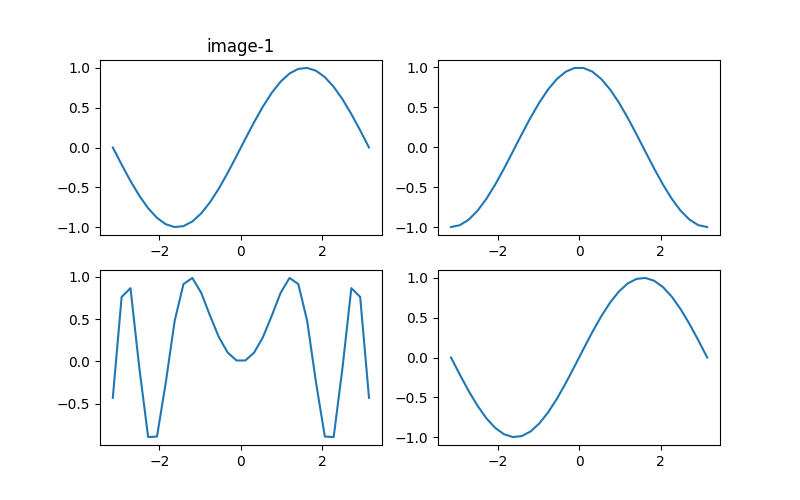
fig=plt.figure(figsize=(6,4),dpi=170)
x=np.linspace(-np.pi,np.pi,30)
y=np.sin(x)
#子图
ax1=plt.subplot(221)#2行 2列 第1 个图
ax1.plot(x,y)
ax1.set_title('image-1')
ax2=plt.subplot(222)#2行 2列 第2个图
ax2.plot(x,np.cos(x))
ax2.set_title('image-2')
ax3=plt.subplot(223)#2行 2列 第3 个图
ax3.plot(x,-np.sin(x))
ax3.set_title('image-3')
ax4=plt.subplot(224)#2行 2列 第4 个图
ax4.plot(x,-np.cos(x))
ax4.set_title('image_4')
# 自动调整布局
fig.tight_layout()
plt.show()第二行显示一张图片
#多子图布局
import matplotlib.pyplot as plt
import numpy as np
# plt.rcParms['axes.unicode_minus'] = False
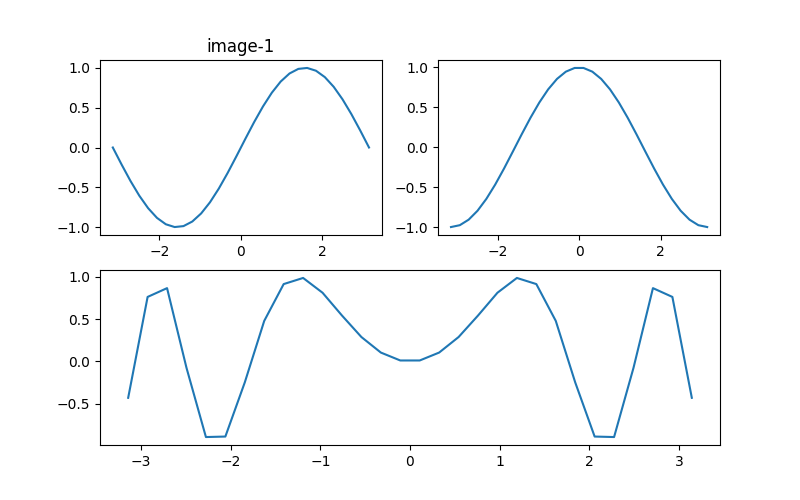
plt.figure(figsize=(8,5),dpi=100)
x=np.linspace(-np.pi,np.pi,30)
y=np.sin(x)
ax1=plt.subplot(221)
ax1.plot(x,y)
ax1.set_title('image-1')
ax2=plt.subplot(2,2,2)
ax2.plot(x,np.cos(x))
ax3=plt.subplot(2,1,2) #2行1列中的第2行
ax3.plot(x,np.sin(x*x))
plt.show()subplots()函数
#多子图布局
import matplotlib.pyplot as plt
import numpy as np
# plt.rcParms['axes.unicode_minus'] = False
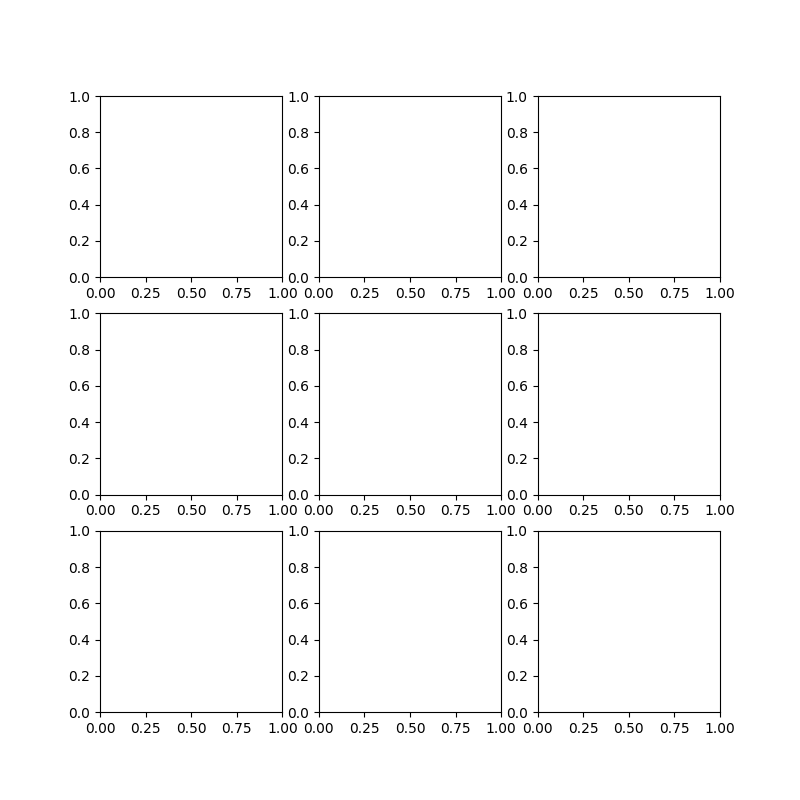
x=np.linspace(0,2*np.pi)
#3行3列
fig,axs=plt.subplots(3,3)
ax1,ax2,ax3 = axs #一维数组
ax11,ax12,ax13=ax1
ax21,ax22,ax23=ax2
ax31,ax32,ax33=ax3
#设置画布大小
fig.set_figwidth(8)
fig.set_figheight(5)
#调整布局,紧凑布局
plt.tight_layout()
#显示
plt.show()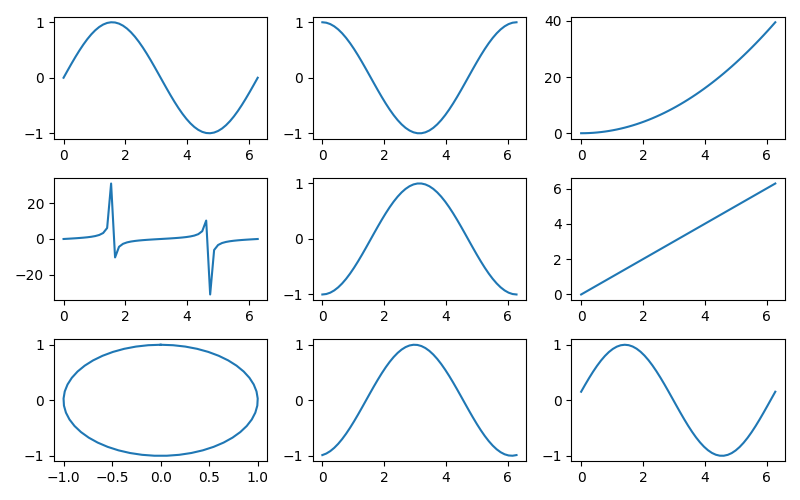
#多子图布局

import matplotlib.pyplot as plt
import numpy as np

# plt.rcParms['axes.unicode_minus'] = False


x=np.linspace(0,2*np.pi)

#3行3列
fig,axs=plt.subplots(3,3)

ax1,ax2,ax3 = axs #一维数组


ax11,ax12,ax13=ax1
ax21,ax22,ax23=ax2
ax31,ax32,ax33=ax3

#设置画布大小
fig.set_figwidth(8)
fig.set_figheight(5)

#绘制图像
ax11.plot(x,np.sin(x))
ax12.plot(x,np.cos(x))
ax13.plot(x,x*x)

ax21.plot(x,np.tan(x))
ax22.plot(x,-np.cos(x))
ax23.plot(x,x)

ax31.plot(np.sin(x),np.cos(x))
ax32.plot(x,np.sin(x+30))
ax33.plot(x,np.cos(x+30))


#调整布局,紧凑布局
plt.tight_layout()

#显示
plt.show()


 1391
1391


 被折叠的 条评论
为什么被折叠?
被折叠的 条评论
为什么被折叠?
 到【灌水乐园】发言


