


自动化运维工具ansible(安装与模块介绍)
一、ansible运维工具概述
(一)、ansible的特点
Ansible 与 Saltstack 均是基于 Python 语言开发,Ansible 只需要在一台普通的服务器上运行即可,不需要在客户端服务器上安装客户端。因为 Ansible 是基于 SSH 远程管理,而Linux服务器大都离不开SSH,所以Ansible不需要为配置工作添加额外的支持。 Ansible 安装使用非常简单,而且基于上千个插件和模块实现各种软件、平台、版本的管理,支持虚拟容器多层级的部署。很多读者在使用 Ansible 工具时,认为 Ansible比 Saltstatck 执行效率慢,其实不是软件本身慢,是由于 SSH 服务慢,可以优化 SSH 连接速度及使用 Ansible 加速模块,满足企业上万台服务器的维护和管理。
(二)、ansible的原理
Ansible分为控制端和被控端,主要是基于SSH协议去管理客户端,被控端是无需安装Agent插件的,Ansible会读取控制端hosts文件,根据文件中定义IP列表信息,调取本地的各个模块对被控端机器实现批量、并发的配置管理和维护,如果任务比较复杂可以写成PlayBook剧本进行分发管理
(三)ansible的优点
- 轻量级,更新时,只需要在操作机上进行一次更新即可;
- 采用 SSH 协议;
- 不需要去客户端安装 agent;
- 批量任务执行可以写成脚本,而且不用分发到远程就可以执行;
- 使用 python 编写的,维护更简单;
- 支持 sudo 普通用户命令;
- 去中心化管理。
二、安装ansible
ansible服务器:192.168.229.10
服务器1:192.168.229.20
服务器2:192.168.229.30
ansible服务器
[root@localhost ~]# systemctl stop firewalld
[root@localhost ~]# setenforce 0
[root@localhost ~]# yum -y install epel-release #安装epel扩展源
[root@localhost ~]# yum install -y ansible
[root@localhost ~]# ansible --version #查看ansible版本
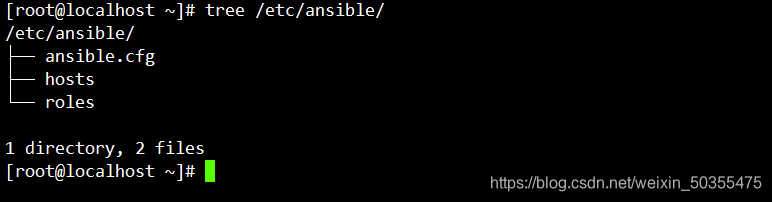
[root@localhost ~]# yum install -y tree
[root@localhost ~]# tree /etc/ansible/ #树状结构
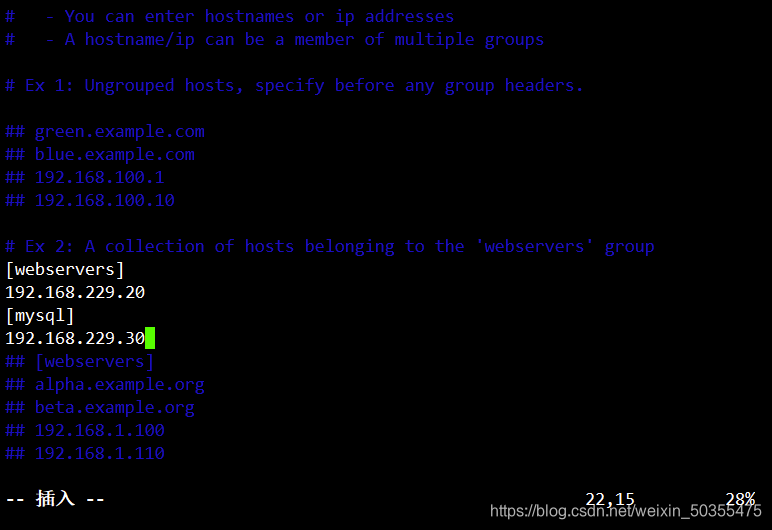
[root@localhost ~]# vim /etc/ansible/hosts #配置主机清单
[webservers]
192.168.229.20
[mysql]
192.168.229.30

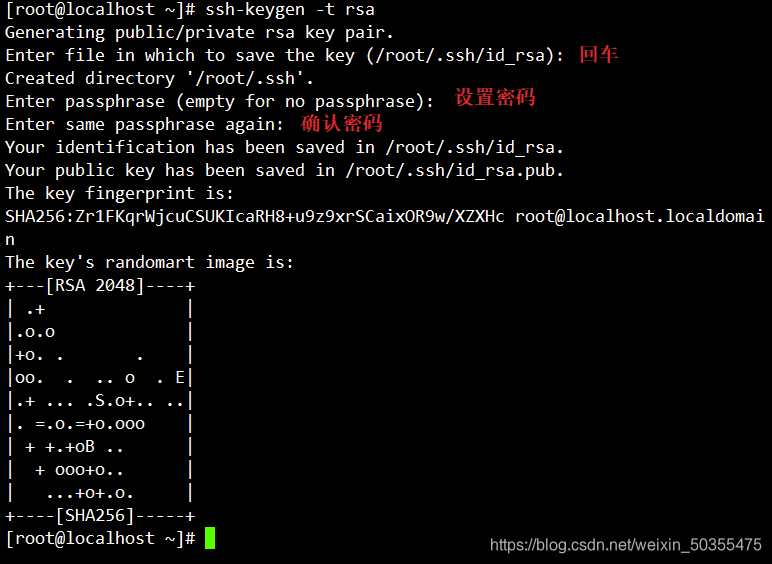
ssh-keygen -t rsa #生成密钥对
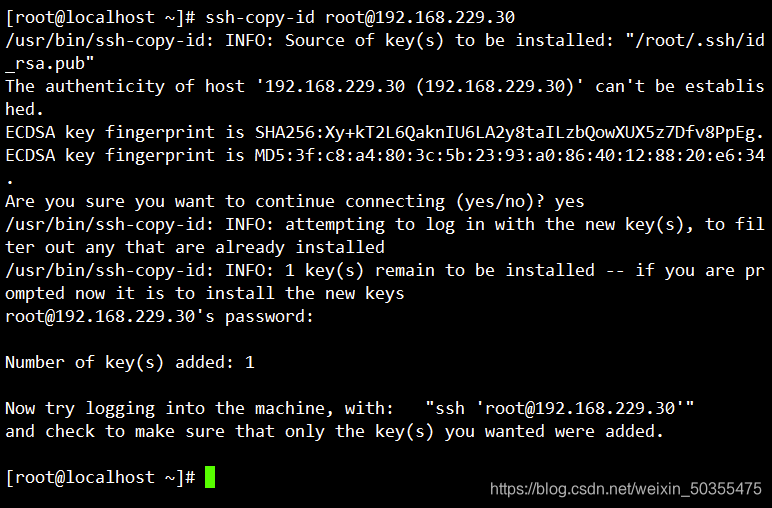
#将公钥推送给被管理的服务器
ssh-copy-id root@192.168.229.20				# 注意这里需要输入对方的登录密码,而不是密钥对的密码
ssh-copy-id root@192.168.229.30

#每次查询都需要输入密钥
#可以使用ssh-agent代理
ssh-agent bash
ssh-add
123456
ansible webserver -m command -a 'date'

三、ansible模块
(一)、command模块
命令格式:ansible [主机] [-m 模块] [-a args]
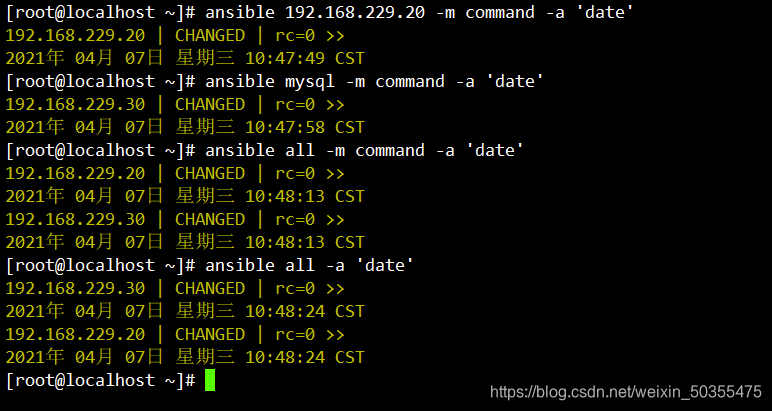
ansible 192.168.229.20 -m command -a 'date' # 指定IP地址执行查看IP地址
ansible mysql -m command -a 'date' # 地址分组执行查看IP地址
ansible all -m command -a 'date' # all代表所有分组,执行查看IP地址
ansible all -a 'date' # -m command可以不写,默认运行command命令
(二)、cron模块
两种状态(state):present表示添加(可以省略),absent表示移除
#查看cron模块信息
ansible-doc -s cron
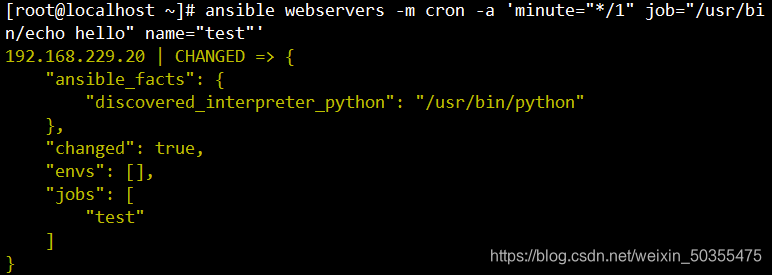
#webserver:分类 -m指定模块 -a输出模块内的指令 分钟:每分钟,工作:输出hello,工作名称:test
ansible webservers -m cron -a 'minute="*/1" job="/usr/bin/echo hello" name="test"'
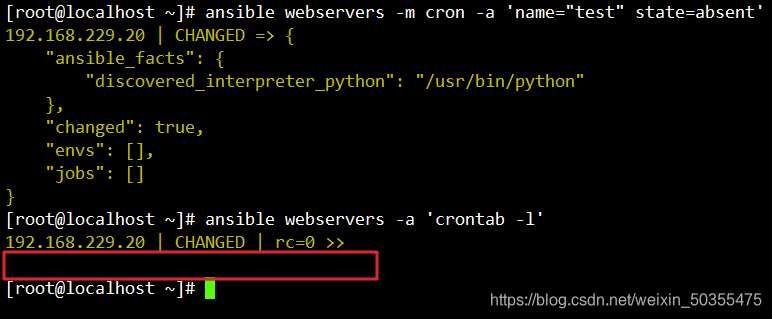
#查看计划性任务命令
ansible webservers -a 'crontab -l'
#移除计划性任务
ansible webservers -m cron -a 'name="test" state=absent'

(三)、user模块
user模块是请求三条指令,useradd,userdel,usermod
#模块信息
ansible-doc -s user
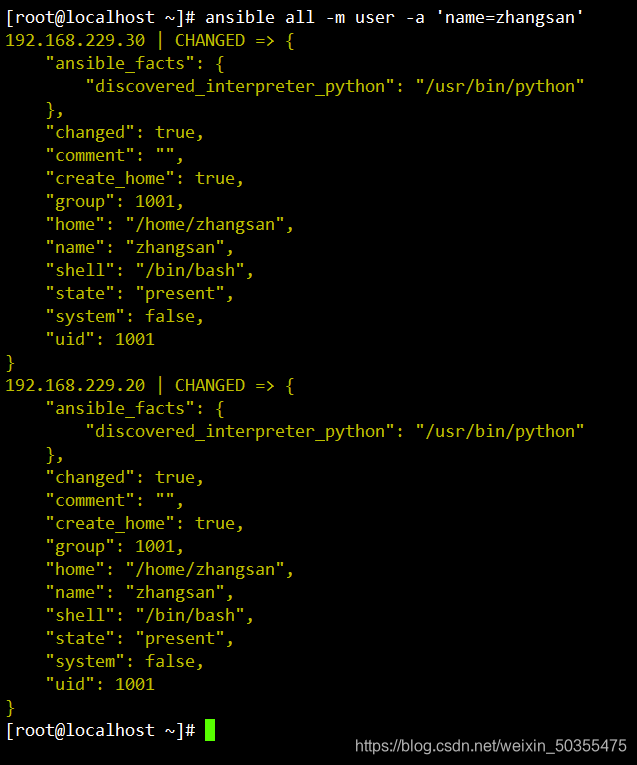
#创建用户
ansible all -m user -a 'name=zhangsan'
#查看用户账户信息
ansible all -m 'command' -a 'tail -1 /etc/passwd'
#移除指令
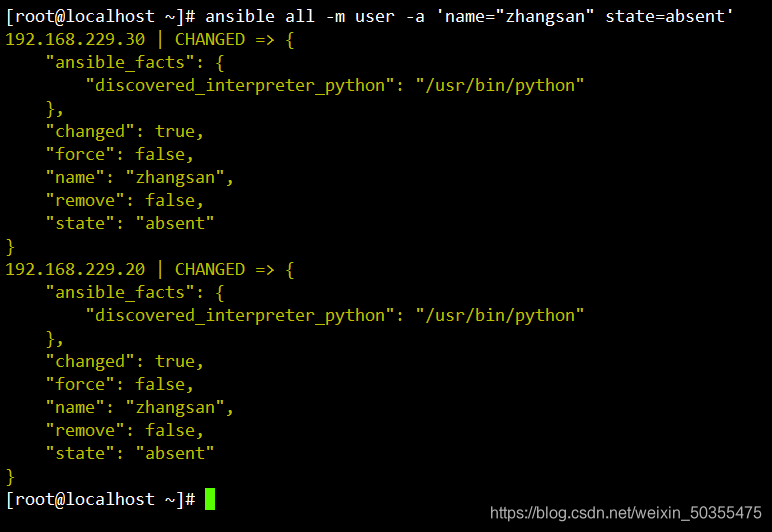
ansible all -m user -a 'name="zhangsan" state=absent'

(四)、group模块
group模块请求的是groupadd、groupdel、groupmod模块
#查看模块信息
ansible-doc -s group
#system=yes 创建系统组
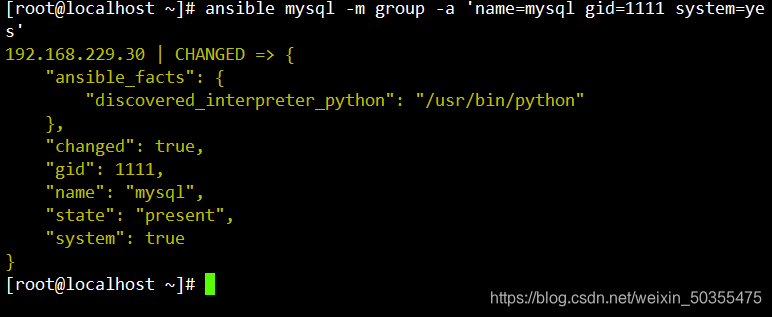
ansible mysql -m group -a 'name=mysql gid=1111 system=yes'
#查看组账户信息
ansible mysql -a 'tail -1 /etc/group'
#创建用户并加入组
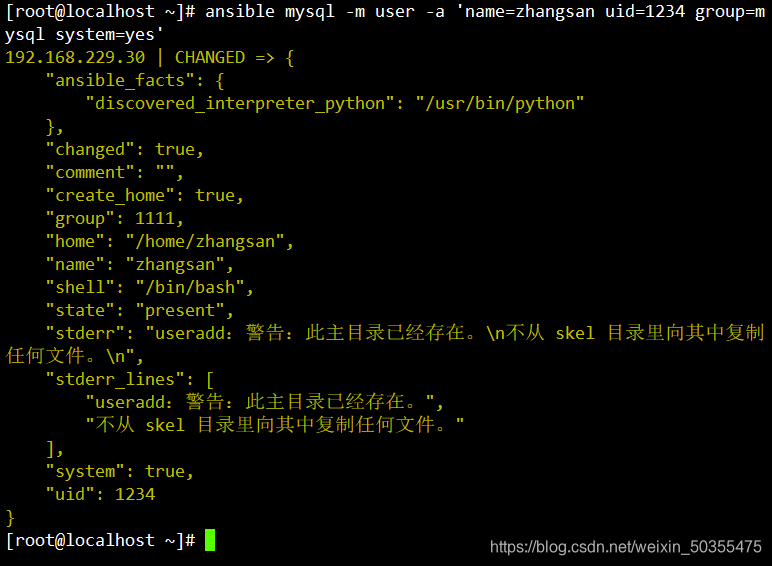
ansible mysql -m user -a 'name=zhangsan uid=1234 group=mysql system=yes'
#查看用户test02的用户id和组id信息
ansible mysql -a 'id zhangsan'


(五)、copy模块
ansible-doc -s copy
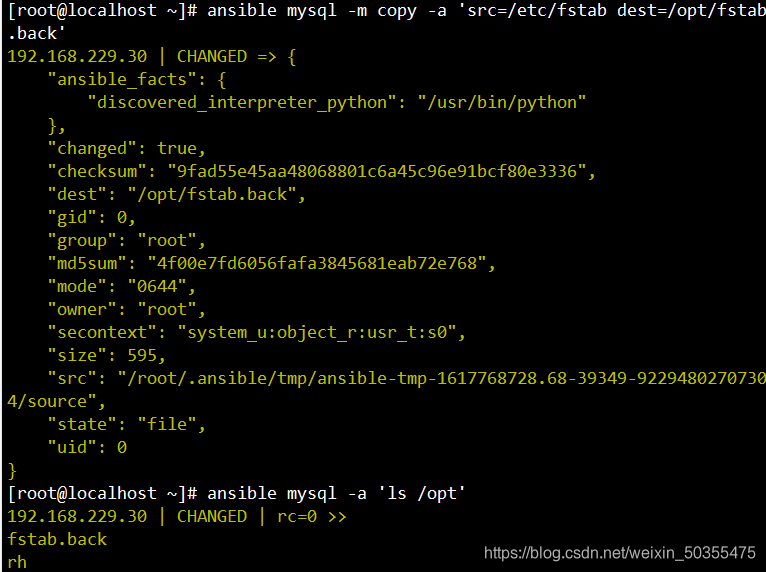
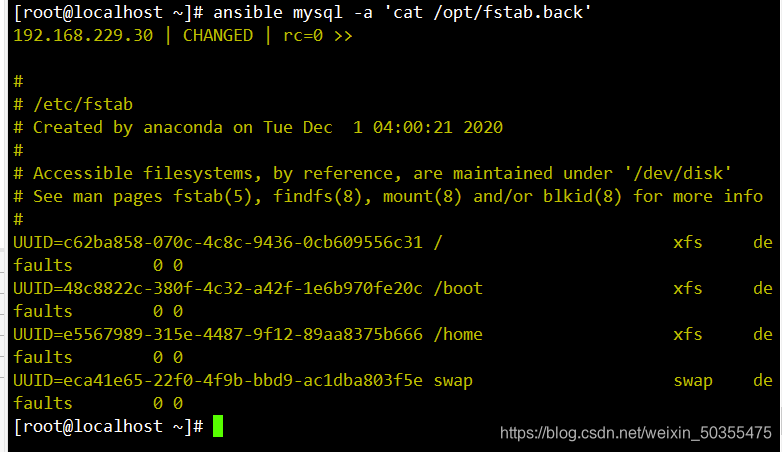
ansible mysql -m copy -a 'src=/etc/fstab dest=/opt/fstab.back'
ansible mysql -a 'ls /opt'
ansible mysql -a 'cat /opt/fstab.back'
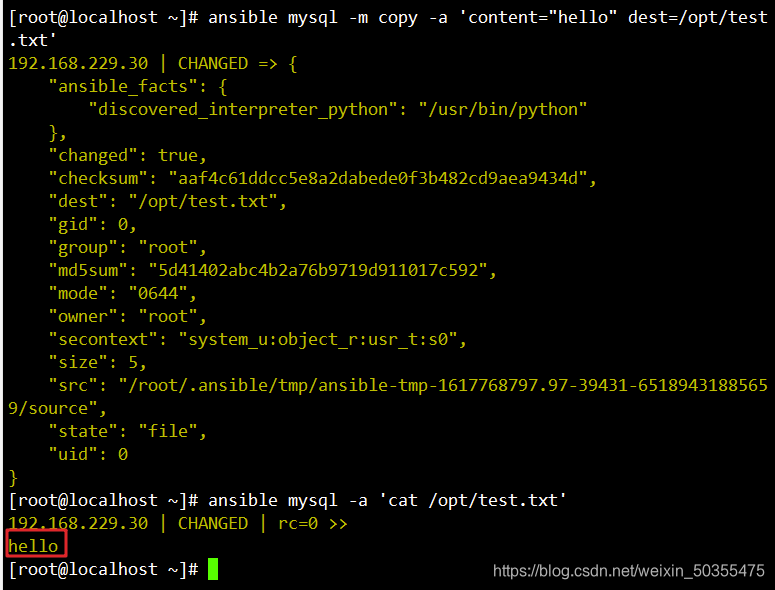
ansible mysql -m copy -a 'content="hello" dest=/opt/test.txt'
ansible mysql -a 'cat /opt/test.txt'
(六)、file模块
ansible-doc -s file
#创建用户
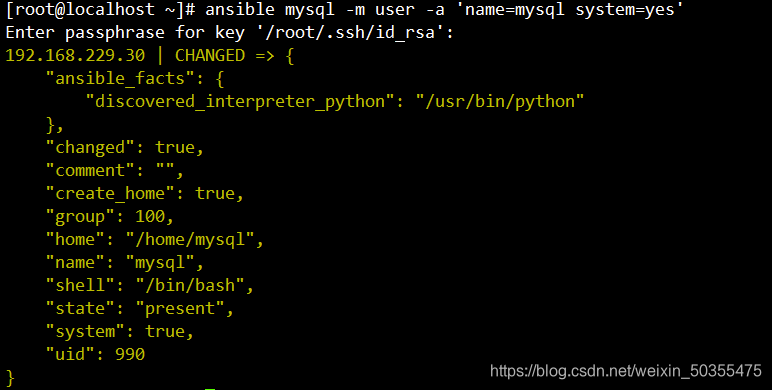
ansible mysql -m user -a 'name=mysql system=yes'
#创建系统组
ansible mysql -m group -a 'name=mysql system=yes'
#修改文件属性
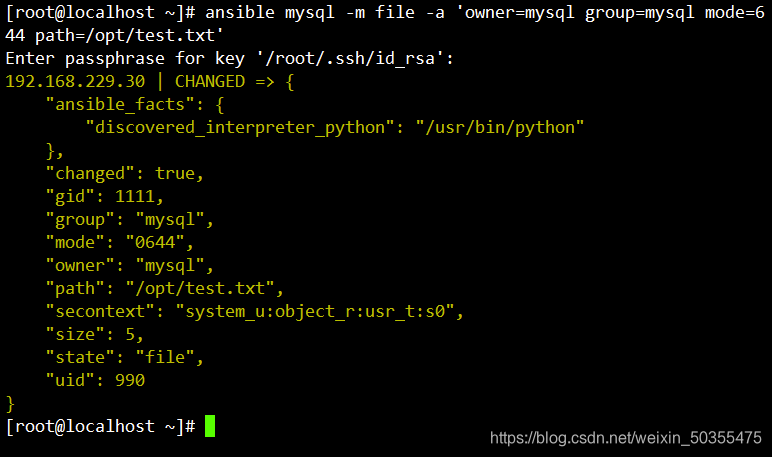
ansible mysql -m file -a 'owner=mysql group=mysql mode=644 path=/opt/test.txt'
#查看文件属性
ansible mysql -a 'ls -l /opt/test.txt'
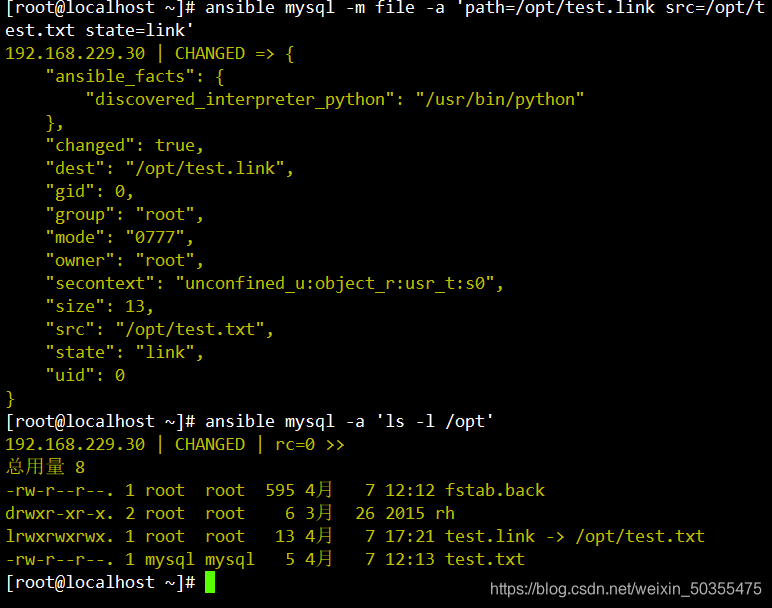
#创建软连接,源文件/opt/test.txt,链接文件/opt/test.link
ansible mysql -m file -a 'path=/opt/test.link src=/opt/test.txt state=link'
ansible mysql -a 'ls -l /opt'
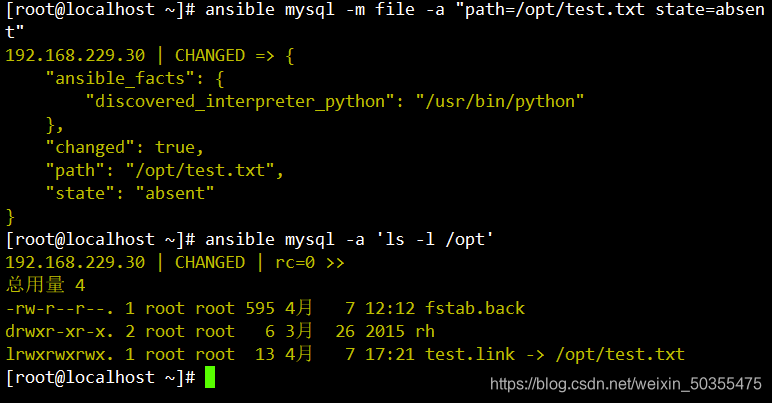
#删除一个文件
ansible mysql -m file -a "path=/opt/test.txt state=absent"
ansible mysql -a 'ls -l /opt'
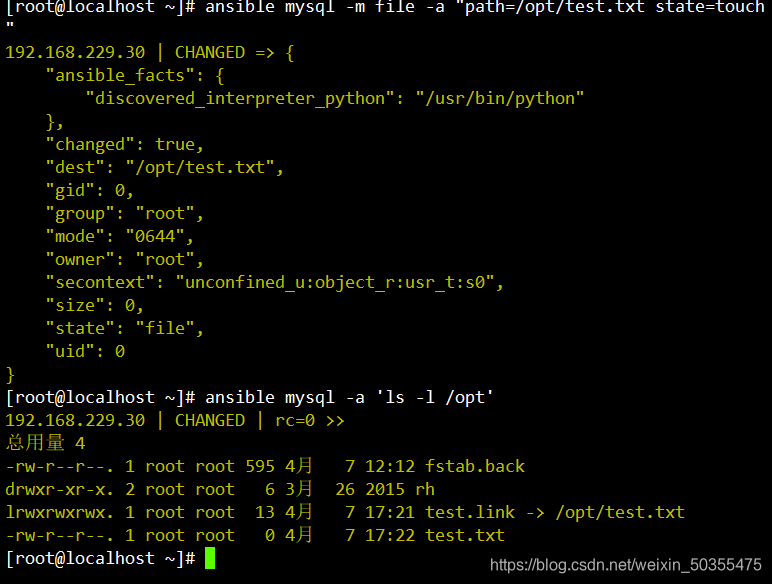
#创建一个文件
ansible mysql -m file -a "path=/opt/test.txt state=touch"
ansible mysql -a 'ls -l /opt'


(七)、ping模块
ansible all -m ping

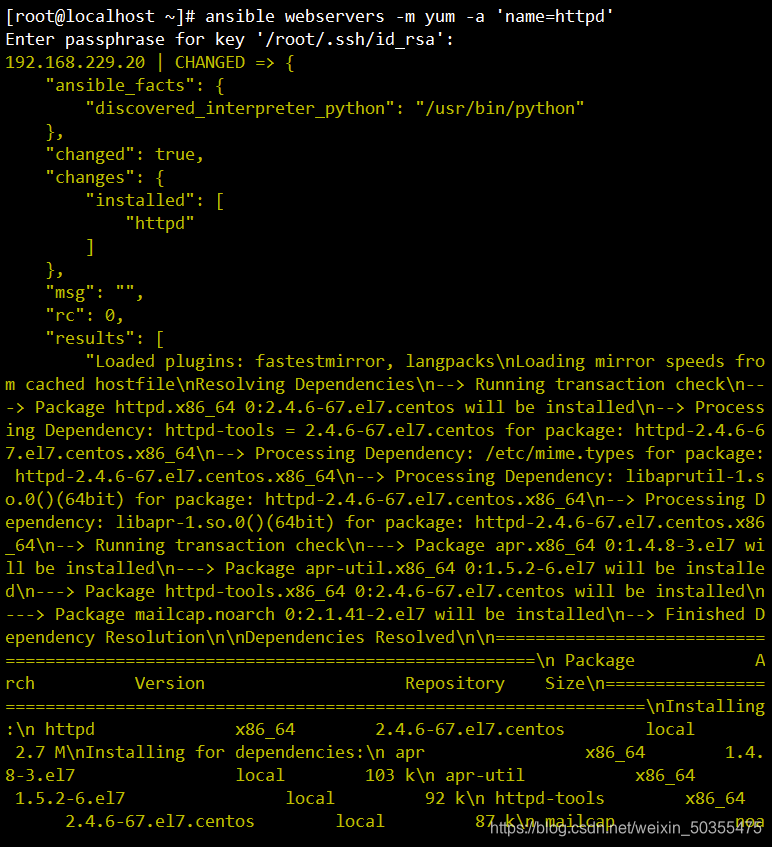
(八)、yum模块
ansible webservers -m yum -a 'name=httpd' # 安装httpd服务
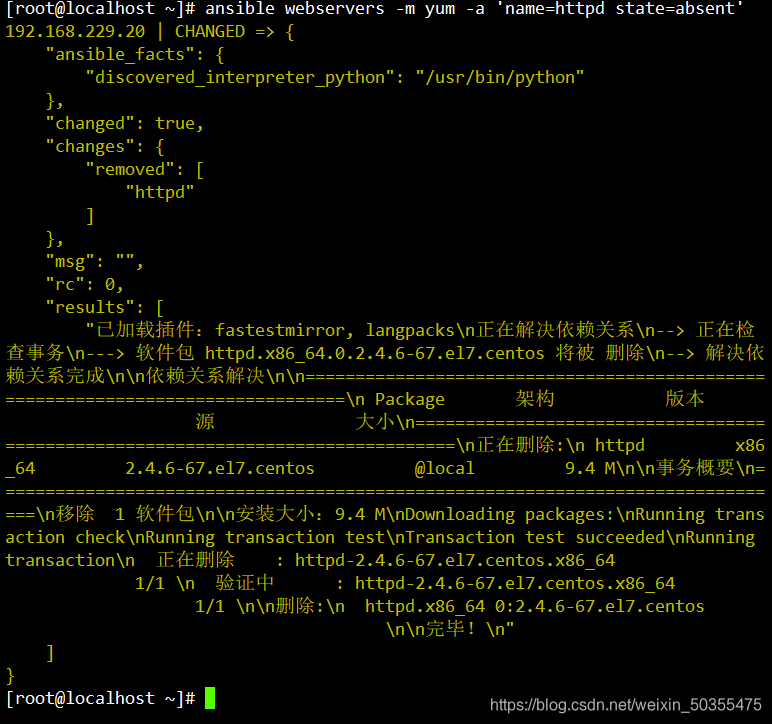
ansible webservers -m yum -a 'name=httpd state=absent' # 卸载httpd服务
(九)、service模块
service:用于管理服务运行状态
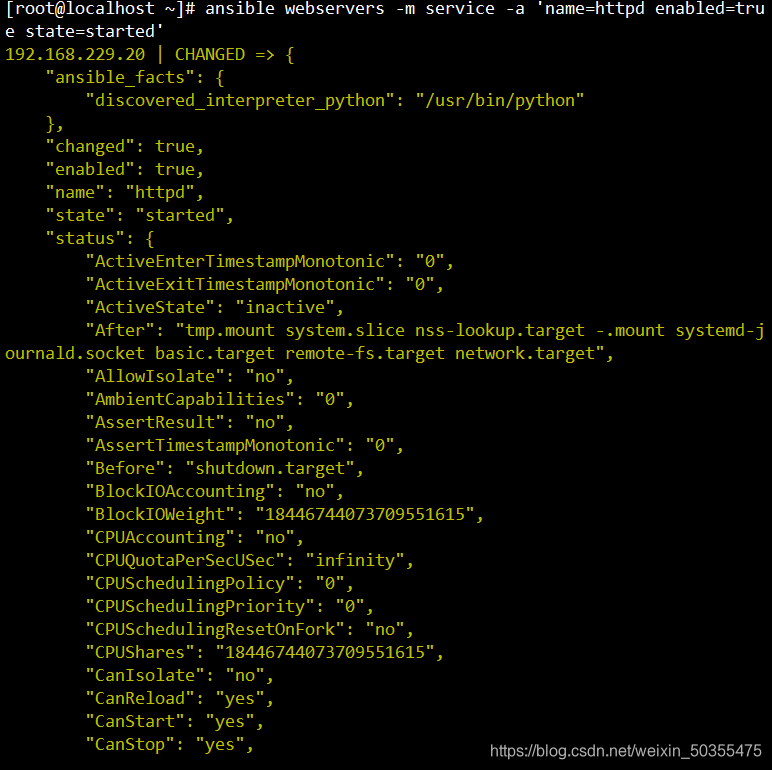
##启动httpd服务,前提是将httpd服务安装好
ansible webservers -m service -a 'name=httpd enabled=true state=started'
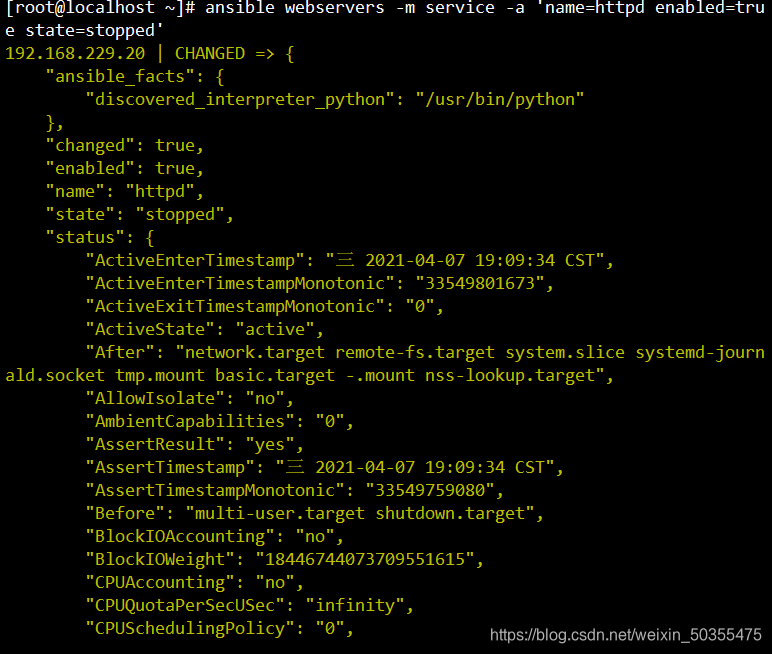
#关闭服务
ansible webservers -m service -a 'name=httpd enabled=true state=stopped'
(十)、shell 模块
shell 模块可以使用"<",">","|",";","&"等符号特殊符号,使用方法与 command 模块一致。
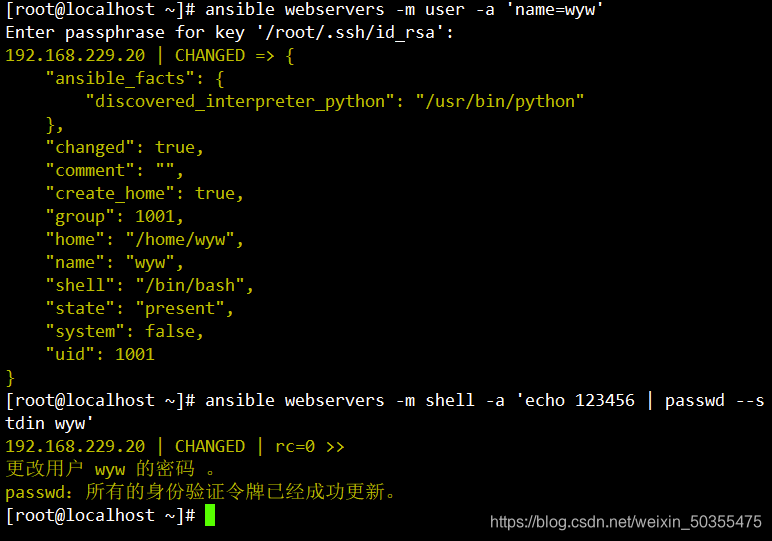
ansible webservers -m user -a 'name=wyw'   #首先创建一个用户

ansible webservers -m shell -a 'echo 123456 | passwd --stdin wyw'
##使用shell模块给用户创建密码
(十一)、script 模块
absible-doc -s script
#在ansible管理端创建脚本
vim test.sh
#!/bin/bash
echo "hello world" > /opt/script.txt
#给脚本赋予可执行权限
chmod +x test.sh
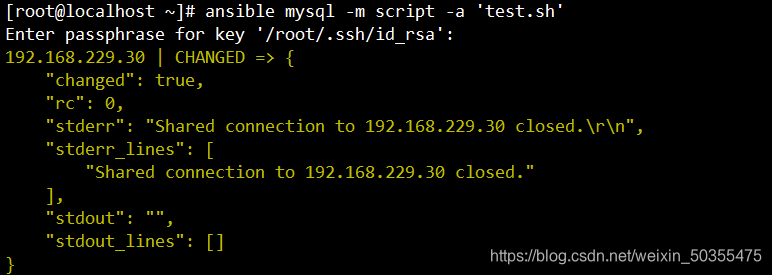
#在ansible被管理端执行test.sh文件
ansible mysql -m script -a 'test.sh'
#检测文件内容
cat /opt/script.txt

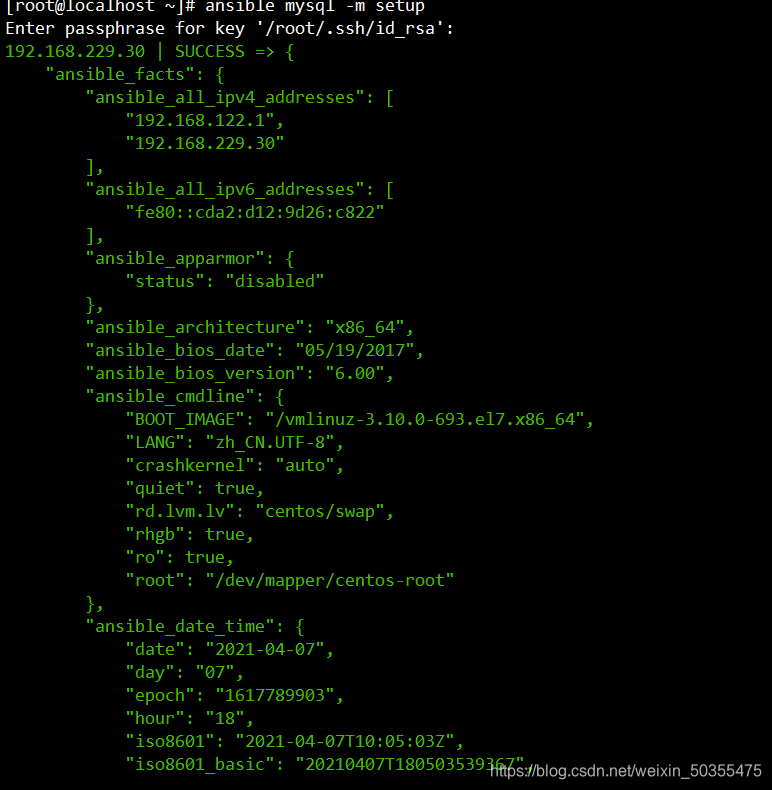
(十二)、setup模块
ansible mysql -m setup
##收集mysql组的facts文件下的所有的详细信息


 1745
1745


 被折叠的 条评论
为什么被折叠?
被折叠的 条评论
为什么被折叠?
 到【灌水乐园】发言


