


1、自定义标题栏
1.1一个很好的边框window设计框架
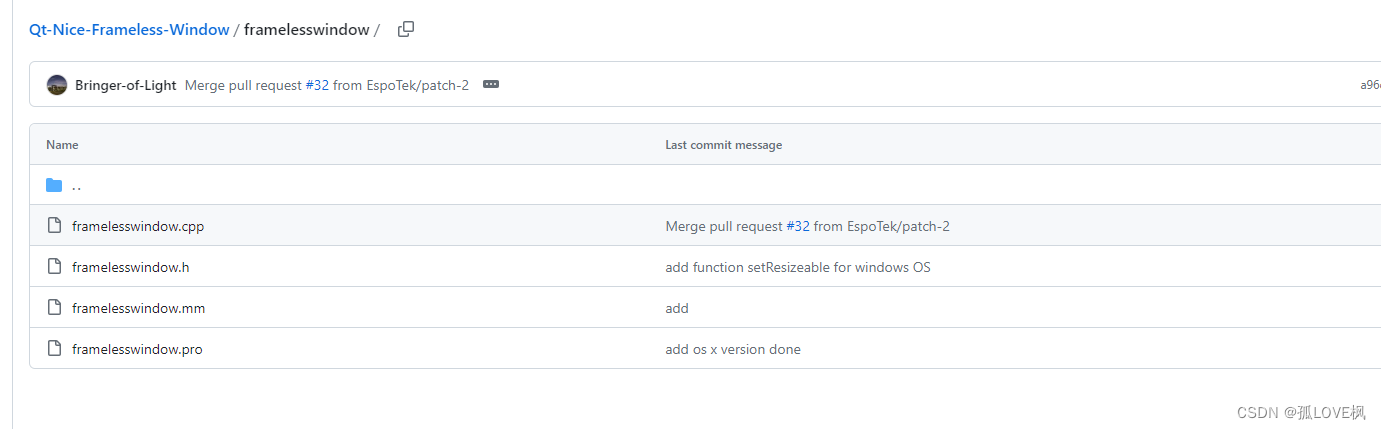
项目地址
https://github.com/Bringer-of-Light/Qt-Nice-Frameless-Window
下载上面两个文件(.h和.cpp)之后,定义一个myWindow.h文件
class myWindow : public CFramelessWindow
{
	Q_OBJECT

public:
	explicit myWindow (QWidget* parent = nullptr)
		: CFramelessWindow(parent)
	{ }

	virtual void onShowMinimized() { showMinimized(); }

	virtual void onToggleMaxNormal()
	{
		if (isMaximized()) {
			showNormal();
		}
		else {
			showMaximized();
		}
	}

	virtual void onClose() { close(); }

	void showCenter(int offsetX = 0, int offsetY = 0)
	{
		const auto screenRect = getScreenRect(true);
		// 获取对话框的大小
		QSize dialogSize = sizeHint();
		// 计算对话框的位置,使其位于屏幕中央
		int x = (screenRect.width() - dialogSize.width()) / 2;
		int y = (screenRect.height() - dialogSize.height()) / 2;
		move(x, y);
		show();
	}

	// 获取当前屏幕尺寸区域
	static QRect getScreenRect(bool available = true)
	{
		const int screenIndex = getScreenIndex();
		return available ? qApp->screens().at(screenIndex)->availableGeometry() : qApp->screens().at(screenIndex)->geometry();
	}

	// 获取当前屏幕索引
	static int getScreenIndex()
	{
		if (const int screenCount = qApp->screens().count(); screenCount > 1) {
			// 找到当前鼠标所在屏幕
			const QPoint pos = QCursor::pos();
			for (int i = 0; i < screenCount; ++i) {
				if (qApp->screens().at(i)->geometry().contains(pos)) {
					return i;
				}
			}
		}
		return 0;
	}
};
1.2 标题栏UI
![]()

注意:弹簧扩展选择MinimunExpanding,否则最大化间距会变大!
若需要menubar,则widget里面的menubar直接在ui文件里面加入
<item>
       <widget class="QMenuBar" name="menuBar">
        <property name="minimumSize">
         <size>
          <width>400</width>
          <height>0</height>
         </size>
        </property>
        <property name="maximumSize">
         <size>
          <width>440</width>
          <height>16777215</height>
         </size>
        </property>
        <property name="styleSheet">
         <string notr="true"/>
        </property>
       </widget>
      </item>
构建自己的标题栏即可
class titleBarTest : public myWindow
{
	Q_OBJECT

public:
	titleBarTest(QWidget* parent = nullptr);
	~titleBarTest();
	void buildTitleBar();
private:
	Ui::titleBarTestClass ui;
};
void titleBarTest::buildTitleBar()
{
	const auto titleBar = ui.titleBar;
	titleBar->setObjectName("titleBar");
	this->setBtnMin(ui.minBtn);
	this->setBtnMax(ui.maxBtn);
	this->setBtnClose(ui.closeBtn);

	connect(ui.minBtn, &QToolButton::clicked, this, &Window::onShowMinimized);
	connect(ui.maxBtn, &QToolButton::clicked, this, [this] {
		// change icon
		ui.maxBtn->setProperty("class", this->isMaximized() ? "max" : "normal");
		this->onToggleMaxNormal();
		});

	showCenter();
	connect(ui.closeBtn, &QToolButton::clicked, this, &titleBarTest::onClose);
	setTitleBar(titleBar);
}
在实际的项目开发中,只需要将你主窗口的widget继承于myWindow即可,并在你的widget添加一个如上的标题栏UI,即可实现所需要的功能。
2、样式设计
提供一种自己使用的设计方案
QWidget#titleBar {
background-color: #2354a4;
}


/*  关闭按钮 */
QToolButton#closeBtn {
    background-color: transparent;
    border: none;
    color: #000000;

}

QToolButton#closeBtn:hover {
    background-color: #ff0000;
}

/*  最大化按钮 */
QToolButton#maxBtn {
    background-color: transparent;
    border: none;
    color: #000000;

}

QToolButton#maxBtn:hover {
    background-color:  #808080;
}

/*  最小化按钮 */
QToolButton#minBtn {
    background-color: transparent;
    border: none;
    color: #000000;
}

QToolButton#minBtn:hover {
    background-color:  #808080;
}

/* logo按钮 */
QPushButton#logo {
    background-color:  transparent; /* 按钮背景颜色 */
	border: none;
}

QToolButton#closeBtn_2:hover {
   background-color: #ff0000;
    border: 1px solid #ff0000;
}

QToolButton#closeBtn_3:hover {
   background-color: #ff0000;
    border: 1px solid #ff0000;
}

QToolButton#closeBtn_3:hover {
	background-color: #ff0000 !important;
	border: 2px solid #ff0000 !important;
}

/*  菜单栏 */


QMenuBar {
    background-color: @primaryColor;
    padding: 2px;
    border: none;
    font-size: 13px;
    color: white;
    selection-background-color: #73C7FF;
}

QMenuBar:focus {
    border: 1px solid #9FCBFF;
}

QMenuBar::item {
    background: transparent;
    padding: 9px 16px 9px 16px;
    font-size: 16px;
    font-weight: bold;
}

QMenuBar::item:selected {
    background: transparent;
    background-color: #3265B9;
    /*background-color: desaturate(@primaryColor, 15%); *//* 主题色的饱和度降低一些,就是悬浮颜色 */
}

QMenuBar::item:pressed {
    border: 0px solid #C9CDD0;
    background-color: #3265B9;
    /* background-color: desaturate(@primaryColor, 15%); */
}

/* 菜单   菜单边框 (上、下边框 菜单项是其内容)   菜单项(上右下左边框,文字内容)*/
QMenu {
    background-color: transparent;
    border-radius: 0px;

    padding-top: 0px;              /* 菜单项内容到上边框的距离 */
    padding-bottom: 0px;
    margin: 0px;                 /* 菜单内容 边框到边界的距离 */
    padding-right: 0px;
    min-width: 150px;
}

QMenu::item {
    min-width: 150px;
    background-color: #ececec;
    border-radius: 0px;
    padding: 9px 15px 9px 17px;
    color: #333333;
    border: none;
    font-size: 12px;
}

 QMenu::item:selected {
    background-color: #2354a4;
    color:white;
 }

QMenu::icon {
    padding-left: 10px;
    width: 14px;
    height: 14px;
}

QMenu::item:pressed {
    border: 0px solid #C9CDD0;
    background-color: #ff0000;
    /* background-color: desaturate(@primaryColor, 15%); */
}

QMenu::item:!enabled {
    border: 0px;
    border-bottom: 0px solid #444444;
    background-color: #C4C4C4;
}


QMenu::indicator {
    padding-left: 8px;
    width: 12px;
    height: 12px;
    /* non-exclusive indicator = check box style indicator (see QActionGroup::setExclusive) */
    /* exclusive indicator = radio button style indicator (see QActionGroup::setExclusive) */
}
实际开发中,导入css文件即可
QString path = "color.qss";
QFile file(path);

if (file.open(QFile::ReadOnly | QIODevice::Text)) {
	QString qss = QLatin1String(file.readAll());
	this->setStyleSheet(qss);
	file.close();
}
3、 结果

样式表待完善,先用着~~~~~
如果对你有用,那就点个赞呗!感谢~~~~


 952
952


 被折叠的 条评论
为什么被折叠?
被折叠的 条评论
为什么被折叠?
 到【灌水乐园】发言


