


一、实验名称
实现用户登录系统的前后端开发。
二、实验目的
练习前端基本技术的使用。
练习使用Servlet/JSP开发简单后端程序。
练习使用Tomcat发布Web应用。
三、实验内容
1.在PostgreSQL中创建webdemo数据库,在数据库中创建users表并插入一条记录。
2.把Tomcat压缩包解压到自己的电脑,把PostgreSQL的JDBC驱动程序postgresql-42.5.0.jar复制到Tomcat的lib目录下。
3.在IDEA中创建webdemo项目,构建系统选IntelliJ 。
4.把Tomcat安装目录下的lib目录中servlet-api.jar和jsp-api.jar添加到项目的库中。
5.在项目文件文件夹下新建web目录,在该目录下新建login.html,该文件内容如下:
<!DOCTYPE html>
<html lang="en">
<head>
   <meta charset="UTF-8">
   <title>用户登录</title>
   <link href="./css/login.css" rel="stylesheet"/>
   <script src="./js/login.js"></script>
</head>
<body>
<div class="center">
   <form action="/webdemo/login" method="post">
       <p style="margin-bottom:50px">用户登录</p>
       <p>
           <label for="username">请输入账号:</label>
           <input id="username" name="username" type="text"/>
       </p>
       <p>
           <label for="password">请输入密码:</label>
           <input id="password" name="password" type="text"/>
       </p>
       <input type="submit" value="提交" onclick="valid()"/>
   </form>
</div>
</body>
</html>
6.在web目录下新建css目录,在该目录下新建login.css文件,内容如下:
body {
    position: absolute;
    height: 100 %;
    width: 100 %;
    display: flex;
    justify - content: center;
    align - items: center;
}

.center {
    display: flex;
    justify - content: center;
    align - items: center;
    width: 600px;
    height: 300px;
    background - color: #f0f0f0;

}

div {
    box - shadow: 0px 0px 10px #888888;
}
7.在web目录下新建js目录,在该目录下新建login.js文件,内容如下:
function valid() {
  let username = document.getElementById("username");
  let password = document.getElementById("password");
  if (username.value == "" || password.value == "") {
    alert("用户名或密码不能为空!");
    return false;
  } else {
    return true;
  }
}
8.在web目录下新建result.jsp,内容如下:
<%@ page contentType="text/html; charset=utf-8"%>
<!DOCTYPE html>
<html lang="en">
<head>
     <meta charset="UTF-8">
     <title>用户登录结果</title>
</head>
</body>
     <h1 style="text-align:center">${msg}</h1>
</body>
</html>
9.在项目的src目录下新建com.example.webdemo软件包,在该包下新建database.properties文件,该文件内容如下:
driver=org.postgresql.Driver

url=jdbc:postgresql://localhost:5432/webdemo

username=postgres

password=12345
10.在com.example.webdemo包下新建util、model、dao和controller四个软件包。
11.在util包下新建DBUtil类,该类内容如下:
package com.example.webdemo.util;

import java.io.IOException;
import java.io.InputStream;
import java.sql.*;
import java.util.Properties;
import java.util.logging.Level;
import java.util.logging.Logger;

/**
 * 数据库连接与操作工具类。
 */
public class DBUtil {
    private static String driver;
    private static String url;
    private static String username;
    private static String password;
    private static Connection conn = null;
    private static PreparedStatement pst = null;
    private static ResultSet rs = null;

    static {
        try {
            //静态代码快,在类加载的时候执行
            init();
        } catch (Exception ex) {
            Logger.getLogger(DBUtil.class.getName()).log(Level.SEVERE, null, ex);
        }
    }

    /**
     * 初始化连接参数,从配置文件里获得
     *
     * @throws IOException
     */

    public static void init() throws Exception {
        Properties params = new Properties();
        String configFile = "com/example/webdemo/database.properties";
        //加载配置文件到输入流中
        InputStream is
                = DBUtil.class.getClassLoader().getResourceAsStream(configFile);
        //从输入流中读取属性列表
        params.load(is);
        //根据指定的获取对应的值
        driver = params.getProperty("driver");
        url = params.getProperty("url");
        username = params.getProperty("username");
        password = params.getProperty("password");
        Class.forName(driver);
    }

    /**
     * 获取数据库连接对象
     *
     * @return
     * @throws ClassNotFoundException
     * @throws SQLException
     */
    public static void getConnection() throws Exception {
        conn = DriverManager.getConnection(url, username, password);
    }

    /**
     * 执行SQL语句,可以进行查询
     */
    public static ResultSet executeQuery(String preparedSql, Object... param) throws
            Exception {
        getConnection();
        pst = conn.prepareStatement(preparedSql);
        if (param != null) {
            for (int i = 0; i < param.length; i++) {
                //为预编译sql设置参数
                pst.setObject(i + 1, param[i]);
            }
        }
        rs = pst.executeQuery();
        return rs;
    }

    /**
     * 执行SQL语句,可以进行增、删、改的操作,不能执行查询
     */
    public static int executeUpdate(String preparedSql, Object... param) throws
            Exception {
        int num;
        getConnection();
        try (Connection connection = conn;
             PreparedStatement pstmt = connection.prepareStatement(preparedSql)) {
            if (param != null) {
                for (int i = 0; i < param.length; i++) {
                    pstmt.setObject(i + 1, param[i]);//为预编译sql设置参数
                }
            }
            num = pstmt.executeUpdate();
            return num;
        }
    }

    public static void closeAll() throws Exception {
        //如果rs不空,关闭rs
        if (rs != null) {
            rs.close();
        }
        //如果pstmt不空,关闭pstmt
        if (pst != null) {
            pst.close();
        }
        //如果conn不空,关闭conn
        if (conn != null) {
            conn.close();
        }
    }
}
12.在model包下新建User类,该类内容如下:
package com.example.webdemo.model;

public class User {
    private String username;
    private String password;

    public User(String name, String pass) {
        username = name;
        password = pass;
    }

    public String getUsername() {
        return username;
    }

    public void setUsername(String name) {
        username = name;
    }
}
13.在dao包下新建UserDao接口,该接口内容如下:
package com.example.webdemo.dao;

import com.example.webdemo.model.User;

import java.util.Optional;

public interface UserDao {
    Optional<User> getUser(String username, String password) throws Exception;
}
14.在dao包下新建UserDaolmpl类,该类内容如下:
package com.example.webdemo.dao;

import com.example.webdemo.model.User;
import com.example.webdemo.util.DBUtil;

import java.sql.ResultSet;
import java.util.Optional;

public class UserDaoImpl implements UserDao {
    @Override
    public Optional<User> getUser(String username, String password) throws
            Exception {
        ResultSet rs = DBUtil.executeQuery("select * from users where username=? and password=?", username, password);
        Optional<User> result = Optional.empty();
        if (rs.next()) {
            result = Optional.of(new User(rs.getString("username"), rs.getString("password")));
        }
        DBUtil.closeAll();
        return result;
    }
}
15.在controller包下新建LoginController类,该类内容如下:
package com.example.webdemo.controller;
import com.example.webdemo.dao.UserDao;
import com.example.webdemo.dao.UserDaoImpl;
import com.example.webdemo.model.User;
import jakarta.servlet.ServletException;
import jakarta.servlet.annotation.WebServlet;
import jakarta.servlet.http.HttpServlet;
import jakarta.servlet.http.HttpServletRequest;
import jakarta.servlet.http.HttpServletResponse;
import java.io.IOException;
import java.util.Optional;
@WebServlet("/login")
public class LoginController extends HttpServlet {
private UserDao userDao = new UserDaoImpl();
@Override
protected void doPost(HttpServletRequest req, HttpServletResponse resp) throws
ServletException, IOException {
String username = req.getParameter("username");
String password = req.getParameter("password");
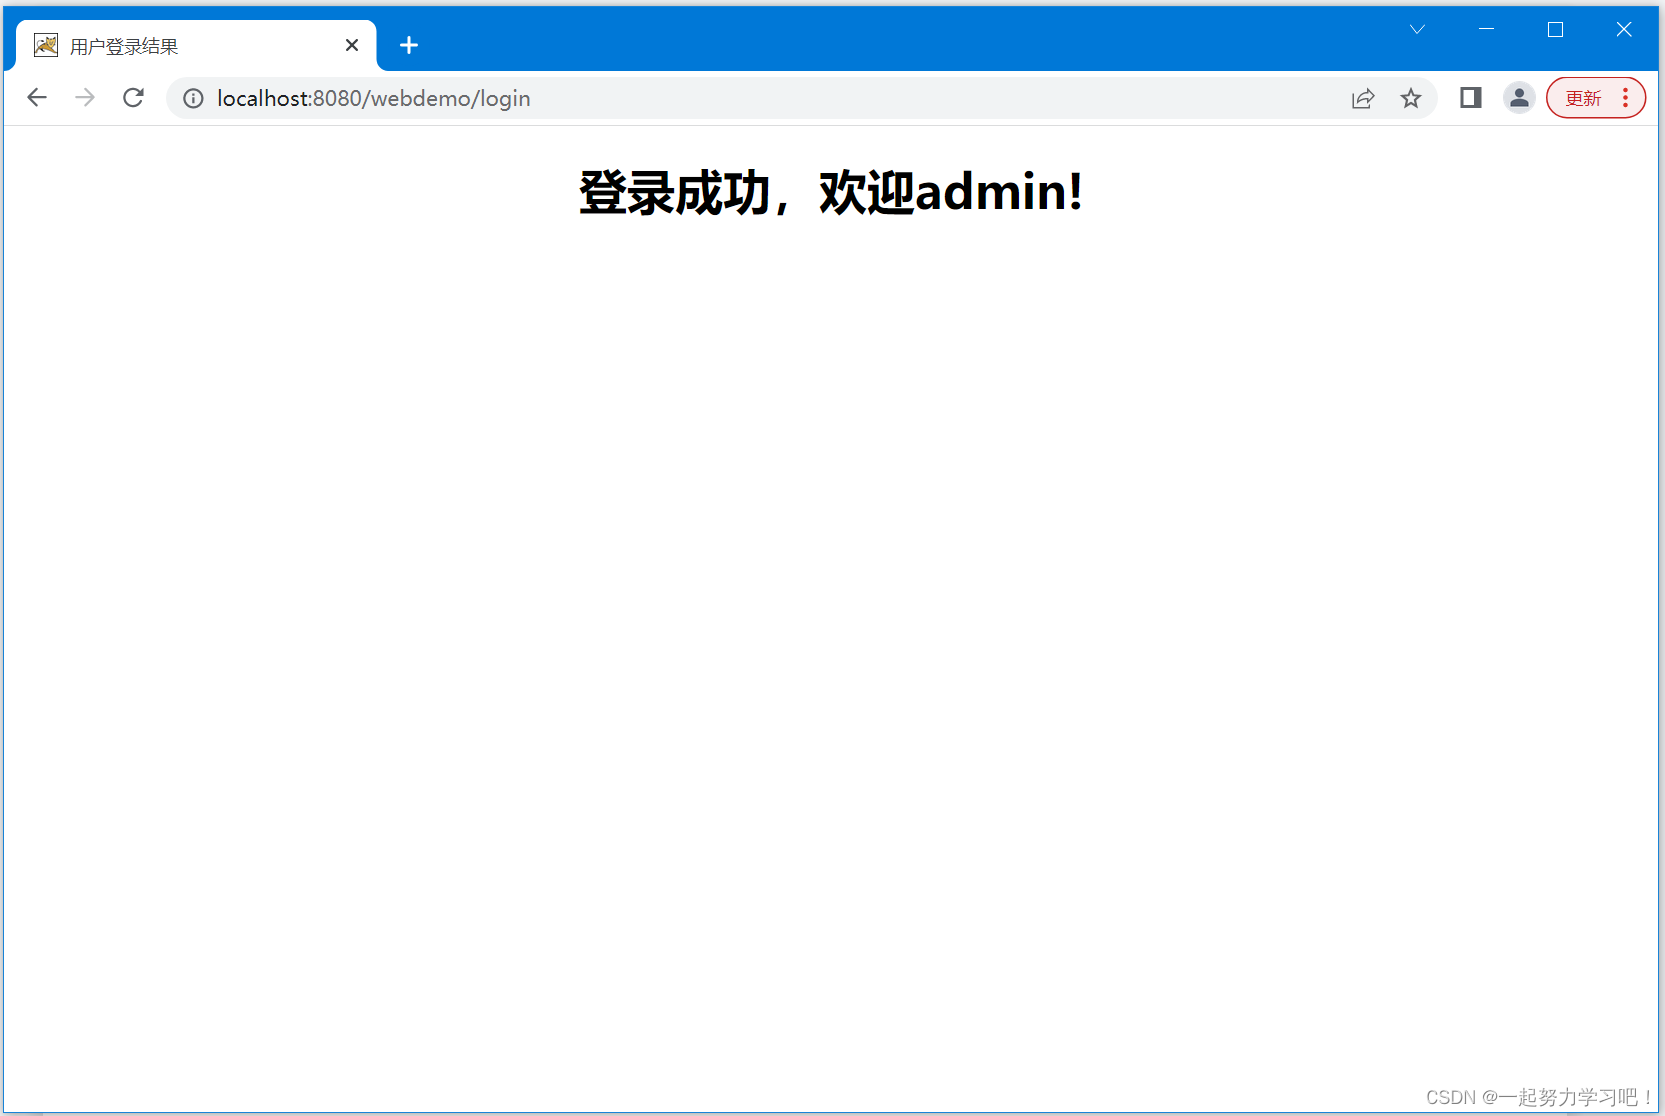
String msg = "登录成功,欢迎" + username + "!";
try {
Optional<User> daoResult = userDao.getUser(username, password);
if (daoResult.isEmpty()) {
msg = "登陆失败,用户名或密码错误!";
}
} catch (Exception e) {
msg = "登陆失败,数据库访问错误!";
}
req.setAttribute("msg", msg);
req.getRequestDispatcher("/WEB-INF/jsp/result.jsp").forward(req, resp);
}
}
16.打开PostgreSQL数据库管理工具pgAdmin,新建一个webdemo数据库,在pgAdmin右侧数据库列表窗口中选中新建的webdemo数据库后,点击“Query Tool”按钮打开查询工具窗口,输入创建users表和插入数据的SQL语句,按下“F5”执行SQL语句。
create table users(

username varchar(20) primary key,

password varchar(20) not null

);

insert into users values('admin','12345');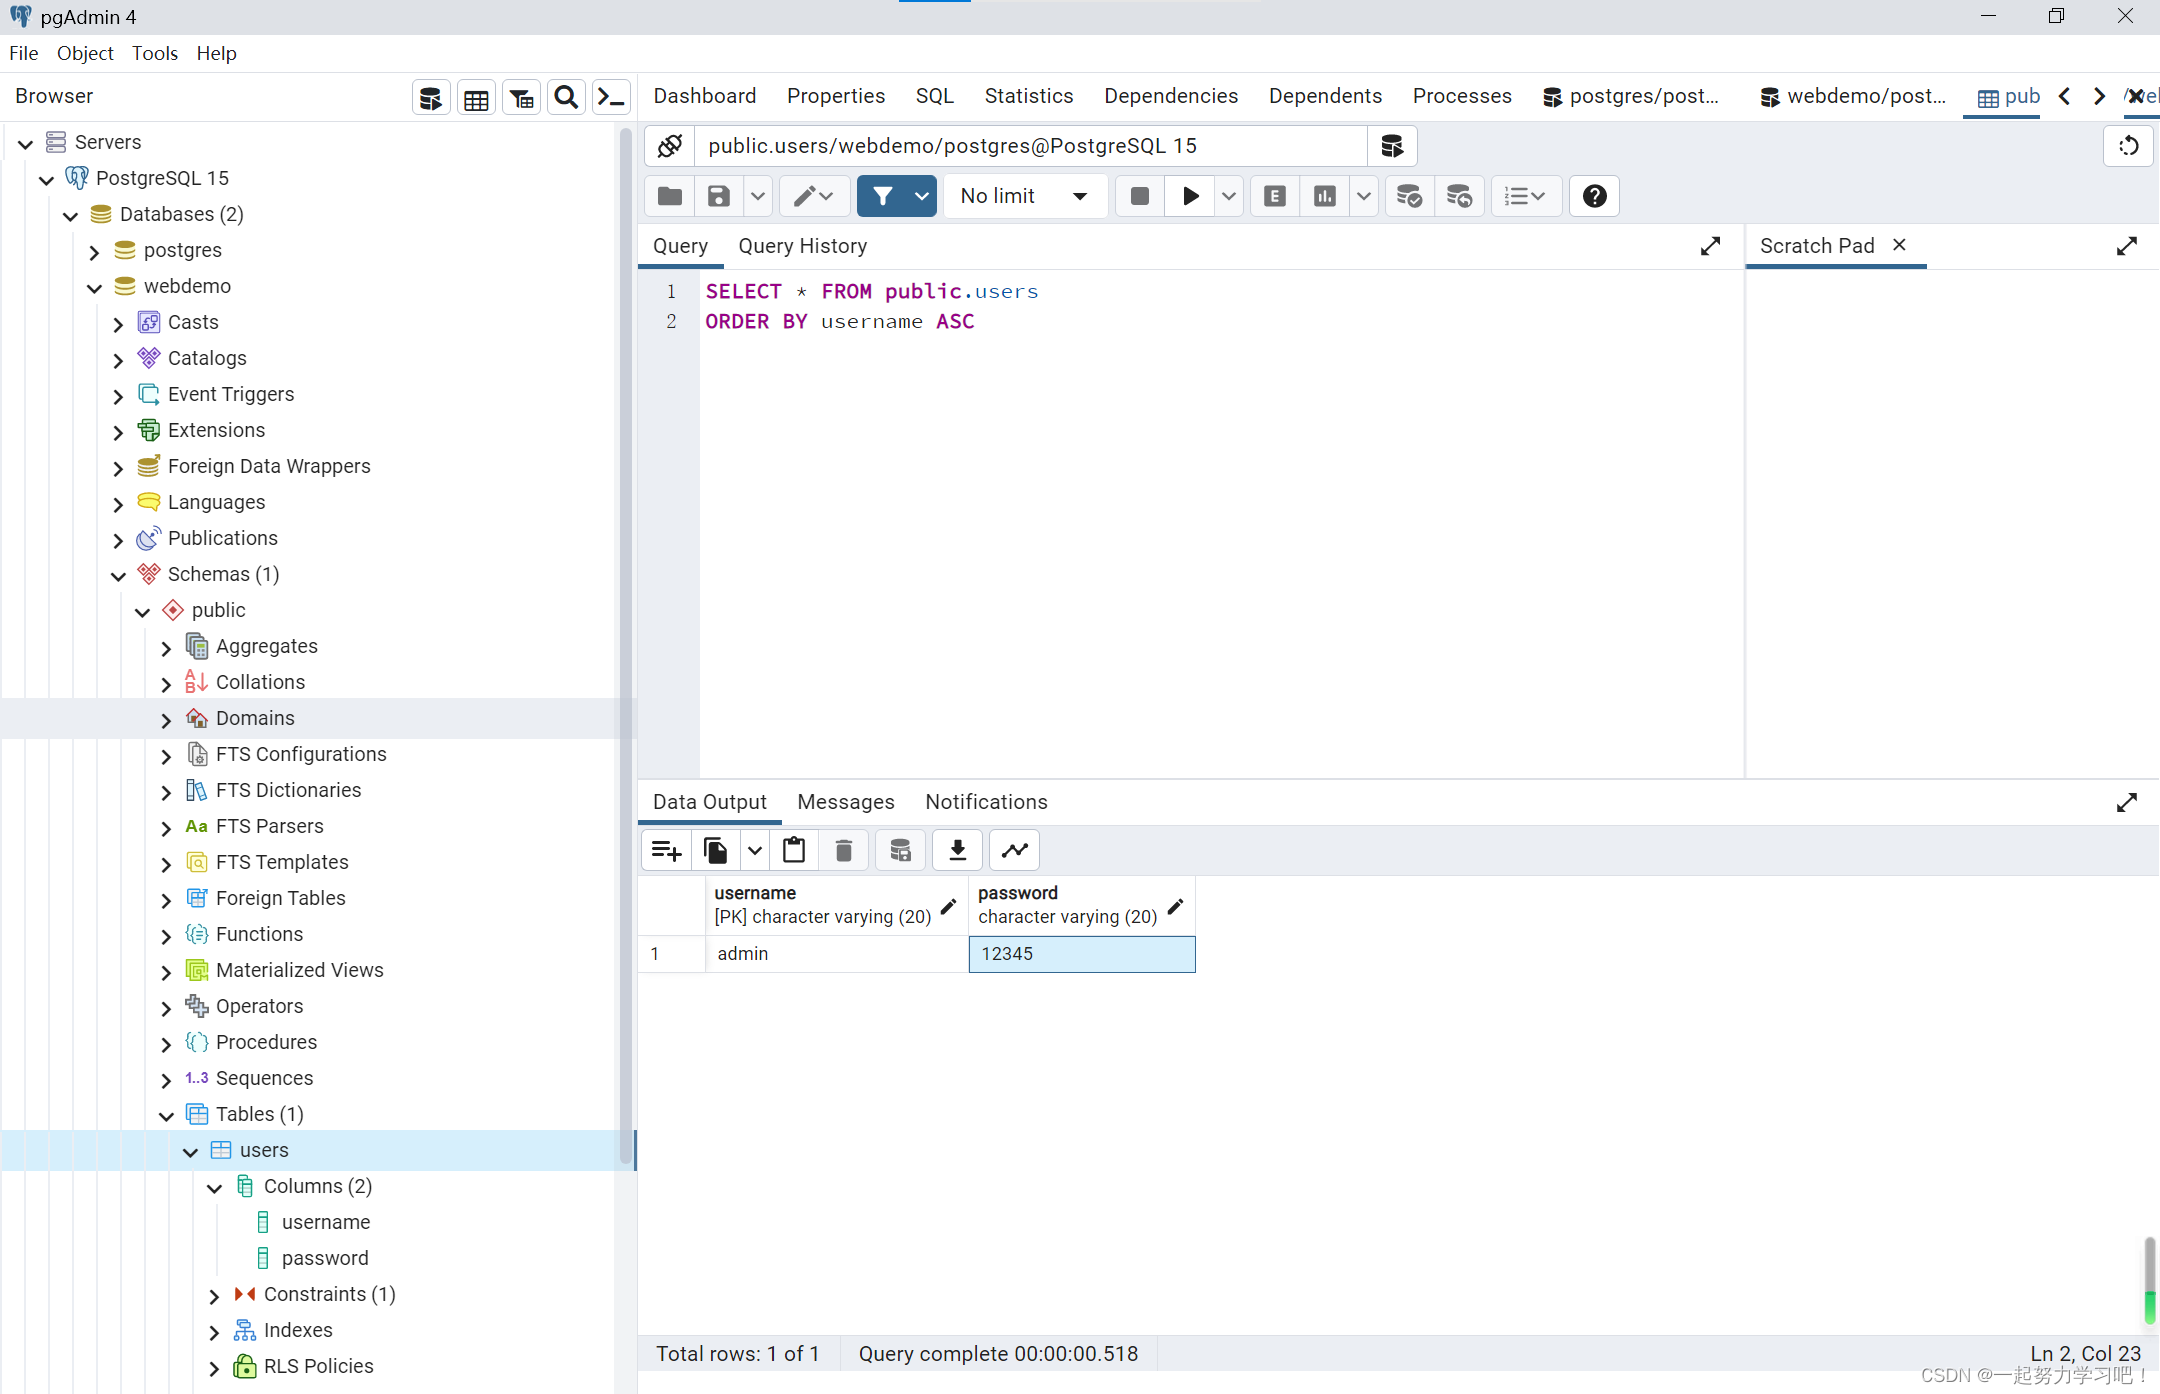
17.按下ctrl+F9构建项目.
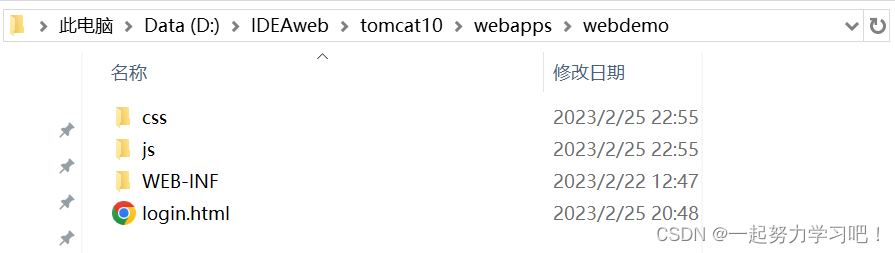
18.在Tomcat的webapps目录下新建webdemo目录,把IDEA项目中Web目录下除了result.jsp之外的其它内容复制到webapps目录下的webdemo目录中。
19.在Tomcat的webdemo目录下新建WEB-INF目录,在该目录下新建jsp目录和classes目录,把IDEA项目中out目录下production\webdemo下的com目录复制到Tomcat的webdemo\WEB-INF\classes目录中,IDEA项目中Web目录下的result.jsp放在jsp目录中。

20.启动Tomcat服务器。
21.打开浏览器,在地址栏中输入:localhost:8080/webdemo/login.html测试应用。


 3408
3408


 被折叠的 条评论
为什么被折叠?
被折叠的 条评论
为什么被折叠?
 到【灌水乐园】发言


