


一、缓存
1.基本介绍
缓存是一种介于数据永久存储介质与数据应用之间的数据临时存储介质
目的:使用缓存可以有效减少低俗数据读取过程的此数(例如磁盘IO),提高系统性能(如果当前缓存中没有本次要查询的数据,则进行查询,否则就从缓存中获取,就不用再访问数据库,同时也减少了数据库的压力)
但是缓存较多时,对内存的压力也比较大

缓存不仅可以用于提高永久性存储介质的数据读取效率,还可以提供临时的数据存储空间
2.Spring缓存使用方式(默认Simple方式演示)
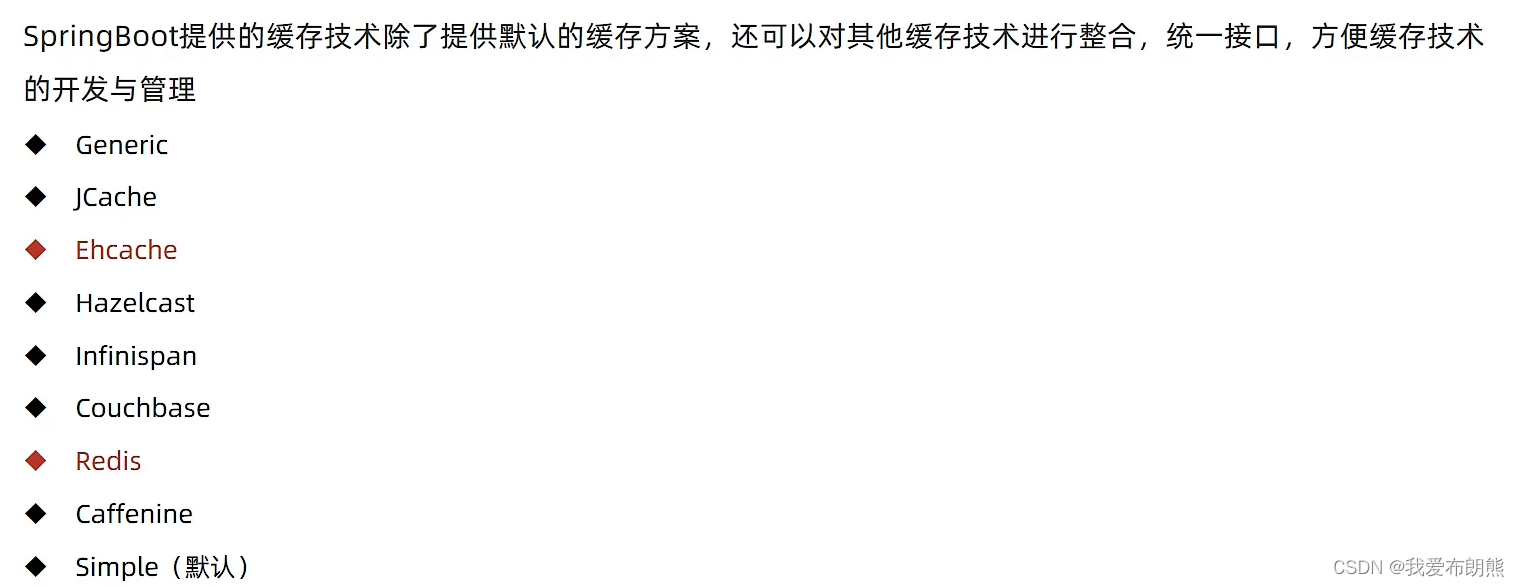
springboot提供了缓存技术
需要的maven坐标
        <dependency>
            <groupId>org.springframework.boot</groupId>
            <artifactId>spring-boot-starter-cache</artifactId>
        </dependency>
基本配置
非常重要
如果此处缺少了spring.cache.type=simple(这种是spring默认的缓存方式)就会出现“Cannot find cache named...”错误
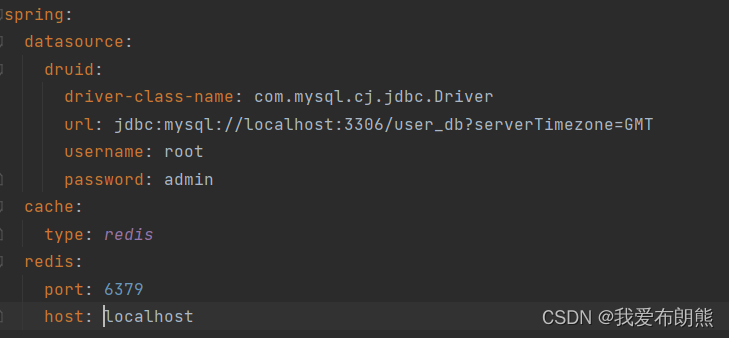
#第二种方法:Druid专用配置  推荐
spring:
  datasource:
    druid:
      driver-class-name: com.mysql.cj.jdbc.Driver
      url: jdbc:mysql://localhost:3306/user_db?serverTimezone=GMT
      username: root
      password: admin
  cache:
    type: simple


#开启MP运行日志
mybatis-plus:
  configuration:
    #    标准输出 打印到控制台上   以后我们就不用sout输出了,  这个东西会帮我们输出
    log-impl: org.apache.ibatis.logging.stdout.StdOutImpl
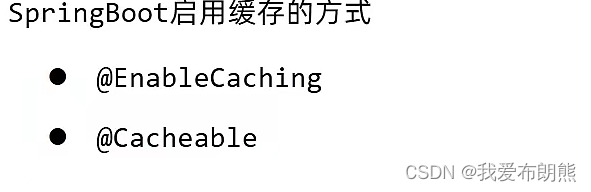
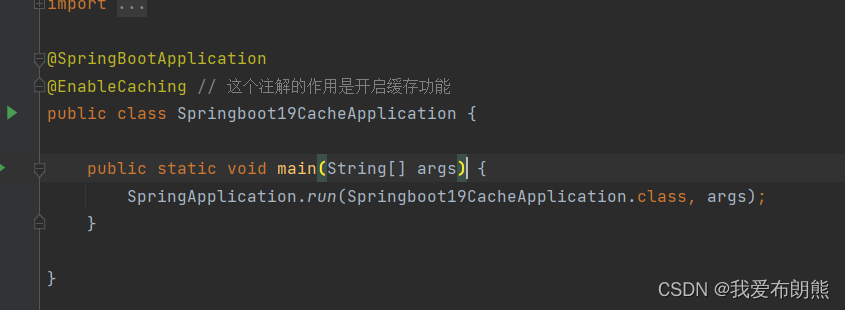
开启缓存功能
@EnableCaching 开启缓存功能
@SpringBootApplication
@EnableCaching // 这个注解的作用是开启缓存功能
public class Springboot19CacheApplication {

    public static void main(String[] args) {
        SpringApplication.run(Springboot19CacheApplication.class, args);
    }

}
代码演示

@RestController
@RequestMapping("/books")
public class BookController {
    @Autowired
    private BookService bookService;

    @GetMapping("{id}")
    public Book get(@PathVariable Integer id){
        return bookService.getById(id);
    }

    @PostMapping
    public boolean save (@RequestBody Book book){
        return  bookService.save(book);
    }

    @PutMapping
    public boolean updata(@RequestBody Book book){
        return bookService.update(book);
    }

    @DeleteMapping("{id}")
    public boolean delete(@RequestBody Integer id){
        return bookService.delete(id);
    }

    @GetMapping
    public List<Book> getAll(){
        return  bookService.getAll();
    }
}
@Mapper //通过这个实现数据库的操作  里面有数据库中各种各样的操作
public interface BookDao extends BaseMapper<Book> {//指定泛型才能知道操作谁

}
@Data  //get+set+toString+hashcode+equals  但是没有构造方法
@TableName(value = "t_book")
public class Book {
    //    这里的属性名 要和数据库表中的属性名一致,要不然最终的查询结果是null
//    将数据库中的结果对此变量名进行注入
    @TableId(value="id",type = IdType.AUTO)  //代表自增算法
    @TableField(value = "id")
    private int id;

    @TableField(value = "bookName")
    private String bookName;

    @TableField(value = "statue")
    private String statue;

    @TableField(value="type")
    private  String type;

    public Book() {
    }

    public Book(int id, String bookName, String statue, String type) {
        this.id = id;
        this.bookName = bookName;
        this.statue = statue;
        this.type = type;
    }
}
public interface BookService extends IService<Book> {
public Book getById(Integer id);
public boolean save(Book book);
public boolean update(Book book);
public boolean delete(Integer id);
public List<Book> getAll();
}
对getById方法设置缓存机制
就下面这个图而言,如果这个cacheSpace空间中有key的这个操作,那就从CacheSpace中找出来,如果没有的话,再执行方法体中的内容,从而达到了缓存的操作

@Service
public class BookServiceImpl extends ServiceImpl<BookDao, Book> implements BookService {

    @Autowired
    private BookDao bookDao;

    @Override
    @Cacheable(value = "cacheSpace",key = "#id")//是否是可缓存的;#id  就可以读取到下面的参数id值
    //是否是课缓存的,其中要指定两个参数,value 就是放的位置,随便定义;下次找用id找,所以key=id
//    运行之后,我们就会把查询之后的数据放到上面这个“id”里面,作为key在缓存空间中进行查询
    public Book getById(Integer id){
        Book queryBook = bookDao.selectById(id);
        return queryBook;
    }


}
运行下面这个程序
@SpringBootApplication
@EnableCaching // 这个注解的作用是开启缓存功能
public class Springboot19CacheApplication {

    public static void main(String[] args) {
        SpringApplication.run(Springboot19CacheApplication.class, args);
    }

}
接下来在postman中执行下面的语句两次
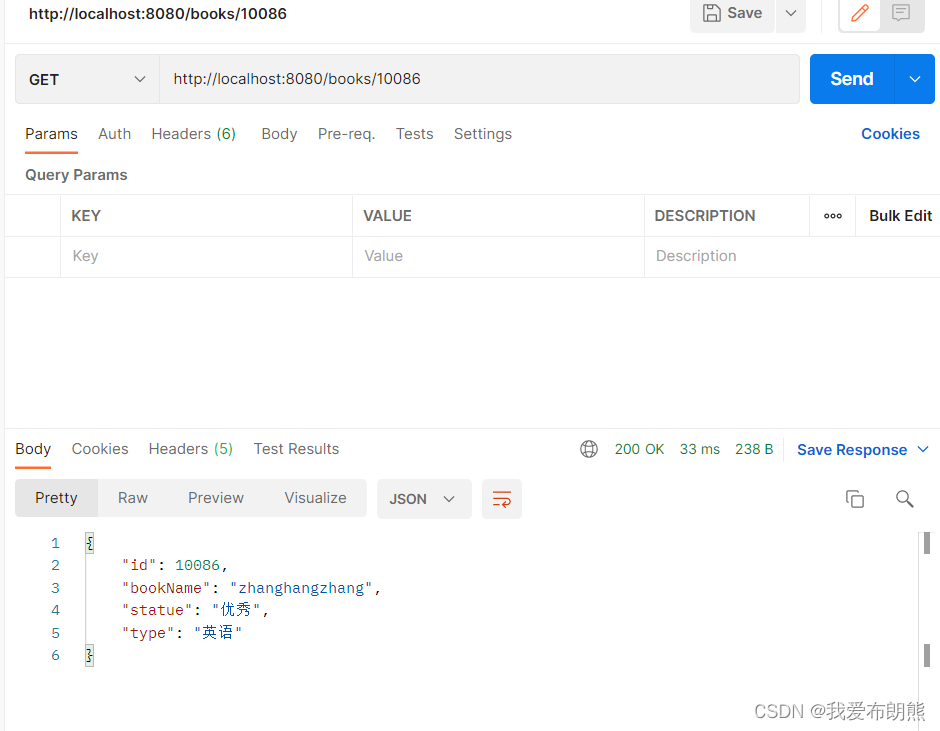
但是我们发现在idea中只有一条运行结果,所以我们缓存成功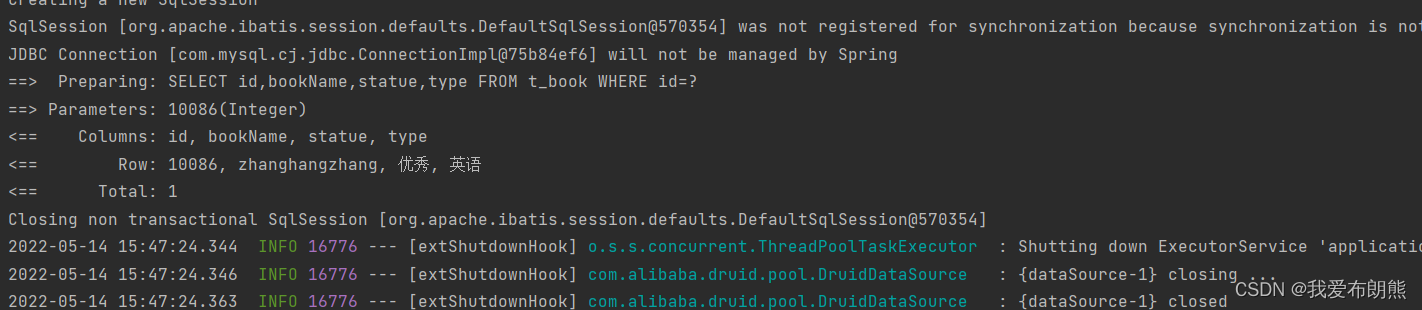
总结:
重要的部分:

service层

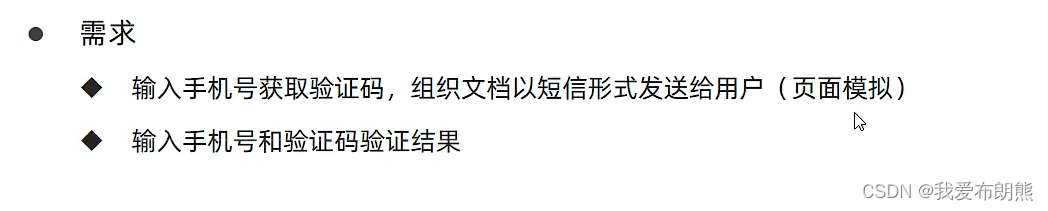
3.手机验证码利用缓存的方式验证

controller.SMSCodeController
@RestController
@RequestMapping("/sms")
public class SMSCodeController {
@Autowired
private SMSCodeService service;
// 通过接受到的电话,得到code码
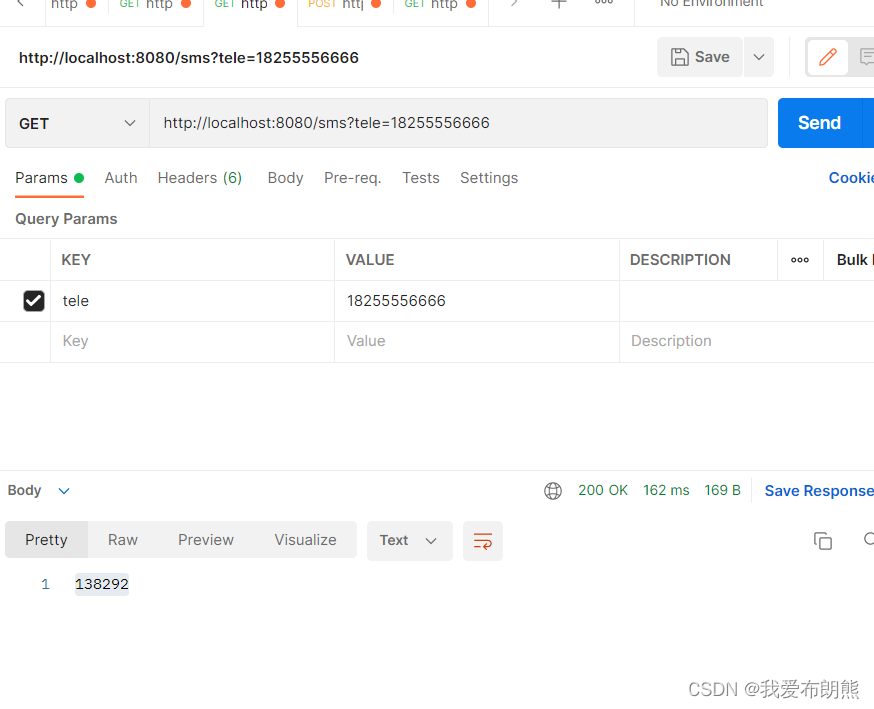
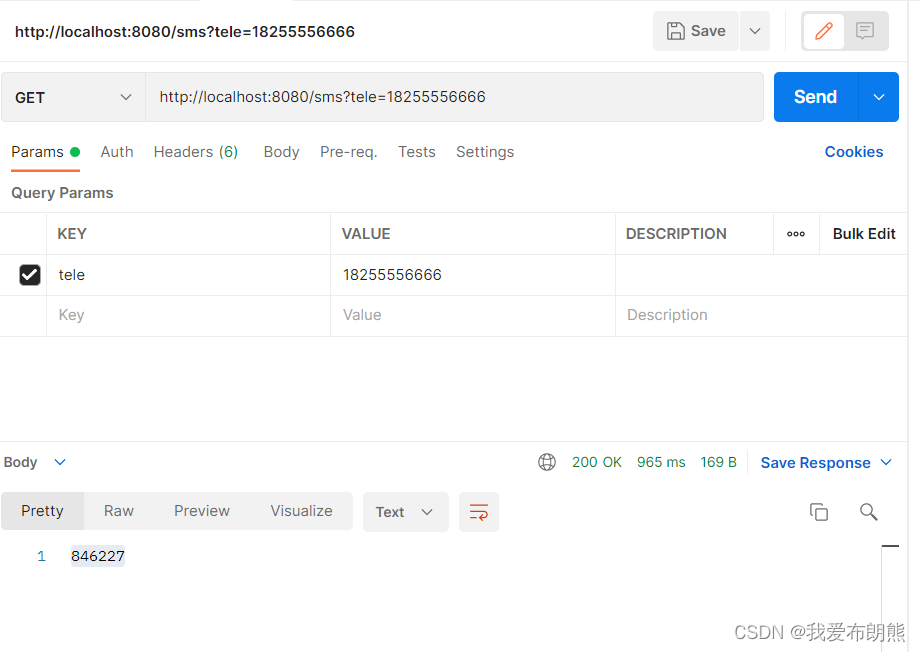
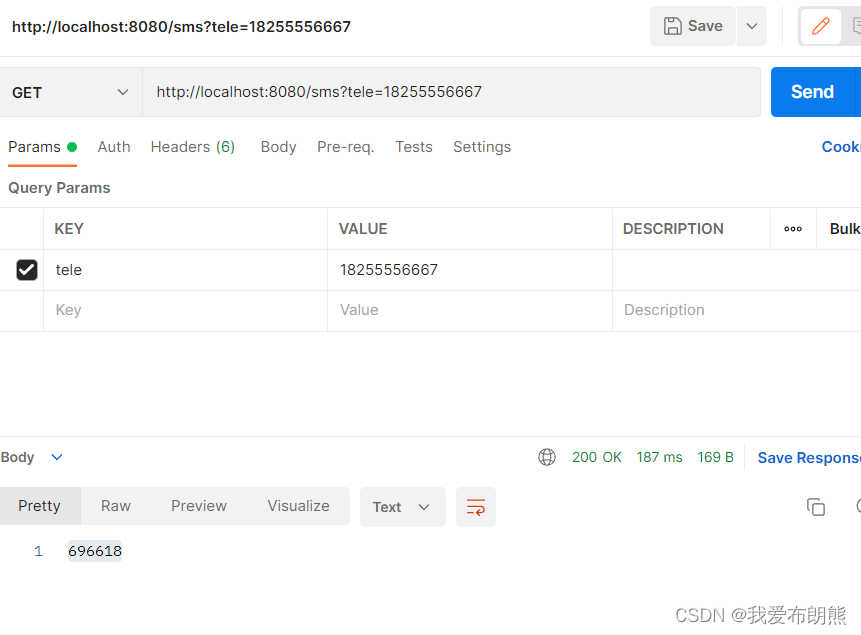
@GetMapping
public String getCode(String tele){
String code = service.sendCodeToSMS(tele);
return code;
}
// 检验一下code码是否正确
// 把电话号码和验证码都给我们,然后验证是否正确
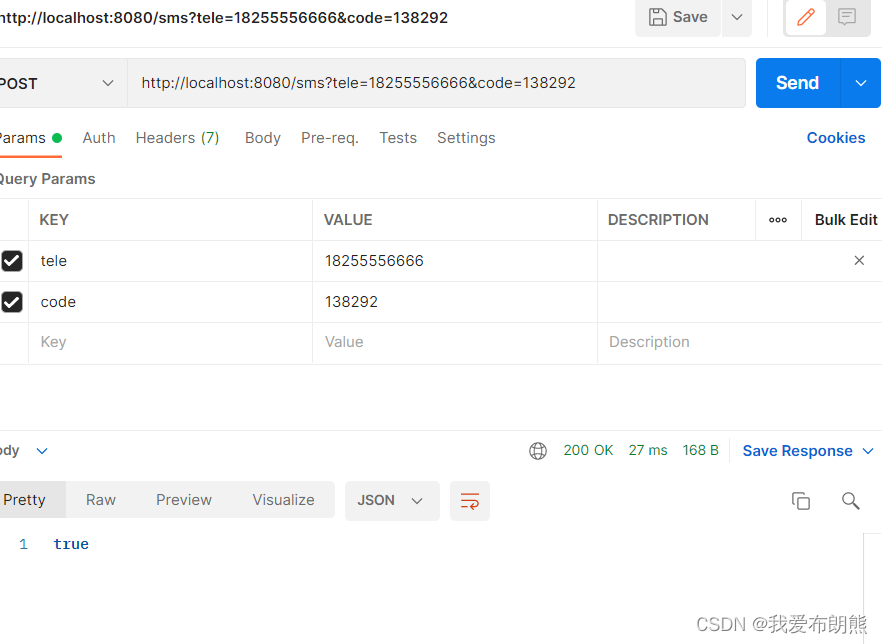
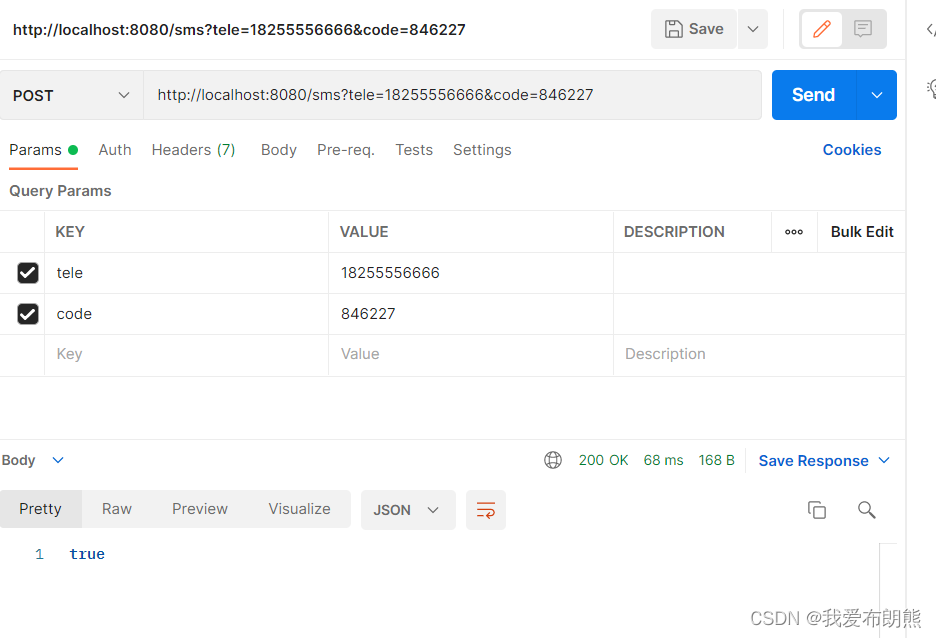
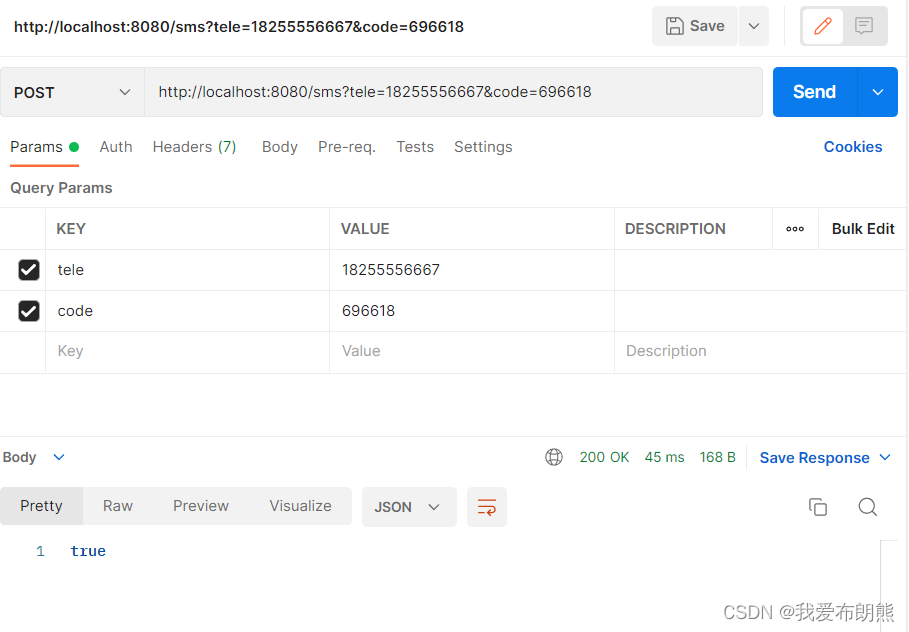
@PostMapping
public boolean checkCode( SMSCode smsCode){//SMSCode类型属性中包含tele和code
return service.checkCode(smsCode);
}
}
domain.SMSCode 实体类
@Data
public class SMSCode {
    private String tele; //手机号码
    private String code;  //手机验证码
}
service.serviceImpl.SMSCodeServiceImpl
可以注意的是,我们这里的注解使用的是@CachePut而不是@Cacheable
原因:我们使用验证码的时候,我们应该做到每一次的验证码都是一个样子的,这样就要求我们只能往缓存中放,不能从缓存中取。
那既然这样,我们只放不取为什么还要用缓存?
原因:我们只是在生成的时候往里放不取,但是在我们验证验证码的时候,是需要从缓存中取出对应的验证码来比较用户输入的验证码是否正确。
一定要如下图所示调用,这样才能避免出现 空指针异常

@Service
public class SMSCodeServiceImpl implements SMSCodeService {
    @Autowired
    private CodeUtils codeUtils;

    @Override
//    开启缓存功能
//    @Cacheable(value = "cacheSpace" , key = "#tele")  这个语句在这里其实并不适用,因为我们一般的验证码都是一分钟以内,如果再次获取验证码,就不是这个了
//   value = "smsCode" 缓存空间
    @CachePut(value="smsCode",key="#tele") //这个注解可以做到往缓存中放入return的code值,把指定的返回值放到指定的key的位置
    public String sendCodeToSMS(String tele) {
      String code=  codeUtils.generator(tele);
        return code;
// key是tele value是code
    }

    @Override
    public boolean checkCode(SMSCode smsCode) {
//        取出内存中的验证码与传递过来的验证码进行对比,如果相同,返回true
        String code = smsCode.getCode();
        String cacheCode =codeUtils.get(smsCode.getTele()); //这是缓存中的验证码,因为tele是key,所以在此处要传入一个tele
        return code.equals(cacheCode);
    }
}
service.SMSCodeService
public interface SMSCodeService {
    public  String sendCodeToSMS(String tele);
    public  boolean checkCode(SMSCode smsCode);  //校验

}
utils.CodeUtils
此类的作用就是生成六位的验证码
另外,下面这个代码一定要放在此类中而不是放在SMSCodeServiceImpl类中,放在此类中可以被spring生成bean,要不然@Cacheable注解会使用不了(一定要走spring容器,否则就是一个普通的方法调用)
@Component 注解的作用就是定义成一个bean
@Component
public class CodeUtils {
private String[] patch = {"00000","0000","000","00","0",""}; //利用数据结构的优化,进行补零
public String generator(String tele){
int hash = tele.hashCode(); //这个得到的tele的哈希值和我们即将要生成的验证码有很必要的关系
int encryption = 20206666;
// 第一次加密
long result = hash ^ encryption;
// 第二次加密
long nowTime = System.currentTimeMillis();
result = result^nowTime;
// 取某result的某些位数作为 验证码
long code = result%1000000; //六个余数
code = code<0 ? -code :code; //将验证码的复数排除
// 如果我们生成的code前面几位是零的话,就会省略了前面的零,但是省略的之后,就不足六位了,我们现在要对不足六位的数据进行补零
String codeStr = code+"";
int len = codeStr.length();
return patch[len-1]+codeStr;
}
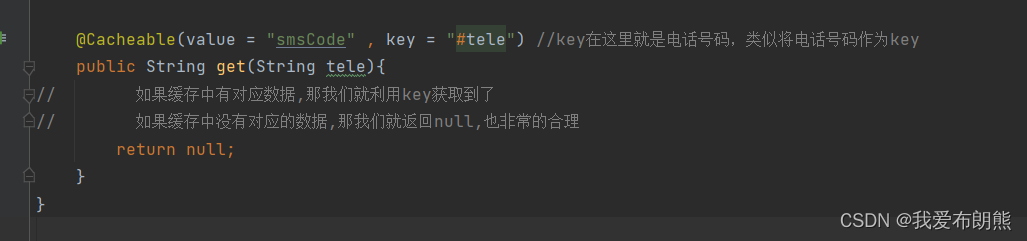
@Cacheable(value = "smsCode" , key = "#tele") //key在这里就是电话号码,类似将电话号码作为key
public String get(String tele){
// 如果缓存中有对应数据,那我们就利用key获取到了
// 如果缓存中没有对应的数据,那我们就返回null,也非常的合理
return null;
}
}

postman获取验证码:

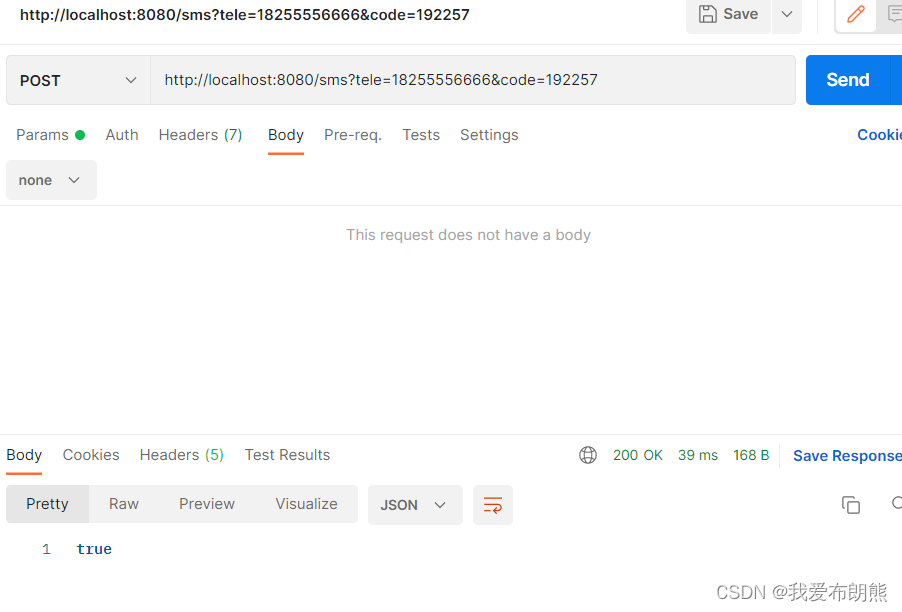
postman对验证码进行验证
4.Ehcache缓存工具
如果是ehcache的话,必须下面的坐标和配置,否则运行会报错
maven坐标
        <dependency>
            <groupId>net.sf.ehcache</groupId>
            <artifactId>ehcache</artifactId>
        </dependency>
配置文件的配置
#第二种方法:Druid专用配置  推荐
spring:
  datasource:
    druid:
      driver-class-name: com.mysql.cj.jdbc.Driver
      url: jdbc:mysql://localhost:3306/user_db?serverTimezone=GMT
      username: root
      password: admin
  cache:
    type: ehcache

#开启MP运行日志
mybatis-plus:
  configuration:
    #    标准输出 打印到控制台上   以后我们就不用sout输出了,  这个东西会帮我们输出
    log-impl: org.apache.ibatis.logging.stdout.StdOutImpl
下面的这个配置要和上面的左边进行配对,如果有这个配置,但是没有坐标,一样会出现错误

以及还有下面的ehcache.xml配置文件(不加下面xml配置文件的时候,获取验证码的时候会报错)
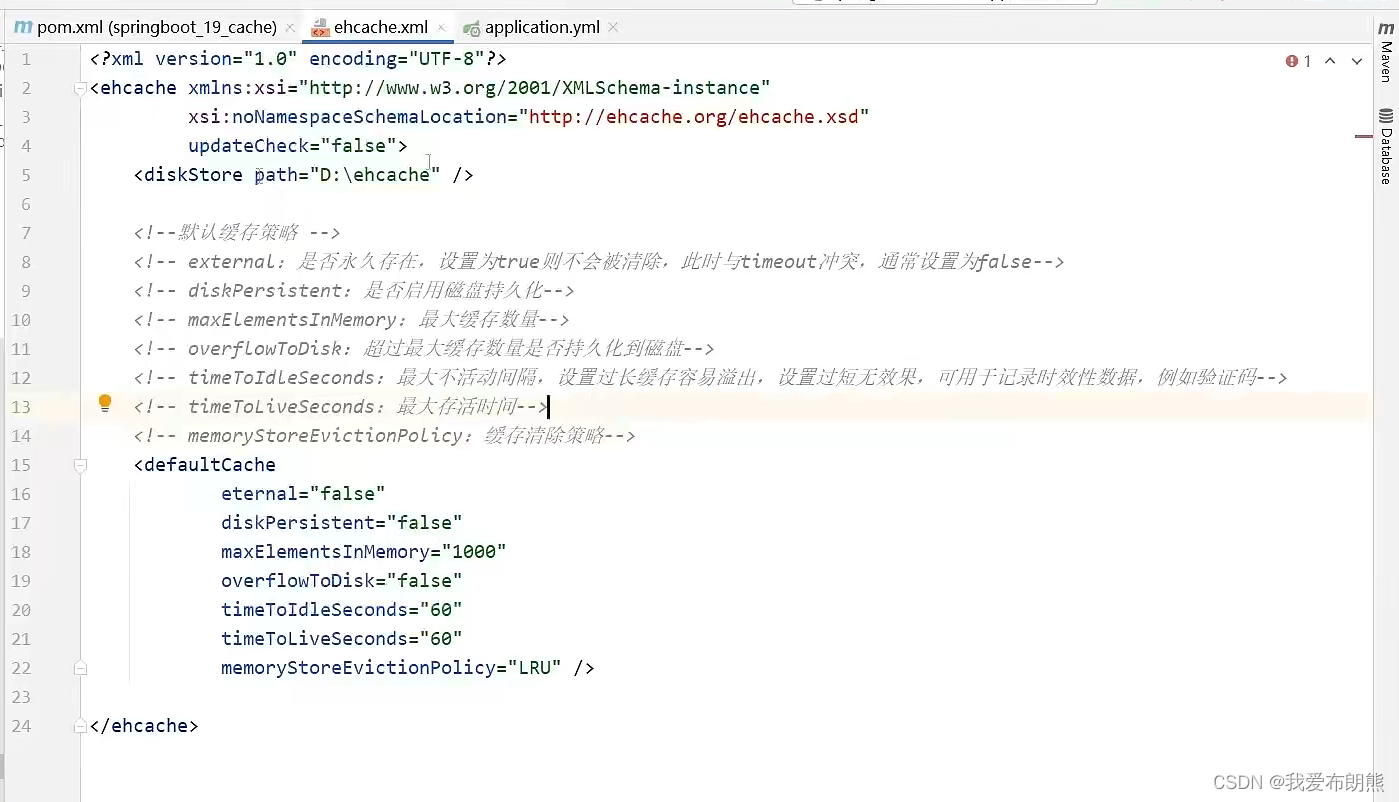
上面的这组配置,是配置的默认的缓存的地方,但是从我们的代码来看,我们显然不是存放在默认的地方,而是“smsCode”缓存空间中,则我们还需要添加一组配置(不同的数据,缓存不一样,所以可以设置多个缓存策略)
其中,下面的 “name”就是我们指定缓存空间

完整版:
name="smsCode" 因为我们上面使用了SMSCode空间了,如果我们这里不配置的话,仍然会报错。
我们还有配置对应的配置
如果没有配置的话,就是默认的配置
<?xml version="1.0" encoding="UTF-8"?>
<ehcache xmlns:xsi="http://www.w3.org/2001/XMLSchema-instance"
         xsi:noNamespaceSchemaLocation="http://ehcache.org/ehcache.xsd"
         updateCheck="false">
    <diskStore path="D:\ehcache" />

    <!--默认缓存策略 -->
    <!-- external:是否永久存在,设置为true则不会被清除,此时与timeout冲突,通常设置为false-->
    <!-- diskPersistent:是否启用磁盘持久化-->
    <!-- maxElementsInMemory:最大缓存数量-->
    <!-- overflowToDisk:超过最大缓存数量是否持久化到磁盘-->
    <!-- timeToIdleSeconds:最大不活动间隔,设置过长缓存容易溢出,设置过短无效果,可用于记录时效性数据,例如验证码-->
    <!-- timeToLiveSeconds:最大存活时间-->
    <!-- memoryStoreEvictionPolicy:缓存清除策略-->
    <defaultCache
        eternal="false"
        diskPersistent="false"
        maxElementsInMemory="1000"
        overflowToDisk="false"
        timeToIdleSeconds="60"
        timeToLiveSeconds="60"
        memoryStoreEvictionPolicy="LRU" />
    <cache
        name="smsCode"
        eternal="false"
        diskPersistent="false"
        maxElementsInMemory="1000"
        overflowToDisk="false"
        timeToIdleSeconds="10"
        timeToLiveSeconds="10"
        memoryStoreEvictionPolicy="LRU" />
</ehcache>
效果图:
5.变更缓存供应商Redis
下面这个坐标有没有无所谓
        <dependency>
            <groupId>net.sf.ehcache</groupId>
            <artifactId>ehcache</artifactId>
        </dependency>
下面这个坐标必须有
        <dependency>
            <groupId>org.springframework.boot</groupId>
            <artifactId>spring-boot-starter-data-redis</artifactId>
        </dependency>
最下面的配置是 配置redis服务器,中间的配置是配置缓存使用redis
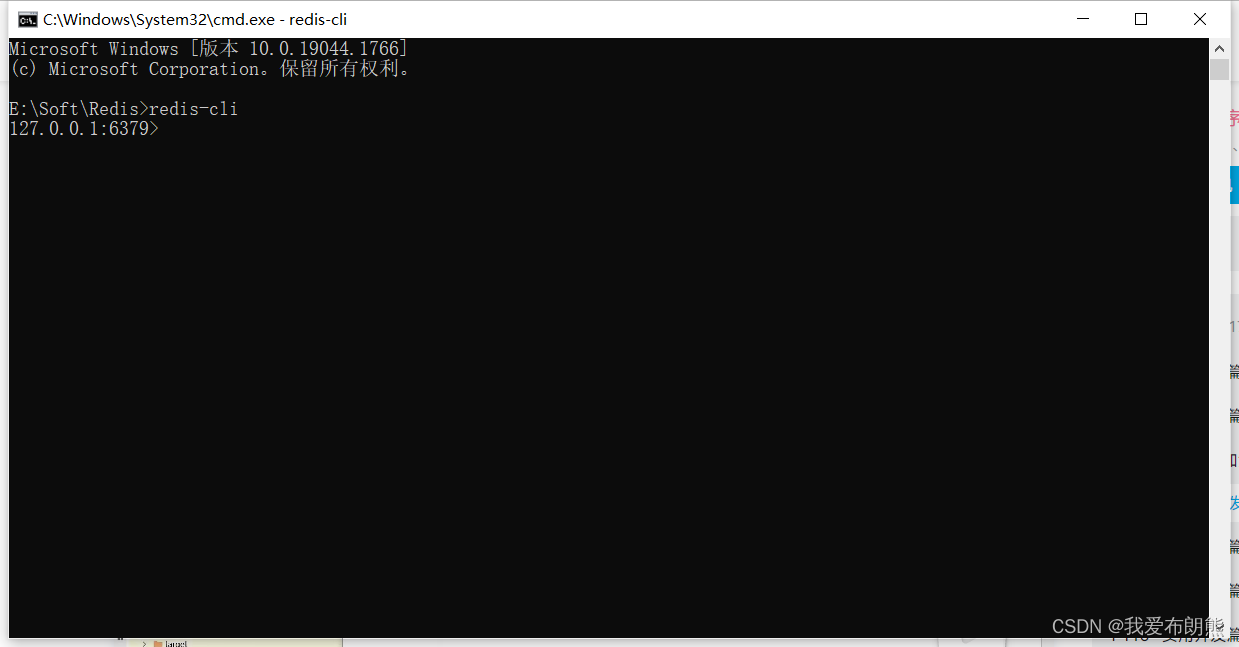
接下载启动redis

启动客户端:
其中我们发现,我们每向一个电话号码发送一个验证码,我们redis就会多出下面的一条数据。
SMSCode就是我们的缓存空间(自定义的)

下面的这个配置就是,我们的缓存时间可以存在多久,下面我们设置的时间是10s,当10秒之后,对应的数据就会从缓存中消失
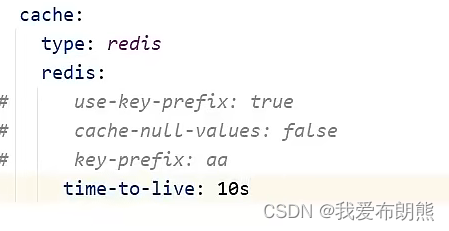
下面的配置是是否使用前缀,false就是不使用前缀,但是建议使用前缀
![]()
我们发现,后添加的这条的前缀已经隐藏了
![]()
指定前缀
![]()

是否能为空值
![]()
6.缓存供应商变更:memcached

        <dependency>
            <groupId>com.googlecode.xmemcached</groupId>
            <artifactId>xmemcached</artifactId>
            <version>2.4.7</version>
        </dependency>
因为springboot对其没有整合,所以没有yml配置文件
@Service
public class SMSCodeServiceImpl implements SMSCodeService {


    @Autowired
    private CodeUtils codeUtils;
    @Autowired
    private MemcachedClient memcachedClient;


//    以下是springboot中使用xmemcached
    @Override
    public String sendCodeToSMS(String tele) {
//      获取验证码
        String code=  codeUtils.generator(tele);
        try {
//          第二个参数代表过期时间,0代表永远不过期
//           把数据放到缓存中
            memcachedClient.set(tele,0,code);
        } catch (TimeoutException | InterruptedException | MemcachedException e) {
            e.printStackTrace();
        }
        return code;
    }

    @Override
    public boolean checkCode(SMSCode smsCode) {
        Object code =null;
        try {
            code = memcachedClient.get(smsCode.getTele());
        } catch (TimeoutException | InterruptedException | MemcachedException e) {
            e.printStackTrace();
        }
        return smsCode.getCode().equals(code);
    }
}
配置类
@Component
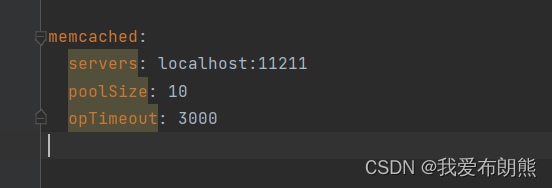
@ConfigurationProperties(prefix = "memcached")
@Data
public class XMemcachedProperties {
private String servers;
private int poolSize;
private long opTimeout;
}
@Configuration   //配置类
public class XMemcachedConfig {
    @Autowired
    private  XMemcachedProperties xMemcachedProperties;
//  客户端对象
    @Bean
    public MemcachedClient getMemcachedClient(){
        MemcachedClientBuilder memcachedClientBuilder = new XMemcachedClientBuilder(xMemcachedProperties.getServers());
        memcachedClientBuilder.setConnectionPoolSize(xMemcachedProperties.getPoolSize());
        memcachedClientBuilder.setOpTimeout(xMemcachedProperties.getOpTimeout());

        MemcachedClient memcachedClient=null;
        try {
           memcachedClient =memcachedClientBuilder.build();
        } catch (IOException e) {
            e.printStackTrace();
        }
        return memcachedClient;
    }
}


 1920
1920


 被折叠的 条评论
为什么被折叠?
被折叠的 条评论
为什么被折叠?
 到【灌水乐园】发言


