


目录
前言
在上一篇文章中,只是实现了简单的登录注册功能。如果是一个完整的项目的话,这样的登录注册功能是不符合我们的要求的,比如:
- 没有进行校验,可以同时注册多个用户名和密码相同的用户,这样用户登录时,后端如果不处理,会查询出多个用户,就会报One record is expected, but the query result is multiple records错误
- 如果我们没有登录,只要知道首页的地址,我们也可以访问页面,请求也是一个道理,这样是不对的,所以这里我们也要改进
- 登录成功后,应该将用户信息存储在sessionStorage或者localStorage中,这样方便前端拿用户信息
一、项目介绍
项目下载
gitee:Springboot+vue实现小功能: Springboot+vue实现小功能(点个star呀😎)
1.开发环境
前端:vue2+element-ui组件
后端:springboot,jwt
2.功能
1.登录注册
2.访问和请求的认证、拦截
3.项目运行截图

二、前端实现
asstes/gloable.css:全局样式,单纯为了页面好看加的
*{
    margin: 0;
    padding: 0;
}

html,body{
    height: 100%;
}
views/Login.vue:登录成功,通过sessionStorage.setItem()方法将后端传来的用户信息和token存入浏览器的会话域中,方便前端拿用户信息。解决了前言提到的第三个问题,用户信息存储问题
<template>
    <div class="wrapper">
        <el-form :model="form" :rules="rules" label width=" 80px" class="login-box" status-icon style="background-color: #fff;border-radius: 10px;position: relative;top:100px" ref="loginForm">
            <h3 class="login-title">欢迎登录</h3>
            <el-form-item label="用户名" prop="username">
                <el-input prefix-icon="el-icon-user" type="text" placeholder=" 请输入账号" v-model="form.username"/>
            </el-form-item>
            <el-form-item label="密码" prop="password">
                <el-input prefix-icon="el-icon-lock" type="password" placeholder=" 请输入密码" v-model=" form.password"/>
            </el-form-item>
            <el-form-item>
                <el-button type="primary" v-on:click="onSubmit('loginForm')">登录</el-button>
                <el-button type="primary" v-on:click="$router.push('/register')">注册</el-button>
            </el-form-item>
        </el-form>
        <el-dialog
                title="温馨提示"
                :visible.sync="dialogVisible"
                width="30%"
                :before-close="handleClose">
            <span>请输入用户名和密码</span>
            <span slot="footer" class="dialog-footer">
<el-button type="primary" @click="dialogVisible = false">确 定</el-button>
      </span>
        </el-dialog>
    </div>
</template>
<script>
    export default {
        name: "Login",
        data() {
            return {

                form: {
                    username: 'admin',
                    password: 'admin'
                },
// 表单验证, 需要在el-form-item- 元素中增加prop属性
                rules: {
                    username: [{required: true, message: '账号不可为空', trigger: 'blur'}],
                    password: [{required: true, message: '密码不可为空', trigger: 'blur'}]
                },
//对话框显示和隐藏
                dialogVisible: false
            }
        },
        methods: {
            handleClose: function () {
                console.log("Handle Close,空函数");
            },
            onSubmit(formName) {
                //为表单绑定验证功能
                this.$refs [formName].validate((valid) => {
                    if (valid) {
                        this.request.post('/login', {
                            username: this.form.username,
                            password: this.form.password
                        })
                            .then(res => {
                                if(res.code===200){
                                    console.log(res);
                                    sessionStorage.setItem("user",res.data.username)
                                    sessionStorage.setItem("token",res.data.token)
                                    //使用vue-router 路由到指定页面,该方式称之为编程式导航
                                    this.$router.replace("/index")
                                    this.$message.success(res.msg)
                                }else{
                                    console.log(res);
                                    this.$message.error(this.form.username+res.msg)
                                }
                            })
                    } else {
                        this.dialogVisible = true;
                        return false;
                    }
                });
            },

        }
    }
</script>
<style scoped>
    .wrapper {
        height: 100vh;
        background-image: linear-gradient(to bottom right, #FC466B, #3F5EFB);
        overflow: hidden;
    }
  .login-box {
    border: 1px solid #DCDFE6;
    width: 350px;
    margin: 50px auto;
    padding: 35px 35px 15px 35px;
    border-radius: 5px;
    -webkit-border-radius: 5px;
    -moz-border-radius: 5px;
    box-shadow: 0 0 25px #909399;
  }

  .login-title {
    text-align: center;
    margin: 0 auto 40px auto;
    color: #303133;
  }
</style>
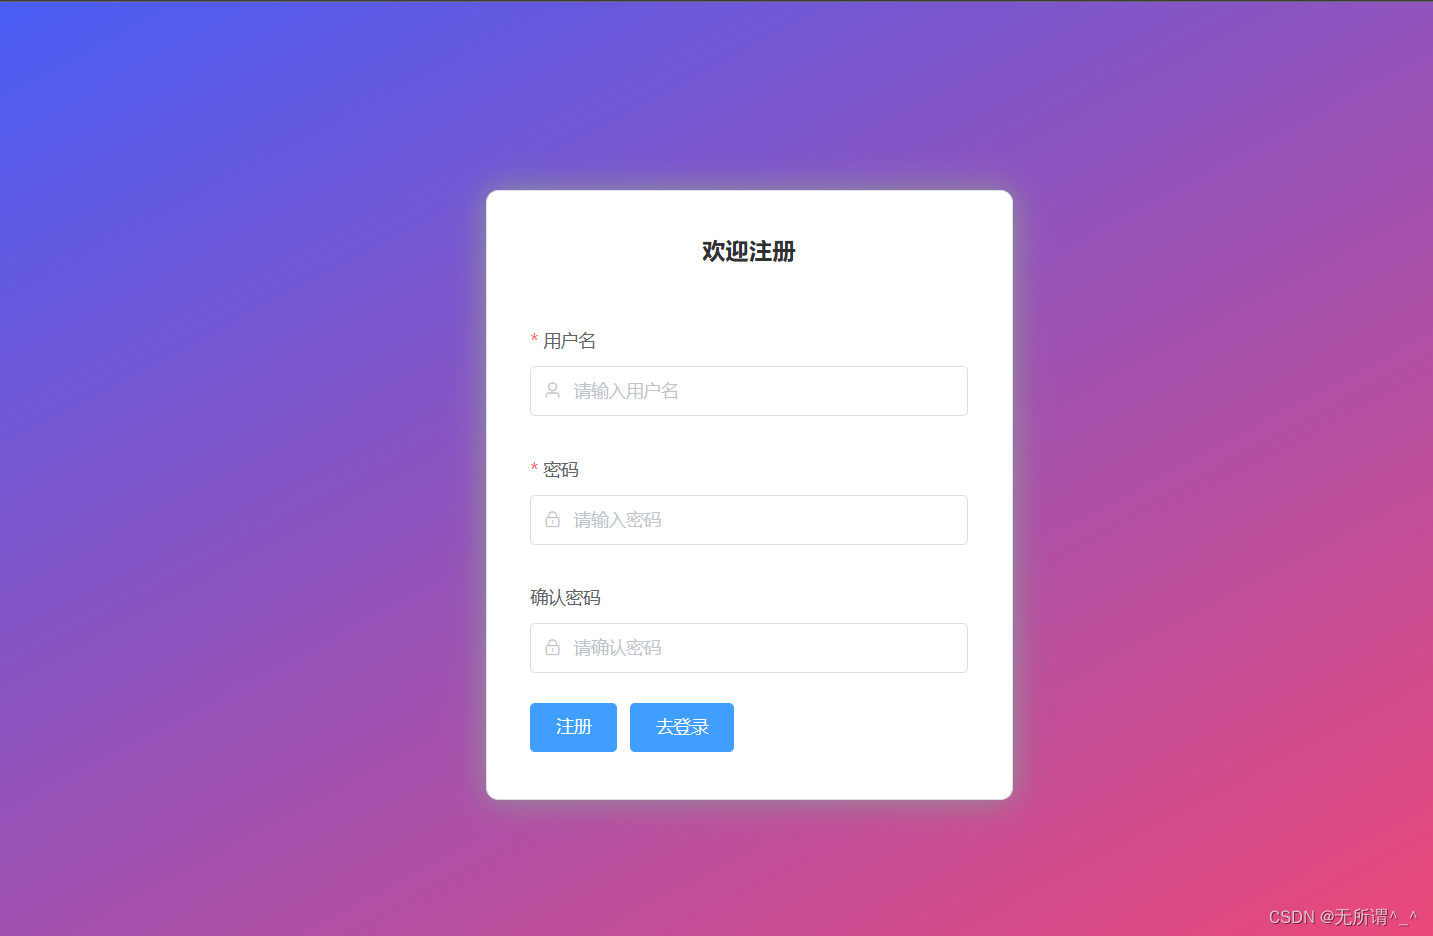
views/Register.vue:注册页面的用户名输入框有个鼠标焦点离开的回调事件,如果焦点离开,会拿着用户名请求后端,查看用户名是否已经存在,如果存在,前端的表单校验就不通过,不允许注册。解决了第一个问题,用户名重复注册问题。
<template>
    <div>
        <el-upload
                multiple
                :limit="3"
                class="file-box"
                ref="upload"
                action="http://localhost:8088/file"
                :on-preview="handlePreview"
                :on-remove="handleRemove"
                :on-change="handleChange"
                :on-exceed="handleExceed"
                :file-list="images"
                list-type="picture"
                :auto-upload="false">
            <el-button slot="trigger" size="small" type="primary">选取文件</el-button>
            <el-button style="margin-left: 10px;" size="small" type="success" @click="submitFile">上传到服务器</el-button>
            <div slot="tip" class="el-upload__tip">只能上传jpg/png文件,且不超过500kb</div>
        </el-upload>
        <el-row :gutter="20">
            <el-col v-for="url in imageurls" :span="6">
                <el-image
                        style="width: 100px; height: 100px"
                        :src="url"
                        fit="fill"></el-image>
            </el-col>
        </el-row>
    </div>
</template>

<script>
    export default {
        data() {
            return {
                images: [],
                imageurls: []
            };
        },
        methods: {
            submitFile() {
                if (this.images.length === 0) {
                    this.$message.warning("请选择文件")
                    return
                }
                let formData = new FormData() //创建一个表单
                this.images.forEach(file => {
                    formData.append("files", file.raw) //将文件传到表单中,files属性是后端接受的参数名
                })
                this.$axios.post(
                    '/file',
                    formData,
                    {headers: {'Content-Type': 'multipart/form-data'}}).then(res => {
                    this.$message.success("文件上传成功")
                    this.images = []
                    this.getImages()
                }).catch(error => {
                    this.$message.error("文件上传失败", error.msg)
                })
            },
            //移除文件列表时的钩子
            handleRemove(file, fileList) {
                this.images = fileList
                console.log("移除文件列表时的钩子", file);
            },
            //点击某个文件时的钩子
            handlePreview(file) {
                console.log("点击某个文件时的钩子", file);
            },
            //添加到上传列表时的钩子
            handleChange(file, fileList) {
                this.images = fileList
                console.log("添加到上传列表时的钩子", file)
            },
            //文件超出个数限制时的钩子
            handleExceed() {
                this.$message.warning("文件超出3个")
                console.log("文件超出个数限制时的钩子")
            },
            getImages() {
                this.$axios.get("/filelist")
                    .then(response => {
                        this.imageurls = response.data
                        console.log("获取图片列表成功")
                    })
                    .catch(error => {
                        this.$message.error("获取图片列表失败")
                    })
            }
        },
        created() {
            this.getImages()
        }
    }
</script>
<style scoped>

    .file-box {
        border: 1px solid #DCDFE6;
        width: 350px;
        margin: 50px auto;
        padding: 35px 35px 15px 35px;
        border-radius: 5px;
        -webkit-border-radius: 5px;
        -moz-border-radius: 5px;
        box-shadow: 0 0 25px #909399;
    }

    .el-row {
        margin-bottom: 20px;

    &
    :last-child {
        margin-bottom: 0;
    }

    }
    .el-col {
        border-radius: 4px;
    }

    .bg-purple-dark {
        background: #99a9bf;
    }

    .bg-purple {
        background: #d3dce6;
    }

    .bg-purple-light {
        background: #e5e9f2;
    }

    .grid-content {
        border-radius: 4px;
        margin-top: 10px;
        min-height: 36px;
    }

    .row-bg {
        padding: 10px 0;
        background-color: #f9fafc;
    }
</style>
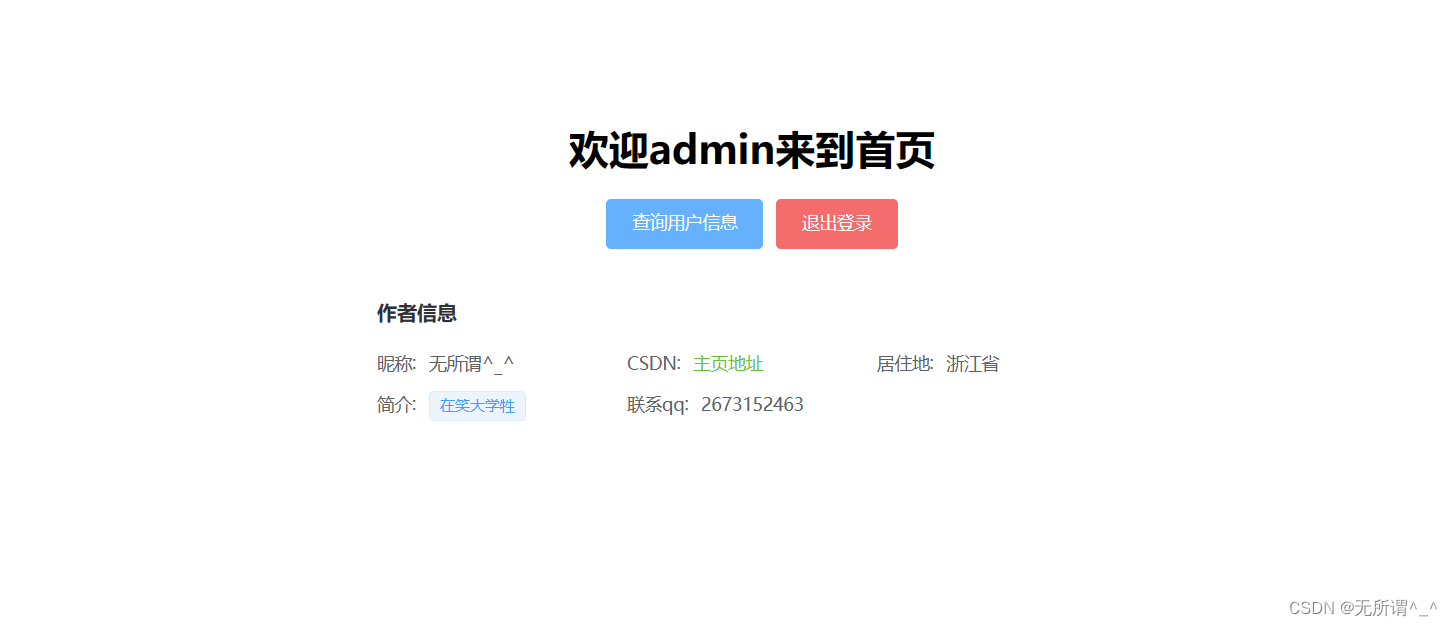
views/Index.vue:这个页面是我们要保护的页面,如果用户没有登录,就访问不到这个页面,也查询不到用户信息
<template>
    <div style="text-align: center;position: relative;top: 100px">
        <h1>欢迎{{ username }}来到首页</h1>
        <div style="margin: 20px">
            <el-button type="primary" @click="getUserInfo">查询用户信息</el-button>
            <el-button type="danger" @click="logout">退出登录</el-button>
        </div>
        <div style="width: 600px; height:100px;margin: 40px auto">
            <el-descriptions title="作者信息">
                <el-descriptions-item label="昵称">{{ nickname }}</el-descriptions-item>
                <el-descriptions-item label="CSDN">  <el-link v-show="url" :href=url type="success">主页地址</el-link></el-descriptions-item>
                <el-descriptions-item label="居住地">{{ address }}</el-descriptions-item>
                <el-descriptions-item label="简介">
                    <el-tag size="small">{{ text }}</el-tag>
                </el-descriptions-item>
                <el-descriptions-item label="联系qq">{{ qq }}</el-descriptions-item>
            </el-descriptions>
        </div>

    </div>
</template>

<script>
    export default {
        name: "Index",
        data() {
            return {
                nickname: '',
                qq:'',
                address:'',
                url:'',
                text:''
            }
        },
        methods: {
            getUserInfo() {
                this.request.get("/getUserInfo").then(res => {
                    if(res.code===200){
                        console.log(res)
                        this.nickname = res.data.nickname
                        this.qq = res.data.qq
                        this.address = res.data.address
                        this.url = res.data.url
                        this.text = res.data.text
                    }
                })
            },
            logout() {
                sessionStorage.clear()
                this.$router.replace("/login")
            },
        },
        created() {
            this.username = sessionStorage.getItem("user");
        }
    }
</script>
<style scoped>

</style>
router/index.js:包含了静态路由和前置守卫,如果token不存在,就会跳转到登录页面,存在则放行。解决了第二个问题,就算知道首页地址,也访问不了。
import Vue from 'vue'
import VueRouter from 'vue-router'

Vue.use(VueRouter)

const routes = [
    {
        path: '/',
        redirect: '/index'
    },
    {
        path: '/login',
        name: 'Login',
        component: () => import("@/views/Login.vue")
    },
    {
        path: '/register',
        name: 'Register',
        component: () => import("@/views/Register.vue")
    },
    {
        path: '/index',
        name: 'Index',
        component: () => import("@/views/Index.vue")
    }
]

const router = new VueRouter({
    routes,
    mode: "history"
})

// 检查是否存在于免登陆白名单
function inWhiteList(toPath) {
    const whiteList = ['/login', '/register', '/404']
    const path = whiteList.find((value) => {
        // 使用正则匹配
        const reg = new RegExp('^' + value)
        return reg.test(toPath)
    })
    return !!path
}

router.beforeEach((to, from, next) => {
    const token = sessionStorage.getItem("token")

    if (inWhiteList(to.path)) {
        next()
    } else {
        //用户已登录
        if (token) {
            next()
        } else {
            next(`/login`)
        }
    }
})
export default router
util/request.js:axios请求封装, 这里的重点是withCredentials:true设置跨域携带cookie和添加了一个token请求头,这样每个请求都能携带上token,后端就能拿到token了
import axios from 'axios'
import router from "@/router";
import ElementUI from "element-ui";

const request = axios.create({
    baseURL: `http://localhost:8088`,
    timeout: 30000,
    withCredentials:true    //设置跨域携带cookie
})

// request 拦截器
// 可以自请求发送前对请求做一些处理
// 比如统一加token,对请求参数统一加密
request.interceptors.request.use(config => {
    config.headers['Content-Type'] = 'application/json;charset=utf-8';
    let token = sessionStorage.getItem("token") ? sessionStorage.getItem("token") : null
    if (token) {
        config.headers['token'] = token;  // 设置请求头
    }

    return config
}, error => {
    return Promise.reject(error)
});

// response 拦截器
// 可以在接口响应后统一处理结果
request.interceptors.response.use(
    response => {
        let res = response.data;
        // 如果是返回的文件
        if (response.config.responseType === 'blob') {
            return res
        }
        // 兼容服务端返回的字符串数据
        if (typeof res === 'string') {
            res = res ? JSON.parse(res) : res
        }
        // 当权限验证不通过的时候给出提示
        if (res.code === 401) {
            ElementUI.Message({
                message: res.msg,
                type: 'error'
            });
            router.replace("/login")
        }
        return res;
    },
    error => {
        console.log('err' + error) // for debug
        return Promise.reject(error)
    }
)


export default request
main.js:
import Vue from 'vue'
import App from './App.vue'
import router from './router'
import store from './store'
import ElementUI from 'element-ui';
import 'element-ui/lib/theme-chalk/index.css';
import './assets/gloable.css'
import request from "@/util/request";

Vue.config.productionTip = false
Vue.prototype.request = request
//注册插件
Vue.use(ElementUI)

new Vue({
  router,
  store,
  render: h => h(App)
}).$mount('#app')
三、后端实现
这里就不粘帖代码,再帖代码,可能一些大佬就受不了,所以这里我就帖核心代码了😉,大家可以下载本工程查看所有代码
JWTUtils:用来生成和校验token的工具类
package com.wusuowei.jwtspringboot.utils;

import cn.hutool.core.date.DateUtil;
import com.auth0.jwt.JWT;
import com.auth0.jwt.algorithms.Algorithm;
import com.wusuowei.jwtspringboot.model.po.User;
import com.wusuowei.jwtspringboot.service.UserService;
import org.apache.commons.lang3.StringUtils;
import org.springframework.stereotype.Component;
import org.springframework.web.context.request.RequestContextHolder;
import org.springframework.web.context.request.ServletRequestAttributes;

import javax.annotation.PostConstruct;
import javax.annotation.Resource;
import javax.servlet.http.HttpServletRequest;
import java.util.Date;

@Component
public class JWTUtils {

    private static UserService staticUserService;

    @Resource
    private UserService userService;

    @PostConstruct
    public void setUserService() {
        staticUserService = userService;
    }
    /**
     * 生成token
     *
     * @return
     */
    public static String getToken(String userId, String password) {
        return JWT.create().withAudience(userId) // 将 user id 保存到 token 里面,作为载荷
                .withExpiresAt(DateUtil.offsetHour(new Date(), 2)) // 2小时后token过期
                .sign(Algorithm.HMAC256(password)); // 以 password 作为 token 的密钥
    }

    /**
     * 获取当前登录的用户信息
     *
     * @return user对象
     */
    public static User getCurrentUser() {
        try {
            HttpServletRequest request = ((ServletRequestAttributes) RequestContextHolder.getRequestAttributes()).getRequest();
            String token = request.getHeader("token");
            if (StringUtils.isNotBlank(token)) {
                String userId = JWT.decode(token).getAudience().get(0);
                return staticUserService.getById(Integer.valueOf(userId));
            }
        } catch (Exception e) {
            return null;
        }
        return null;
    }
}
JwtInterceptor:token拦截器,从请求头中取出token信息,进行jwt校验,认证成功再放行请求
package com.wusuowei.jwtspringboot.config.interceptor;

import cn.hutool.core.util.StrUtil;
import com.auth0.jwt.JWT;
import com.auth0.jwt.JWTVerifier;
import com.auth0.jwt.algorithms.Algorithm;
import com.auth0.jwt.exceptions.JWTDecodeException;
import com.auth0.jwt.exceptions.JWTVerificationException;
import com.wusuowei.jwtspringboot.constant.Constants;
import com.wusuowei.jwtspringboot.model.po.User;
import com.wusuowei.jwtspringboot.service.UserService;
import com.wusuowei.lgy.exception.ServiceException;
import org.springframework.beans.factory.annotation.Autowired;
import org.springframework.web.method.HandlerMethod;
import org.springframework.web.servlet.HandlerInterceptor;

import javax.servlet.http.HttpServletRequest;
import javax.servlet.http.HttpServletResponse;

public class JwtInterceptor implements HandlerInterceptor {

    @Autowired
    private UserService userService;

    @Override
    public boolean preHandle(HttpServletRequest request, HttpServletResponse response, Object handler) {
        String token = request.getHeader("token");
        // 如果不是映射到方法直接通过
        if(!(handler instanceof HandlerMethod)){
            return true;
        }
        // 执行认证
        if (StrUtil.isBlank(token)) {
            throw new ServiceException(Constants.CODE_401, "无token,请重新登录");
        }
        // 获取 token 中的 user id
        String userId;
        try {
            userId = JWT.decode(token).getAudience().get(0);
        } catch (JWTDecodeException j) {
            throw new ServiceException(Constants.CODE_401, "token验证失败,请重新登录");
        }
        // 根据token中的userid查询数据库
        User user = userService.getById(userId);
        if (user == null) {
            throw new ServiceException(Constants.CODE_401, "用户不存在,请重新登录");
        }
        // 用户密码加签验证 token
        JWTVerifier jwtVerifier = JWT.require(Algorithm.HMAC256(user.getPassword())).build();
        try {
            jwtVerifier.verify(token); // 验证token
        } catch (JWTVerificationException e) {
            throw new ServiceException(Constants.CODE_401, "token验证失败,请重新登录");
        }
        return true;
    }
}
WebAppConfigurer:实现了拦截器后,我们还需要全局注册它,并且设置具体拦截哪些请求,登录、注册、判断用户名是否已存在的这些接口我们需要进行放行。还有就是要配置下跨域,因为前端我们没有跨域配置。
package com.wusuowei.jwtspringboot.config;

import com.wusuowei.jwtspringboot.config.interceptor.JwtInterceptor;
import org.springframework.context.annotation.Bean;
import org.springframework.context.annotation.Configuration;
import org.springframework.web.servlet.config.annotation.CorsRegistry;
import org.springframework.web.servlet.config.annotation.InterceptorRegistry;
import org.springframework.web.servlet.config.annotation.WebMvcConfigurer;


/**
 * @description Web应用程序配置
 * @author LGY
 * @date 2023/03/14 20:09
 * @version 1.0.0
 */
@Configuration
public class WebAppConfigurer implements WebMvcConfigurer {


    @Override
    public void addCorsMappings(CorsRegistry registry) {
        registry.addMapping("/**")
                .allowCredentials(true)
                //.allowedOrigins("http://localhost:8080")
                .allowedOriginPatterns("*")
                .allowedMethods("POST", "GET", "PUT", "OPTIONS", "DELETE")
                .allowedHeaders("*");
    }


    @Override
    public void addInterceptors(InterceptorRegistry registry) {
        registry.addInterceptor(jwtInterceptor())
                .excludePathPatterns("/login", "/register","/check")
                .addPathPatterns("/**");  // 拦截所有请求,通过判断token是否合法来决定是否需要登录

    }

    @Bean
    public JwtInterceptor jwtInterceptor() {
        return new JwtInterceptor();
    }
}
到这,这个项目基本就完成了,但是还有一个bug就是,如果我在浏览器的控制台输入sessionStorage.setItem("token","123"),就可以跳过前置守卫,访问首页。这里我是这样解决的,在前置守卫,如果判断存在token的话,就请求后端的接口,这样就经过了jwt拦截器的验证,如果请求成功,前端就next(),不然就next("/login")到登录页
router.beforeEach((to, from, next) => {
    const token = sessionStorage.getItem("token")

    if (inWhiteList(to.path)) {
        next()
    } else {
        //用户已登录
        if (token) {
            request.post("/authentication").then(res=>{
                if(res.code===200){
                    next()
                }else{
                    next("/login")
                }
            })
        } else {
            next(`/login`)
        }
    }
})
@PostMapping("/authentication")
public R authentication(){
return R.ok();
}小结
到此,就是真的结束了,原来单纯的帖代码也不容易😭,我还没帖出全部代码呢。大家如果对这个项目有兴趣的话,可以下载下来运行。最后,如果这篇文章有幸帮助到你,希望读者大大们可以给作者三连呀😶🌫️😶🌫️😶🌫️,如果有哪里不对或者需要修改、改善的地方,也欢迎大家评论或者私信我一起交流,进步😊


 1167
1167

 被折叠的 条评论
为什么被折叠?
被折叠的 条评论
为什么被折叠?
 到【灌水乐园】发言


