


1.dao层先创建数据库存的类

附上源码
public class Department {
    private Integer id;//职位id
    private String departmentName;//职位名

    public Integer getId() {
        return id;
    }

    public void setId(Integer id) {
        this.id = id;
    }

    public String getDepartmentName() {
        return departmentName;
    }

    public void setDepartmentName(String departmentName) {
        this.departmentName = departmentName;
    }

    @Override
    public String toString() {
        return "Department{" +
                "id=" + id +
                ", departmentName='" + departmentName + '\'' +
                '}';
    }
}
2.创建表
SET FOREIGN_KEY_CHECKS=0;

DROP TABLE IF EXISTS `department`;
CREATE TABLE `department` (
  `id` int(11) NOT NULL AUTO_INCREMENT,
  `departmentName` varchar(255) DEFAULT NULL,
  PRIMARY KEY (`id`)
) ENGINE=InnoDB AUTO_INCREMENT=1 DEFAULT CHARSET=utf8;
3.定义mapper接口,并创建方法,使用注解进行数据库的相关操作

附上源码
@Mapper
public interface DepartmentMapper {

    @Select("select * from department where id = #{id}")
    public Department getDeptById(Integer id);

    @Delete("delete from department where id = #{id}")
    public int deleteDeptById(Integer id);

    //指定表的id列为自增主键并自动绑定到pojo
    @Options(useGeneratedKeys = true,keyColumn = "id")
    @Insert("insert into department(departmentName) values(#{departmentName})")
    public int insertDept(Department department);

    @Update("update department set departmentName = #{departmentName} where id = #{id}")
    public int updateDept(Department department);
}
常用注解总结
@Mapper:将mapper接口注册到容器中
@Select:查询
@Delete:删除
@Insert:插入
@Update:更新
@Options(useGeneratedKeys = true,keyColumn = “id”):指定表的自增主键并自动绑定到实体类对象
@Result 修饰返回的结果集,关联实体类属性和数据库字段一一对应,如果实体类属性和数据库属性名保持一致, 就不需要这个属性来修饰。
4.SpringBoot整合Druid数据源
先在pom文件中导入如下依赖
        <dependency>
    	    <groupId>com.alibaba</groupId>
    	    <artifactId>druid</artifactId>
    	    <version>1.1.10</version>
	</dependency>
        <!--连接mysql数据库,如果新建项目时已经选中了该组件,则不再需要手动添加其依赖-->
        <!--如果后面测试无法连接数据库,则很有可能是springboot自定义的jar包版本过高,需要你手动指定低版本来兼容本机低版本的mysql数据库-->
        <dependency>
	    <groupId>mysql</groupId>
	    <artifactId>mysql-connector-java</artifactId>
	    <scope>runtime</scope>
	</dependency>
	<!--如果不添加此依赖,自定义Druid属性则会绑定失败-->
	<dependency>
            <groupId>log4j</groupId>
            <artifactId>log4j</artifactId>
            <version >1.2.17</version>
        </dependency>
然后创建DruidConfig类
注意不要导包导错了,下面赋上源码
import com.alibaba.druid.pool.DruidDataSource;
import com.alibaba.druid.support.http.StatViewServlet;
import com.alibaba.druid.support.http.WebStatFilter;
import org.springframework.boot.context.properties.ConfigurationProperties;
import org.springframework.boot.web.servlet.FilterRegistrationBean;
import org.springframework.boot.web.servlet.ServletRegistrationBean;
import org.springframework.context.annotation.Bean;
import org.springframework.context.annotation.Configuration;
import javax.servlet.Filter;
import javax.sql.DataSource;
import java.util.Arrays;
import java.util.HashMap;
import java.util.Map;
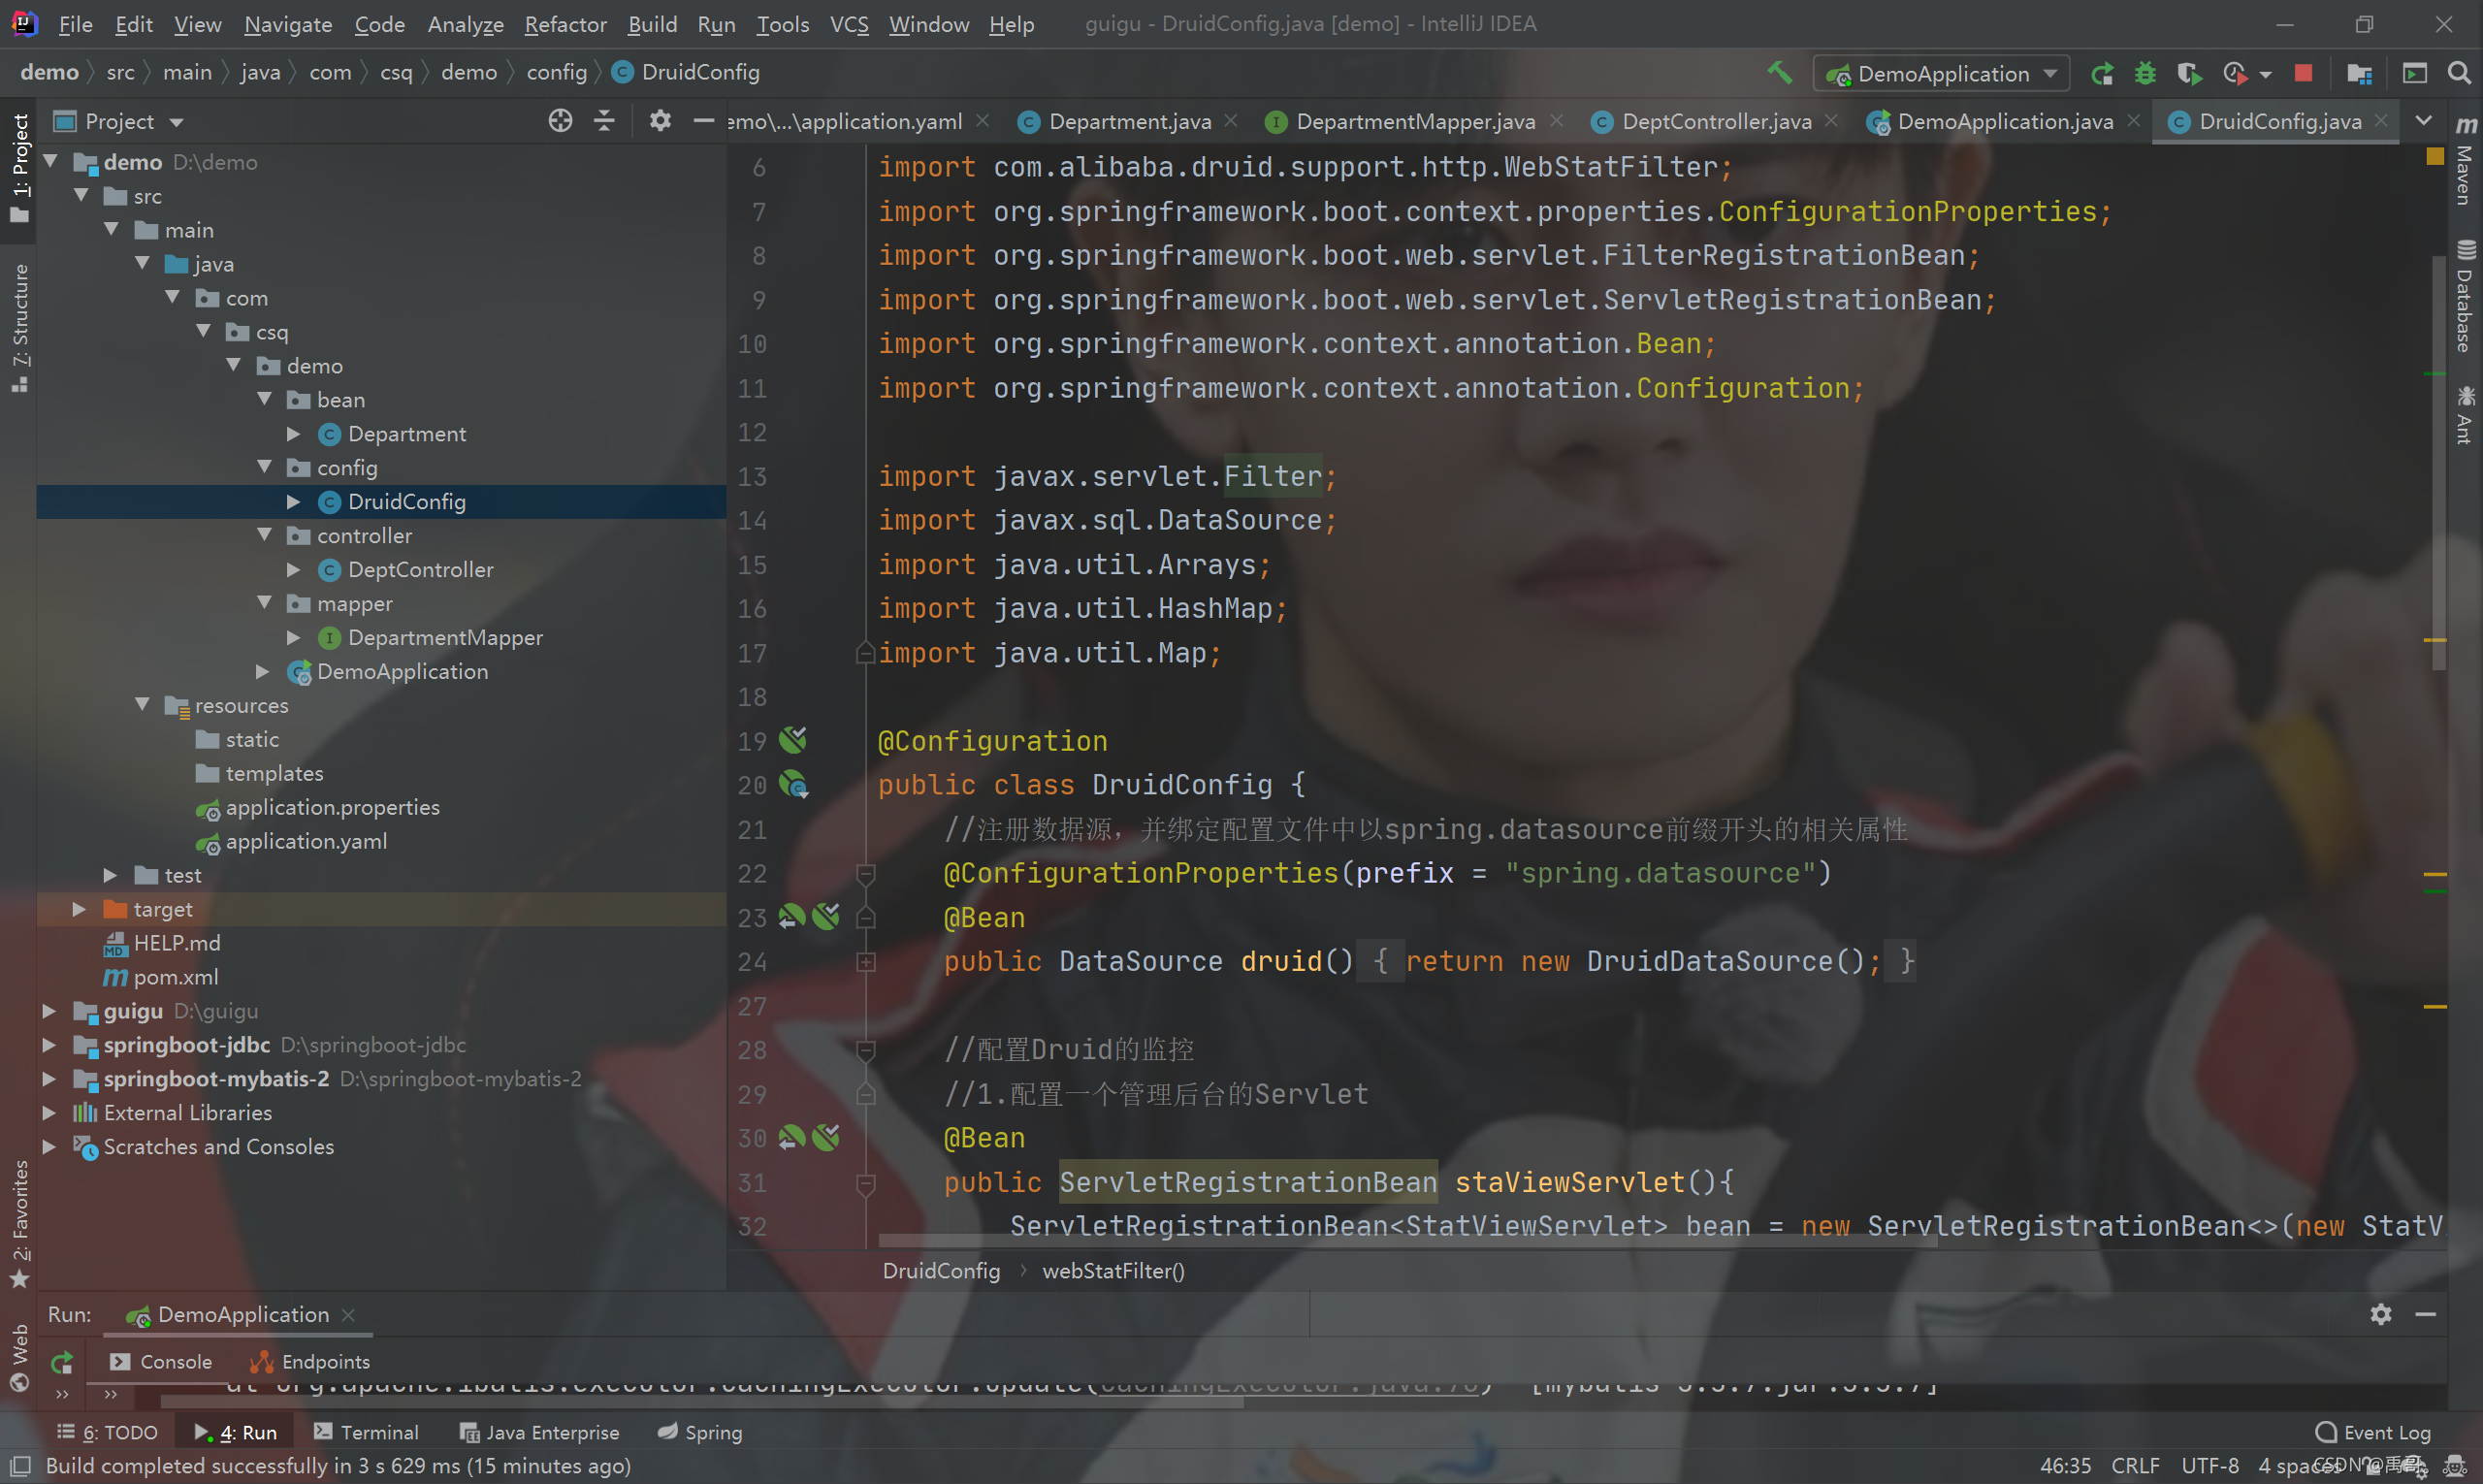
@Configuration
public class DruidConfig {
//注册数据源,并绑定配置文件中以spring.datasource前缀开头的相关属性
@ConfigurationProperties(prefix = "spring.datasource")
@Bean
public DataSource druid(){
return new DruidDataSource();
}
//配置Druid的监控
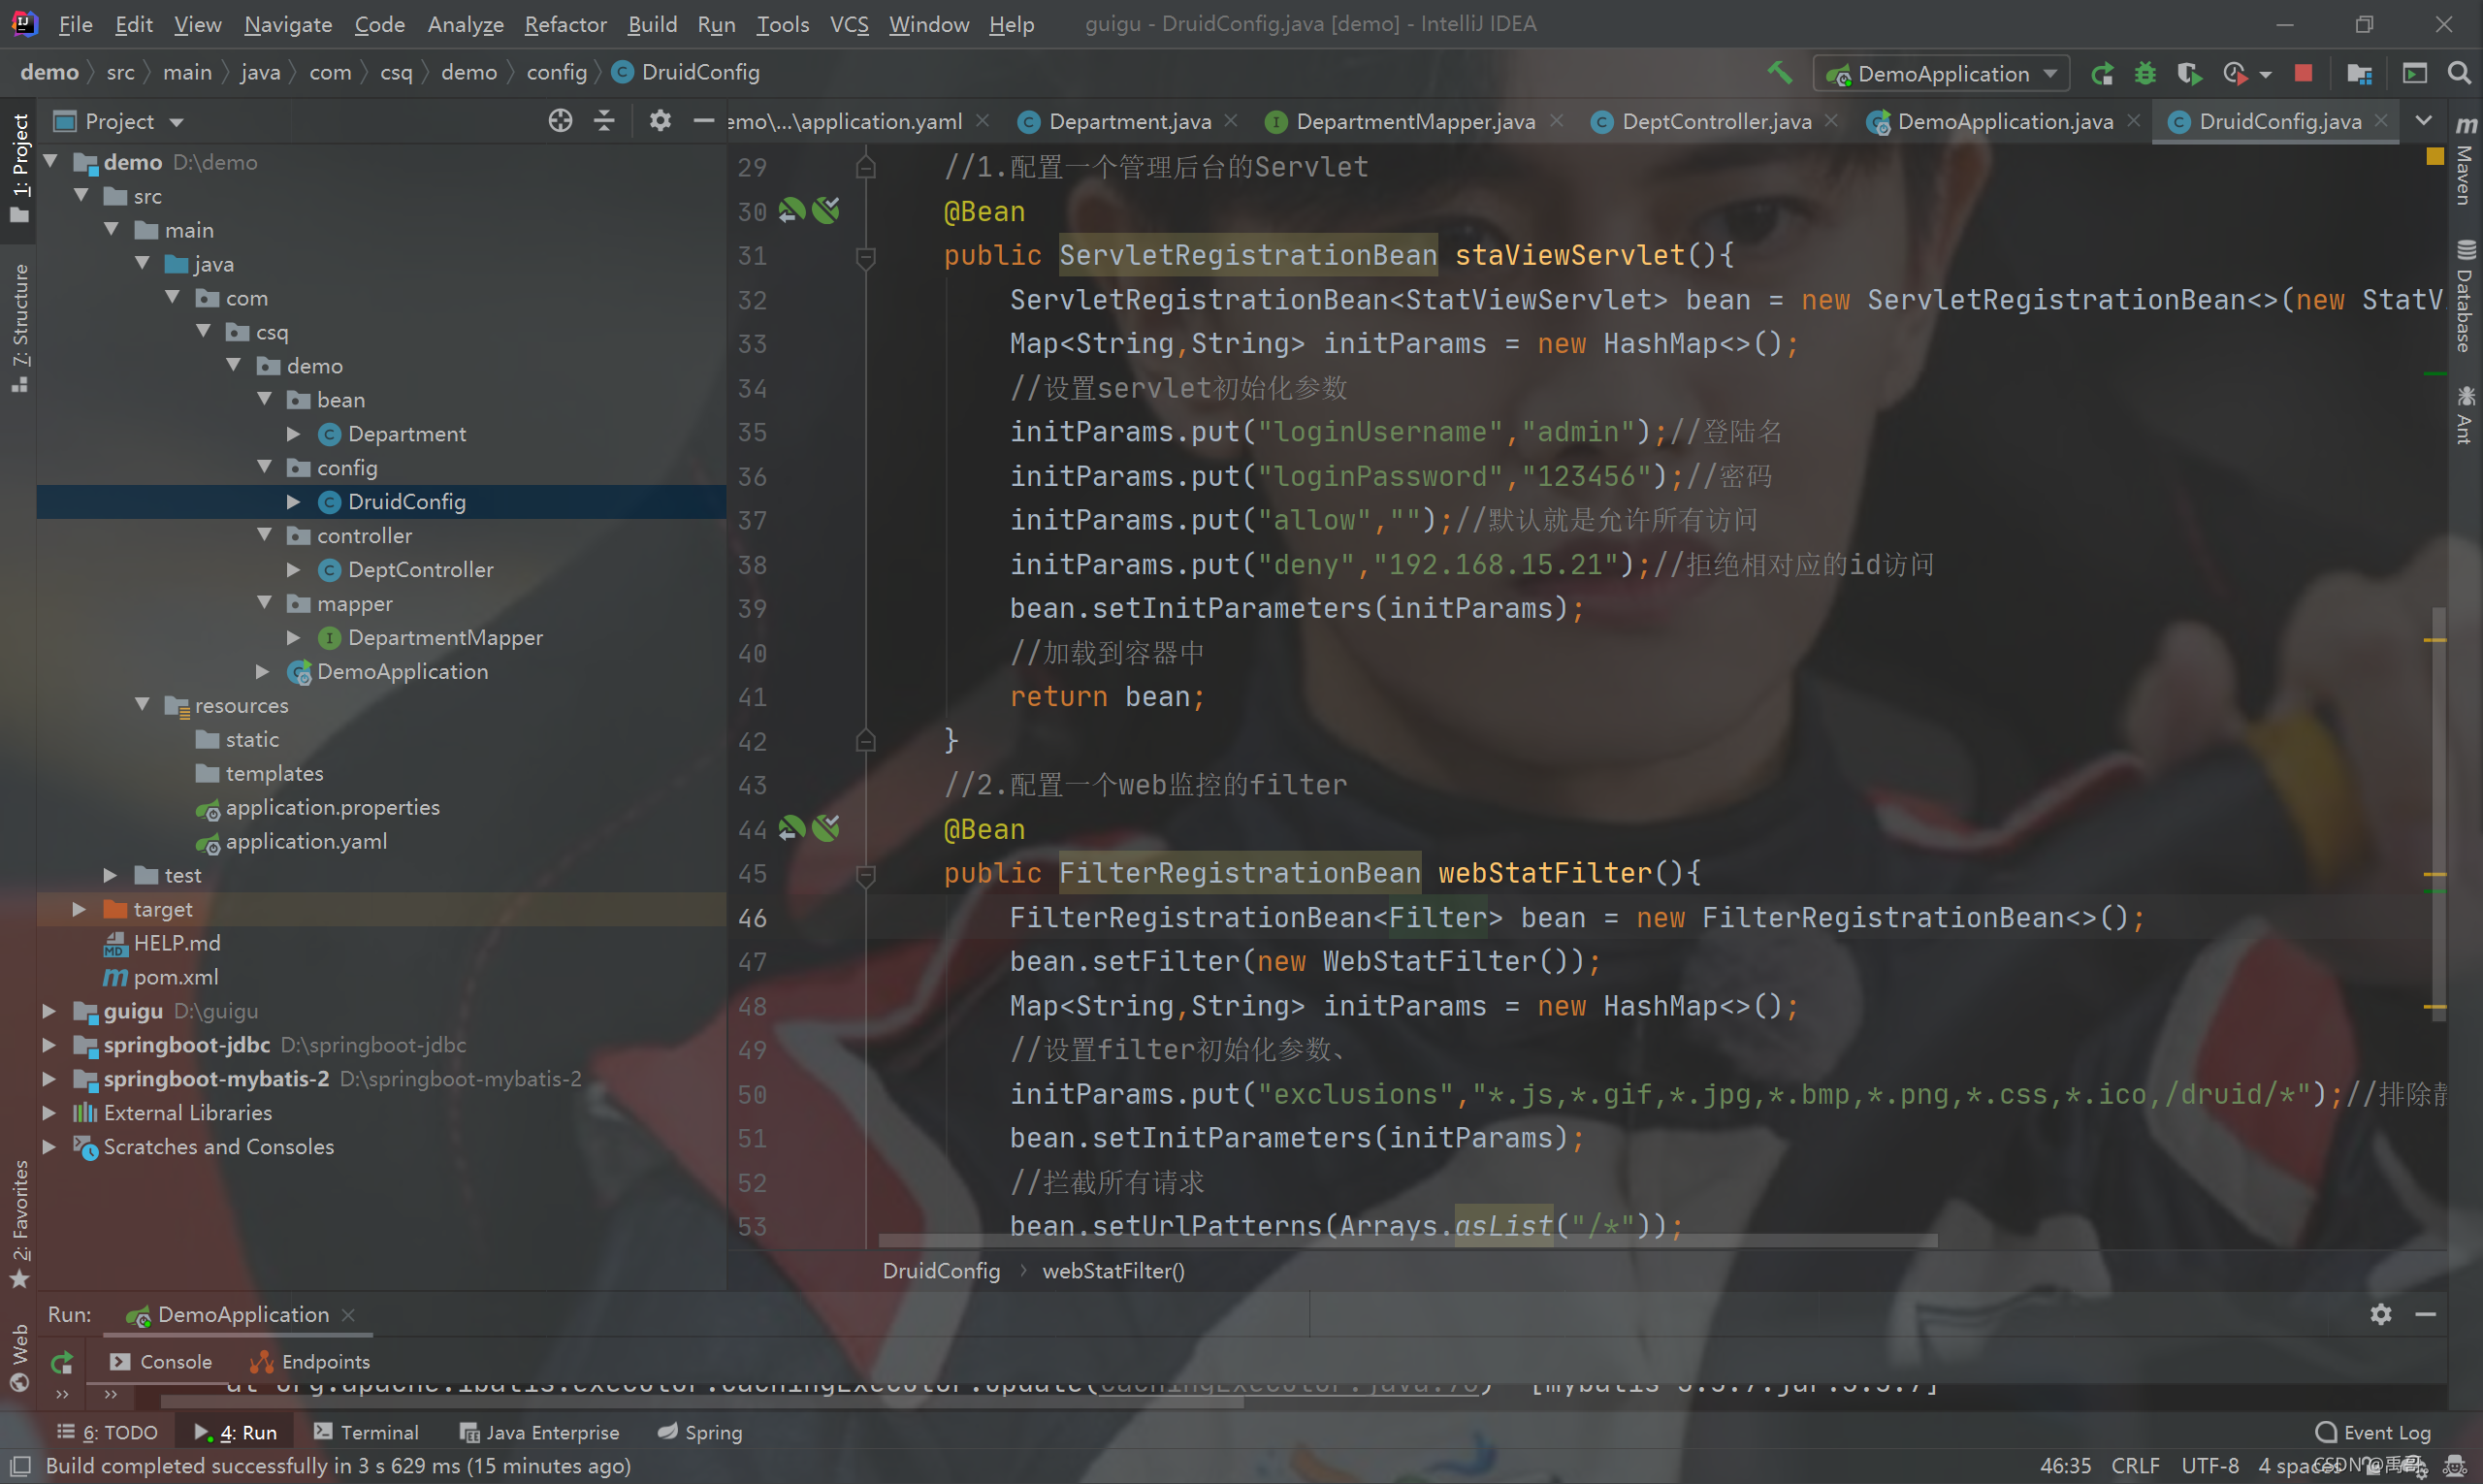
//1.配置一个管理后台的Servlet
@Bean
public ServletRegistrationBean staViewServlet(){
ServletRegistrationBean<StatViewServlet> bean = new ServletRegistrationBean<>(new StatViewServlet(), "/druid/*");
Map<String,String> initParams = new HashMap<>();
//设置servlet初始化参数
initParams.put("loginUsername","admin");//登陆名
initParams.put("loginPassword","123456");//密码
initParams.put("allow","");//默认就是允许所有访问
initParams.put("deny","192.168.15.21");//拒绝相对应的id访问
bean.setInitParameters(initParams);
//加载到容器中
return bean;
}
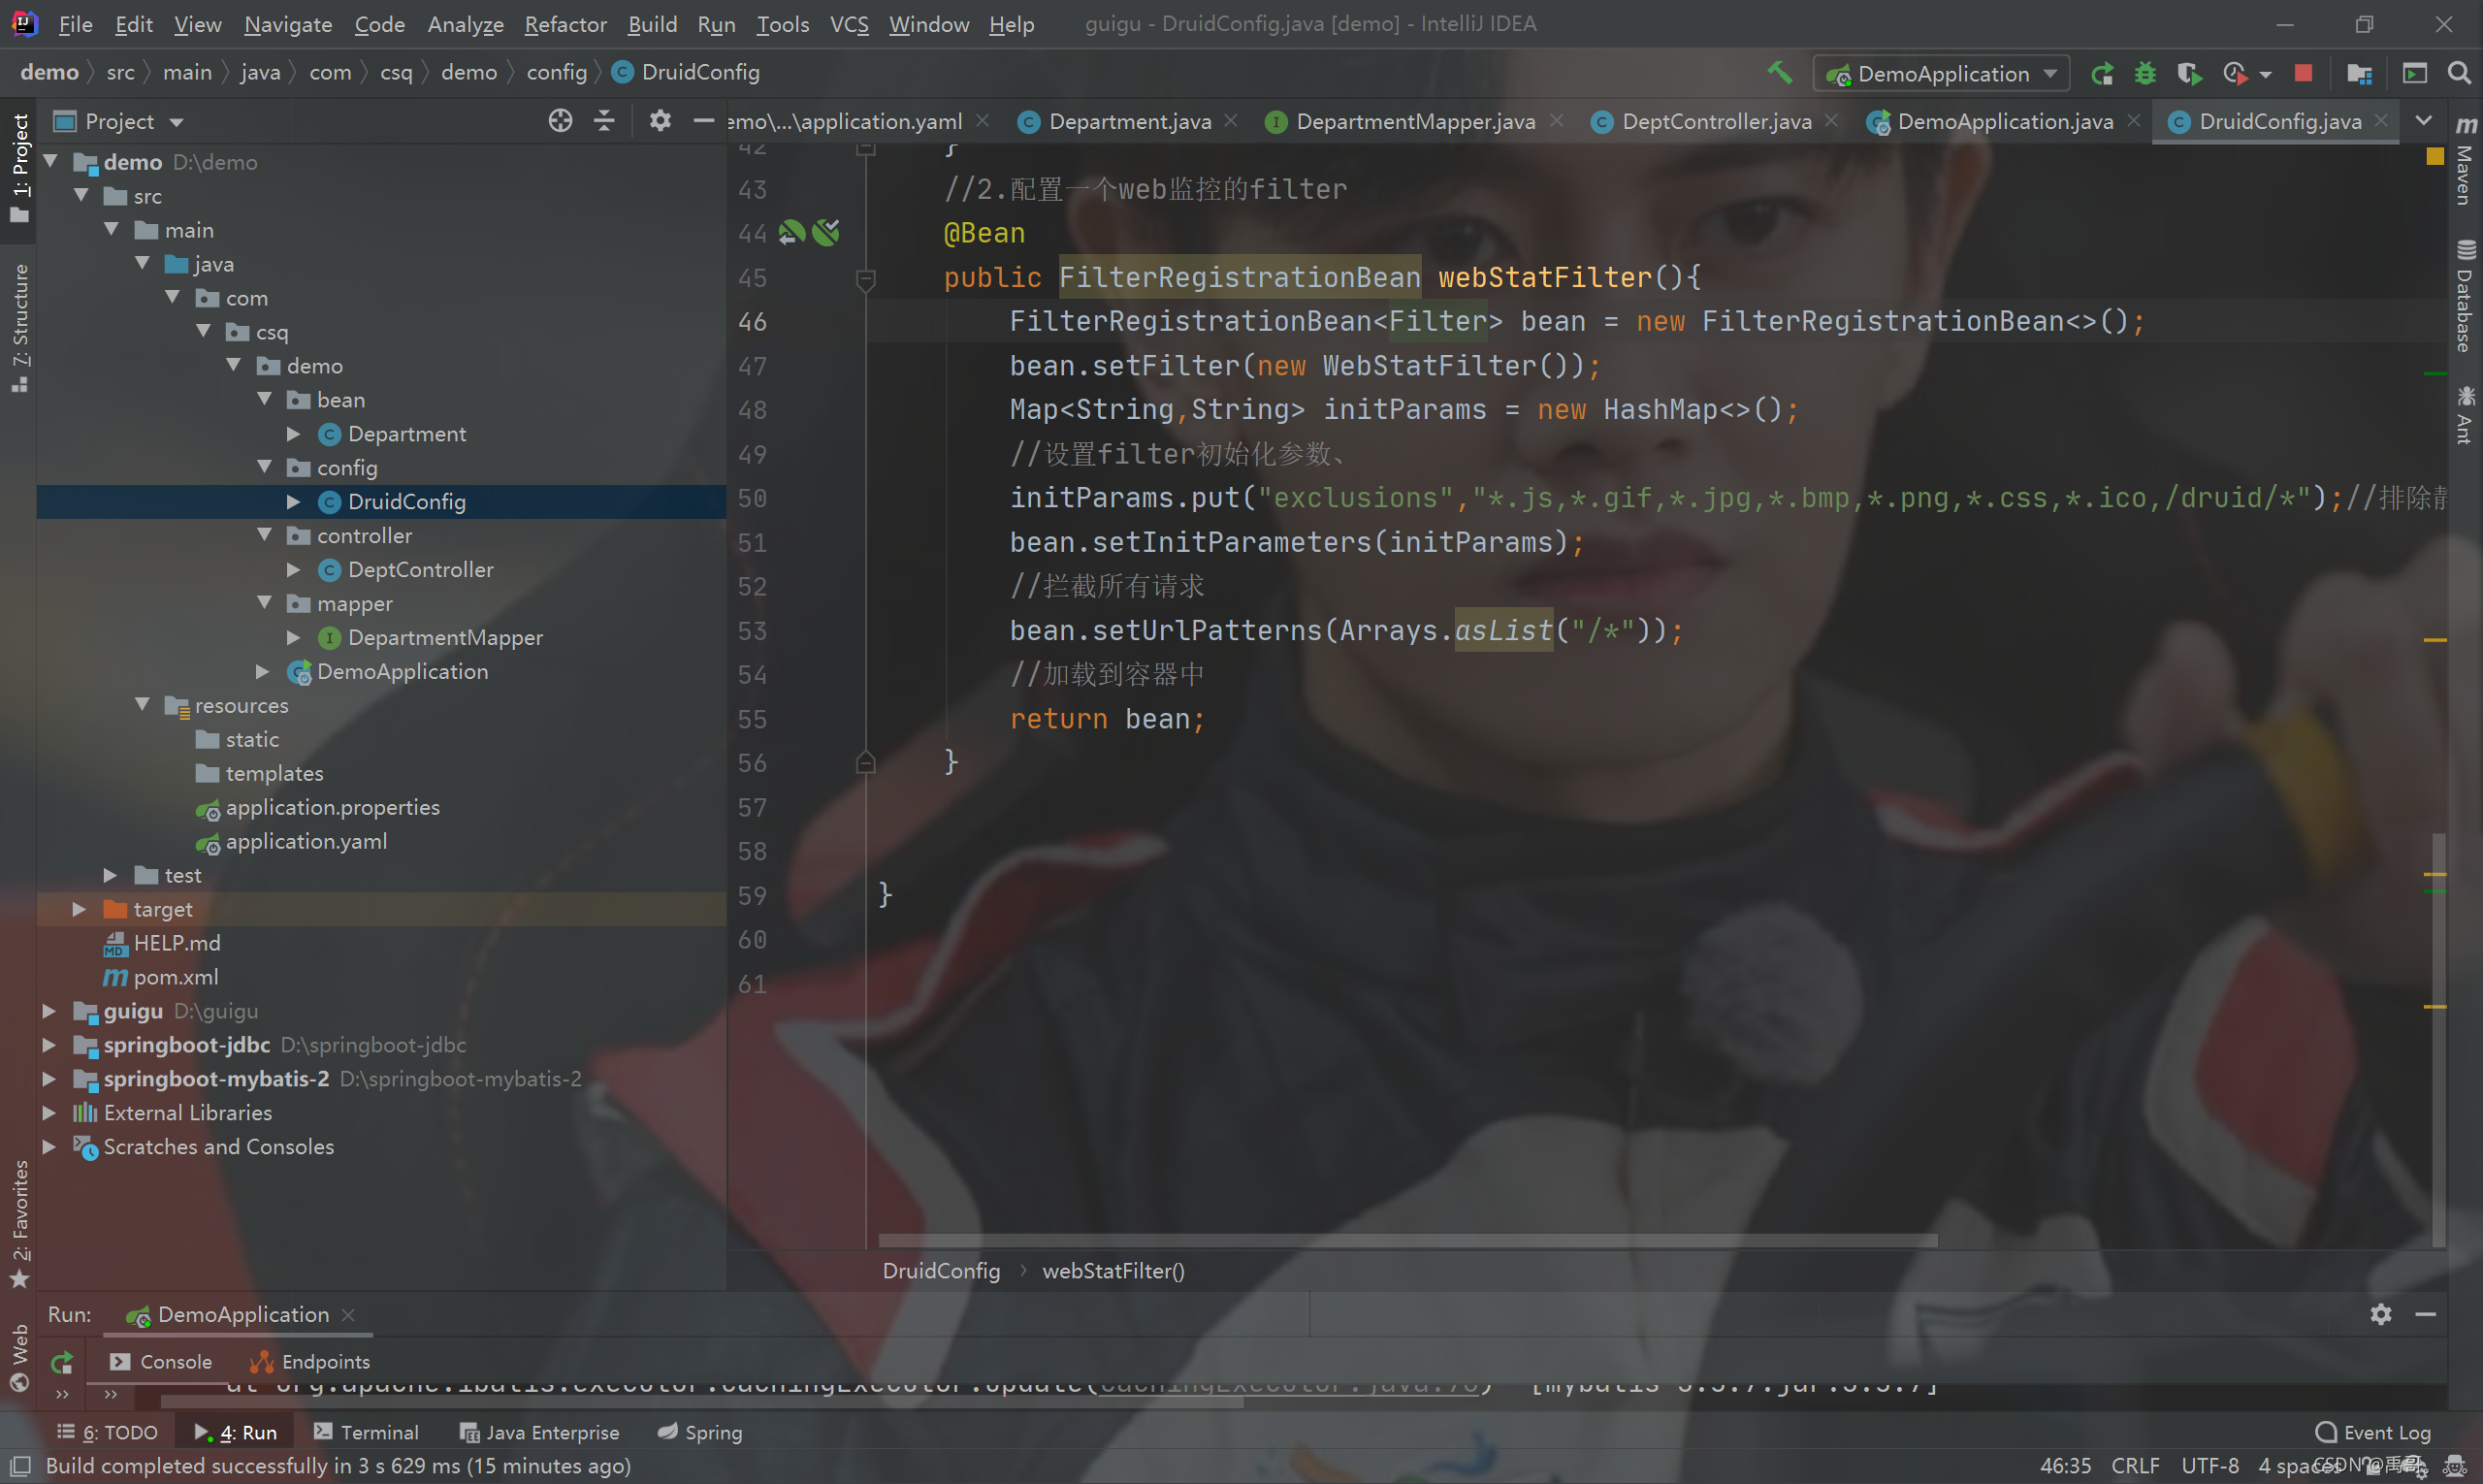
//2.配置一个web监控的filter
@Bean
public FilterRegistrationBean webStatFilter(){
FilterRegistrationBean<Filter> bean = new FilterRegistrationBean<>();
bean.setFilter(new WebStatFilter());
Map<String,String> initParams = new HashMap<>();
//设置filter初始化参数、
initParams.put("exclusions","*.js,*.gif,*.jpg,*.bmp,*.png,*.css,*.ico,/druid/*");//排除静态资源和请求
bean.setInitParameters(initParams);
//拦截所有请求
bean.setUrlPatterns(Arrays.asList("/*"));
//加载到容器中
return bean;
}
}
5.创建controller类
附上源码
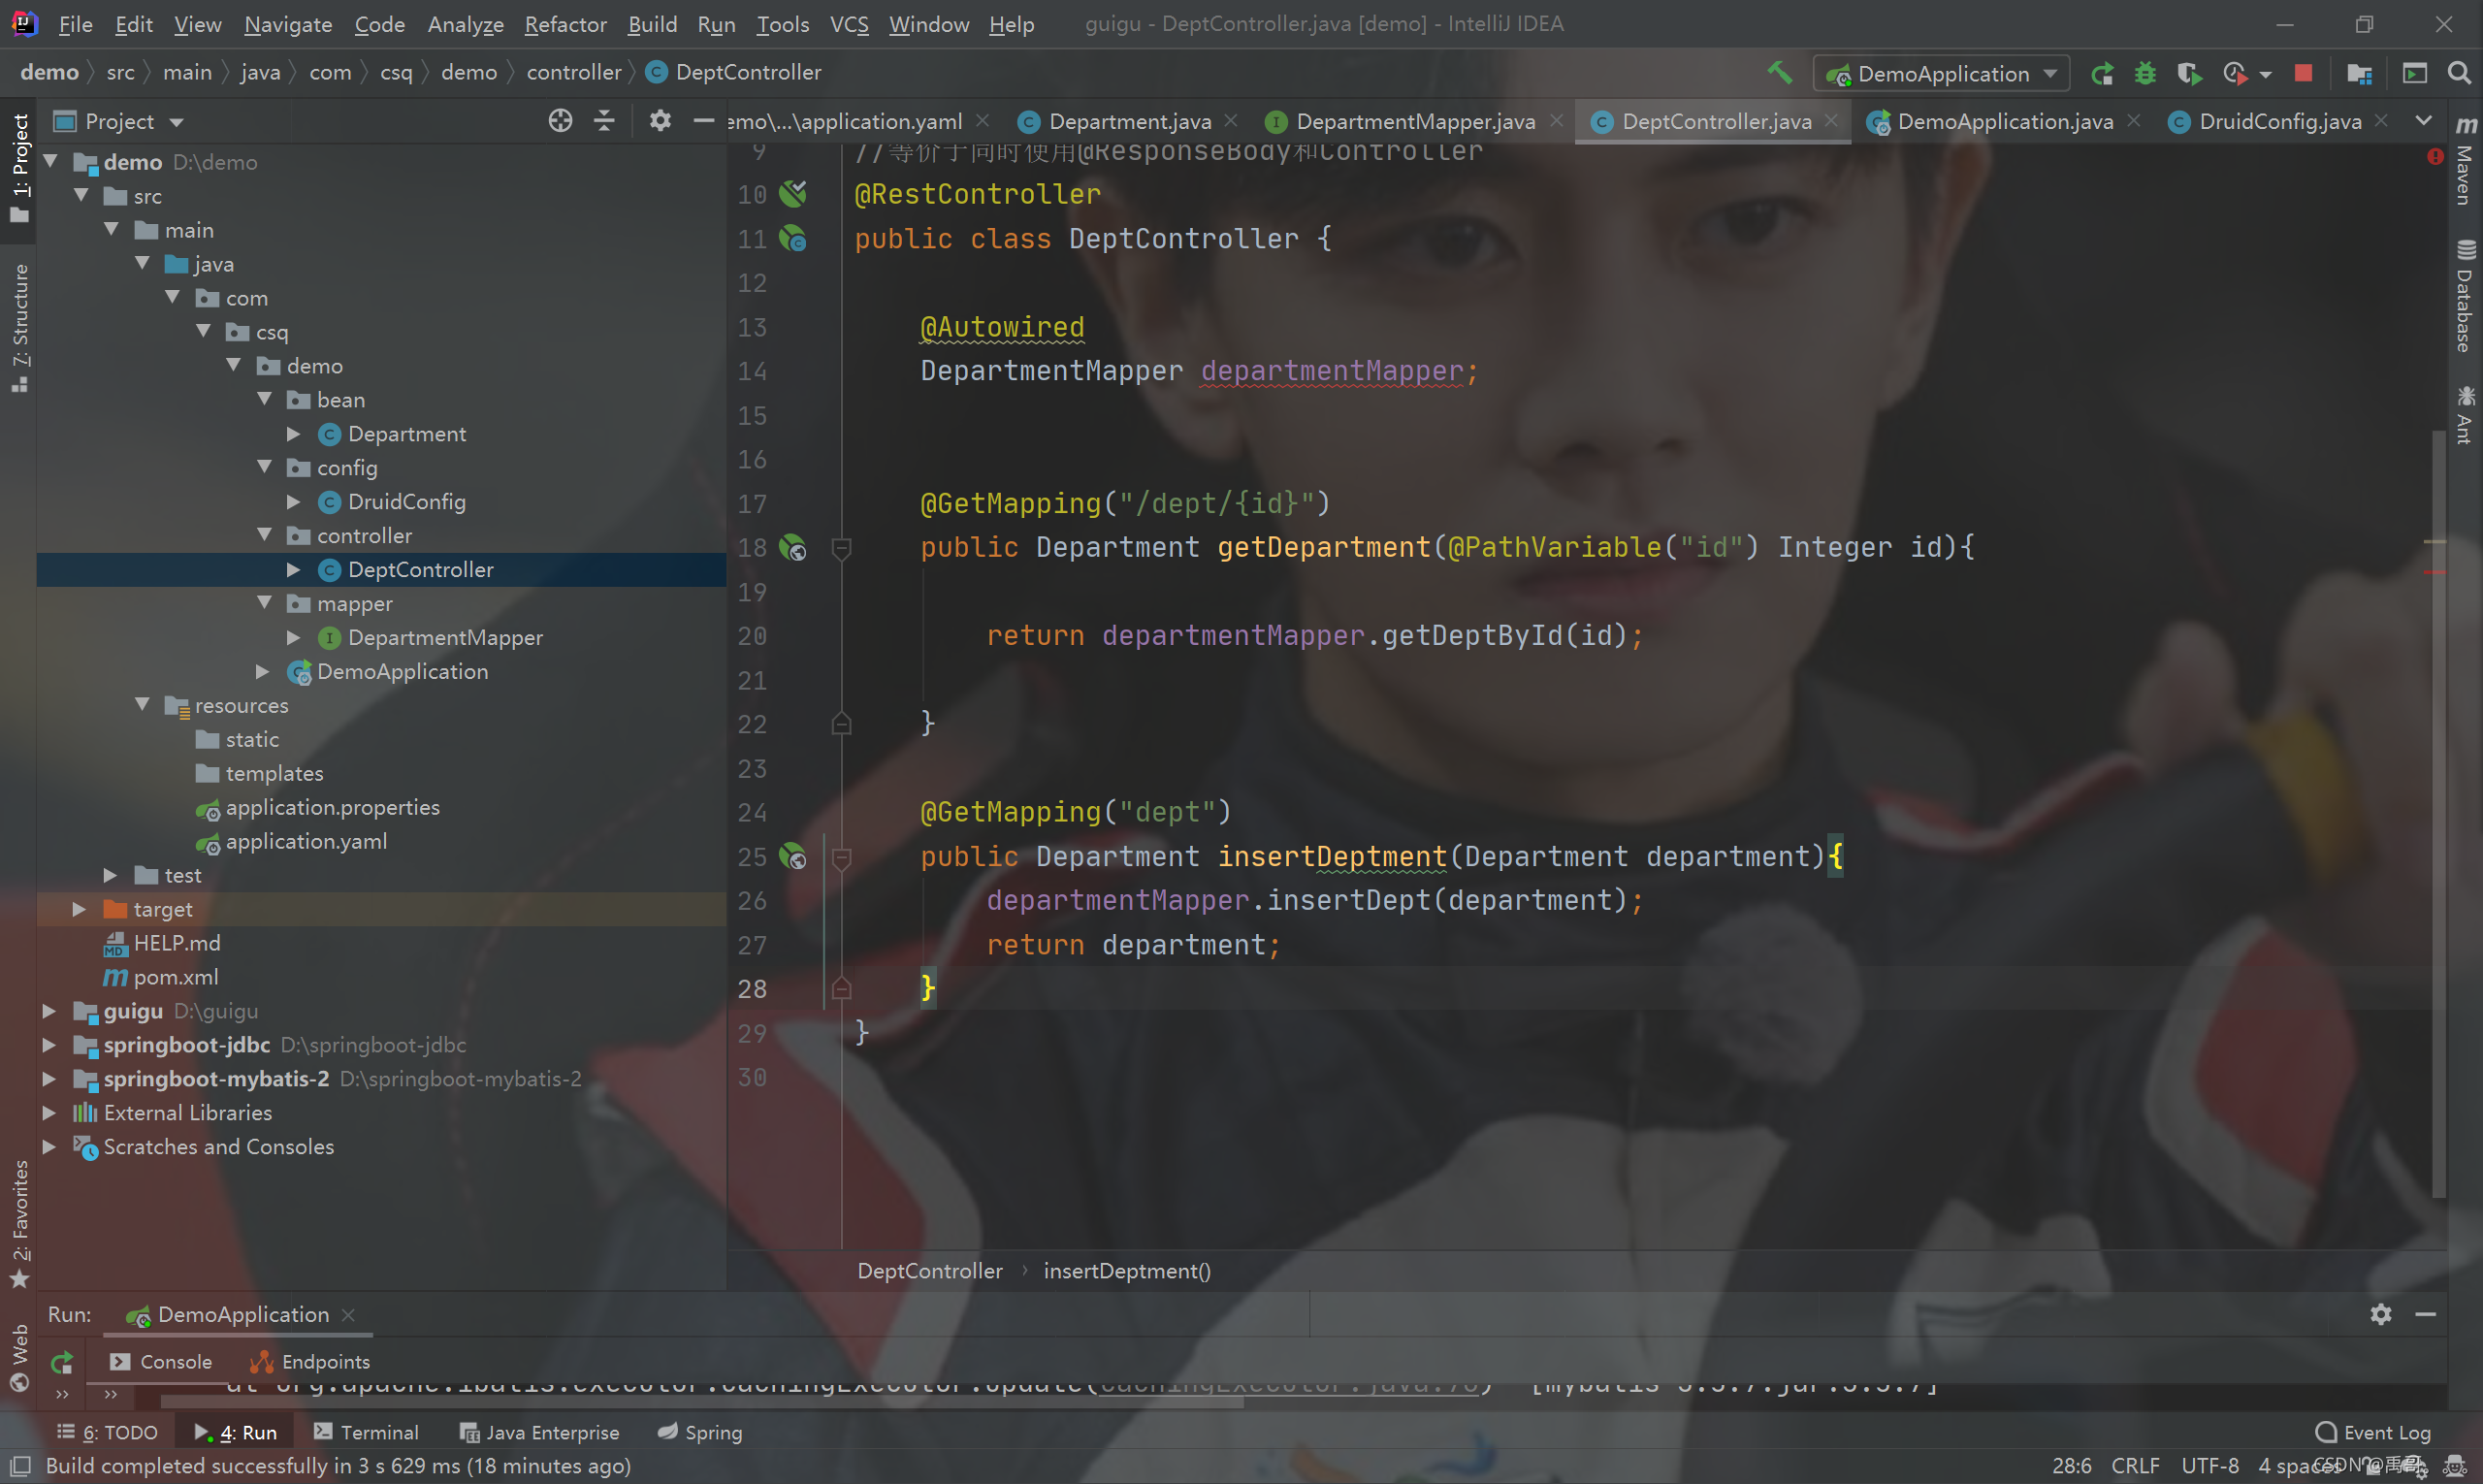
//等价于同时使用@ResponseBody和Controller
@RestController
public class DeptController {

    @Autowired
    DepartmentMapper departmentMapper;


    @GetMapping("/dept/{id}")
    public Department getDepartment(@PathVariable("id") Integer id){

        return departmentMapper.getDeptById(id);

    }

    @GetMapping("dept")
    public Department insertDeptment(Department department){
        departmentMapper.insertDept(department);
        return department;
    }
}
@RestController:等价于同时使用@ResponseBody和@Controller
@GetMapping("/dept/{id}"):等价于@RequestMapping(value = “/dept/{id}”,method = RequestMethod.GET)
/dept/{id}:controller中的url采用restful形式,不会的请自行百度
@PathVariable(“id”):将url中相对应参数名的值绑定到指定的形参上
6.配置yaml文件
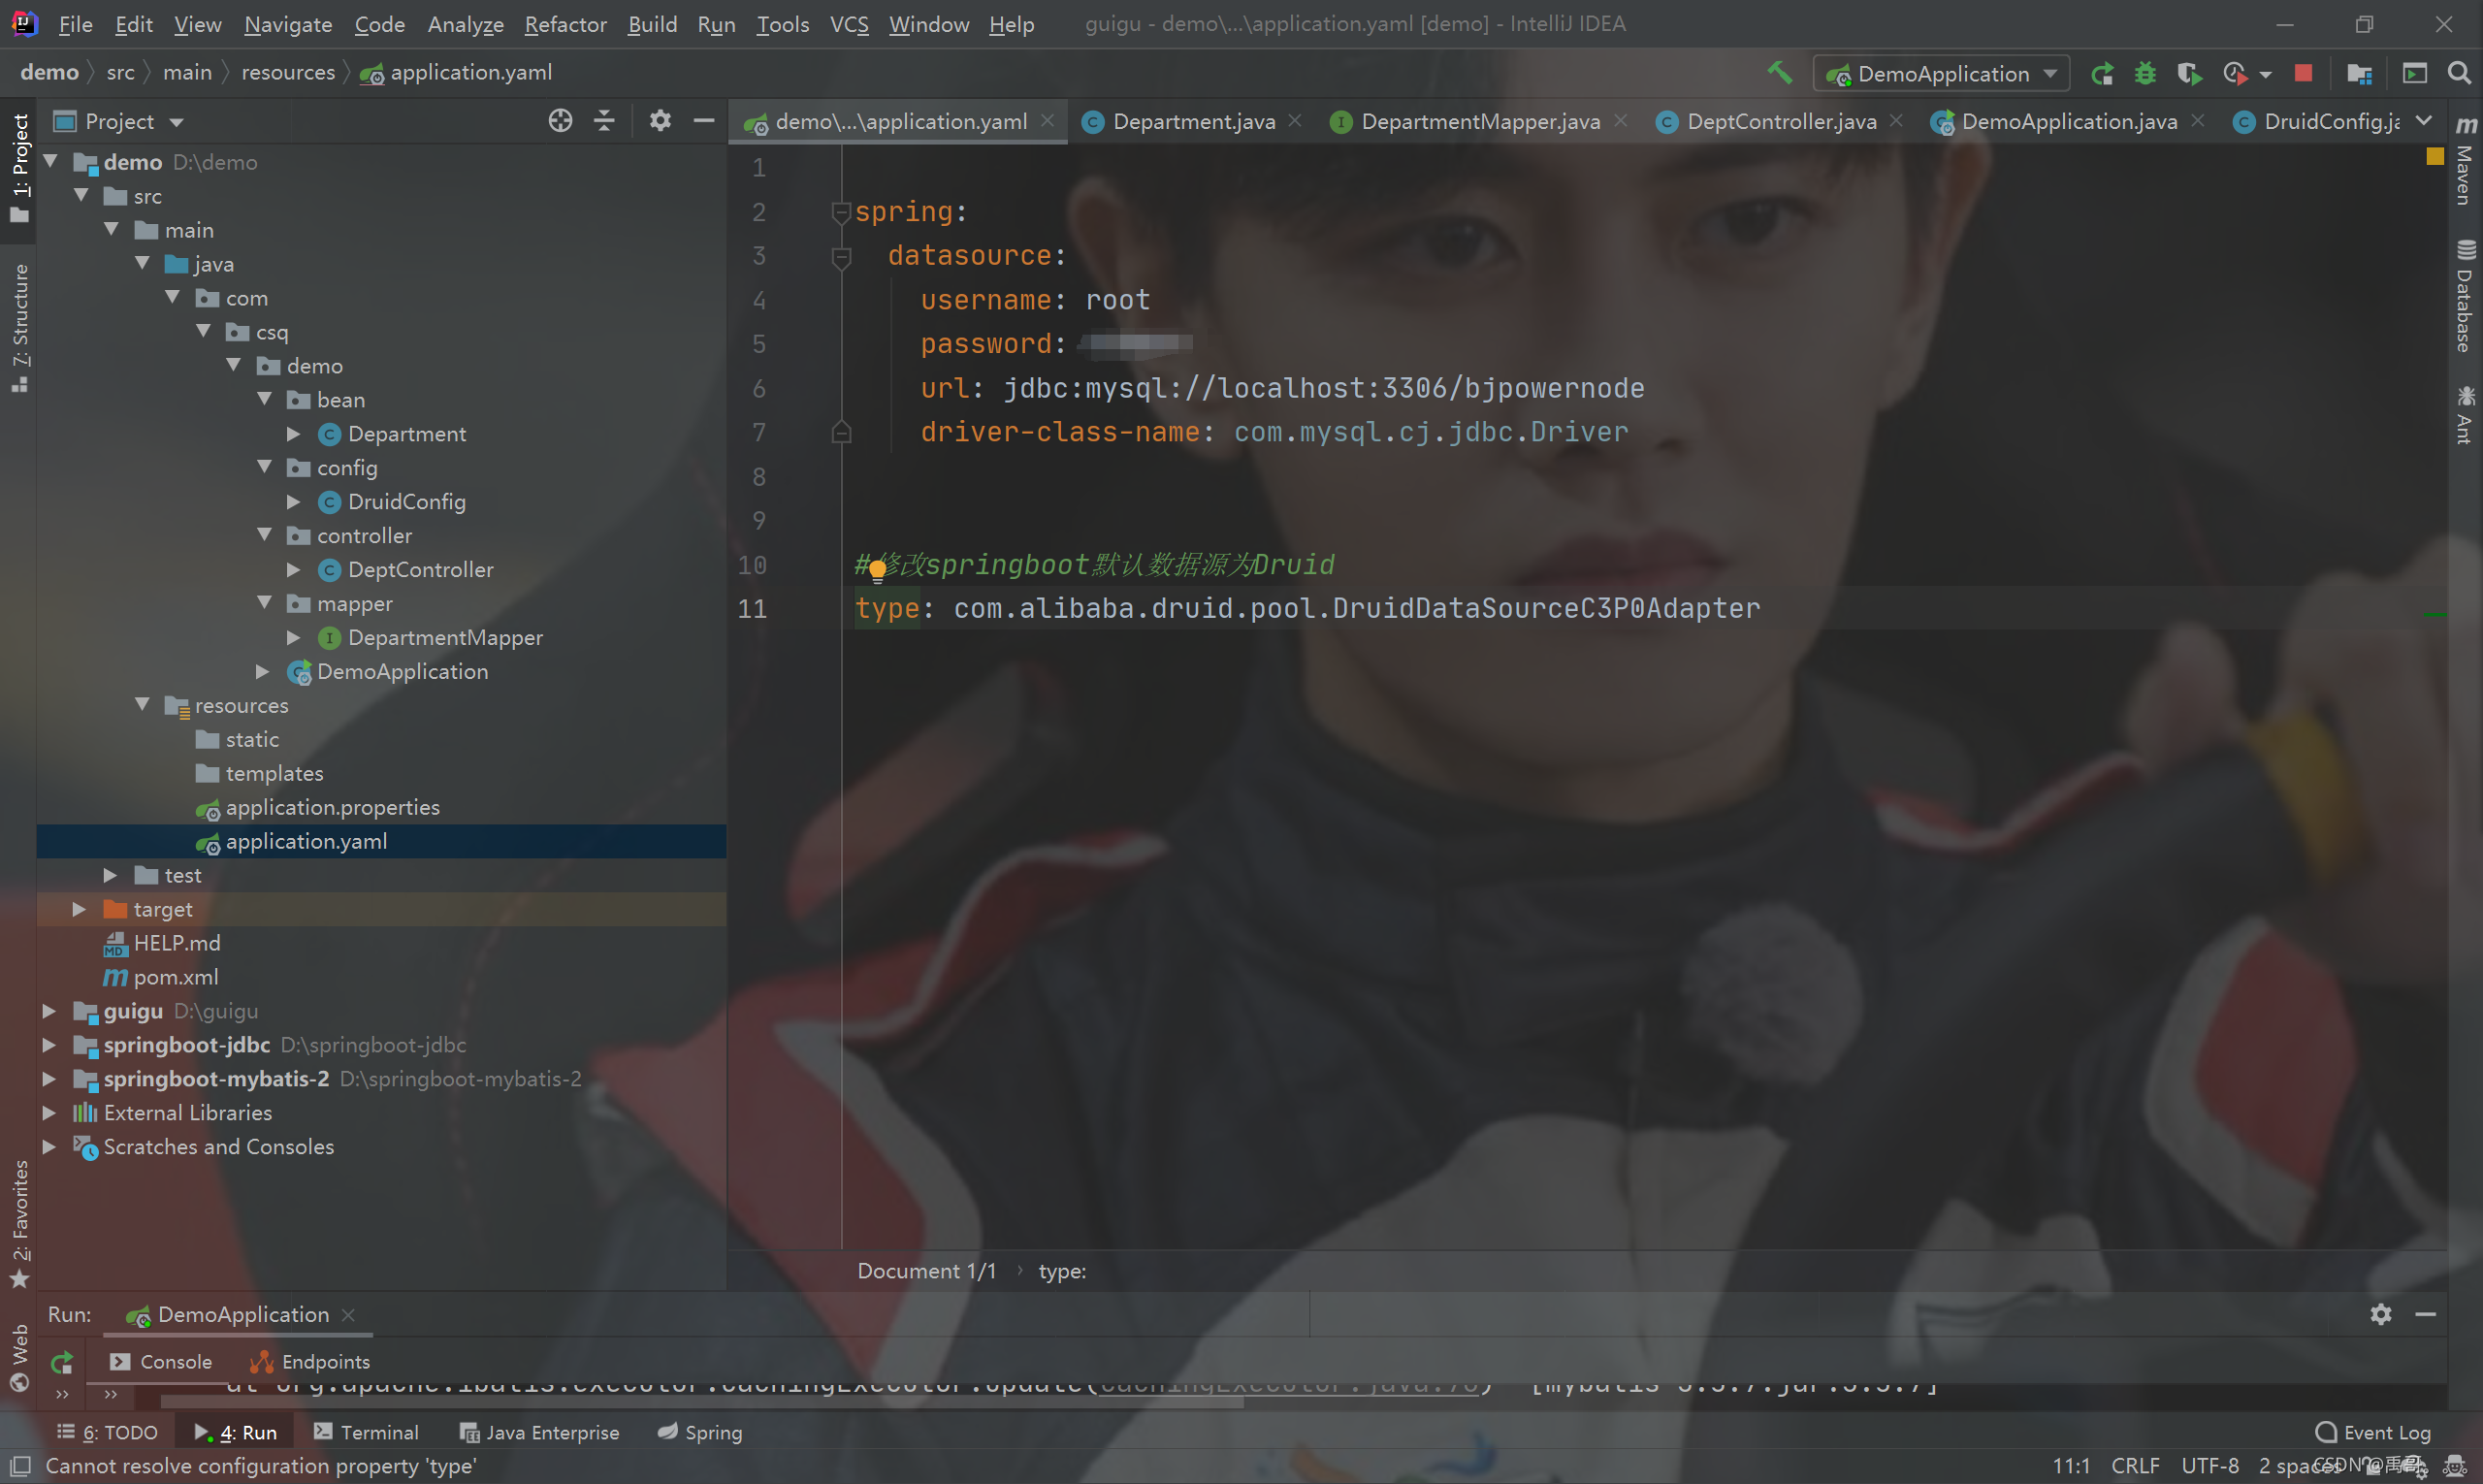
附上源码
spring:
  datasource:
    username: root
    password: (数据库密码)
    url: jdbc:mysql://localhost:3306/bjpowernode
    driver-class-name: com.mysql.cj.jdbc.Driver


#修改springboot默认数据源为Druid
type: com.alibaba.druid.pool.DruidDataSourceC3P0Adapter
7.主类
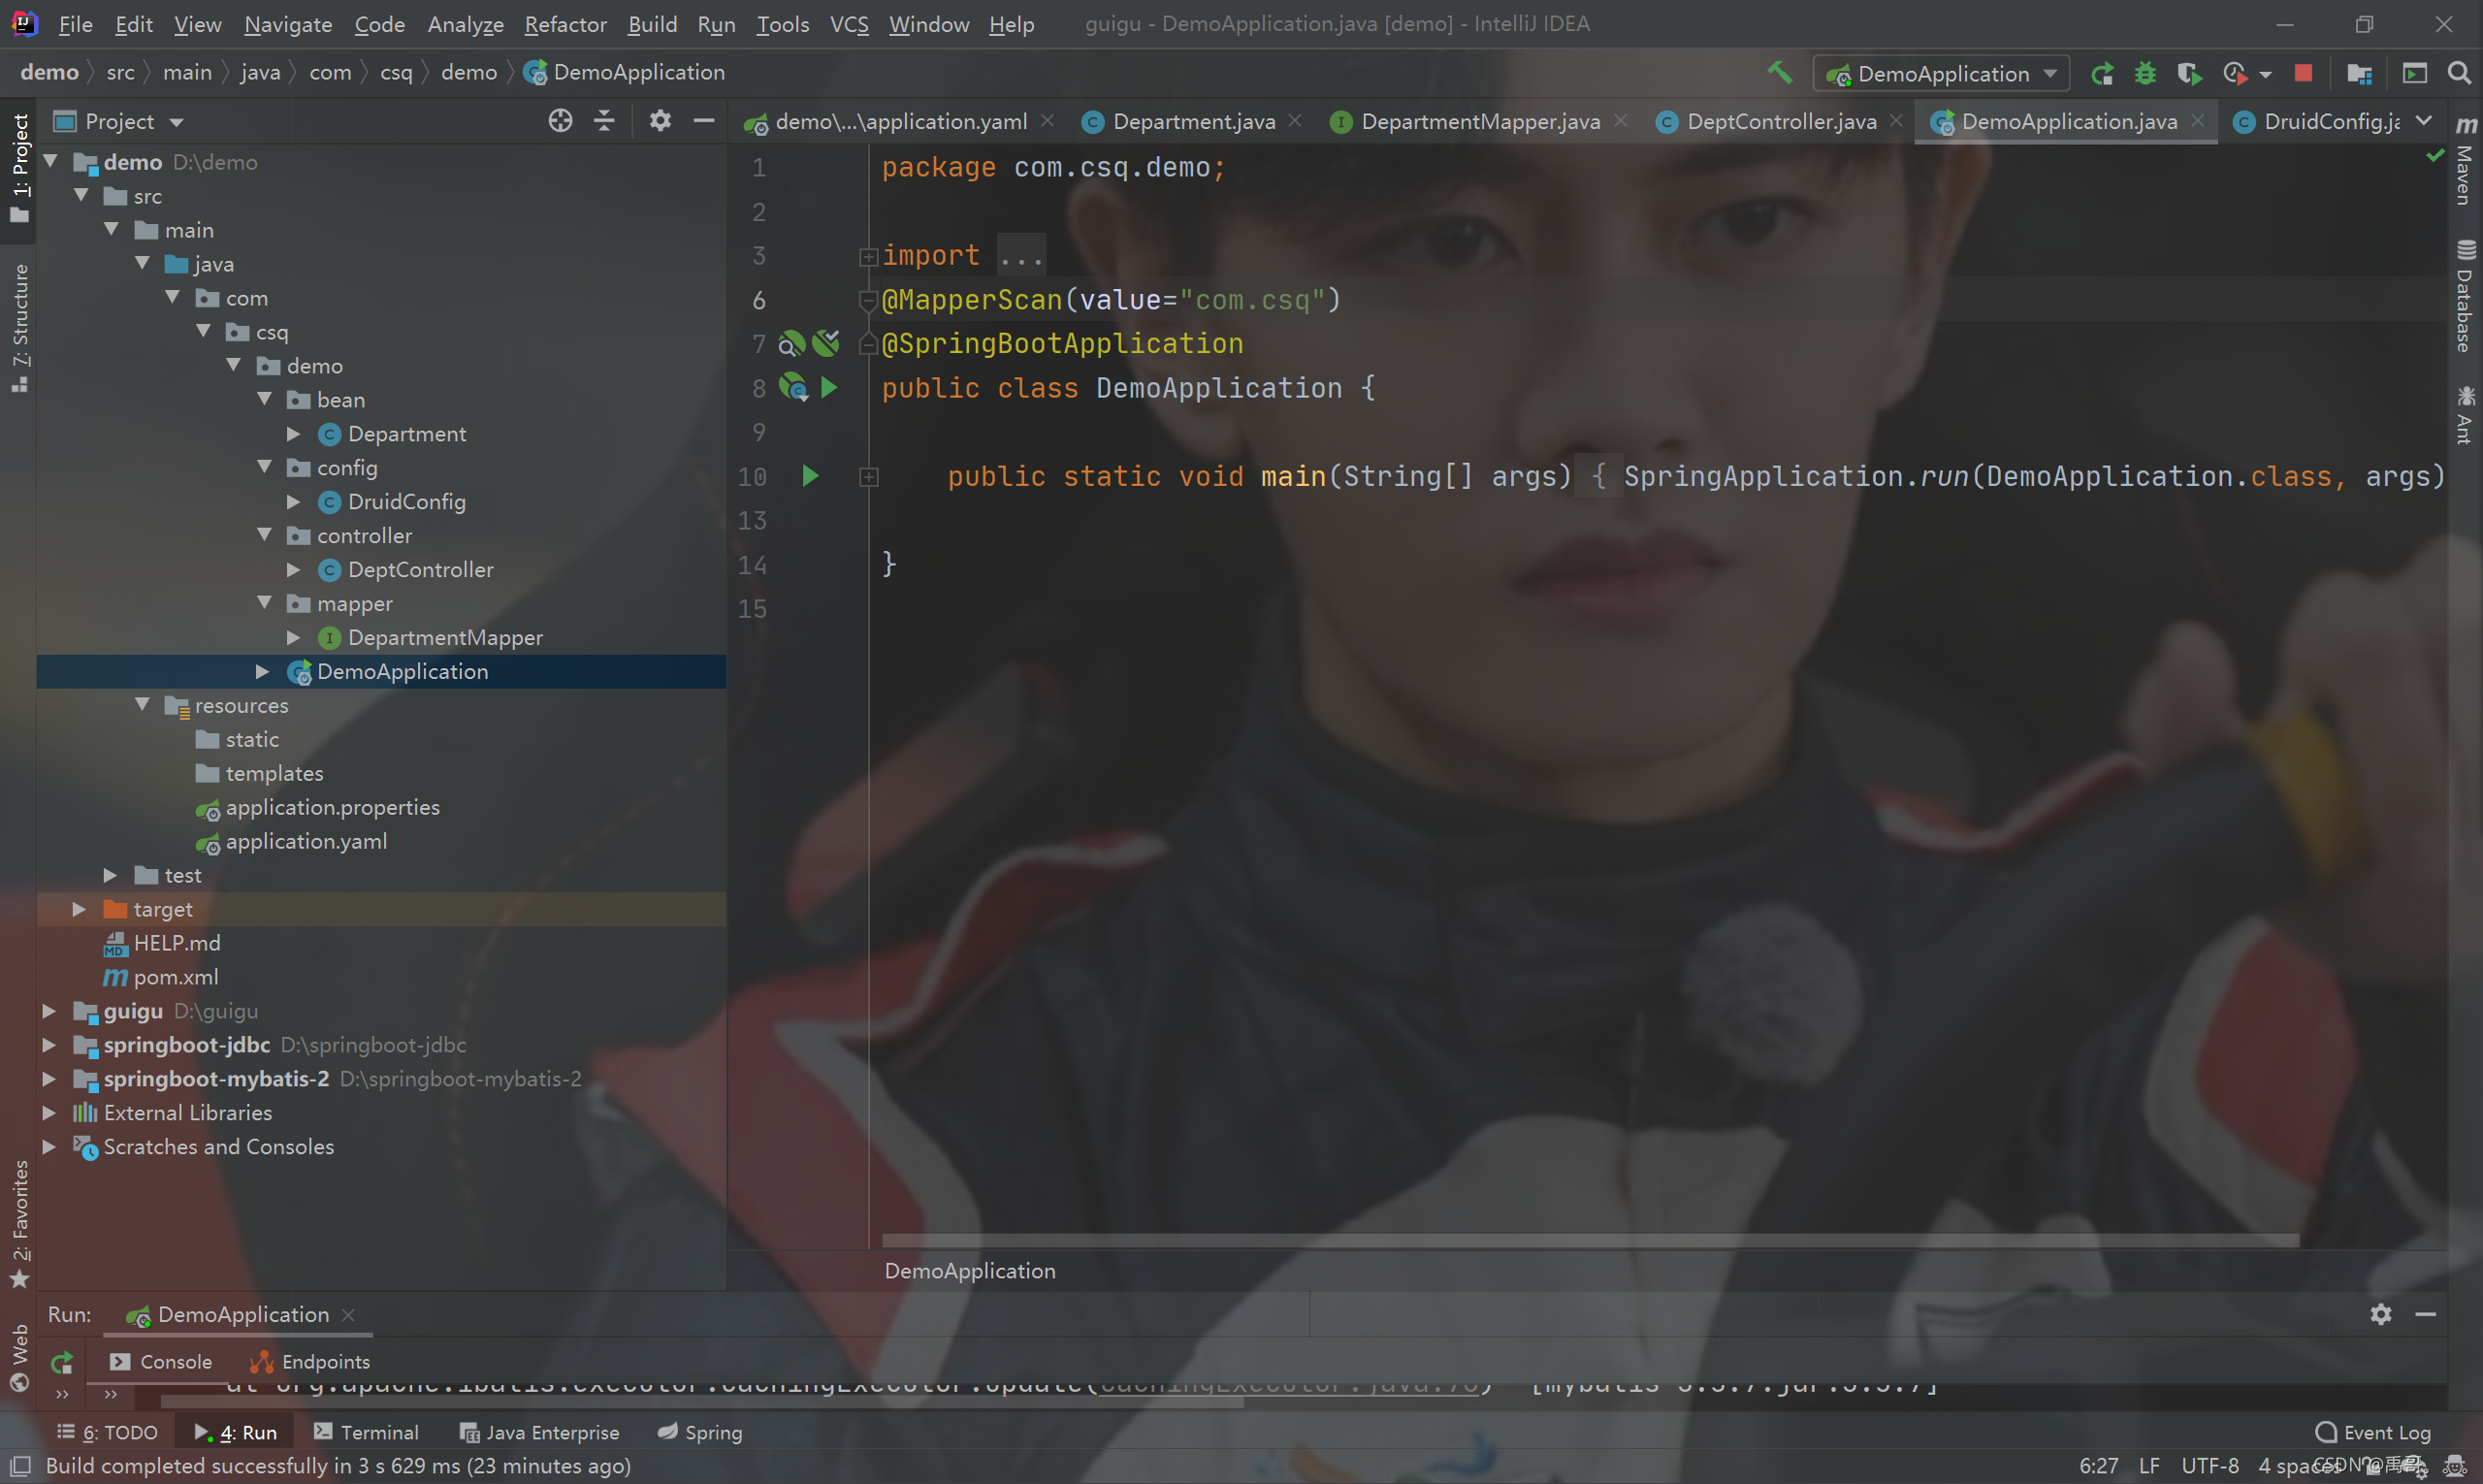
源码
import org.mybatis.spring.annotation.MapperScan;
import org.springframework.boot.SpringApplication;
import org.springframework.boot.autoconfigure.SpringBootApplication;
@MapperScan(value="com.csq")
@SpringBootApplication
public class DemoApplication {

    public static void main(String[] args) {
        SpringApplication.run(DemoApplication.class, args);
    }

}

使用注解整合Mybatis的话,不用Service层,直接在Dao层的接口上使用注解来对数据库进行操作。


 972
972


 被折叠的 条评论
为什么被折叠?
被折叠的 条评论
为什么被折叠?
 到【灌水乐园】发言


