


增加功能
增加功能的实现也很简单,就是当你点击增加按钮之后,会有一个增加窗口出来,而你只需要增加窗口增加信息。
然后相应地把信息更新到数据库,然后再让表格去数据库中更新就可以了。
    public void actionPerformed(ActionEvent e) {
        JButton jButton = (JButton) e.getSource();
        String text = jButton.getText();
        if ("增加".equals(text)) {
            new AddView(this.mainView);
        }
创建新的窗口Addview,重要的是还是得传一个mainview进去!!!
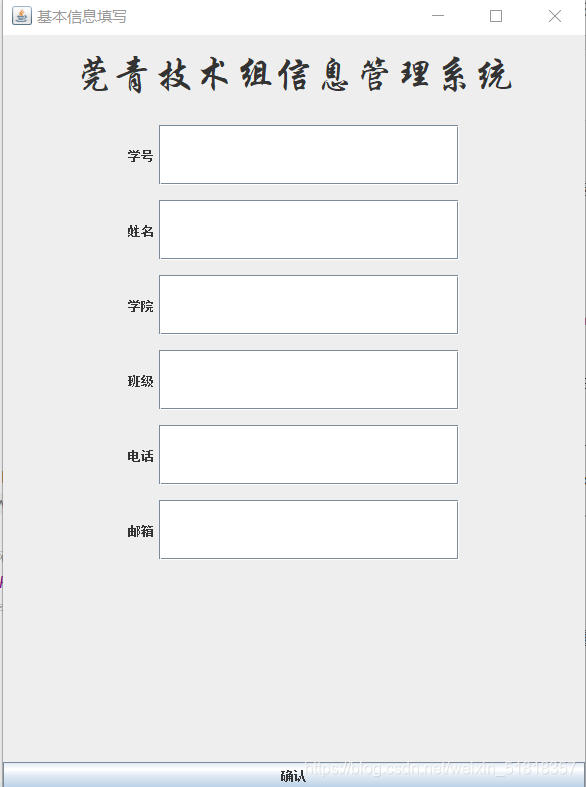
这就是增加窗口,
添加文本框和文字,和确认按钮这些都是基本的操作,就不一一赘述,重点在于确认按钮的实现。
public class AddConfirmhandler implements ActionListener {

    private AddView AddView;
private MainView mainView;

    public AddConfirmhandler(AddView AddView, MainView mainView) {
        this.AddView = AddView;
        this.mainView=mainView;
    }

    @Override
    public void actionPerformed(ActionEvent e) {
        JButton jButton = (JButton) e.getSource();
        String text = jButton.getText();
if ("确认".equals(text)) {

            StudentService studentService=new StudentServiceImpl();
            StudentDo studentDo=AddView.buildStudentDo();           //获取文本里的内容,并将它们封装起来,封装成一个对象
           // studentService.add(studentDo);                       //所以这个studentdo的用法就是 作为一个桥梁,连接文本的内容和 数据库
            boolean addResult =studentService.add(studentDo);      //将对象的数据传到sql语句中
if(addResult) { //需要更新        到mainview中的表格中!!! 所以最重要的是 一定需要mainView的对象
            mainView.reloadTable();
   }
else
{
    JOptionPane.showMessageDialog(AddView,"添加失败");
}
            AddView.dispose();

        }

    }
}
基本思路就是
按下确认按钮后,就将信息都收集起来并封装成一个类,用的是Addview中的buildStudentDo函数
如下:
public StudentDo buildStudentDo()
{
    StudentDo studentDo=new StudentDo();
    studentDo.setId(Integer.valueOf(userTxt1.getText()));
    studentDo.setName(userTxt2.getText());
    studentDo.setSchool(userTxt3.getText());
    studentDo.setClassnum(userTxt4.getText());
    studentDo.setTel(userTxt5.getText());
    studentDo.setEmial(Integer.valueOf(userTxt6.getText()));
    return studentDo;
}
然后再与数据库互动,将封装的类更新到数据库当中,看add函数
    public boolean add(  StudentDo studentDo) {
        StringBuilder sql=new StringBuilder();
       sql.append("insert into student(Id,name,school,classnum,tel,email) ");
          sql.append("value(?,?,?,?,?,?)");
        Connection connection=null;
        PreparedStatement preparedStatement=null;
        ResultSet rs=null;
        try
        {
            connection= DBUtil.getConn();
           preparedStatement= connection.prepareStatement(sql.toString());
            preparedStatement.setInt(1, studentDo.getId());
            preparedStatement.setString(2,studentDo.getName());
            preparedStatement.setString(3,studentDo.getSchool());
            preparedStatement.setString(4,studentDo.getClassnum());
            preparedStatement.setString(5,studentDo.getTel());
            preparedStatement.setInt(6, studentDo.getEmial());
            System.out.println(preparedStatement.executeUpdate());
            boolean b;
            b = preparedStatement.executeUpdate() == 1;
            return b;

   }
        catch(Exception e)
        {
            e.printStackTrace();
        }
        return true;
回到AddComfirmhandler函数
  boolean addResult =studentService.add(studentDo);      //将对象的数据传到sql语句中
        if(addResult) {                                                    //需要更新到mainview中的表格中!!! 所以最重要的是 一定需要mainView的对象
    mainView.reloadTable();
   }
else
{
    JOptionPane.showMessageDialog(AddView,"添加失败");
}
            AddView.dispose();
如果结果为真(也就是改变的量为1,因为每次增加只增加一个人),就用mainView的reloadTable()函数,也就是更新数据库到表格中的函数。
如果结果为否,就显示提示框。
修改功能
先看看修改功能的需求是什么?
就是当我们选中一行的时候,可以修改那一行对应ID的其它数据(ID不可修改,其它都可以修改)
所以我们想一下为了实现该功能,需要完成的步骤有:
- 系统能获取到你选取的那行
- 打开修改界面,并可以修改你获取到的那行
- 完成修改,修改后的数据同时更新到数据库
- 从数据库更新到表格中
系统获取到选取的行
在mainview中有这样一个方法:
public int[]getSelectedStudentIds(){
    int[]selectedRows=jtable.getSelectedRows();
    int[]ids=new int[selectedRows.length];
    for(int i=0;i<selectedRows.length;i++)
    {
        int rowIndex=selectedRows[i];
        Object idObj= jtable.getValueAt(rowIndex,0);
        ids[i]=Integer.valueOf(idObj.toString());
    }
    return ids;
}
获取选中的行,并且获取选中的行数
 Object idObj= jtable.getValueAt(rowIndex,0);

        ids[i]=Integer.valueOf(idObj.toString());
这两句是获取选中的行的第一列的元素,也就是它们的ID号
然后返回存储ID号的数组
在MainViewhandler中对应的修改中
        else if ("修改".equals(text)) {
           int[]selectedStudentIds=mainView.getSelectedStudentIds();
           if(selectedStudentIds.length!=1)
           {
               JOptionPane.showMessageDialog(mainView,"一次只能修改一行");
           }
            new UpdateView(this.mainView,selectedStudentIds[0]);//要把当前的mainview传过去,同时获取到的行数也传过去
        }
在这边定义一个数组来存储ID号
然后判断一下数组的长度,因为每次只允许修改一行
然后无论如何,将selectedStudentIds[0],数组的第一个元素和mainView传进UpdateView.
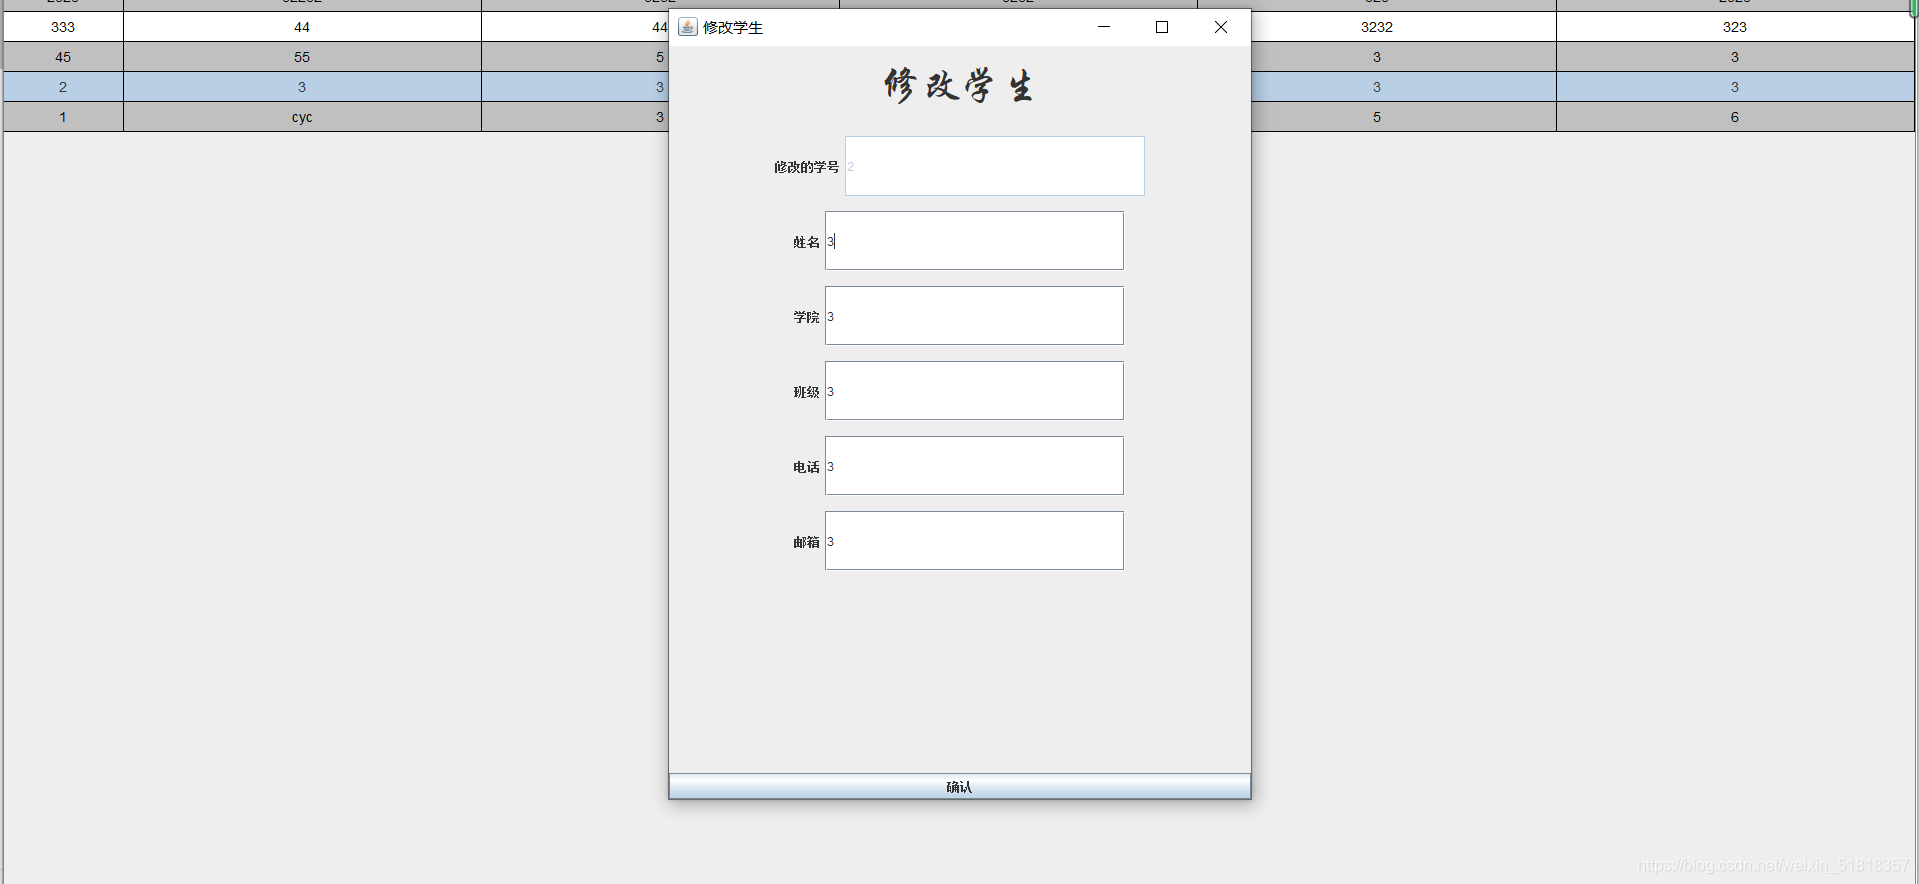
在UpdateView中,第一个ID框要显示不可修改,且为选中的ID号。
        userTxt1.setText(String.valueOf(selectedStudentId));
           userTxt1.setEnabled(false);//不可编辑
然后当按下确认后,同样类似于增加,必须封装一个函数,封装新修改的数据。
    public StudentDo buildUpdatedStudentDo(){
        StudentDo studentDo=new StudentDo();
        studentDo.setId(Integer.valueOf(userTxt1.getText()));
        studentDo.setName(userTxt2.getText());
        studentDo.setSchool(userTxt3.getText());
        studentDo.setClassnum(userTxt4.getText());
        studentDo.setTel(userTxt5.getText());
        studentDo.setEmial(Integer.valueOf(userTxt6.getText()));
        return studentDo;

    }
然后看到UpdateConfirmhandler
public class UpdateConfirmhandler implements ActionListener {

    //private UpdateView AddView;
private MainView mainView;
    private UpdateView updateView;

    public UpdateConfirmhandler(UpdateView updateView, MainView mainView) {
        this.updateView = updateView;
       // this.AddView = AddView;
        this.mainView=mainView;
    }

    @Override
    public void actionPerformed(ActionEvent e) {
        JButton jButton = (JButton) e.getSource();
        String text = jButton.getText();
        if ("确认".equals(text)) {

            StudentService studentService=new StudentServiceImpl();
            StudentDo studentDo=updateView.buildUpdatedStudentDo();    //获取文本里的内容,并将它们封装起来,封装成一个对象
           // studentService.add(studentDo);              //所以这个studentdo的用法就是 作为一个桥梁,连接文本的内容和 数据库
            boolean updateResult =studentService.update(studentDo);        //将对象的数据传到sql语句中
if(updateResult) {
mainView.reloadTable();//需要更新到mainview中的表格中!!! 所以最重要的是 一定需要mainView的对象
updateView.dispose();
}
else
{
    JOptionPane.showMessageDialog(updateView,"修改失败");
}

updateView.dispose();

        }

    }
}
思路跟增加一样,不同的只有studentService中的update函数,其它方面大同小异,就不再赘述。
studentServiceiml的update函数
 public boolean update(StudentDo studentDo) {

         StringBuilder sql=new StringBuilder();
         sql.append("update student set name=?,school=?,classnum=?,tel=?,email=? ");
         sql.append("where id=? ");


         Connection connection=null;
         PreparedStatement preparedStatement=null;
         ResultSet rs=null;


         try
         {
             connection= DBUtil.getConn();
             preparedStatement= connection.prepareStatement(sql.toString());
            // preparedStatement.setInt(1,studentDo.getId());
             preparedStatement.setString(1,studentDo.getName());
             preparedStatement.setString(2,studentDo.getSchool());
             preparedStatement.setString(3,studentDo.getClassnum());
             preparedStatement.setString(4,studentDo.getTel());
             preparedStatement.setInt(5,studentDo.getEmial());
             preparedStatement.setInt(6,studentDo.getId());

             return preparedStatement.executeUpdate()==1;

         }

         catch(Exception e)
         {
             e.printStackTrace();
         }
         return false;
     }
接下来最后实现一下删除功能,删除的话,其实原理差不多
    else if ("删除".equals(text)) {
          //request.getSearchKey(mainView.)
            int[]selectedStudentIds=mainView.getSelectedStudentIds();
              if(selectedStudentIds.length==0)
              {
                 JOptionPane.showMessageDialog(mainView,"请选择要删除的行");
                 return;
              }
             int option=JOptionPane.showConfirmDialog(mainView,"你确认要删除选择的"
                     +selectedStudentIds.length+"行吗","确认删除",JOptionPane.YES_NO_OPTION);
          if(option==JOptionPane.YES_OPTION){
              //执行删除
              StudentService studentService=new StudentServiceImpl();
              boolean deleResult=studentService.delete(selectedStudentIds);
              if(deleResult)
              {
                 mainView.reloadTable();
              }
              else {
                  JOptionPane.showMessageDialog(mainView,"删除失败");
              }
          }
区别主要是可以选择多行,然后可以同时删除多行
看一下与mysql互联中的代码
     public boolean delete(int[] selectedStudentIds) {
         StringBuilder sql=new StringBuilder();
         sql.append("delete from student where id in( ");
         for(int i=0;i<selectedStudentIds.length;i++)
         {
             if(i==(selectedStudentIds.length-1)){
                 sql.append("?");}
                 else
                 {
                     sql.append("?,");
                 }
             }
sql.append(")");
         Connection connection=null;
         PreparedStatement preparedStatement=null;
         ResultSet rs=null;


         try
         {
             connection= DBUtil.getConn();
             preparedStatement= connection.prepareStatement(sql.toString());
             // preparedStatement.setInt(1,studentDo.getId());
             for(int i=0;i< selectedStudentIds.length;i++)
             {
                 //设置参数,从一开始
              preparedStatement.setInt(i+1,selectedStudentIds[i]);

             }

             return ( preparedStatement.executeUpdate()==selectedStudentIds.length);

         }

         catch(Exception e)
         {
             e.printStackTrace();
         }
         return false;
     }```

跟上面其它功能类同,除了mysql语句有点不同,其它一样,不再赘述。


 1144
1144


 被折叠的 条评论
为什么被折叠?
被折叠的 条评论
为什么被折叠?
 到【灌水乐园】发言


