


前几天学习了b站老实的徐码农的汽车仪表盘的源码
【开源项目】让你用 QT+painter 画笔绘画出精致的汽车仪表盘_哔哩哔哩_bilibili
很有收获,感谢他的分享
见识了到QPainter的厉害
效果图:

分析:
难点在于简单图形的组合使用
真是简单的工具,神奇的效果。
我们要做的就是一层层的实现想要的效果
(1)背景设置

this->setStyleSheet("#MainWindow{background-image:url(:/res/pic/background.png)}");(2)画最外层的线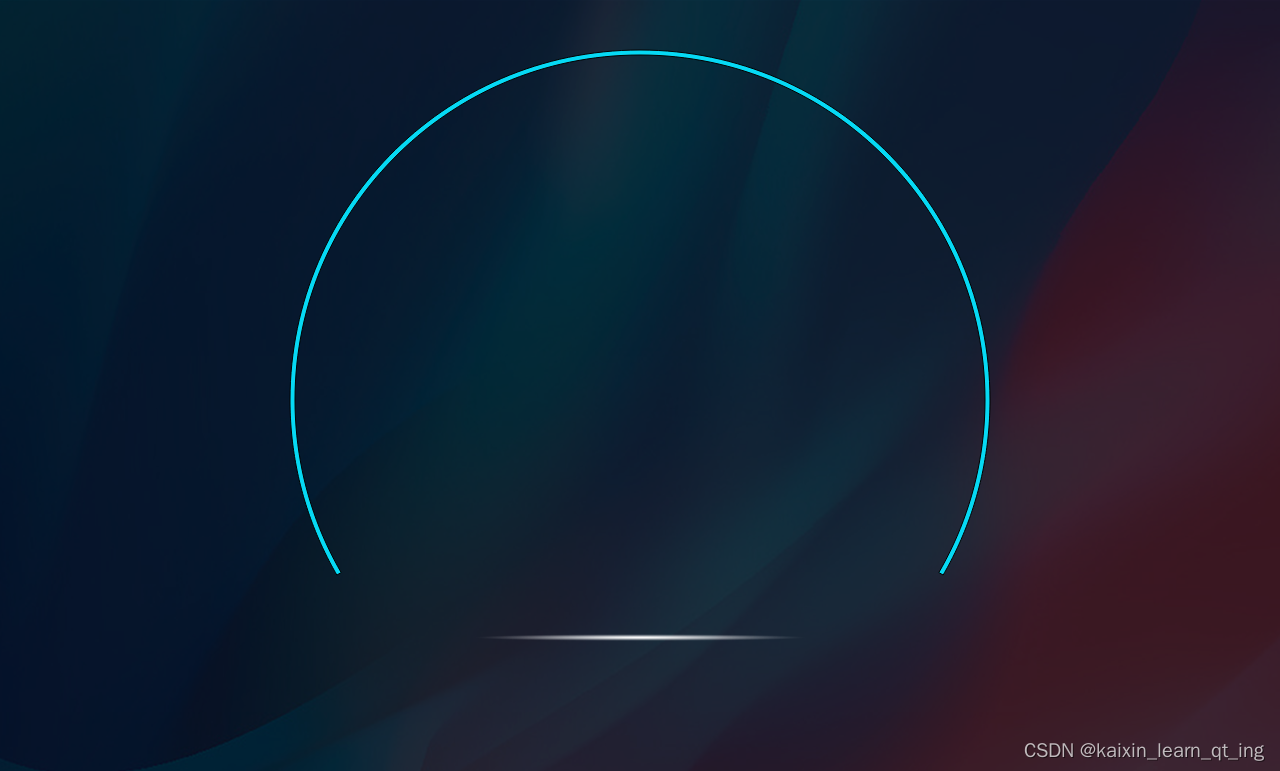
    //最外细圆线
    painter.save();
    QPainterPath outRing;
    outRing.moveTo(0,0);//从中心点开始出发
    outRing.arcTo(-r2,-r2,2*r2,2*r2,-30,240);//画实心圆的一部分
    outRing.closeSubpath();
    QPainterPath inRing;
    inRing.moveTo(0,0);
    int r3=r2-5;
    inRing.addEllipse(-r3,-r3,2*r3,2*r3);//画里面的实心圆

    painter.setBrush(QColor(6, 217, 244));
    painter.drawPath(outRing.subtracted(inRing));//关键,大圆减去小圆
    painter.restore();
相关知识:
关于QPainterPath:
样例1:
    painter.setPen(QPen(Qt::cyan, 10, Qt::DashDotLine));
    QPainterPath myPath;
    myPath.addEllipse(QRect(-400,-200,800,400));
    painter.setBrush(Qt::blue);
    painter.drawPath(myPath);
上面QPen的构造函数
QPen(const QBrush &brush, qreal width, Qt::PenStyle style = Qt::SolidLine, Qt::PenCapStyle cap = Qt::SquareCap, Qt::PenJoinStyle join = Qt::BevelJoin)
参数:颜色,宽度


样例2:
    QPainterPath outRing;
    painter.setPen(QPen(Qt::cyan, 10, Qt::DashDotLine));
    outRing.moveTo(0,0);//起点为(0,0)
    outRing.arcTo(-r2,-r2,2*r2,2*r2,-30,240);
    outRing.closeSubpath();
    painter.setBrush(QColor(6, 217, 244));
painter.drawPath(outRing);这是使用了closeSubpath()的 
这是没有使用closeSubpath()的
void arcTo(const QRectF &rectangle, qreal startAngle, qreal sweepLength)
其实像画一个椭圆,但是只是画一部分。

(3) 画渐变圆弧

    QPainterPath outRing;
    outRing.moveTo(0,0);
    outRing.arcTo(-r2,-r2,2*r2,2*r2,-30,240);//从-30度出发,共240度
    outRing.closeSubpath();
    QRadialGradient radialGradient(0,0,r2,0,0);
    radialGradient.setColorAt(1,QColor(0,82,199));
    radialGradient.setColorAt(0.92,Qt::transparent);
    painter.setBrush(radialGradient);
painter.drawPath(outRing);关键在于颜色填充是渐变的。
在我自己实践时,发现背景的不同呈现的效果也大不相同。


radialGradient.setColorAt(1,QColor(0,82,199));//辐射渐变
radialGradient.setColorAt(0.92,Qt::transparent);
下面调整参数,并观察结果差异
(在黑色背景下颜色变化不太明显)


(看到这几张图:我更相信Qt可以做出好的页面了。 )
在白色背景下:


(4) 画小刻度
QPainterPath pointPath_small;
pointPath_small.moveTo(-2,-2);
pointPath_small.lineTo(2,-2);
pointPath_small.lineTo(2,8);
pointPath_small.lineTo(-2,8);
QPainterPath pointPath_big;
pointPath_big.moveTo(-2,-2);
pointPath_big.lineTo(2,-2);
pointPath_big.lineTo(2,20);
pointPath_big.lineTo(-2,20);
int i=-30;
int a=0;
int speed;
while(i<=210)
{
//最左边对应i==-30,最右边对应i==210
speed=i+30;
QPointF point(0,-radius);
painter.save();
//qDebug()<<point;
painter.rotate(-90+i);
painter.translate(point.x(),point.y());
//主要是利用旋转和偏移坐标系来巧妙地实现效果
if(speed<160)painter.setBrush(QColor(255,255,255));
else painter.setBrush(QColor(235, 70, 70));
if(a%5==0)painter.drawPath(pointPath_big);
else painter.drawPath(pointPath_small);
i+=4;
//rotate:0---90°
//rotate:-30---60°
//rotate:30---120°
a++;
painter.restore();
}
我们再次把它分解:

下面的代码是绘制一个小长方块:
    QPainterPath pointPath_small;
    painter.setBrush(QColor(255,255,255));
    int m=10;
    pointPath_small.moveTo(-2*m,-2*m);
    pointPath_small.lineTo(2*m,-2*m);
    pointPath_small.lineTo(2*m,8*m);
    pointPath_small.lineTo(-2*m,8*m);
    painter.drawPath(pointPath_small);
每循环一次,画一个小方块
我们看第一个小方块是如何画出来的


(5)画数字刻度

    painter.setPen(QColor(255,255,255));//白色
    QFont font;
    font.setFamily("Arial");
    font.setPointSize(15);
    font.setBold(true);
    painter.setFont(font);
    //0,20,40,,,240
    //20*0,20*1,20*2,,,20*12
    //0-12,13个数
    for(int i=0;i<13;i++)
    {
        QPointF point(0,-r);
        painter.save();
        //0:210,20:190,120:90

        int angle=210-i*20;
        //angle:90:不用旋转(0),70:-20
        painter.rotate(angle-90);
        painter.translate(point);
        //240度
        //120---不用旋转
        painter.drawText(-25,0,50,30,Qt::AlignCenter,QString::number(240-i*20));
        painter.restore();
    }
它的核心我依然觉得是旋转和偏移坐标系,和上面画小方块时很类似。
void QPainter::drawText(const QRectF &rectangle, int flags, const QString &text, QRectF *boundingRect = Q_NULLPTR)
flags:可以使用'|'来组合使用
Qt::AlignLeft
Qt::AlignRight
Qt::AlignHCenterQt::AlignTop
Qt::AlignBottom
Qt::AlignVCenter上面的可以组合来实现9种位置,很实用
Qt::AlignCenter:水平和垂直都居中
下面的是部分是机器翻译,我也不懂......
Qt::AlignJustify???在可用空间中对文本进行对齐。
水平方向调整间距两端对齐。
Qt::TextDontClip:If it's impossible to stay within the given bounds, it prints outside.如果不可能停留在给定的范围内,则输出到外部
Qt::TextSingleLine:Treats all whitespace as spaces and prints just one line.将所有空白视为空格,只打印一行
Qt::TextExpandTabs:Makes the U+0009 (ASCII tab) character move to the next tab stop.使U+0009 (ASCII制表符)字符移动到下一个制表位。
Qt::TextShowMnemonic:Displays the string "&P" as P For an ampersand, use "&&"
Qt::TextWordWrap:Breaks lines anywhere, even within words.在任何地方都可以断行,即使是在文字中。
Qt::TextIncludeTrailingSpaces:When this option is set, QTextLine::naturalTextWidth() and QTextLine::naturalTextRect() will return a value that includes the width of trailing spaces in the text; otherwise this width is excluded.
当设置此选项时,QTextLine::naturalTextWidth()和QTextLine::naturalTextRect()将返回一个值,其中包括文本中尾随空格的宽度;否则这个宽度被排除。
(6) 画指针

    QPainterPath pointPath;
    pointPath.moveTo(10,0);
    pointPath.lineTo(1,-radius);
    pointPath.lineTo(-1,-radius);
    pointPath.lineTo(-10,0);
    pointPath.arcTo(-10,-10,20,20,180,180);
    QPainterPath inRing;
    inRing.addEllipse(-5,-8,10,10);
    painter.save();

    //计算并选择绘图对象坐标
    painter.rotate(degRotate-120);
    painter.setBrush(QColor(255,255,255));
    painter.drawPath(pointPath);
painter.drawPath(inRing);依然是画出指针,然后根据角度旋转坐标系。

(7) 画小黑圆

    QRect  rect(-r1,-r1,2*r1,2*r1);
    painter.setBrush(QBrush(QColor(10, 20, 30)));
    painter.drawEllipse(rect);
(8)画渐变小圆

    int r2=150;
    QPainterPath outRing;
    outRing.moveTo(0,0);
    outRing.arcTo(-r2,-r2,2*r2,2*r2,0,360);

    QRadialGradient radialGradient(0,0,r2,0,0);
    radialGradient.setColorAt(1,QColor(10,68,185,150));
    radialGradient.setColorAt(0.8,Qt::transparent);
    painter.setBrush(radialGradient);
    painter.drawPath(outRing);
思路就是画圆,但颜色填充是辐射渐变
QRadialGradient(qreal cx, qreal cy, qreal radius, qreal fx, qreal fy)
参数:中心点x,y,半径,终点x,y
(9)画文字

    painter.setPen(QColor(255,255,255));
    QFont font;
    font.setFamily("Arial");
    font.setPointSize(16);
    font.setBold(true);
    painter.setFont(font);
    painter.drawText(-50,h,100,20,Qt::AlignCenter,QString("km/h"));
    painter.drawText(-70,h+150,140,40,Qt::AlignCenter,QString("当前车速"));

    painter.setPen(QColor(255,255,255,80));
    painter.drawText(-125,h+280,250,40,Qt::AlignCenter,QString("-请按space键加速-"));
主要要考虑drawText时的Rect的对称性
(10) 画数字和画文字是几乎一样的。
(11)总结
每个知识点都比较简单,但有机耦合在一起,却迸发出了不一般的效果。
我们能做的,就是学习知识,学会运用知识。


 439
439

 被折叠的 条评论
为什么被折叠?
被折叠的 条评论
为什么被折叠?
 到【灌水乐园】发言


