


QCustomplot绘制动态曲线图-游标及鼠标跟踪显示数值_qcustomplot 游标-CSDN博客
       m_timer = new QTimer(this);
       connect(m_timer,SIGNAL(timeout()),this,SLOT(slotTimeout()));
       m_timer->start(50);
void MainWindow::slotTimeout()
{
static int p=0;
static int i=0;
double m,m1,m2;
m2=i/50.0 - 1;
//-1,1
m= m2+p;
//-1+p,1+p
m1 = m2*m2;
if(i==101)i=0;
else i++;
    ui->plotWidget->graph(0)->addData(m,m1);
    ui->plotWidget->xAxis->setRange(-1,1+p);
    ui->plotWidget->replot();
qDebug()<<"p:"<<p;
p++;
}
关键:
ui->plotWidget->graph(0)->addData(m,m1);
ui->plotWidget->xAxis->setRange(-1,1+p);
ui->plotWidget->replot();添入数据,重新设置Range,再次刷新。
学习QCustomPlot【1】QCustomPlot介绍-CSDN博客
从官网下载下来源码后,可以编译学习人家提供的源码(位置:qcustomplot\examples\plots)
  //setupPlayground(ui->customPlot);
  // 0:  setupQuadraticDemo(ui->customPlot);
  // 1:  setupSimpleDemo(ui->customPlot);
  // 2:  setupSincScatterDemo(ui->customPlot);
  // 3:  setupScatterStyleDemo(ui->customPlot);
  // 4:  setupScatterPixmapDemo(ui->customPlot);
  // 5:  setupLineStyleDemo(ui->customPlot);
  // 6:  setupDateDemo(ui->customPlot);
  // 7:  setupTextureBrushDemo(ui->customPlot);
  // 8:  setupMultiAxisDemo(ui->customPlot);
  // 9:  setupLogarithmicDemo(ui->customPlot);
  // 10: setupRealtimeDataDemo(ui->customPlot);
  // 11: setupParametricCurveDemo(ui->customPlot);
  // 12: setupBarChartDemo(ui->customPlot);
  // 13: setupStatisticalDemo(ui->customPlot);
  // 14: setupSimpleItemDemo(ui->customPlot);
  // 15: setupItemDemo(ui->customPlot);
  // 16: setupStyledDemo(ui->customPlot);
  // 17: setupAdvancedAxesDemo(ui->customPlot);
  // 18: setupColorMapDemo(ui->customPlot);
  // 19: setupFinancialDemo(ui->customPlot);
  // 20: setupPolarPlotDemo(ui->customPlot);
examples提供了21种图形。
相关示例图片可以参考上面文章的图片。
可以这样写来显示各个样例。
  MainWindow w[21];
  for(int i=0;i<=20;i++){
      w[i].setupDemo(i);
      w[i].show();
  }
setWindowTitle("QCustomPlot: "+QString::number(demoIndex)+" "+demoName);如果工作中有需要的话,可以学习这些样例,加以改造。
太经典了。
这里学习一下demo 2。

       QCustomPlot *customPlot=ui->customPlot;
       customPlot->legend->setVisible(true);
       customPlot->legend->setFont(QFont("Helvetica",9));
       customPlot->addGraph();

       customPlot->graph(0)->setName("Confidence Band 68%");
       customPlot->graph(0)->setBrush(QBrush(QColor(255,50,30,20)));
       customPlot->graph(0)->setName("hello everyone");
       customPlot->graph(0)->setBrush(QBrush(QColor(255,0,255)));
       customPlot->addGraph();
       customPlot->graph(0)->setName("hello everyone");
       customPlot->graph(0)->setBrush(QBrush(QColor(255,0,255)));

       customPlot->addGraph();
       customPlot->graph(1)->setName("hello everyone111");
       customPlot->graph(1)->setBrush(QBrush(QColor(0,0,255)));
customPlot->xAxis->setTickLabelRotation(30);
customPlot->xAxis->setTickLabelRotation(60);
感觉这个api网站应该比较使用

为刻度标签中的数字设置数字格式。
这个formatCode是QString::number()和QLocale::toString()使用的格式代码的扩展版本。
有关这方面的参考,请参阅QString类详细描述中的“参数格式”部分。
formatCode是一个由一个、两个或三个字符组成的字符串。
第一个字符与Qt使用的正常格式代码相同。
e/E:科学格式
f:固定格式
g/G:科学格式或固定格式
对于e、E和f格式,setNumberPrecision设置的精度表示小数点后的位数。
对于g和G格式,精度表示有效数字的最大数目,后面的零被省略。
对于QCustomPlot来说,第二个和第三个字符是可选的。
如果第一个字符是“e”或“g”,则数字可能以科学格式显示,例如:“5.55 e9”,在plot中这有点丑。
因此,当formatCode的第二个字符被设置为'b'(表示“美丽”)时,这些指数将以更自然的方式格式化,即"5.5[乘号]10[上标]9"。
默认情况下,乘法号是居中点。
如果应该显示一个叉(在美国通常是这样),则可以将formatCode的第三个字符设置为'c'。
乘法号:UTF-8字符中:215 (0xD7)表示叉,183 (0xB7)表示点。
formatCode的示例:
g:正常格式。如果数字小,使用固定格式,如果数字大,使用科学格式。
gb :如果数字小,使用固定格式,如果数字大,使用科学格式,用漂亮的十进制小数和一个点作为乘法符号。
ebc :所有的数字都是科学格式,有漂亮的十进制和一个叉作为乘法号。
fb: 非法格式代码,因为固定格式不支持(或不需要)漂亮的十进制小数。格式代码将被简化为'f'。
hello :非法格式代码,因为第一个字符不是'e', 'e', 'f', 'g'或'g'。当前的格式代码将不会被更改。
customPlot->xAxis->setNumberFormat("ebc"); 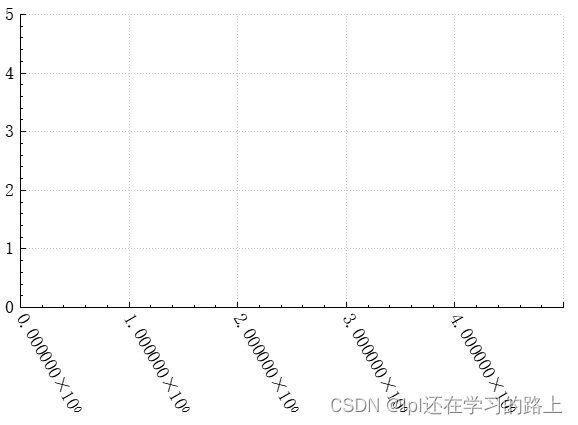


 598
598

 被折叠的 条评论
为什么被折叠?
被折叠的 条评论
为什么被折叠?
 到【灌水乐园】发言


