


GitLab搭建
- 1.设置gitlab的yum源
- 在 /etc/yum.repos.d/ 下新建 gitlab-ce.repo,写入如下内容:
- vim gitlab-ce.repo
- [gitlab-ce]
- name=gitlab-ce
- baseurl=Index of /gitlab-ce/yum/el7/ | 清华大学开源软件镜像站 | Tsinghua Open Source Mirror
- gpgcheck=0
- enabled=1
- yum clean all && yum makecache
- 安装GitLab
- yum install -y gitlab-ce
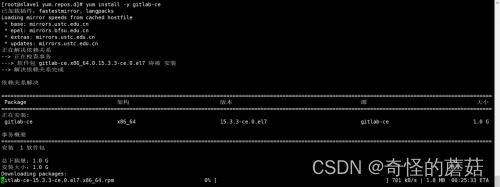
- yum install -y gitlab-ce
- 在 /etc/yum.repos.d/ 下新建 gitlab-ce.repo,写入如下内容:
-
-
- 我们看到这个就安装成功了

- 我们看到这个就安装成功了
-
-
-
- 安装完成之后我们需要修改下文件Vim /etc/gitlab/gitlab.rb指定下端口和IP
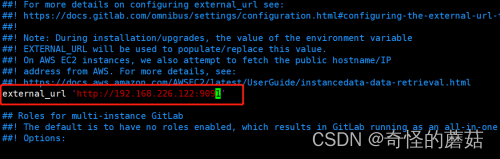
- 安装完成之后我们需要修改下文件Vim /etc/gitlab/gitlab.rb指定下端口和IP
-
-
-
- 重写加载下配置文件gitlab-ctl reconfigure

- 重写加载下配置文件gitlab-ctl reconfigure
-
-
-
- 查看下gitlabgitlab-ctl status
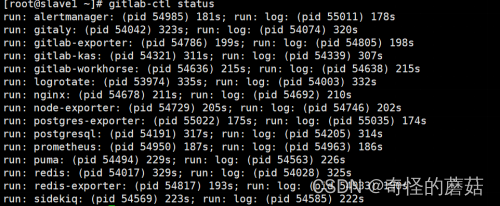
- 查看下gitlabgitlab-ctl status
-
-
-
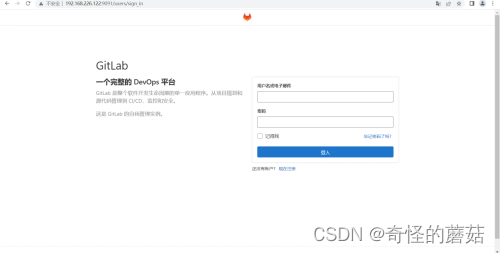
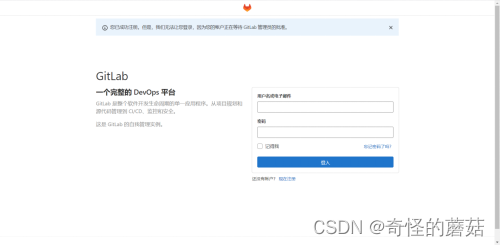
- 验证网页
-
-
-
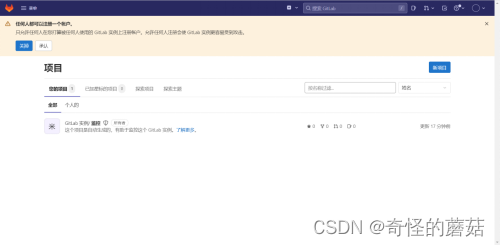
- 注册下但是还是无法登录需要管理员账号初始化
- 注册下但是还是无法登录需要管理员账号初始化
-
-
-
- 配置默认访问密码
- cd /opt/gitlab/bin/
- 执行如下命令:gitlab-rails console -e production 进行初始化密码,看到true就成功了

- 配置默认访问密码
-
-
-
-
- 接下来就可以用root和自己设的密码登录网页
-
-
-
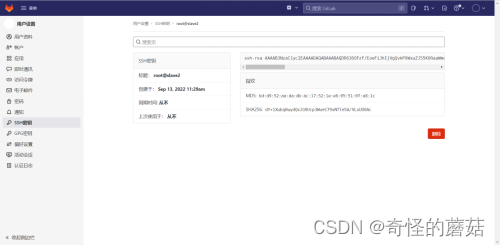
- 设置免密登录
- Gitlab的登录免密验证,配置完成后,可以使得我们的Gitlab自动执行Git命令而无需登录,对于脚本的编写以及其他项目(如Jenkins)的运用这一步是必须的。
- 在需要免密的主机上生成公私钥ssh-keygen

- 设置免密登录
-
-
- 在家目录的ssh目录里

-
-
-
- 查看公钥并将公钥复制cat id_rsa.pub
-
-
-
- 将公钥复制进去并添加

- 将公钥复制进去并添加
-


 1074
1074


 被折叠的 条评论
为什么被折叠?
被折叠的 条评论
为什么被折叠?
 到【灌水乐园】发言


