


文章目录
SpringBoot快速整合Zookeeper+Dubbo
1、安装Zookeeper
准备安装包
apache-zookeeper-3.6.0-bin.tar.gz
https://archive.apache.org/dist/zookeeper/zookeeper-3.6.0/
安装并启动
$
tar -zxvf apache-zookeeper-3.6.0-bin.tar.gz// 将安装包放到一个你喜欢的地方解压
$
mv apache-zookeeper-3.6.0-bin zookeeper// 我喜欢改个名字舒服点
$
cd zookeeper// 进去
$
mkdir zkData// 创建
$
mkdir zkLog// 创建
$
cd conf// 进去配置文件中
$
dataDir=/opt/zookeeper/zkData
dataLogDir=/opt/zookeeper/zkLog// 编辑zoo.cfg
$
./zkServer.sh start// 进到zookeeper中的bin目录下,启动zookeeper
$
./zkCli.sh// 启动客户端
2、启动dubbo-admin-master管理平台
准备东西
https://gitee.com/duanxinwei123/dubbo-admin
启动
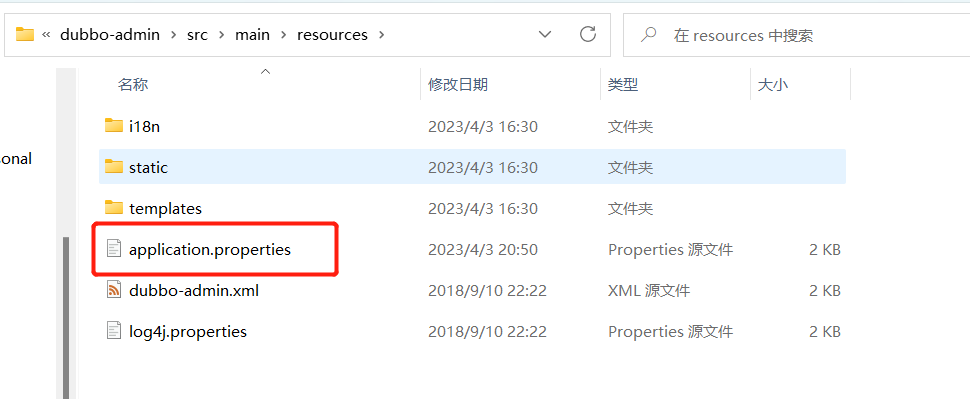
dubbo-admin-master\dubbo-admin\src\main\resources

进到这里面配置好你的信息
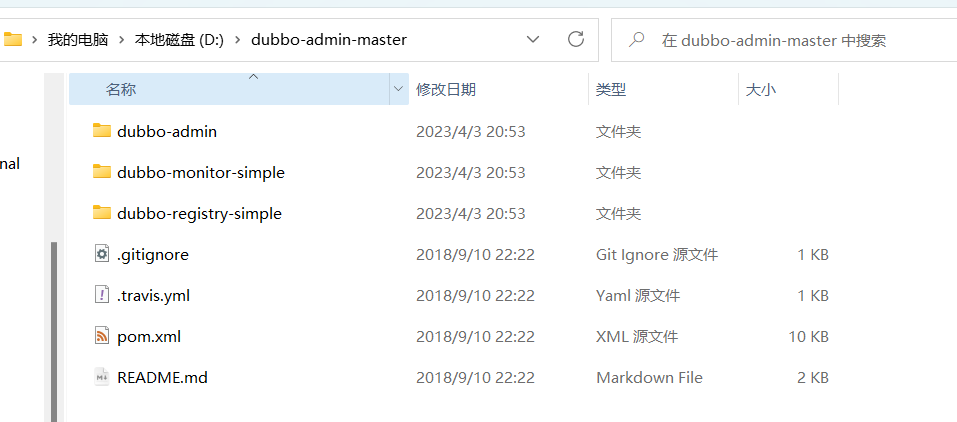
然后到这里,cmd进去,然后打包
mvn clean package -D skipTests
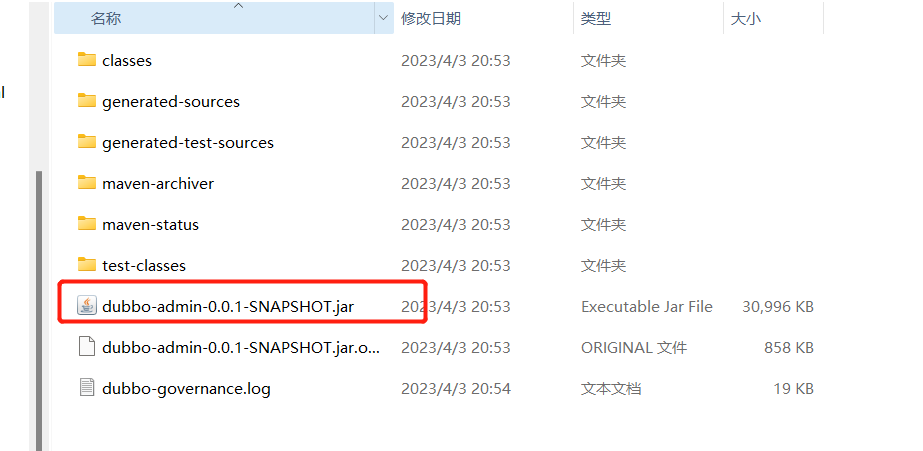
java -jar 这个jar包
访问
http://localhost:7001/

应该就可以进到这里面了,账号密码都是root
3、简单的Demo
3.1、privoder
坐标
<dependency>
   <groupId>org.springframework.boot</groupId>
    <artifactId>spring-boot-starter-web</artifactId>
</dependency>

<dependency>
    <groupId>org.springframework.boot</groupId>
    <artifactId>spring-boot-starter-test</artifactId>
    <scope>test</scope>
</dependency>

<!-- https://mvnrepository.com/artifact/org.apache.dubbo/dubbo-spring-boot-starter -->
<dependency>
    <groupId>org.apache.dubbo</groupId>
    <artifactId>dubbo-spring-boot-starter</artifactId>
    <version>3.1.5</version>
</dependency>

<!-- https://mvnrepository.com/artifact/com.github.mxsm/zkclient-spring-boot-starter -->
<!-- https://mvnrepository.com/artifact/com.github.sgroschupf/zkclient -->
<!-- https://mvnrepository.com/artifact/org.apache.zookeeper/zookeeper -->
<dependency>
    <groupId>org.apache.zookeeper</groupId>
    <artifactId>zookeeper</artifactId>
    <version>3.7.0</version>
    <exclusions>
        <exclusion>
            <groupId>org.slf4j</groupId>
            <artifactId>slf4j-log4j12</artifactId>
        </exclusion>
    </exclusions>
</dependency>
<!-- https://mvnrepository.com/artifact/com.github.sgroschupf/zkclient -->
<dependency>
    <groupId>com.github.sgroschupf</groupId>
    <artifactId>zkclient</artifactId>
    <version>0.1</version>
    <exclusions>
        <exclusion>
            <groupId>org.apache.zookeeper</groupId>
            <artifactId>zookeeper</artifactId>
        </exclusion>
    </exclusions>
</dependency>
<!-- https://mvnrepository.com/artifact/org.apache.curator/curator-framework -->
<dependency>
    <groupId>org.apache.curator</groupId>
    <artifactId>curator-framework</artifactId>
    <version>5.2.0</version>
</dependency>
<!-- https://mvnrepository.com/artifact/org.apache.curator/curator-recipes -->
<dependency>
    <groupId>org.apache.curator</groupId>
    <artifactId>curator-recipes</artifactId>
    <version>5.2.0</version>
</dependency>
<!-- https://mvnrepository.com/artifact/org.apache.curator/curator-x-discovery -->
<dependency>
    <groupId>org.apache.curator</groupId>
    <artifactId>curator-x-discovery</artifactId>
    <version>5.2.0</version>
</dependency>
application.properties
server.port=8080
# 服务应用名字
dubbo.application.name=privoder-server
# 注册中心地址
dubbo.registry.address=zookeeper://192.168.84.131:2181
# 哪些服务要被注册
dubbo.scan.base-packages=com.lzy.service
Service
TicketService
public interface TicketService {
    public String getTicket();
}
TicketServiceImpl
package com.lzy.service.impl;

import com.alibaba.dubbo.config.annotation.Service;
import com.lzy.service.TicketService;
import org.springframework.stereotype.Component;

// 服务注册与发现
// 可以被扫描到,在项目启动就自动注册到项目中心
@Service
@Component // 这里尽量不要使用Service注解
public class TicketServiceImpl implements TicketService {
    @Override
    public String getTicket() {
        return "购买一张票";
    }
}
这里一定要注意Service的导包哦!!!!!
3.2、consumer
坐标
同上
application.propertis
server.port=8081
# 消费者要去哪里拿,需要暴露自己的名字
dubbo.application.name=consumer-server
# 注册中心的地址
dubbo.registry.address=zookeeper://192.168.84.131:2181
service
UseService
import com.alibaba.dubbo.config.annotation.Reference;
import org.springframework.stereotype.Service;

@Service // 放到容器中
public class UserService {
    // 去Zookeeper中拿到你要用的方法
    @Reference //  引用 : pom坐标,可以定义路径相同的接口名
    TicketService ticketService;

    public void buyTicket(){
        String ticket = ticketService.getTicket();
        System.out.println("在注册中心拿到=》" + ticket);
    }
}
还是要注意这个Service哦!!!!
TicketServiceImpl
public interface TicketService {
    public String getTicket();
}
要与服务端搞一个相同方法的接口,这样你的方法拿过来后才有地方放着
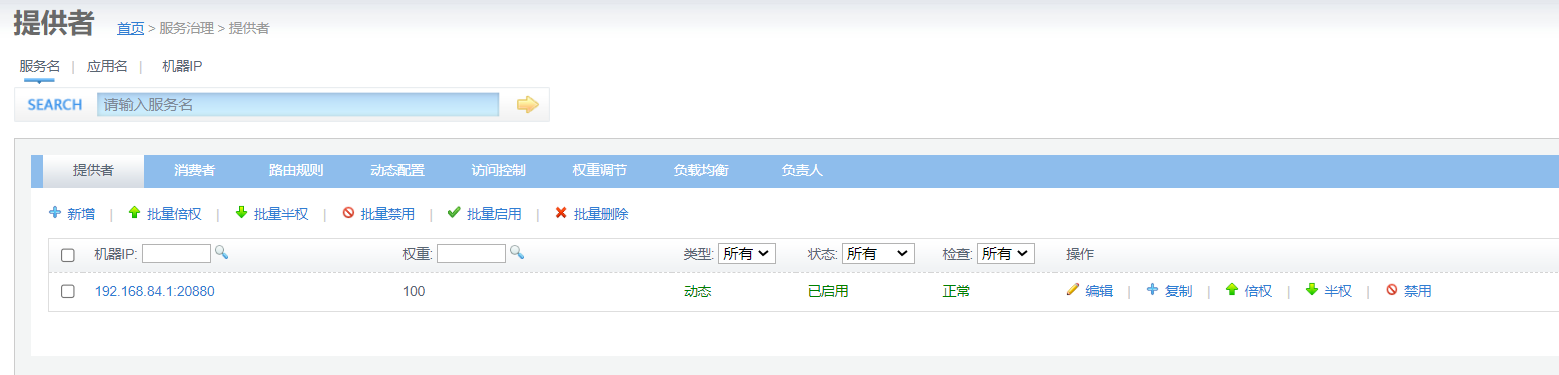
3.3、测试
- 首先先启动privoder这个项目,然后到
http://localhost:7001/中你就可以看到
- 然后启动consumer这个项目,编写测试方法
import com.lzy.service.UserService;
import org.junit.jupiter.api.Test;
import org.springframework.beans.factory.annotation.Autowired;
import org.springframework.boot.test.context.SpringBootTest;

@SpringBootTest
class ConsumerServerApplicationTests {
    @Autowired
    private UserService userService;

    @Test
    void contextLoads() {
        userService.buyTicket();
    }
}

这样你就可以使用到这个你rpc的方法了!!!!


 1771
1771


 被折叠的 条评论
为什么被折叠?
被折叠的 条评论
为什么被折叠?
 到【灌水乐园】发言


