


用一台机器搭harbor
先安装docker工具,因为装harbor需要docker
[root@harbor ~]# cd /etc/yum.repos.d
[root@harbor yum.repos.d]# wget https://mirrors.ustc.edu.cn/docker-ce/linux/centos/docker-ce.repo
[root@harbor yum.repos.d]# sed -i 's#download.docker.com#mirrors.ustc.edu.cn/docker-ce#g' docker-ce.repo 把源的地址修改好
[root@harbor yum.repos.d]# yum makecache 做个缓存
[root@harbor yum.repos.d]# yum -y install docker-ce 安装docker
[root@harbor yum.repos.d]# systemctl enable --now docker 启动docker
把docker-compose拷贝到系统里,我是本地传的
[root@harbor ~]# cd /usr/local/bin/
[root@harbor bin]# wget https://mirrors.hiops.icu/packages/docker-compose-linux-x86_64 --no-check-certificate
[root@harbor bin]# chmod a+x /usr/local/bin/docker-compose-linux-x86_64 加一个执行权限
[root@harbor bin]# ln -s /usr/local/bin/docker-compose-linux-x86_64 /usr/bin/docker-compose
[root@harbor ~]# wget https://mirrors.hiops.icu/packages/harbor-offline-installer-v2.6.1.tgz --no-check-certificate
[root@harbor ~]# tar xf harbor-offline-installer-v2.6.1.tgz -C /usr/local/ 解压到usr/local目录中
[root@harbor local]# cd /usr/local/harbor/
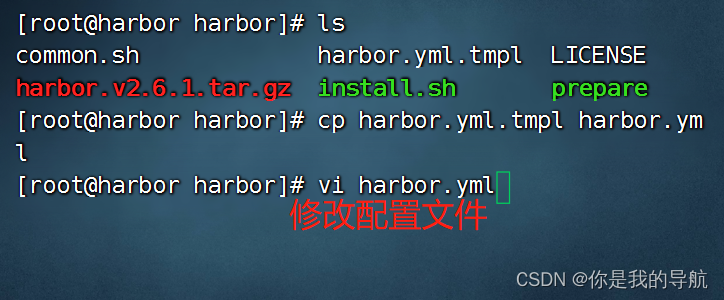
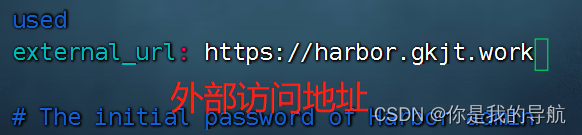
生成证书。
[root@harbor ~]# mkdir /usr/local/harbor/certs 创建证书的路径
[root@harbor harbor.gkjt.work]# cp /etc/letsencrypt/archive/harbor.gkjt.work/fullchain1.pem privkey1.pem /usr/local/harbor/certs/

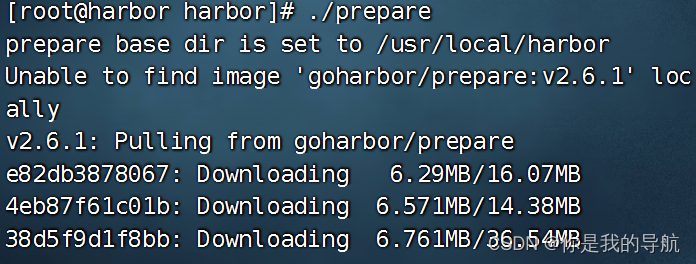
[root@harbor harbor]# mkdir /data/
[root@harbor harbor]# ./prepare 生成相应的配置文件,下载harbor提前准备好的镜像。
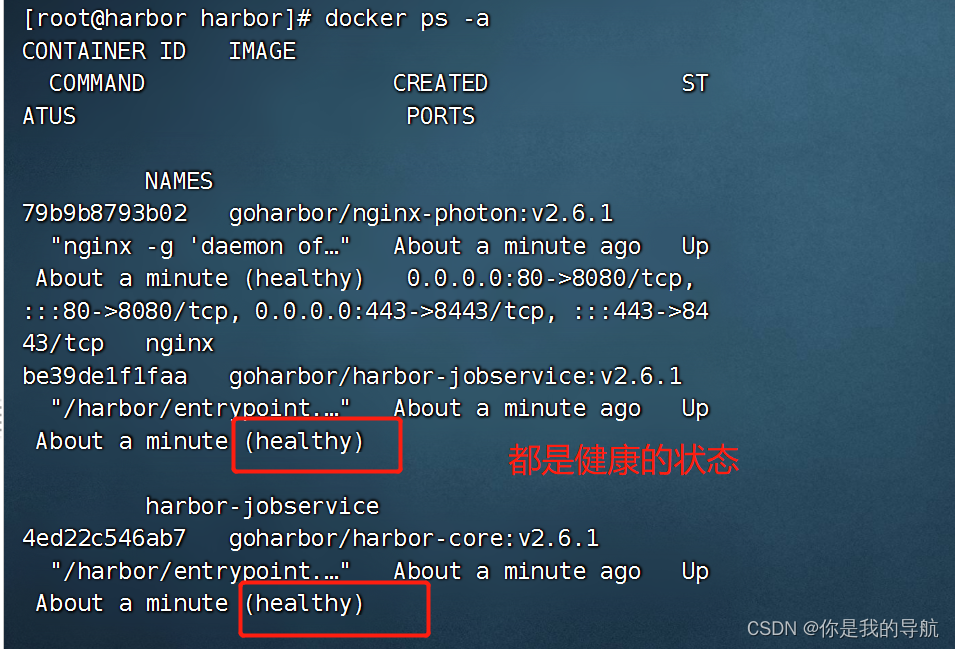
[root@harbor harbor]# ./install.sh
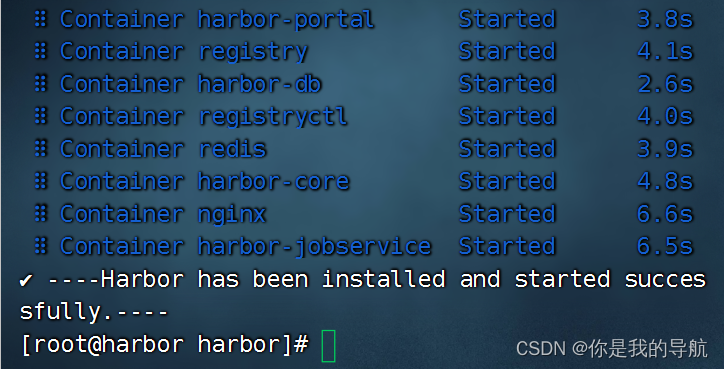
容器基本上都启动了。

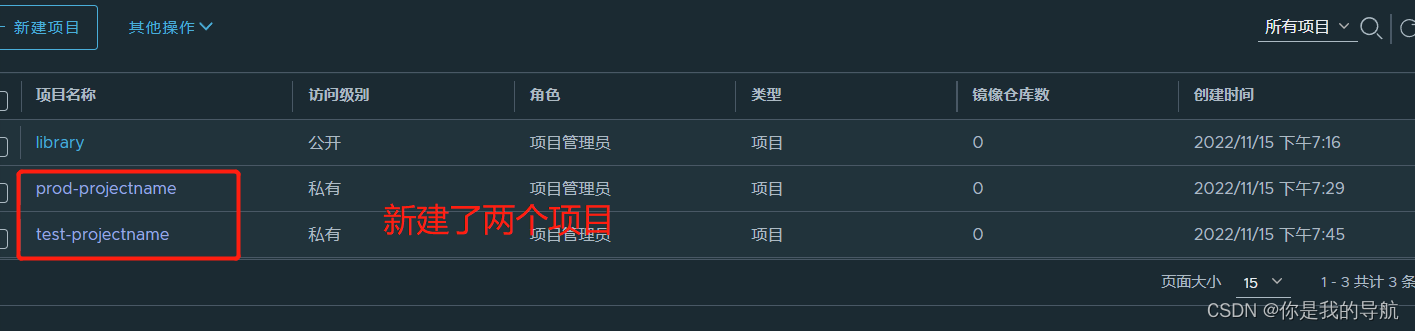
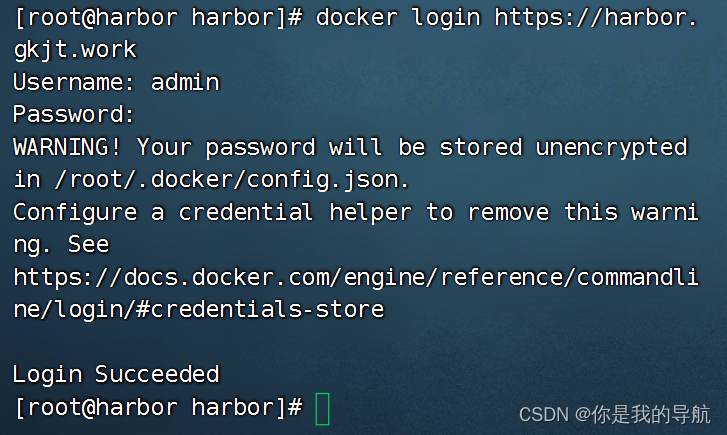
去浏览器访问,登录成功后,先改密码,
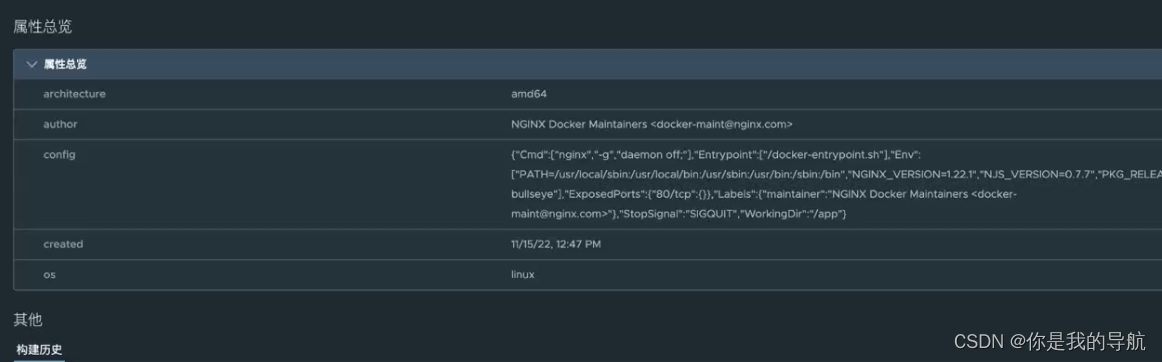
[root@harbor harbor]# docker image ls


现在将去完成在gitlab,Jenkins,harbor中间整个一套的ci我们是如何实现的。
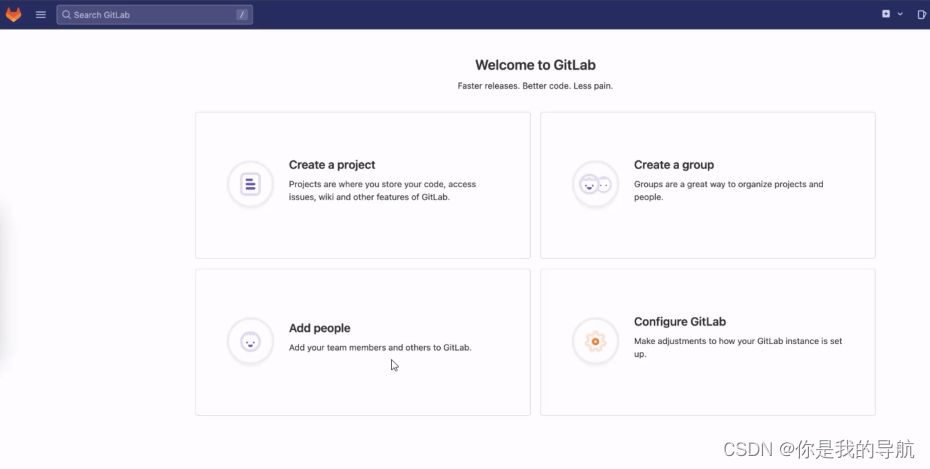
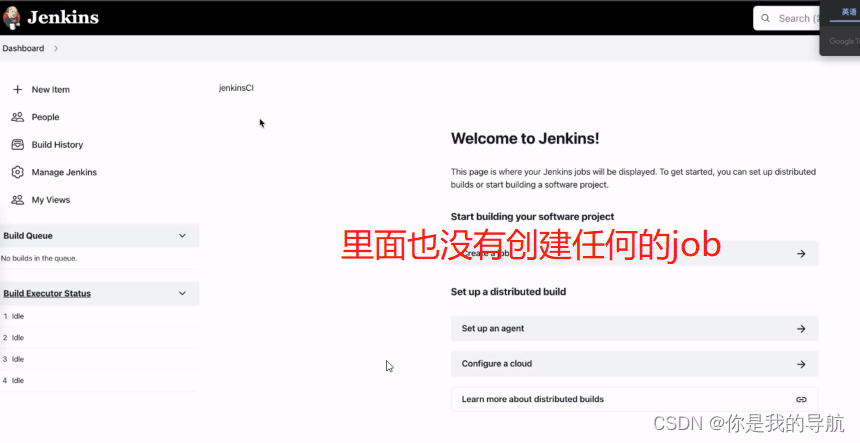
打开gitlab,Jenkins,这两个都是空环境,
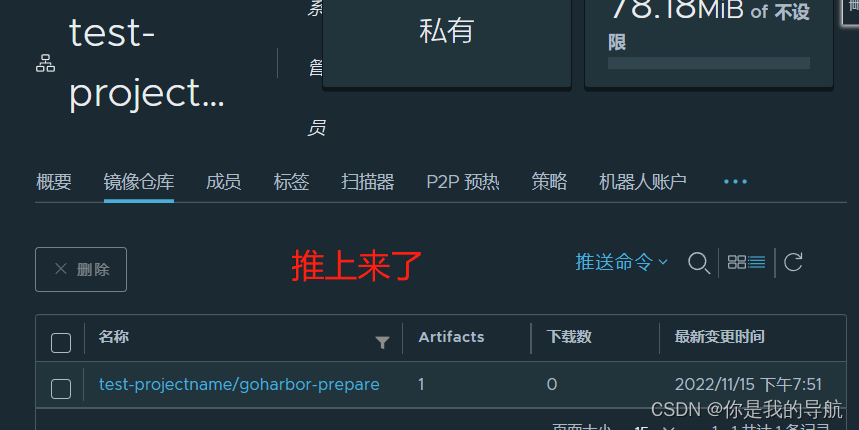
gitlab,Jenkins,harbor配合起来怎么去实现,比如想搞一个前端的项目,把vue的代码放进去,然后在分不同的分支,在Jenkins里进行项目的打包构建,并且把镜像仓库里的私有镜像传上去(用Jenkins传),这个过程应该怎么去做。
gitlab,Jenkins,harbor这三个平台如何联动起来
将前端vue的项目放到gitlab里,再让Jenkins去自动的拉取,并且打包成镜像,传送到harbor里。
[root@harbor ~]# git clone https://gitee.com/mirschao/webserver-vue.git 把webserver-vue.git克隆到本地
安装gitlab安装Jenkins
请看前几期作品
再到gitlab中创建一个项目
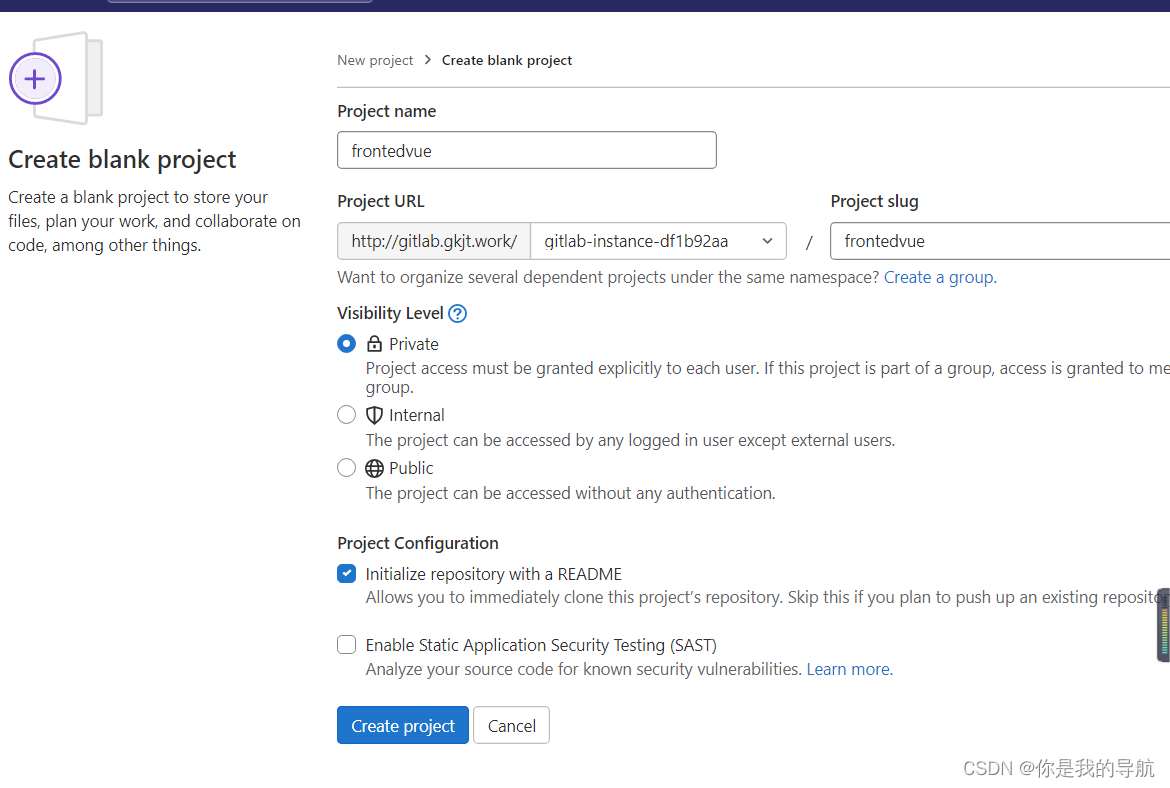
把 Auto DevOps关掉,占资源
将刚刚克隆的webserver-vue里面的代码上传到frontedvue仓库里,使用ssh的方式,去配置ssh的密钥,
[root@harbor ~]# ssh-keygen生成密钥
[root@harbor ~]# cat ~/.ssh/id_rsa.pub 把公钥放上去

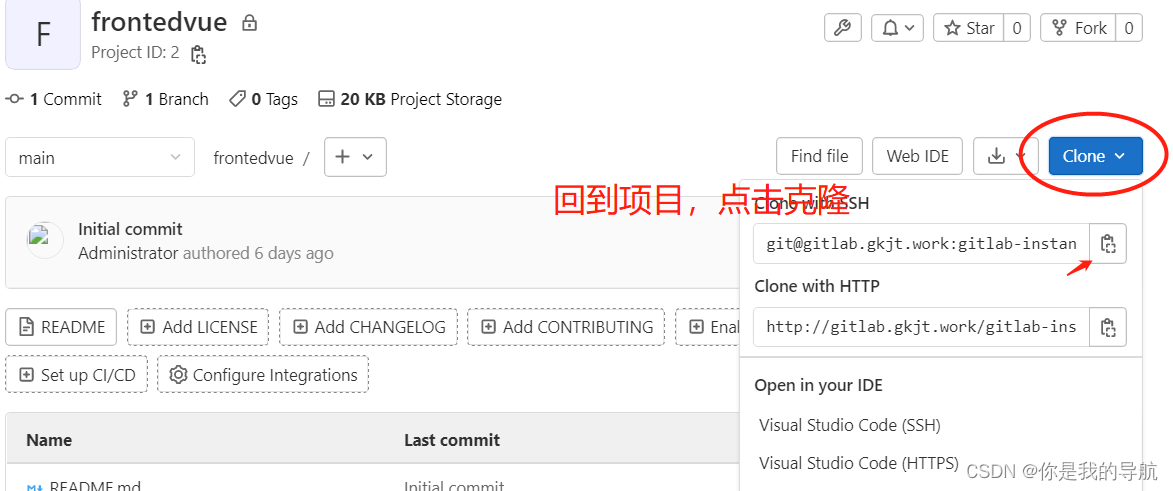
[root@harbor ~]# git clone git@gitlab.gkjt.work:gitlab-instance-df1b92aa/frontedvue.git
现在有webservervue frontedvue 将webservervue里所有的文件放到frontedvue
[root@harbor ~]# mv webserver-vue/* frontedvue/ 现在去使用gitadd 给它推送上去,推送之前设置自己本地的信息
[root@harbor frontedvue]# git config --local user.email misr_kai@163.com
[root@harbor frontedvue]# git config --local user.email misr_kai
[root@harbor frontedvue]# git add --all[root@harbor frontedvue]# git commit -m "build test"
[root@harbor frontedvue]# git push

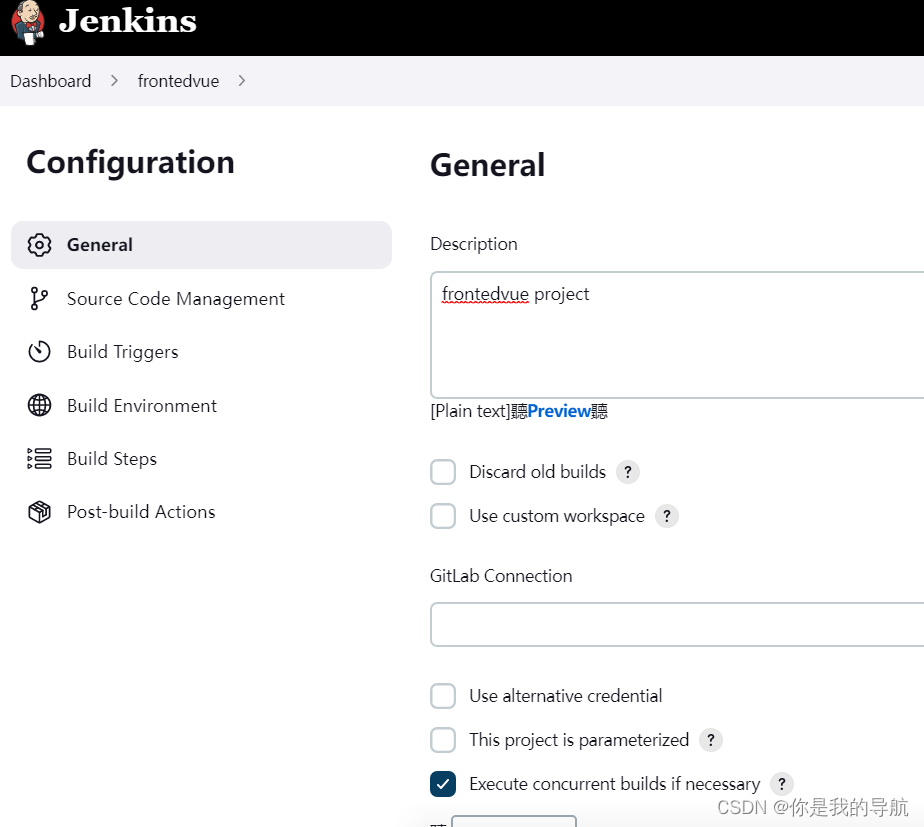
现在就要调整仓库和Jenkins里面有没有一对一的对应关系,调整Jenkins,在Jenkins中新建项目
【注意】少熬夜,多看书。


 1517
1517


 被折叠的 条评论
为什么被折叠?
被折叠的 条评论
为什么被折叠?
 到【灌水乐园】发言


