


 本文详细介绍了如何安装VMwareWorkstation17Pro,包括下载、安装过程以及许可激活。接着,文章提供了创建并配置CentOS7.6虚拟机的步骤,涉及网络设置、磁盘分配和操作系统安装。对于初学者,文中给出了关于网络模式和磁盘选择的解释。
一、安装 VMware
附官方下载链接(VM 17 pro):https://download3.vmware.com/software/WKST-1701-WIN/VMware-workstation-full-17.0.1-21139696.exe
打开下载好的VMware Workstation 17 Pro安装包;

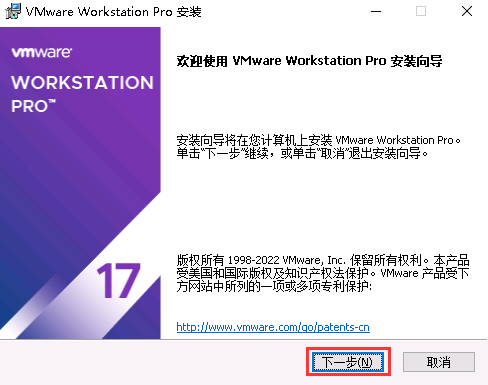
点击下一步;
勾选我接受许可协议中的条款,下一步;

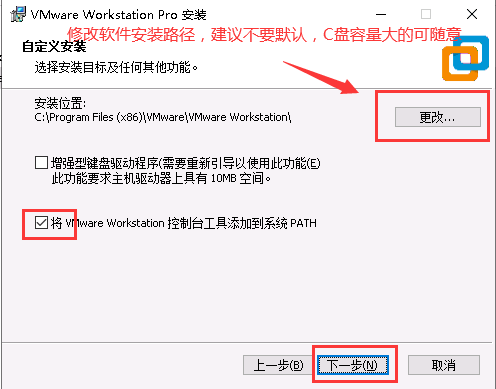
修改VM安装路径,勾选将VMware Workstation控制台工具添加到系统PATH,下一步;
启动时检查产品更新与加入VMware客户体验计划可不选择,下一步;

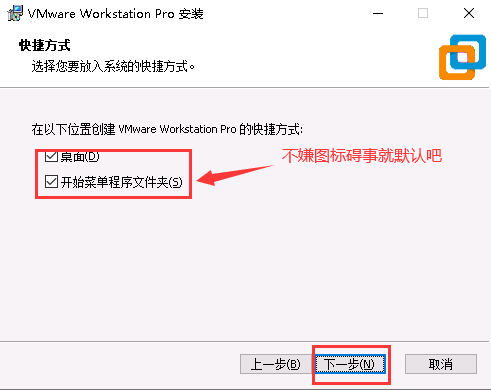
桌面快捷方式与开始菜单程序文件夹可选,下一步;
点击安装;


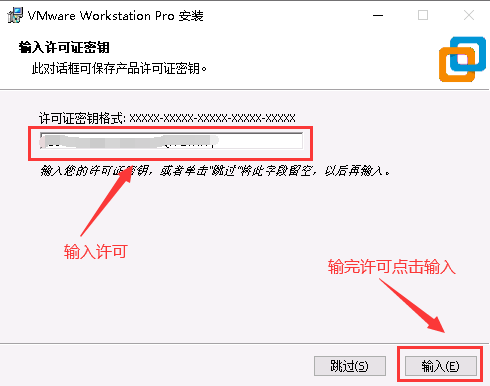
有许可点击许可证,无许可点击完成;
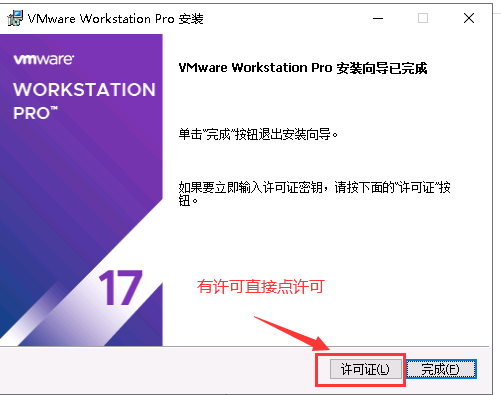
点击许可证后在下图框中输入许可证,然后点击输入;
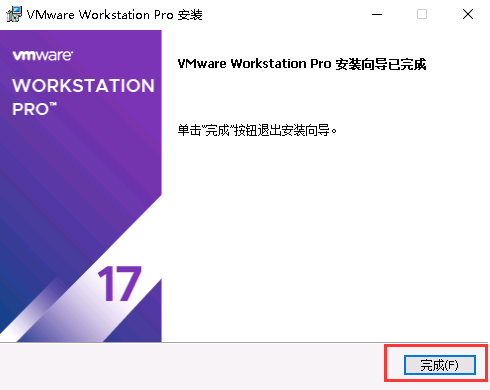
点击完成,VMware Workstation 17 pro安装完成。
二、配置虚拟机
附CentOS-7.6下载地址:https://pan.baidu.com/s/1WkLv5z1EIzmoQm7W_-OKrQ提取码: 05wa
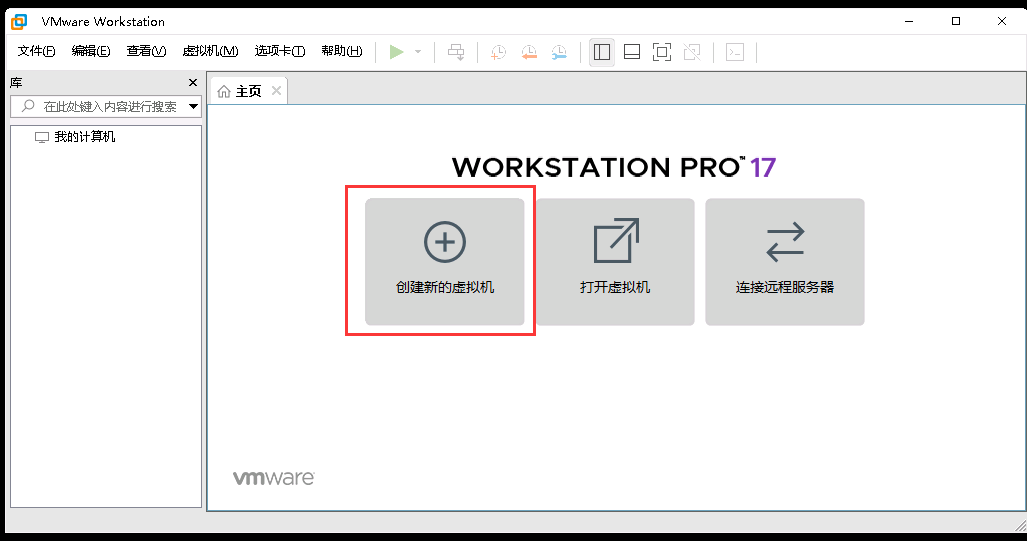
选择创建新的虚拟机;
想要简单点就选择典型,典型只要配置镜像源和硬盘大小就可以直接安装了;这边我写一下自定义选项;
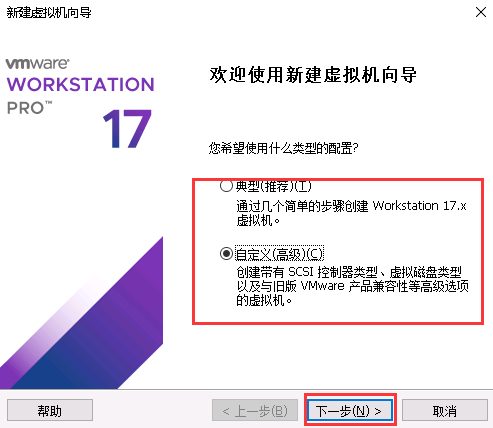
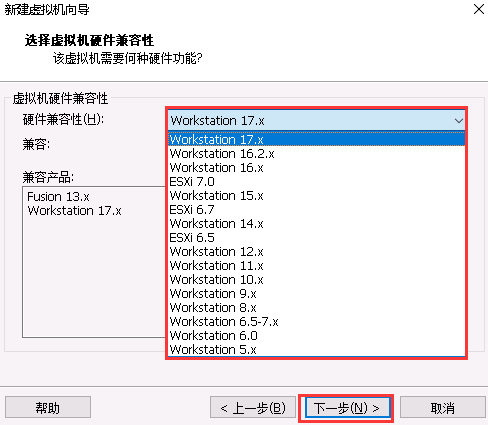
硬件兼容性选择的话可以默认,如果你需要从低版本workstation中将虚拟机拷贝到17中使用的话需要选择旧版本的版本号,例如你原本用的是workstation14,然后想将虚拟机拷贝到workstation17中使用,那你这里就要选workstation 14.x;
这里我选择创建一个空白盘,然后后台路径选择镜像文件本地路径地址;这里你也可以直接选择安装程序光盘镜像文件然后准备开始安装;

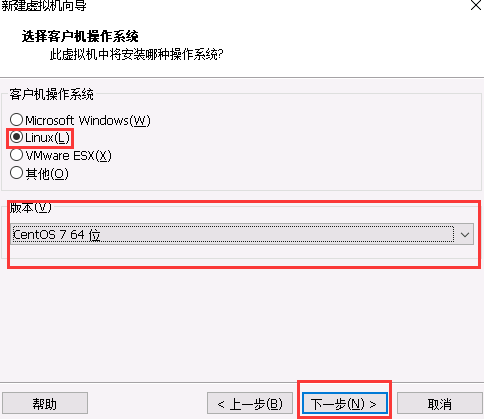
客户机操作系统选择linux,版本选择你们自己镜像的对应版本,我这边是centos 7.6,所以选择centos 7;
虚拟机的名称你可以随便自定义,位置选择的是你虚拟机将要存放的路径,别无脑选C盘,会爆的(什么,你说你有几个T的C盘那当我没说,手动狗头);

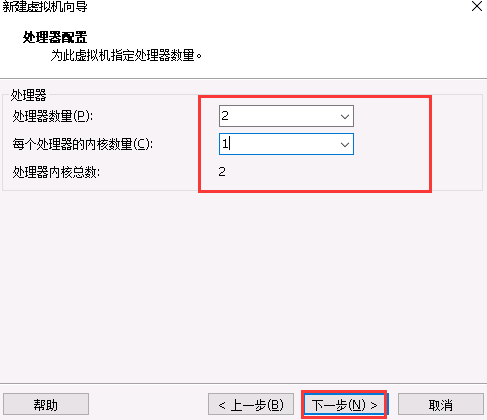
处理器数量和内核数量这些看着填,不要超过自己本机的数量;
虚拟机内存数量如上,也是不要超自己本机内存,一般跑个4-8G是够用了,主要看你用来跑什么;

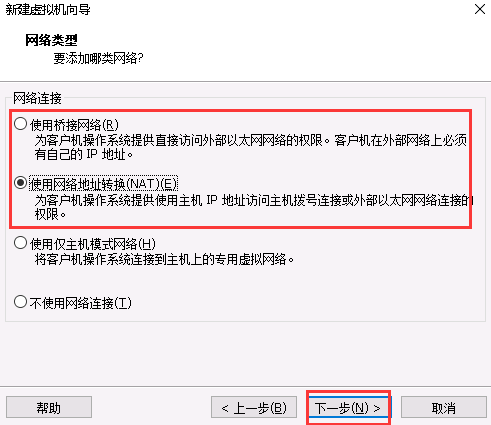
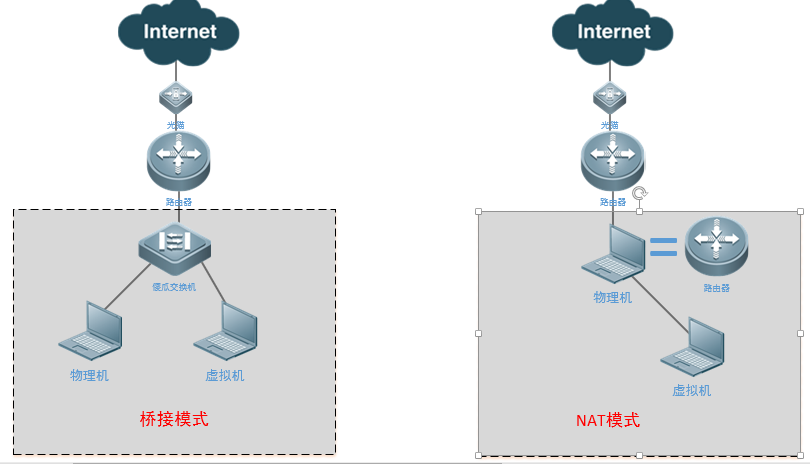
这里我重点讲一下,网络中本身存在DHCP服务器的(比如家用路由器的)可以选择使用桥接网络,选择桥接网络就相当于虚拟机和本机同处一个网络当中,相当于你另外又插了一台电脑在家用路由器上;而使用网络地址转换NAT的话,相当于把你的本机电脑当做路由器,虚拟机获取的是内部地址,通过把地址转换成你的本机IP去访问外部资源;我画个图,差不多应该是下面这样,emmmmmm,图可能有点low;
没有特殊需求的话,这里默认就行;
没有特殊需求,同样默认就行;

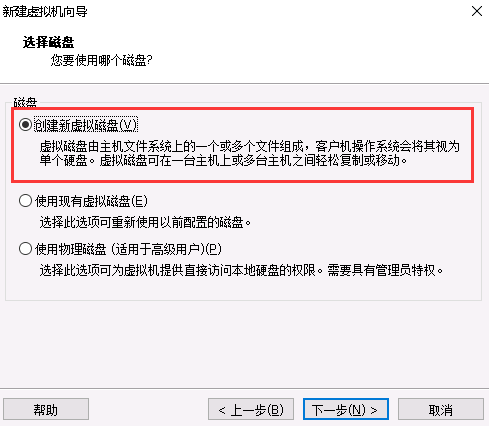
新装的系统就直接选择创建新虚拟磁盘;
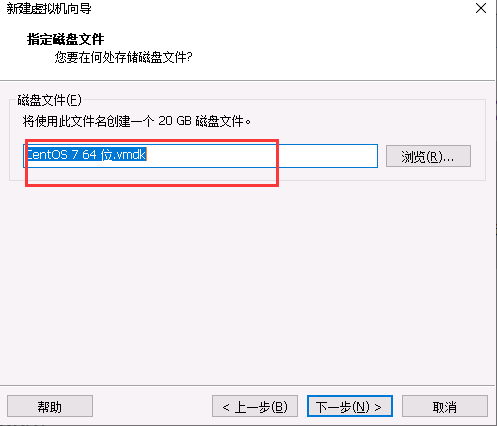
磁盘空间看着给,别超过你要放的那个盘容量就行;存储为单个文件还是多个文件,虚拟机不会存储太多数据的话存储单个就行;至于立即分配所有磁盘空间的话就不要勾了,不然就直接先吃了你分配的磁盘大小,随使用量增长而增长就行了;

磁盘文件名,默认就行;
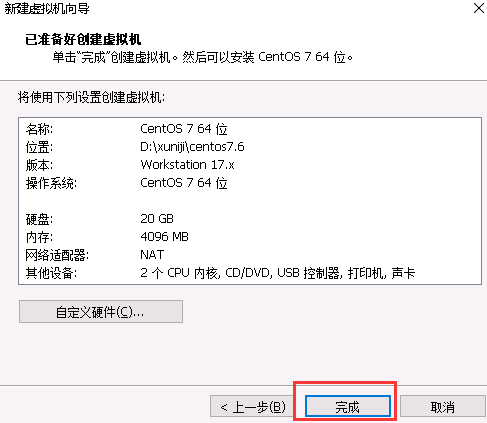
点击完成,虚拟机空间和配置基本就配置完了;
三、安装linux操作系统
选择编辑虚拟机设置
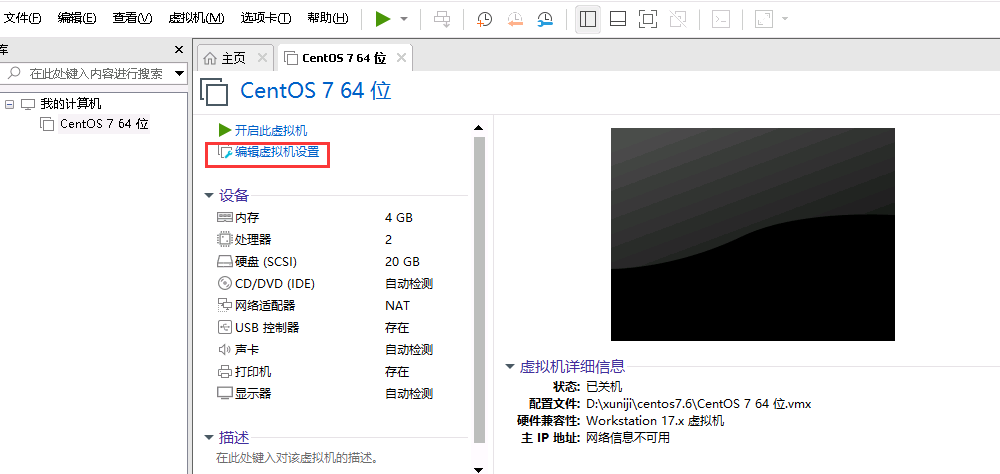
选择CD/DVD,然后在右侧选择启动时连接,然后在使用ISO镜像文件中选择你下载的linux镜像文件;

选择完毕以后开启虚拟机;

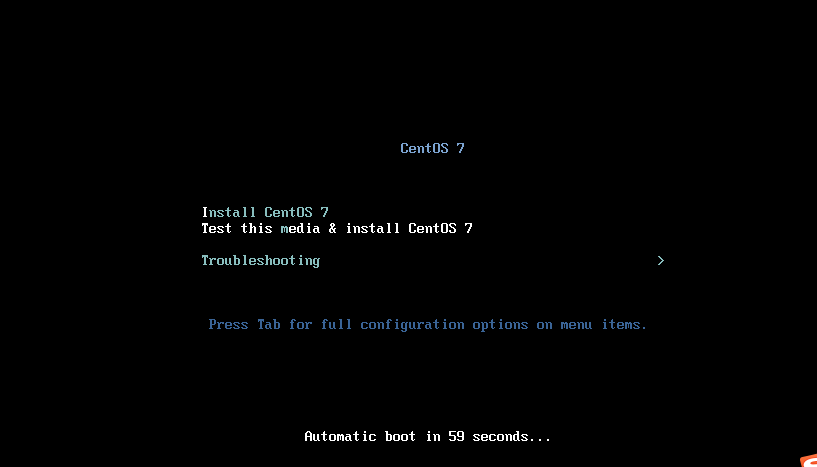
如果你确定你的镜像没有问题直接选第一个Install CentOS 7,不确定选第二个,选第二个会在测试完镜像后进入安装程序,第一个则是直接进入安装程序;
可选中文、英文等,看你喜欢在哪种语言环境进行安装系统;

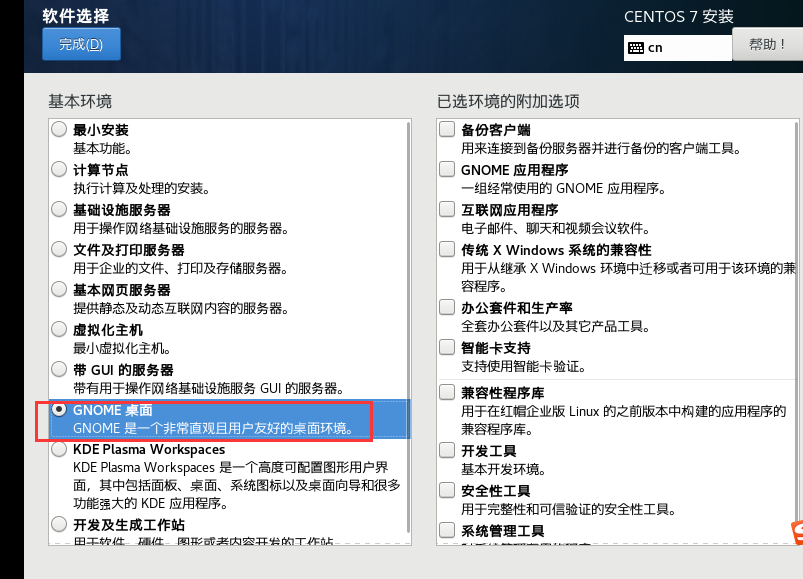
键盘、语言、时区可选,一般我们选亚洲上海,简体中文;这里讲一下软件选择,一般习惯windows的用户选择GNOME桌面,安装完就是图形界面,选择最小化安装的话就是全字符界面,不推荐新手使用;

带感叹号的是需要确认的,如果你暂时不需要添加另外磁盘,进入安装位置,然后点击完成即可;网络和主机名可以安装完再配置,也可以现在配置,如果你不需要使用固定IP的话,打开网卡开关,点击完成即可;
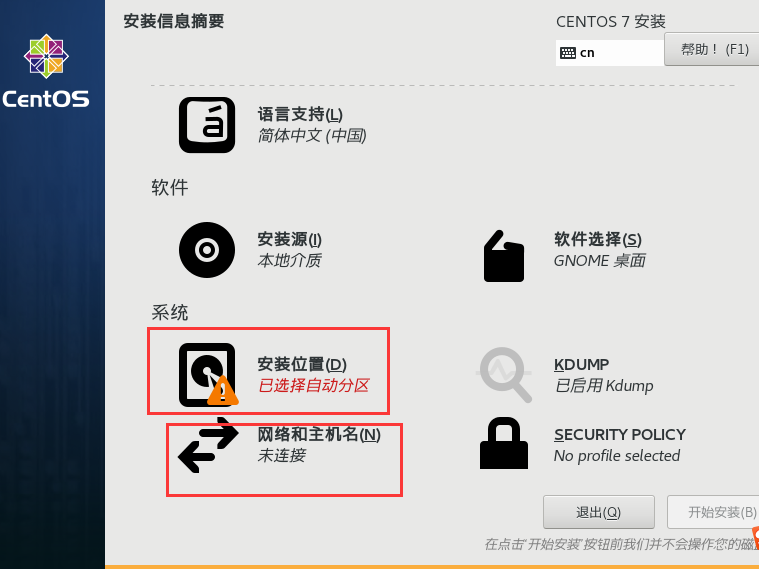

该确认的项都确认以后,点击开始安装;

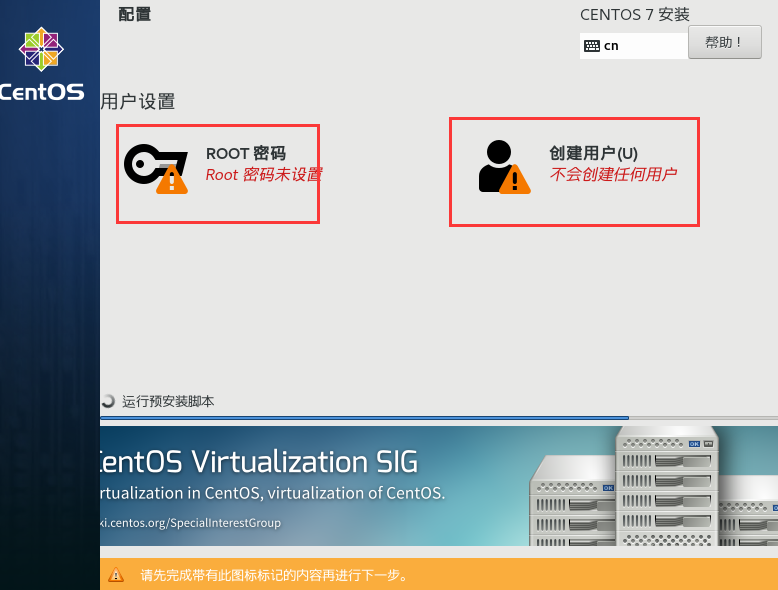
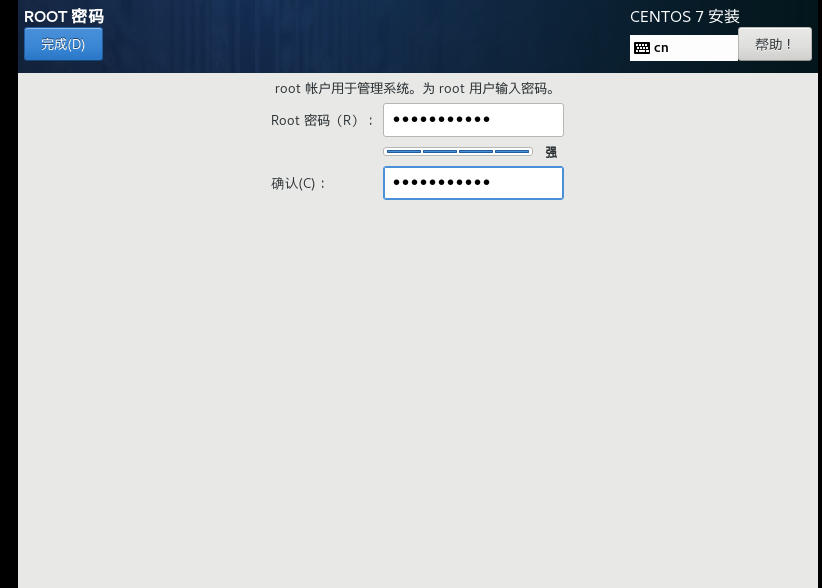
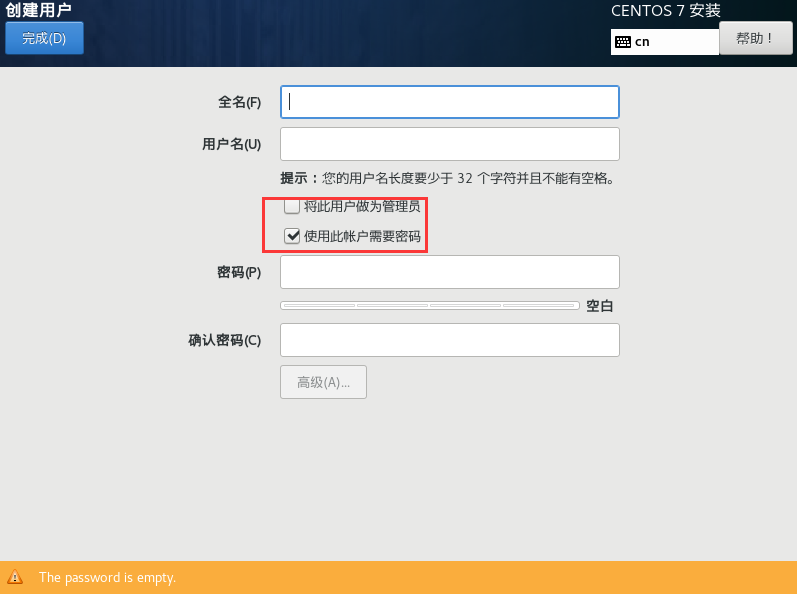
点击ROOT密码,设置你的root用户密码,点击完成;然后点击创建用户,创建一个普通用户或者管理员用户,用户ID与用户组ID均可选,你可以选择默认;这些都完成后,你只需要等待安装完成
安装完成后点击重启;

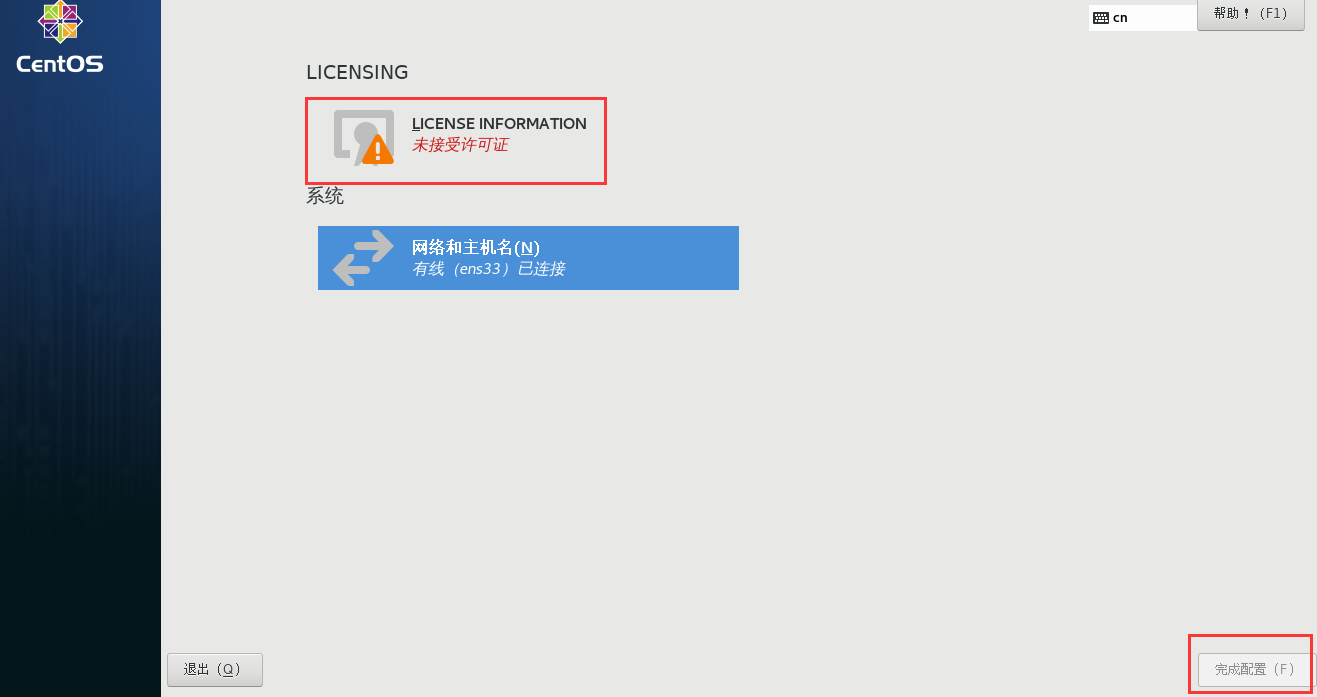
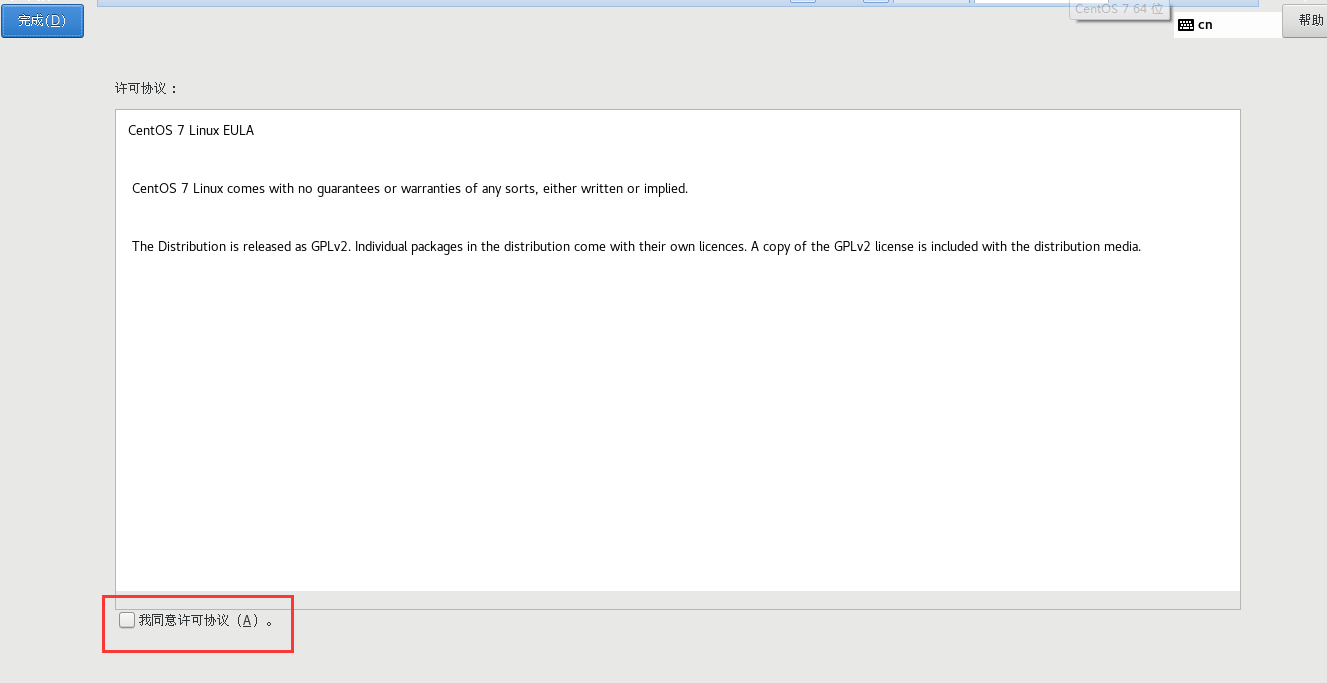
点击LICENSE INFORMATION,勾选我同意许可协议,点击完成,然后点击完成配置;
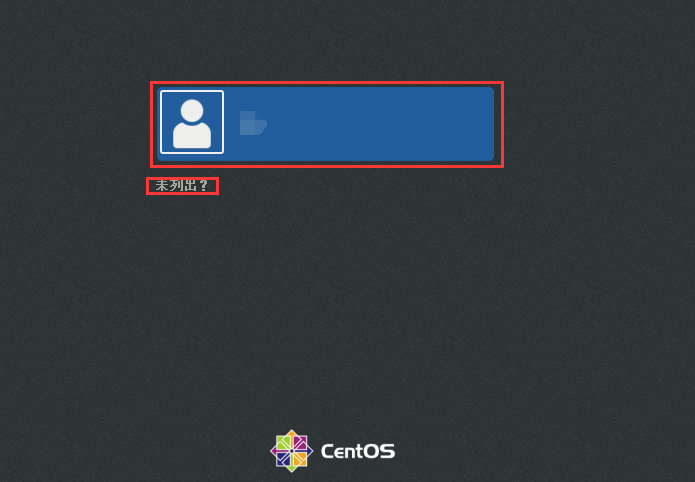
点击你创建的用户输入密码登陆系统,或者点击未列出,输入root和密码登陆系统界面;
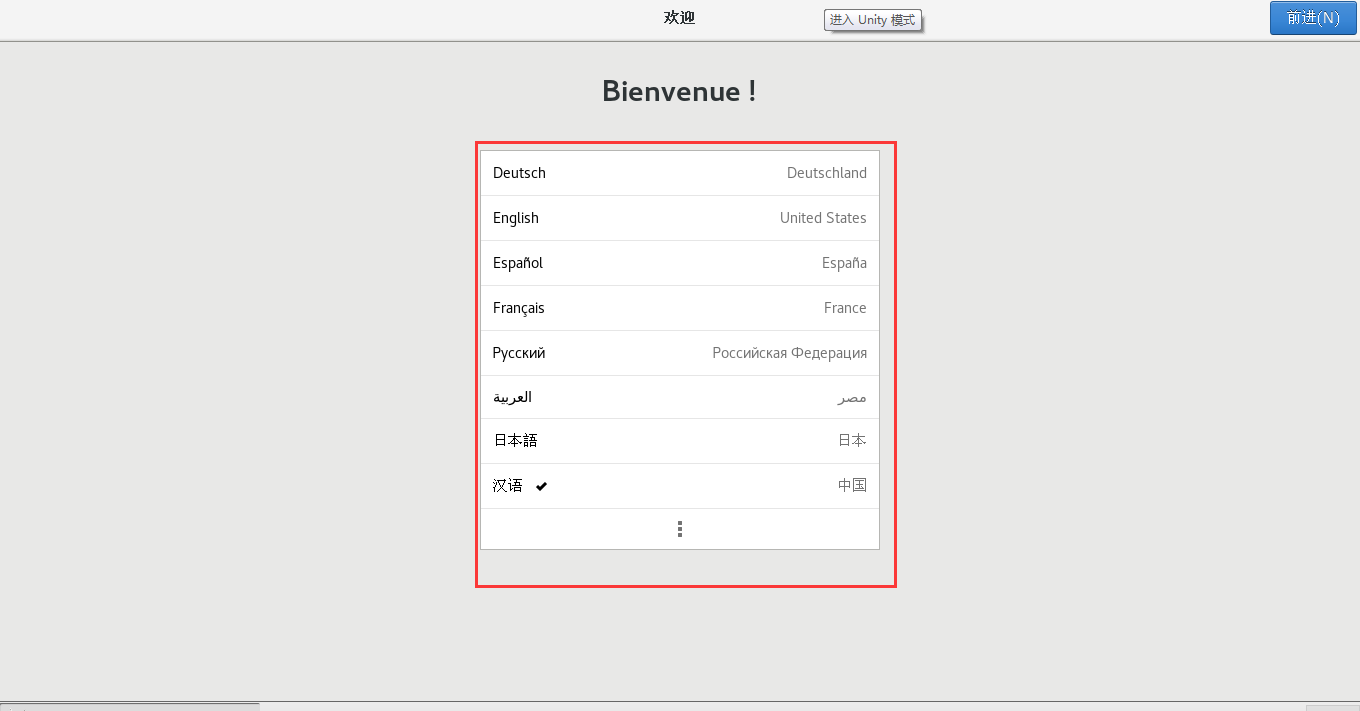
选择你需要的语言,然后点击前进;
选择你的键盘布局,点击前进;

位置服务可选,点击前进;

在线账号可不选,点击跳过;

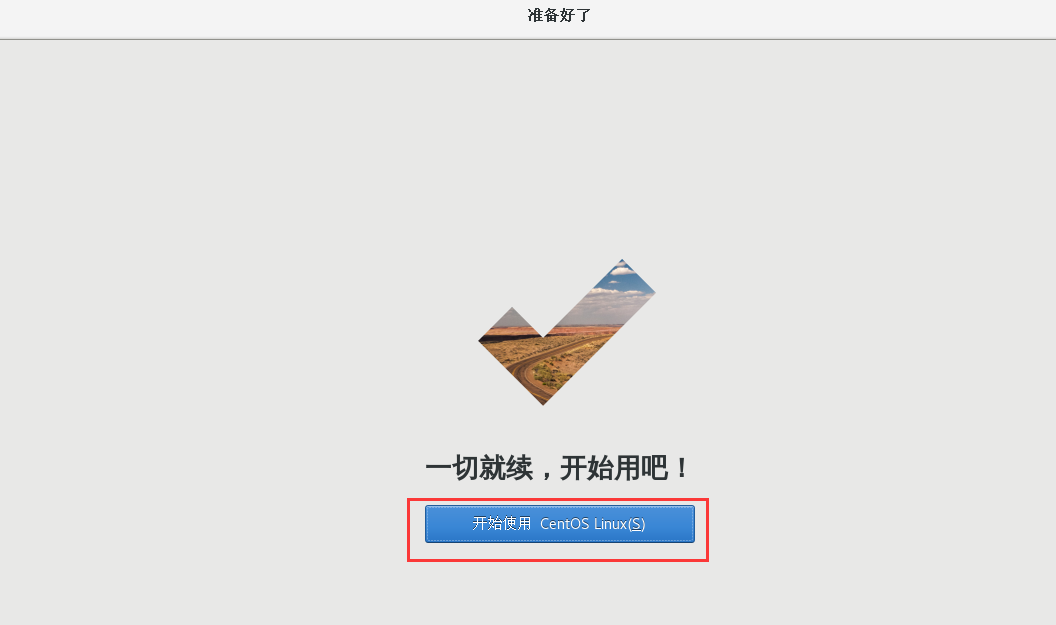
点击开始使用CentOS Linux,至此安装全部完毕。
流程全过了一遍,祝大家玩的开心,手动狗头。8年的笔记本遭不住了啊,我连个虚拟机CPU内核都选不起,大写的惨,溜了溜了。


 3748
3748

 被折叠的 条评论
为什么被折叠?
被折叠的 条评论
为什么被折叠?
 到【灌水乐园】发言


