


 本文详细介绍了Zabbix监控系统的部署步骤,包括系统环境优化、安装源配置、Zabbix组件及数据库的安装、数据表导入、配置修改、服务启动以及Web登录。此外,还讲解了如何解决图形中文乱码问题,并演示了Grafana的安装、Zabbix插件的集成以及使用,包括模板导入和汉化操作,以实现监控数据的图形化展示。
文章目录
zabbix部署安装
1.系统环境优化
#关闭selinux及firewalld
sed -i 's/SELINUX=enforcing/SELINUX=disabled/' /etc/selinux/config
systemctl disable --now firewalld
2.配置安装源
#配置zabbix官方源
rpm -Uvh https://repo.zabbix.com/zabbix/5.3/rhel/8/x86_64/zabbix-release-5.3-1.el8.noarch.rpm
yum clean all
3.安装zabbix
#安装zabbix
yum install zabbix-server-mysql zabbix-web-mysql zabbix-nginx-conf zabbix-sql-scripts zabbix-agent

#安装数据库
yum install mariadb-server -y
4.数据库初始化
#初始化数据库
mysql_secure_installation
Enter current password for root (enter for none): 回车 (输入root的当前口令(输入为无):)
Set root password? [Y/n] y (是否设置密码)
New password: 1234 (输入设置密码)
Re-enter new password: 1234 (再次输入密码)
Remove anonymous users? y (是否移除anonymous用户)
Disallow root login remotely? n (是否不允许root远程登录)
Remove test database and access to it? y (是否移除test数据库)
Reload privilege tables now? y (是否更新)
mysql -u root -p
<create database zabbix character set utf8 collate utf8_bin;(使数据库编译utf8的编码)
<create user zabbix@localhost identified by 'q1w2e3';(这里是数据库密码)
<grant all privileges on zabbix.* to zabbix@localhost;(授权)
<flush privileges;(刷新)
<exit(退出)
5.zabbix数据表格式导入
#数据库的导入zcat
zcat /usr/share/doc/zabbix-sql-scripts/mysql/create.sql.gz | mysql -uzabbix -p zabbix
6.zabbix配置修改
#修改nginx配置文件
vim /etc/nginx/conf.d/zabbix.conf
    listen 80;
    server_name


#更改时区
vim /etc/php-fpm.d/zabbix.conf
php_value[date.timezone] = Asia/Shanghai


#更爱web展示
vim  /etc/zabbix/web/zabbix.conf.php
$ZBX_SERVER                             = '127.0.0.1';
$ZBX_SERVER_PORT                = '10051';
$ZBX_SERVER_NAME                = '(?一笑奈@何)Zabbix-Web';
7.启动zabbix相关服务
#启动相关zabbix服务
systemctl restart zabbix-server zabbix-agent nginx php-fpm
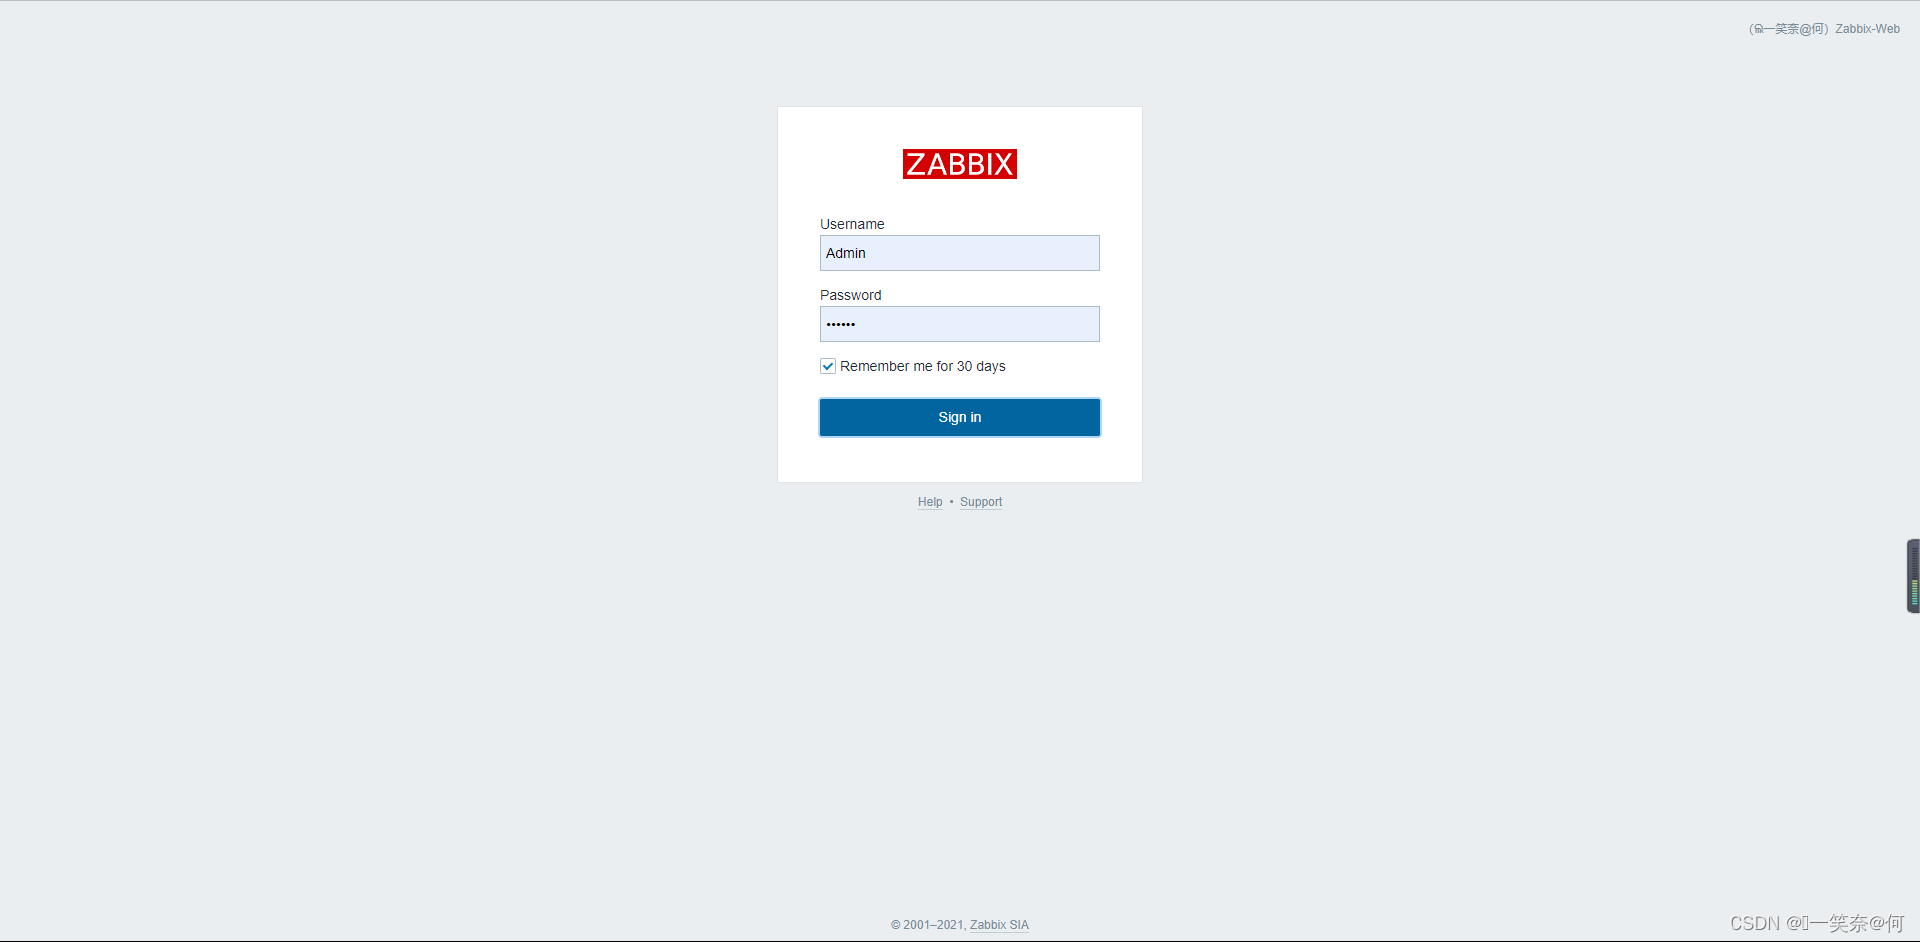
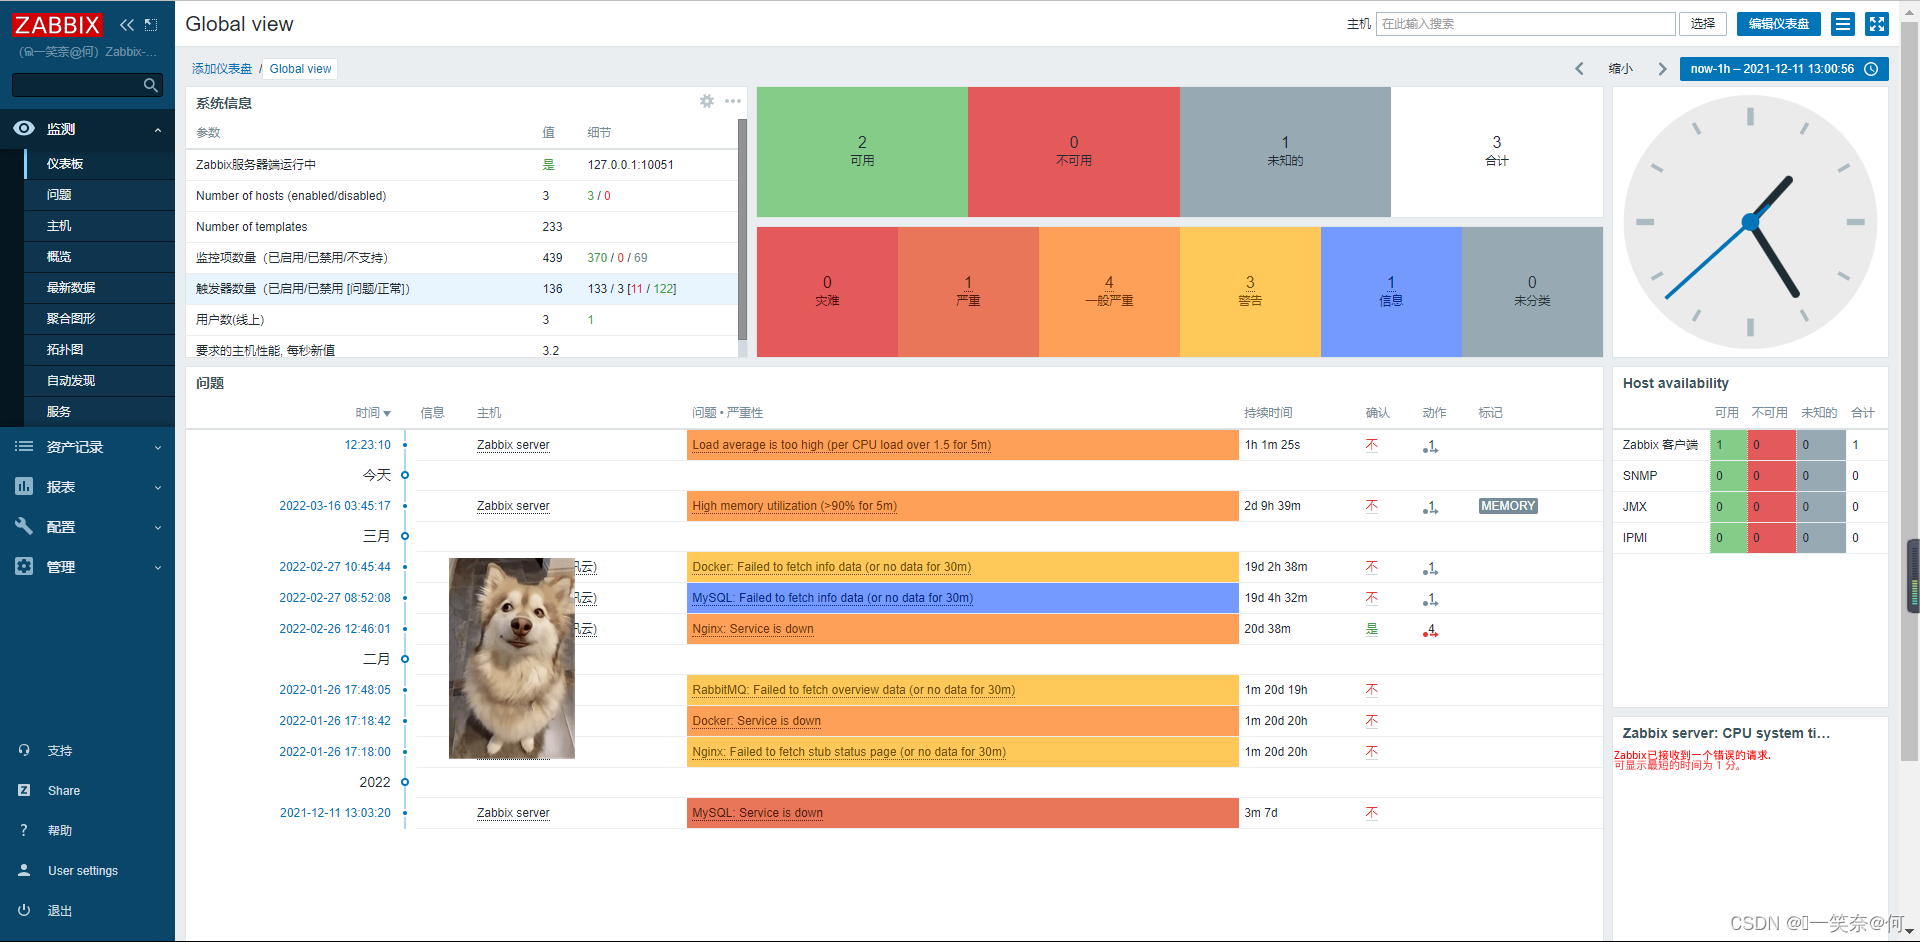
8.web登录
#浏览器输入网址访问web
http://+主机IP
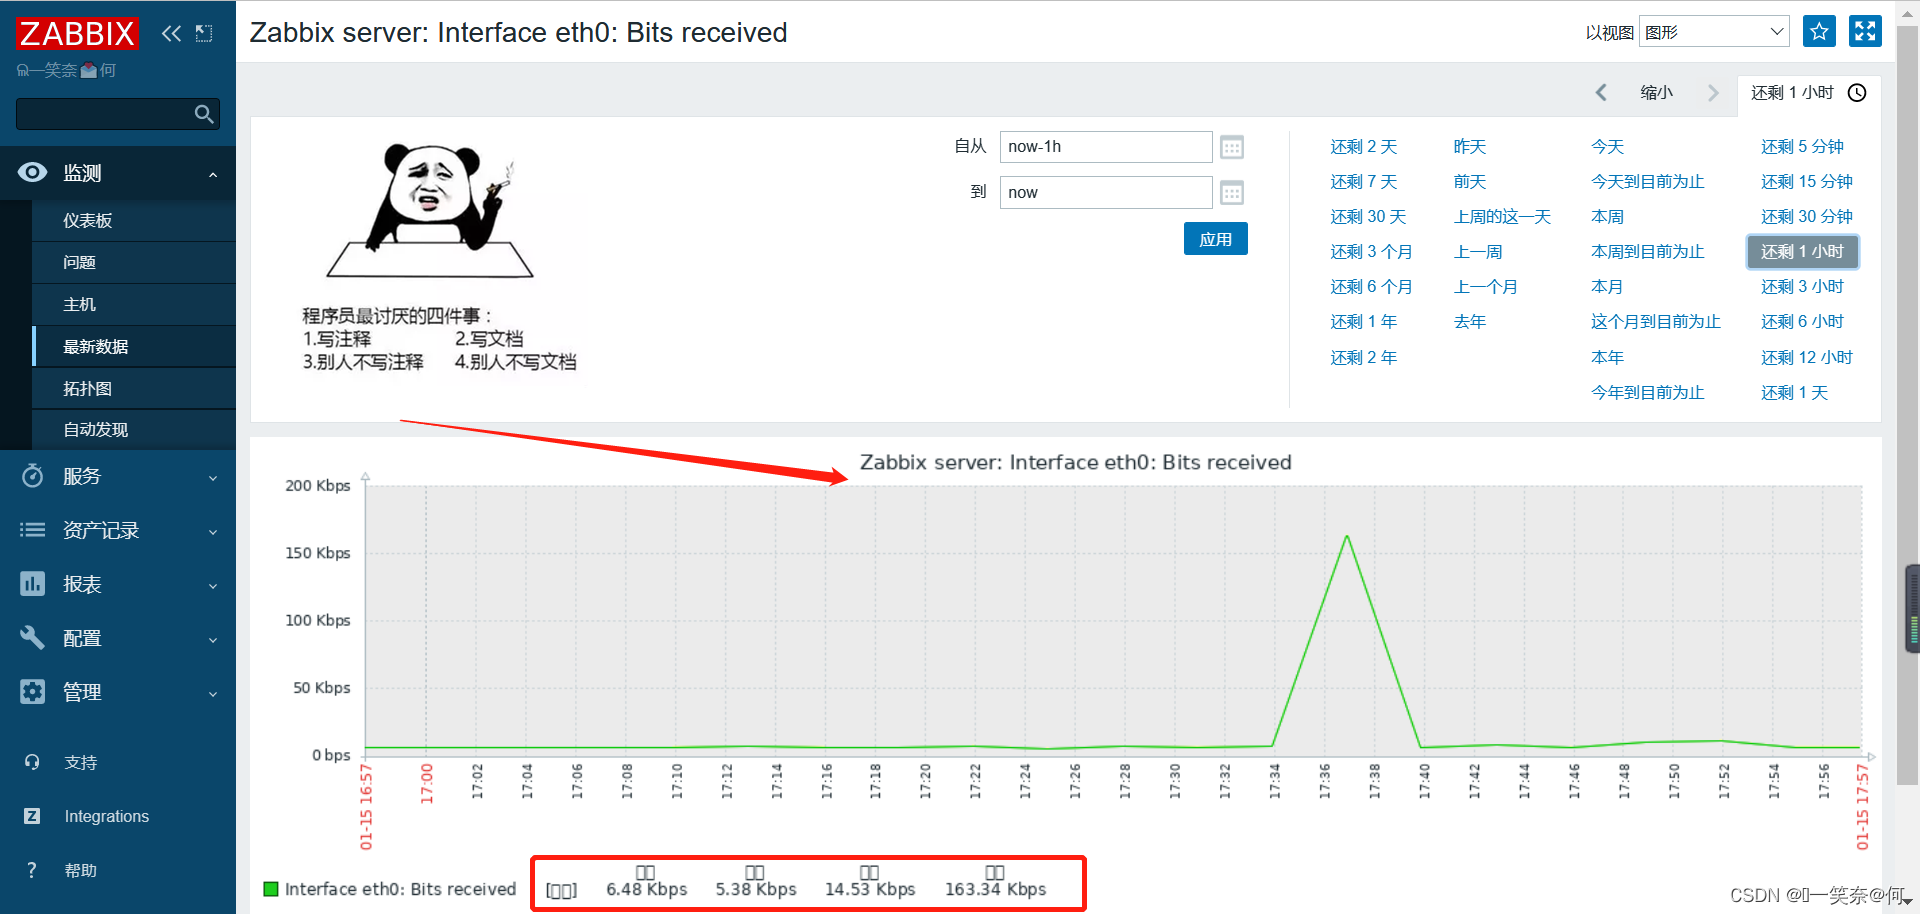
9.图形中文字符乱码
yum -y install wqy-microhei-fonts
cp /usr/share/fonts/wqy-microhei/wqy-microhei.ttc /usr/share/fonts/dejavu/DejaVuSans.ttf
10.安装grafana展示
1)下载grafana安装包
#下载安装包
wget https://mirrors.tuna.tsinghua.edu.cn/grafana/yum/rpm/grafana-8.4.0-1.x86_64.rpm


#查看
rpm -qa grafana
2)grafana安装zabbix插件
#安装zabbix组件
grafana-cli plugins install alexanderzobnin-zabbix-app


#zabbix插件查看
grafana-cli plugins list-remote | grep zabbix


#启动grafana服务
systemctl restart grafana-server.service
11.grafana使用
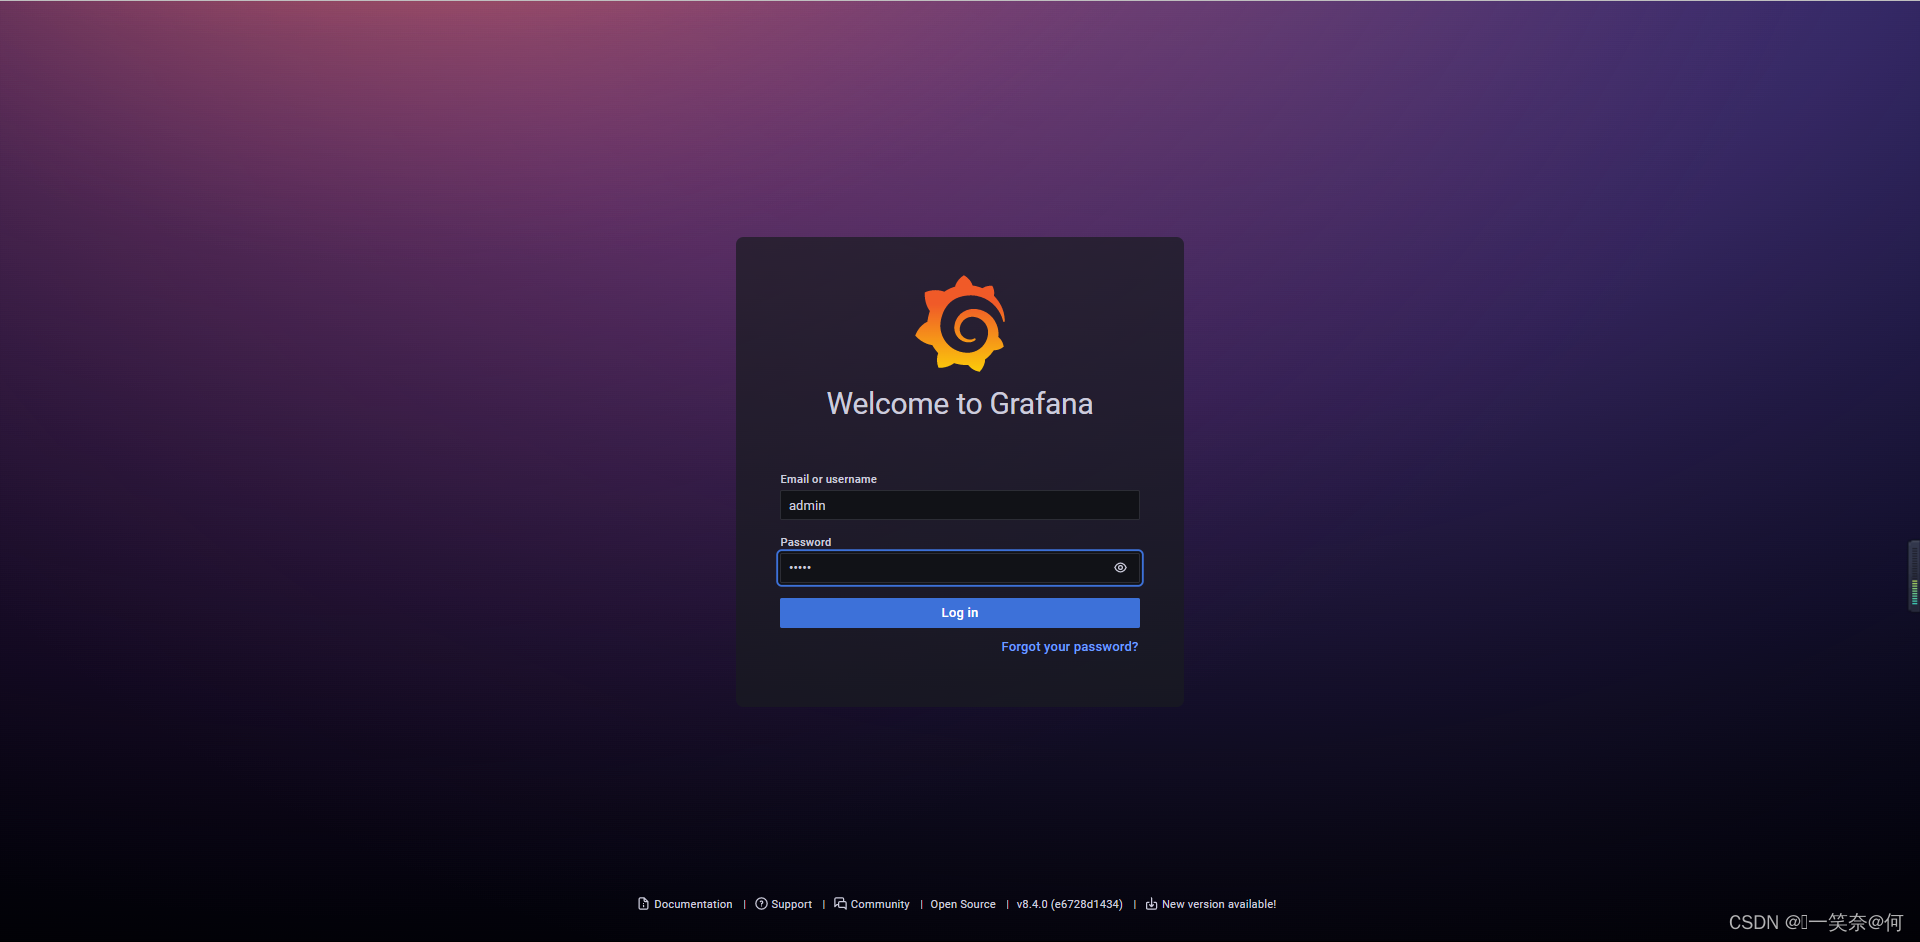
1)登录grafana
http://ip地址:3000/(IP地址加3000端口即可登录)
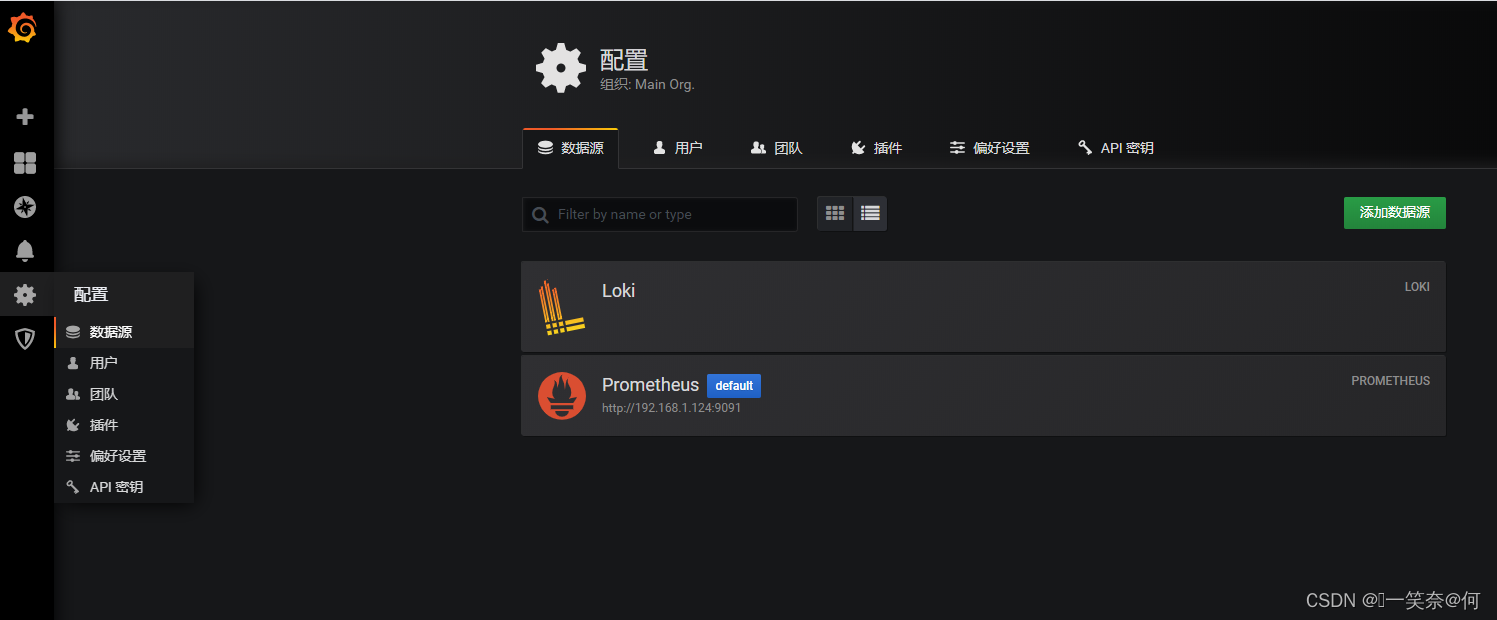
2)grafana web 配置
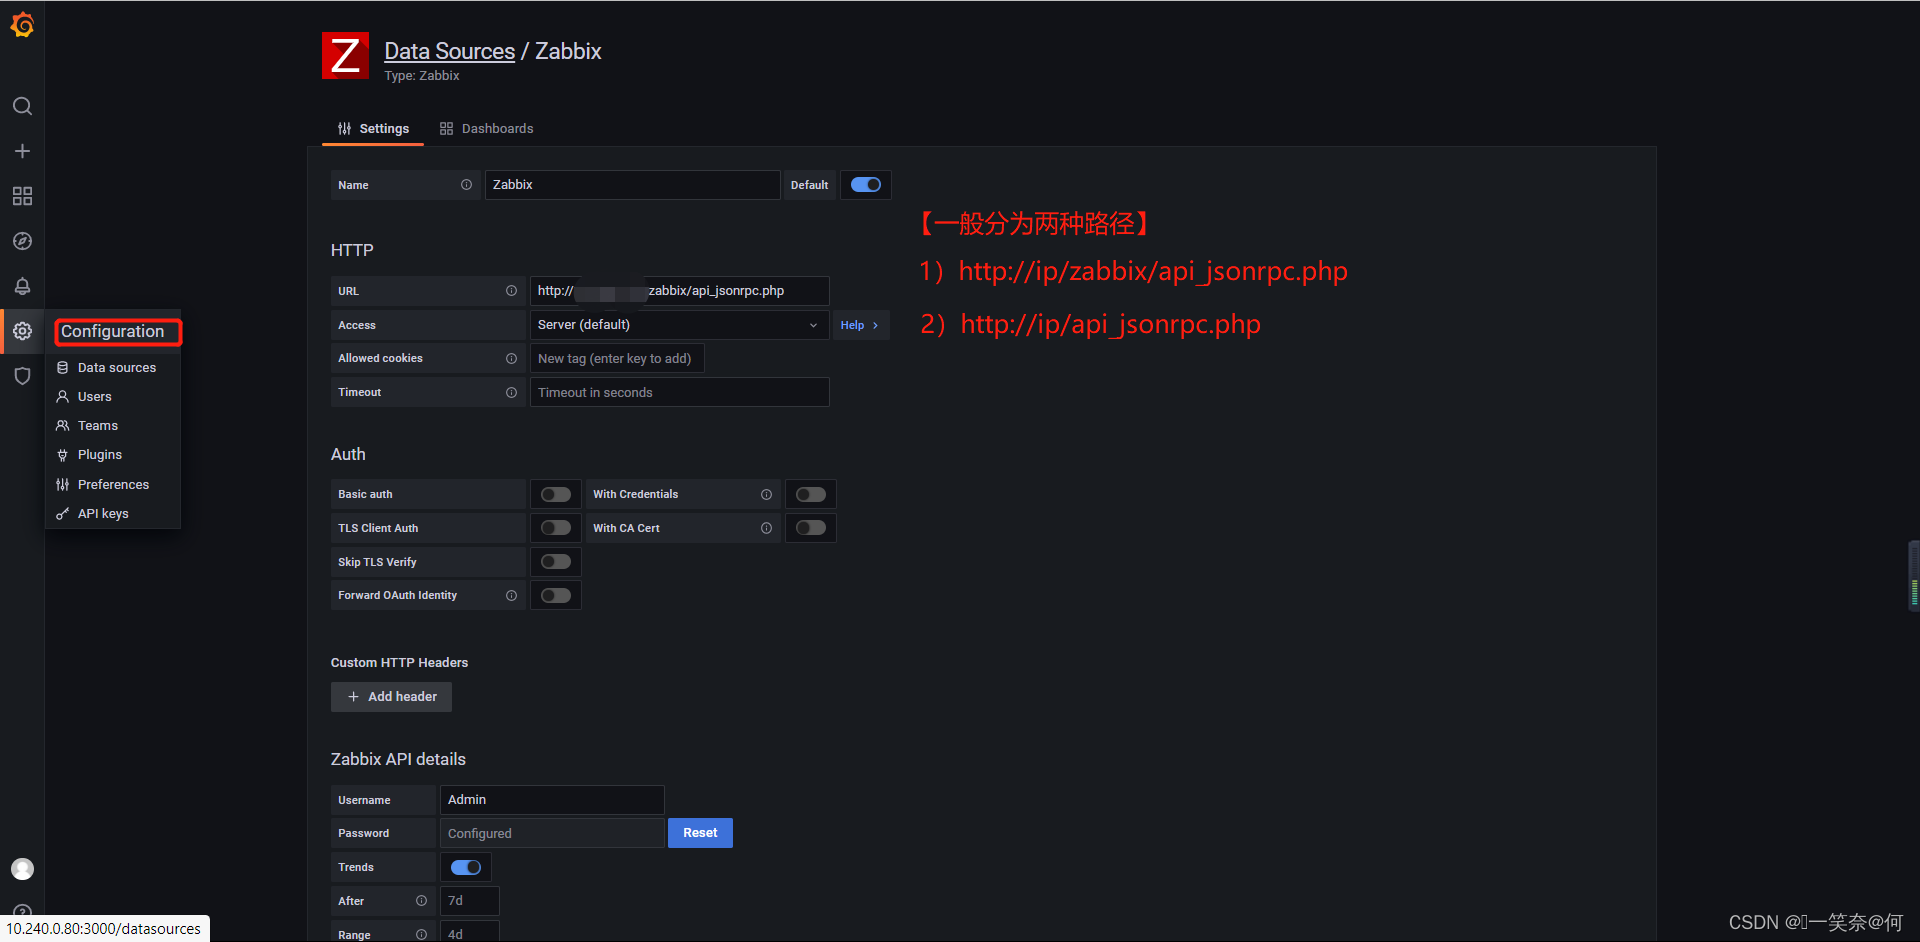
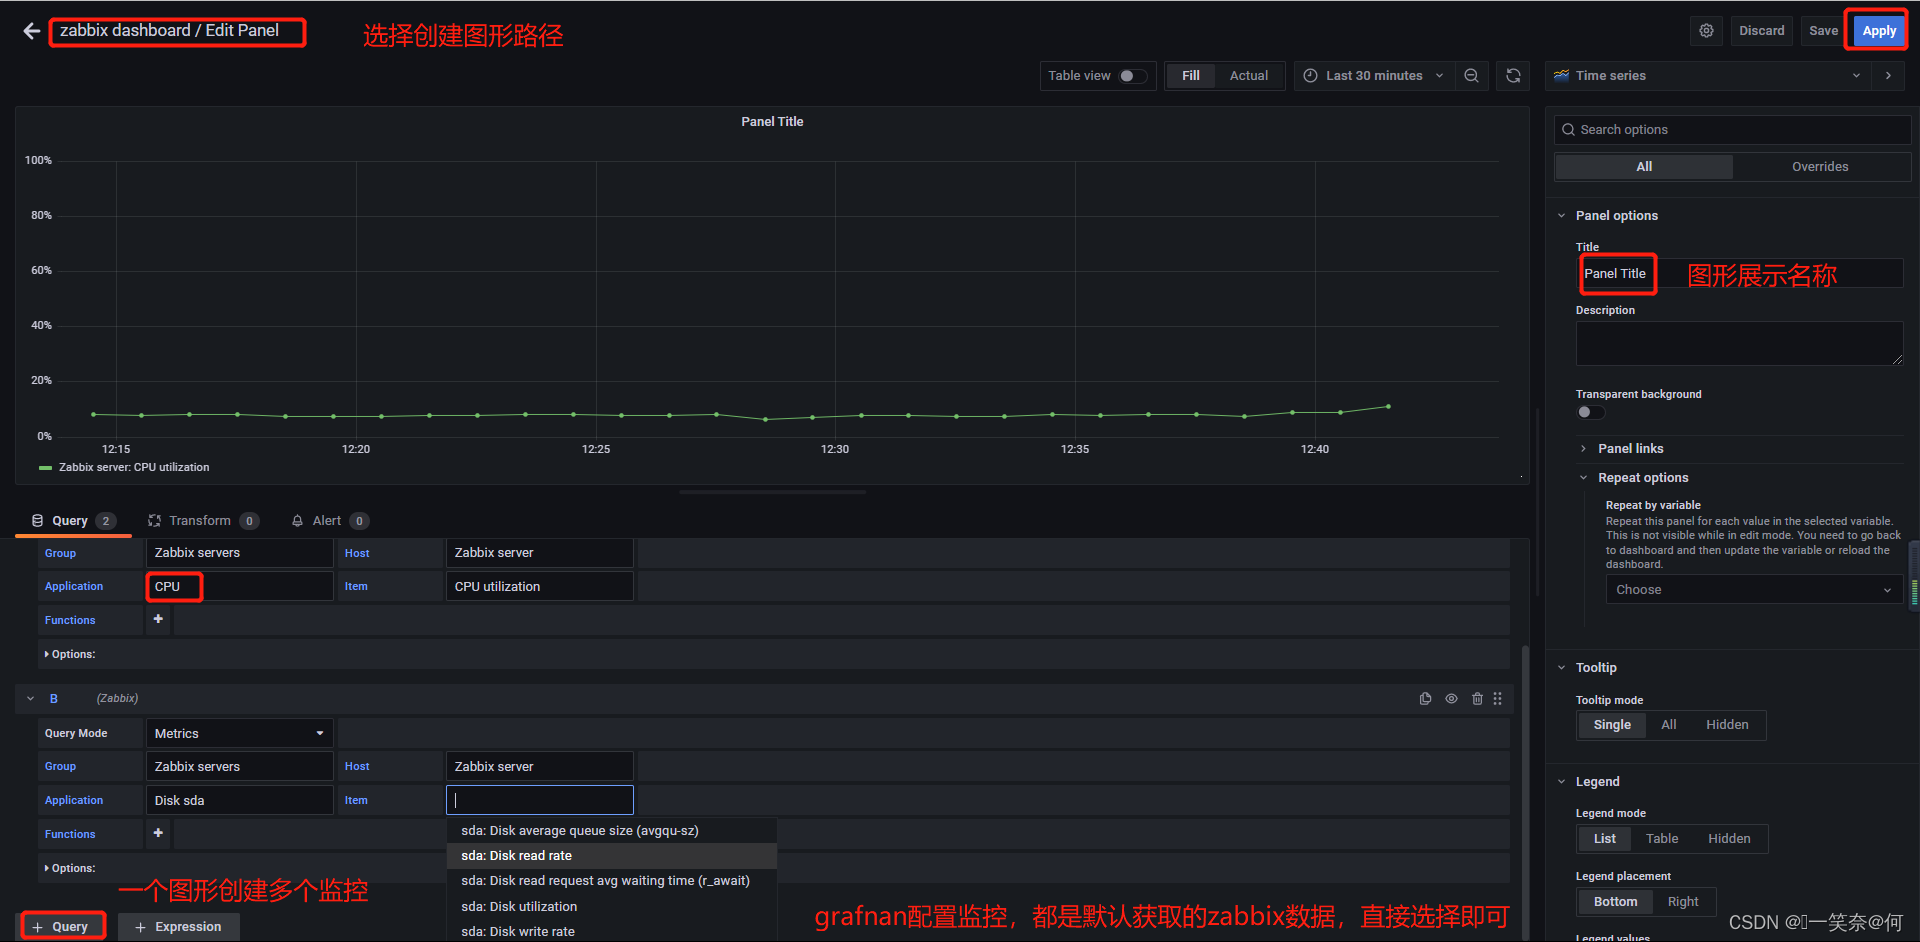
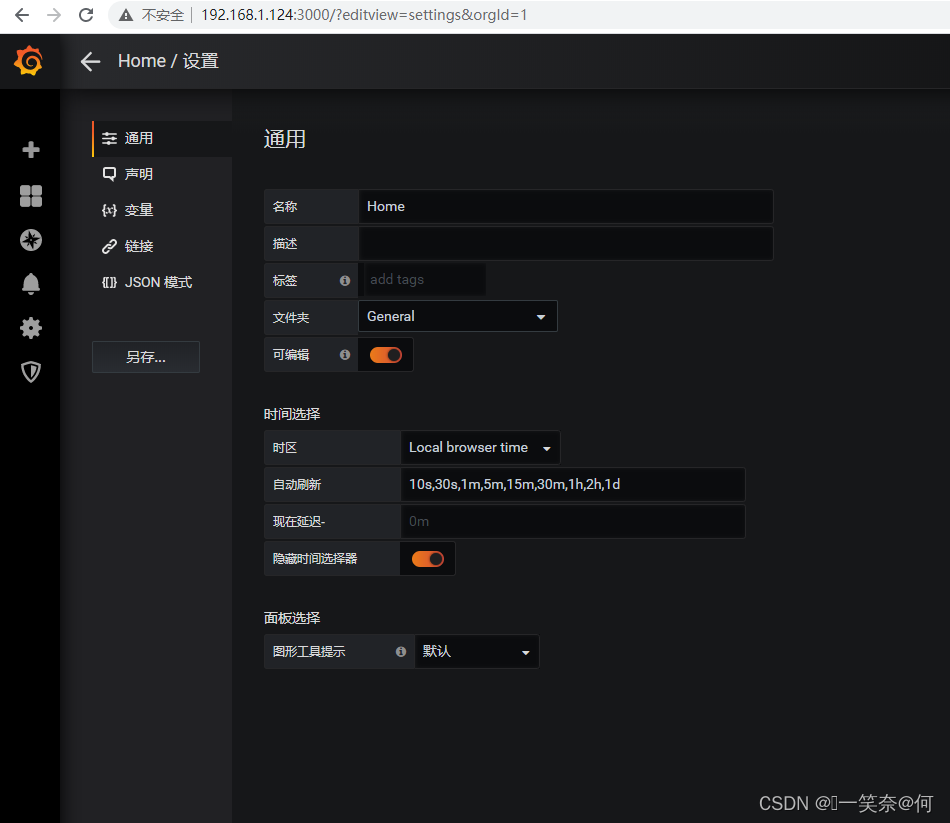
3)配置图形
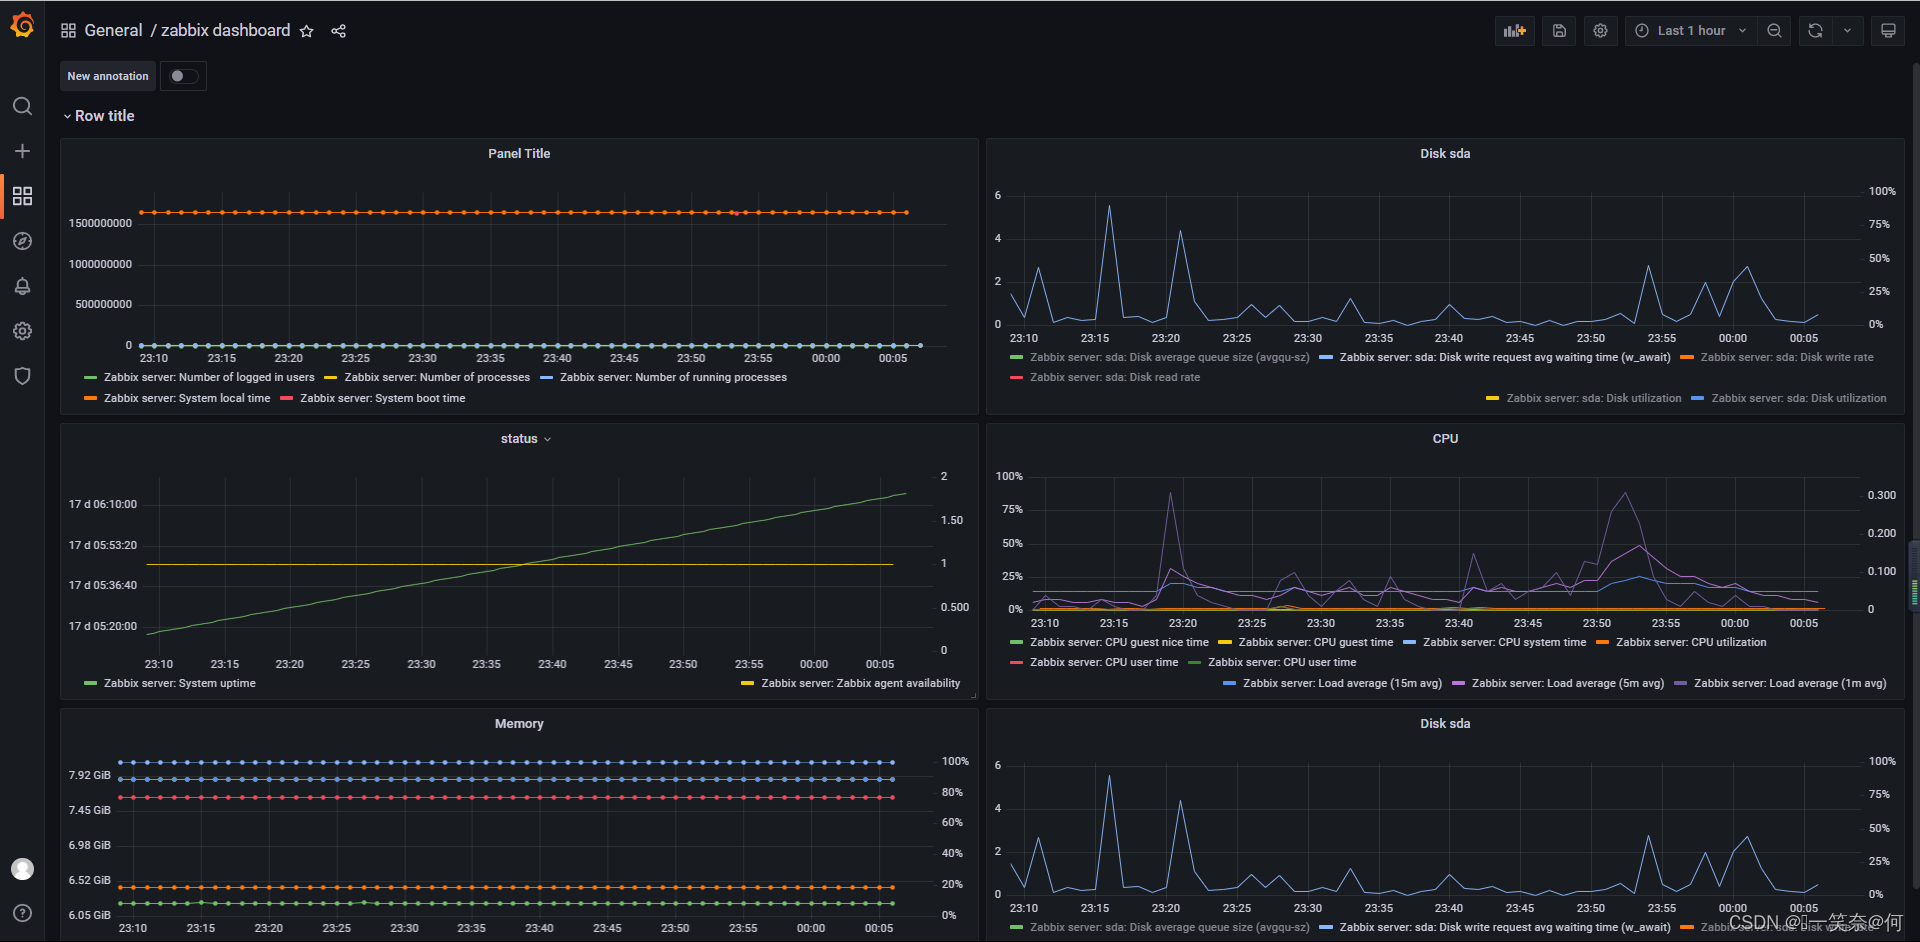
3)查看图形
4)官方标准模板导入

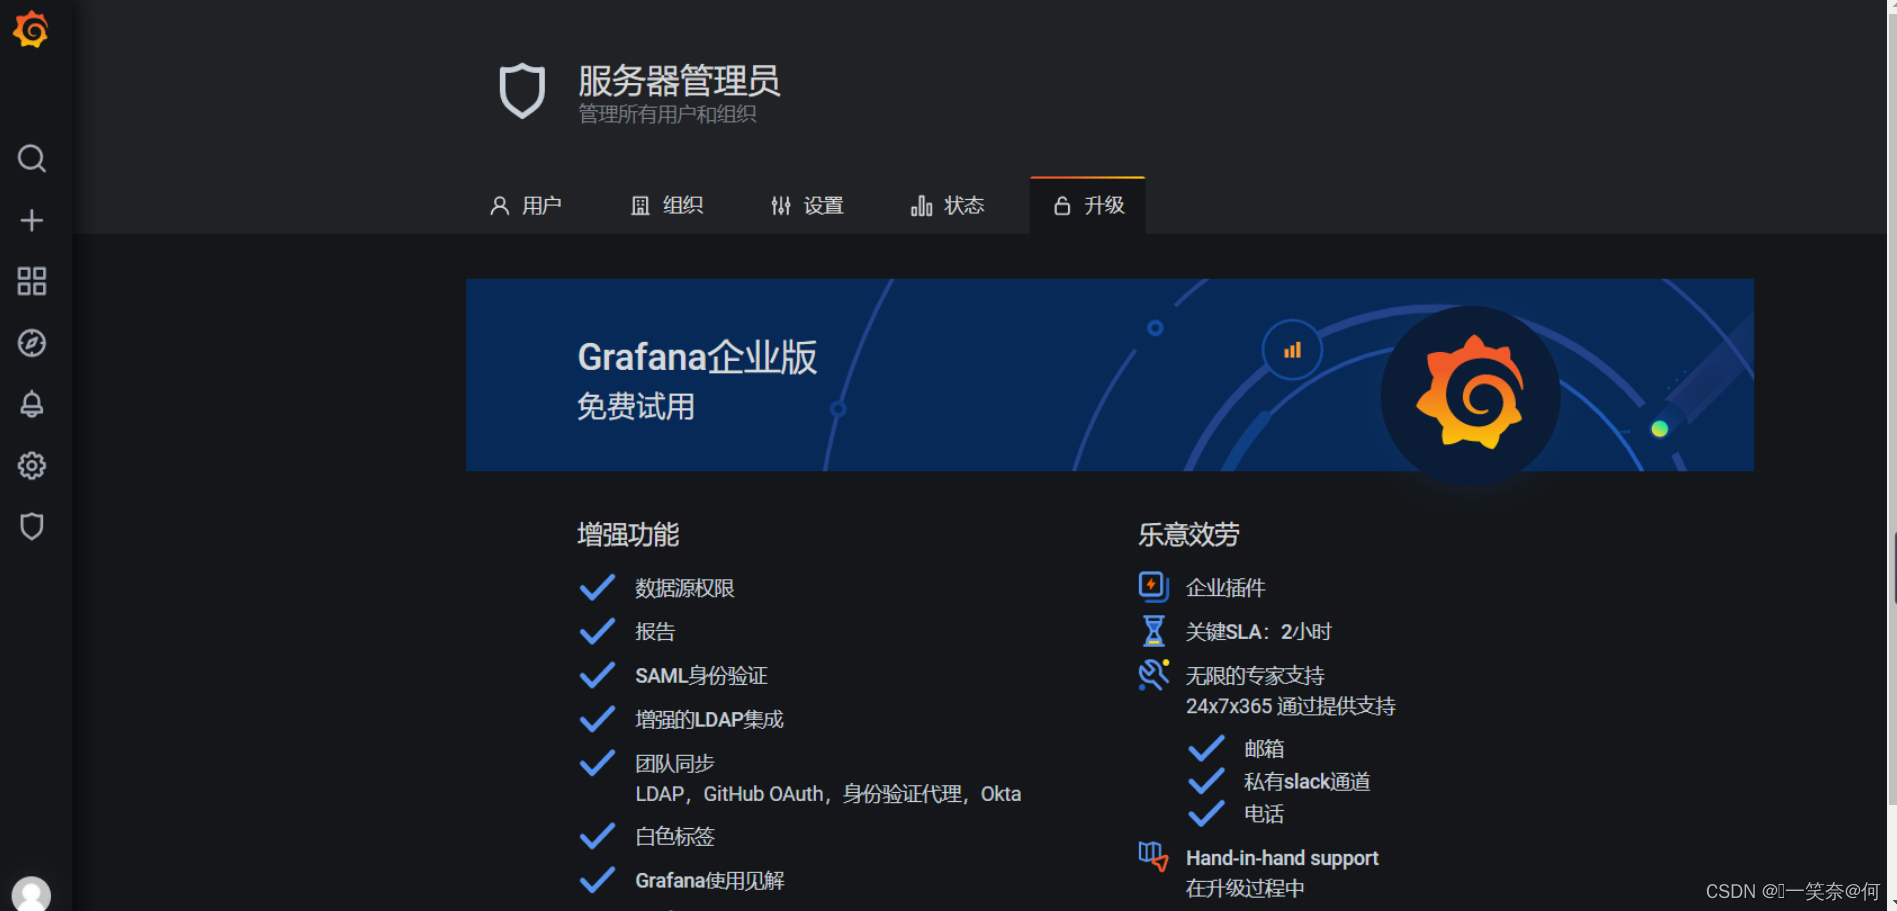
5)grafana汉化(版本太高会影响汉化)
#克隆grafana汉语代码包
git clone https://github.com/tghfly/grafana-chinese.git


#复制当前汉化代码包
cd grafana-chinese
/bin/cp -rp bin/linux-amd64/grafana-server /usr/sbin/
/bin/cp -rp bin/linux-amd64/grafana-cli /usr/sbin/
/bin/cp -rp public /usr/share/grafana/


#启动grafana服务
systemctl start grafana-server


 1165
1165

 被折叠的 条评论
为什么被折叠?
被折叠的 条评论
为什么被折叠?
 到【灌水乐园】发言


