


可以先去bibi看教程:下面是bibi教学视频
【狂神说】通俗易懂的阿里云短信业务实战教程_哔哩哔哩_bilibili
1: 我们需要在pom 引入一个jar包
<dependency>
  <groupId>com.aliyun</groupId>
  <artifactId>aliyun-java-sdk-core</artifactId>
  <version>4.0.3</version>
</dependency>
2:下面是工具类
package com.yunze.common.constant;

import com.alibaba.fastjson.JSONObject;
import com.aliyuncs.CommonRequest;
import com.aliyuncs.CommonResponse;
import com.aliyuncs.DefaultAcsClient;
import com.aliyuncs.IAcsClient;
import com.aliyuncs.exceptions.ClientException;
import com.aliyuncs.exceptions.ServerException;
import com.aliyuncs.http.MethodType;
import com.aliyuncs.profile.DefaultProfile;
import com.yunze.common.sms.SemdSms;
import org.springframework.stereotype.Service;

import java.util.Map;
/**
 * 阿里云 短信发送配置
 * */

@Service
public class SendSmsImpl implements SemdSms {


    @Override
    public boolean send(String phoneNum, String templateCode, Map<String, Object> code) {

        /**
         * regionID @cn-hangzhou
         * 阿里云短信服务账号 @accessKeyId
         * 阿里云短信服务密码 @secret
         * */

        // 链接阿里云  这个不需要动 cn-hangzhou  accessKeyId : 账号  secret: 密码
        DefaultProfile profile = DefaultProfile.getProfile("cn-hangzhou","xxxxxx","xxxxx");
        IAcsClient client = new DefaultAcsClient(profile);

        // 构建请求
        CommonRequest request = new CommonRequest();

        request.setMethod(MethodType.POST);
        request.setDomain("dysmsapi.aliyuncs.com");//官方说不要动
        request.setVersion("2017-05-25");//官方说不要动
        request.setAction("SendSms");//事件名称

        // 自定义的参数 (手机号,验证码,签名,模板!)
        request.putQueryParameter("PhoneNumbers",phoneNum);//手机号
        request.putQueryParameter("SignName","山东山东");//签名
        request.putQueryParameter("TemplateCode",templateCode);//模板CODE

        // 构建一个短信的验证码
        request.putQueryParameter("TemplateParam", JSONObject.toJSONString(code));

        try {
            CommonResponse response = client.getCommonResponse(request);
            System.out.println(response.getData());
            return response.getHttpResponse().isSuccess();//成功
        } catch (ServerException e) {
            e.printStackTrace();
        } catch (ClientException e) {
            e.printStackTrace();
        }
        return false;
    }
}
下面说说这个阿里云的账号和密码 我的已经标记xxxx了

1:登录阿里云平台 我们点击 AccessKey 管理

2:进去之后提示 如何你没有然后自己去创建 --在这里提醒大家先看教学视频
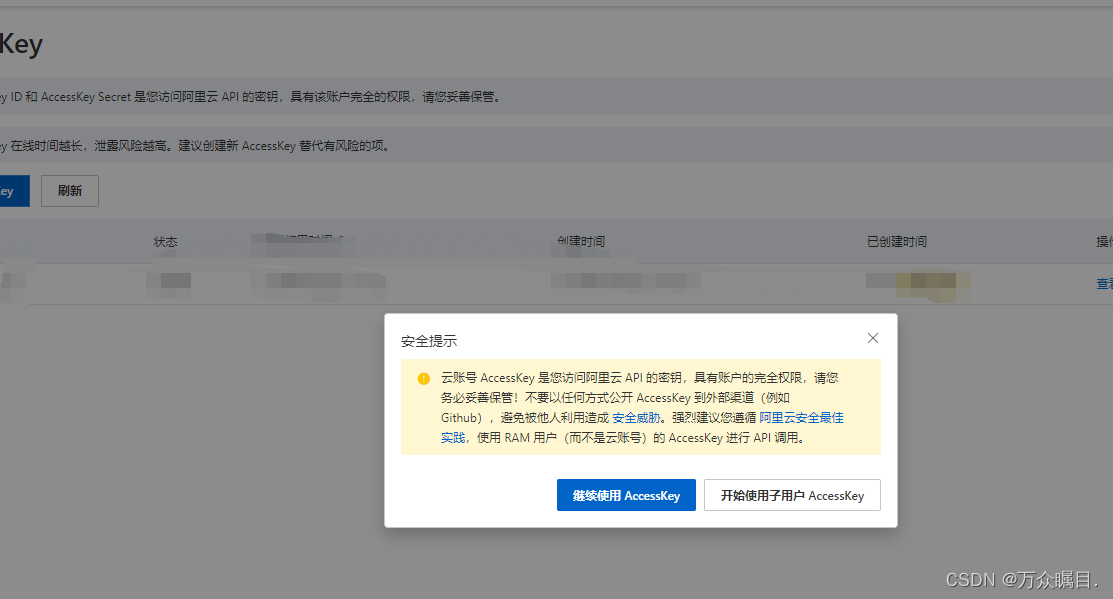
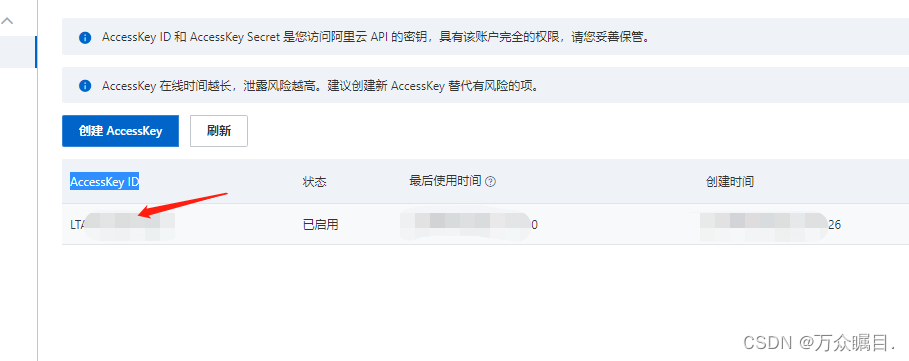
3:我们点击继续使用 然后我们就能看到自己的账号了 也就是 AccessKey ID
密码在右边---操作 有个 查看 Secret 就可以看到我们的密码了。
3:我们写个接口 去动态的实现数据
package com.yunze.common.sms;

import java.util.Map;

public interface SemdSms {
    public boolean send(String phoneNum, String templateCode, Map<String,Object> code);
}
4:下面是我们的 Controller 层
package com.yunze.web.controller.common;

import com.yunze.common.core.redis.RedisCache;
import com.yunze.common.sms.SemdSms;
import org.springframework.beans.factory.annotation.Autowired;
import org.springframework.web.bind.annotation.*;

import javax.annotation.Resource;
import java.util.HashMap;
import java.util.Random;
import java.util.concurrent.TimeUnit;

@RestController
@CrossOrigin // 跨域支持
@RequestMapping
public class SmsApiController {

    @Autowired
    private SemdSms sendSms;

    @Resource
    private RedisCache redisCache;


    @GetMapping("/send/{phone}")
    public String code(@PathVariable String phone){
        int H = 24;
        // 调用发送方法
        Object code = redisCache.getCacheObject("login_"+phone);
        if (code!=null && code.toString().length()>0) { //不等于 空
            return "已存在,还没有过期";
        }

        StringBuilder builder = new StringBuilder();
        Random random = new Random();
        for (int i = 0; i < 6; i++) {
            builder.append(random.nextInt(10));//实现验证码 6 位数字
        }
        // 生成验证码并存储到redis 中
        code = builder.toString();

        HashMap<String,Object> param = new HashMap<>();
        param.put("code",code);

        boolean isSend = sendSms.send(phone,"SMS_242220249",param);

        if(isSend){

            //设置 5 分钟过期
            redisCache.setCacheObject("login_"+phone, code, 5, TimeUnit.MINUTES);//设置5分钟过期
            return "验证成功 请查看手机验证码";

        }else {
            return "发送失败";
        }
    }
}
操作完毕 --------------------------------------
下面操作你们可以不看 因为我是用的若依框架写的---其中也是遇到了 很多问题
// 手机号 登录
export function GetPhone(phone) {
return request({
url: '/send/'+phone,
method: 'get'
})
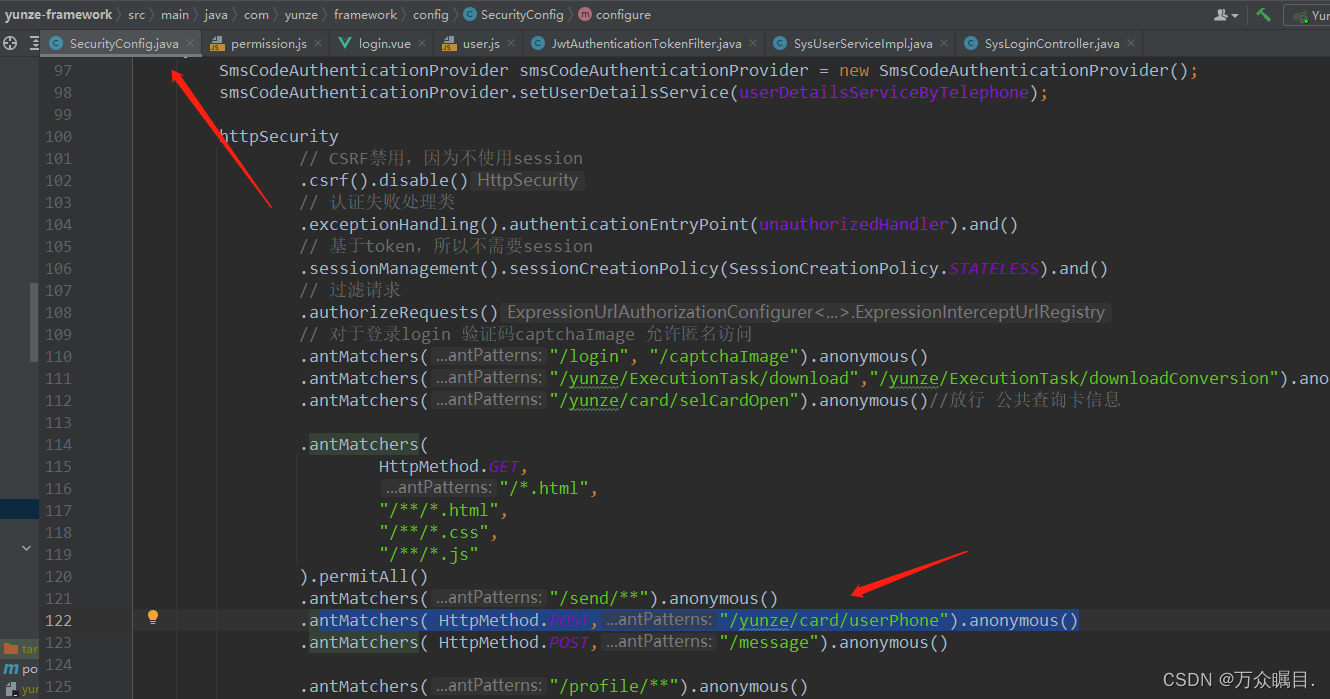
}在 SecurityConfig.java 配置拦截
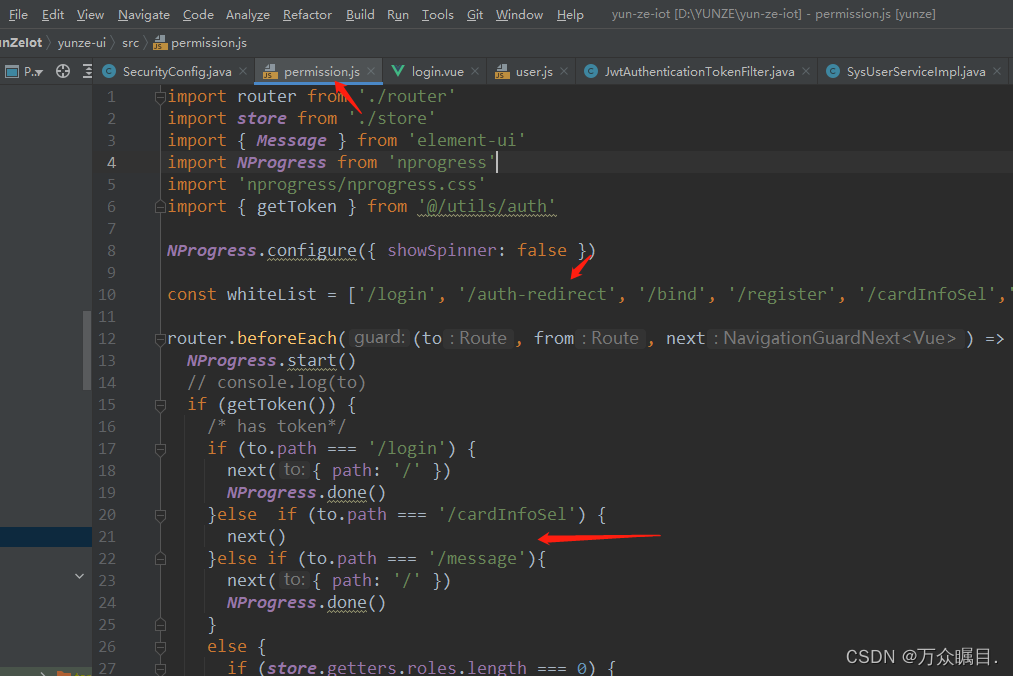
前端还有一个拦截的地方 大家注意 在这个地方 大家可以看看
我在这里总结以下我的问题
1:若依登录 Java 代码有个 token 验证 这边挺复杂的
大家请看 这篇文章 若依系统(Security)增加手机验证码登录
因为若依没有验证码是不让登录的
但是我写的 token 验证 跟这篇文章的不太一样 大家都看看
    /**
     * 短信登录验证
     * @param telephone 用户名
     * @param password 密码
     * @param uuid 唯一标识
     * @return 结果
     */
    public String Massagelogin(String telephone, String password, String uuid)
    {
        // 用户验证
        Authentication authentication = null;
        try {
            // 该方法会去调用UserDetailsServiceImpl.loadUserByUsername
            authentication = authenticationManager
                    .authenticate(new SmsCodeAuthenticationToken(telephone));
        } catch (Exception e) {
            if (e instanceof BadCredentialsException) {
                AsyncManager.me().execute(AsyncFactory.recordLogininfor(telephone, Constants.LOGIN_FAIL, MessageUtils.message("user.password.not.match")));
                throw new UserPasswordNotMatchException();
            } else {
                AsyncManager.me().execute(AsyncFactory.recordLogininfor(telephone, Constants.LOGIN_FAIL, e.getMessage()));
                throw new CustomException(e.getMessage());
            }
        }
        AsyncManager.me().execute(AsyncFactory.recordLogininfor(telephone, Constants.LOGIN_SUCCESS, MessageUtils.message("user.login.success")));
        LoginUser loginUser = (LoginUser) authentication.getPrincipal();
        recordLoginInfo(loginUser.getUser());
        // 生成token
        return tokenService.createToken(loginUser);
    }


 209
209


 被折叠的 条评论
为什么被折叠?
被折叠的 条评论
为什么被折叠?
 到【灌水乐园】发言


