


关于博客项目从koa服务端到iview后台管理中的图片文件相关配置操作截图
koa服务端配置
入口app.js 中的监听端口http://localhost:3000。
进行了article(文章)路由配置,因为后续操作文件上传富文本编辑都是要在文章页面进行。
koa服务端 /app.js
以下是截取的部分相关配置
const Koa = require("koa");
const Router = require("koa-router");
const app = new Koa();
const router = new Router();
//引入文章路由
const articleRoutes = require("./routes/article");

app.use(bodyparser())//body解析
.use(require("koa-cors"))//跨域
.use(require("koa-static")(__dirname + "/public"))//静态文件中间件
.use(router.routes())//路由
.use(router.allowedMethods());//允许post请求

// 路由前缀
router.prefix("/api/v1");
// 引用路由
articleRoutes(router);

module.exports = app.listen(3000, () => {
  console.log(`Listening on http://localhost:3000`);
});
routes/article.js
const ArticleController = require("../controller/ArticleController");
const upload = require("../middlewares/upload");
module.exports = (router) => {

  // 图片上传
  router.post(
    "/upload",
    upload.single("avatar"),//single单文件上传
    ArticleController.uploadCoverImg
  );
};
middlewares/upload
// 文件上传
const multer = require('koa-multer');
//配置 磁盘存储
const storage = multer.diskStorage({
//文件保存路径
destination: function (req, file, cb) {
cb(null, 'public/images/')
},
//修改文件名称
filename: function (req, file, cb) {
var fileFormat = (file.originalname).split("."); //以点分割成数组,数组的最后一项就是后缀名
cb(null, Date.now() + "." + fileFormat[fileFormat.length - 1]);
}
})
//加载配置
const upload = multer({
storage: storage
});
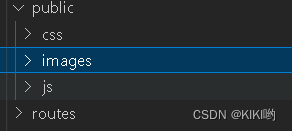
module.exports = upload;public文件夹
该文件夹两个作用;
第一是用来作为静态根目录
第二是用来存储上传的图片,也就是说用户上传的图片文件最终都会存储到images当中
controller/ActicleController
const res = require("../core/helper");//工具类,用来封装返回结果
static ArticleController{
    //还有很多操作(crud),因为涉及的中间件比较多,一一省略
     static async uploadCoverImg(ctx, next) {
    // http://localhost:3000/public/image/13131414.png
        console.log(ctx.req.file)
        ctx.body = res.json(ctx.req.file);
  }
}
core/helper
class Resolve {
  success(msg = "success", errorCode = 1, code = 200) {
    return {
      msg,
      errorCode,
      code,
    };
  }
  json(data, msg = "success", errorCode = 1, code = 200) {
    return {
      msg,
      errorCode,
      code,
      data,
    };
  }
}
const res = new Resolve();
module.exports = res;
博客后台管理
该后台管理采用的是vue框架ivewUi
以下是该项目用到的包
package.json
 "dependencies": {
    "axios": "^0.19.2",
    "core-js": "^3.6.5",
    "mavon-editor": "^2.9.0",
    "qs": "^6.9.4",
    "view-design": "^4.2.0",
    "vue": "^2.6.11",
    "vue-router": "^3.2.0",
    "vuex": "^3.4.0"
  },
main.js
import Vue from 'vue'
import App from './App.vue'
import router from './router'
import store from './store'
// iView的使用
import ViewUI from 'view-design'
Vue.use(ViewUI)
import 'view-design/dist/styles/iview.css';
// 使用富文本的编辑器
import mavonEditor from 'mavon-editor'
import 'mavon-editor/dist/css/index.css'
Vue.use(mavonEditor);
// 导入默认的css模块
import './assets/style/admin.css'

new Vue({
  router,
  store,
  render: h => h(App)
}).$mount('#app')
views/acticle/create.vue
以下是文章创建页面所有细节
<template>
<section>
<Form ref="formValidate" :model="formValidate" :rules="ruleValidate" :label-width="100">
<FormItem label="文章标题" prop="title">
<Input v-model="formValidate.title" placeholder="文章标题"/>
</FormItem>
<FormItem label="文章作者" prop="author">
<Input v-model="formValidate.author" placeholder="文章作者"/>
</FormItem>
<FormItem label="文章简介" prop="description">
<Input v-model="formValidate.description" placeholder="文章简介"/>
</FormItem>
<FormItem label="文章关键字" prop="keyword">
<Input v-model="formValidate.keyword" placeholder="文章简介"/>
</FormItem>
<FormItem label="文章分类" v-if="categoryList && categoryList.length > 0" prop="category_id">
<Select v-model="formValidate.category_id">
<Option v-for="(item, index) in categoryList" :value="item._id" :key="index">{{item.name}}</Option>
</Select>
</FormItem>
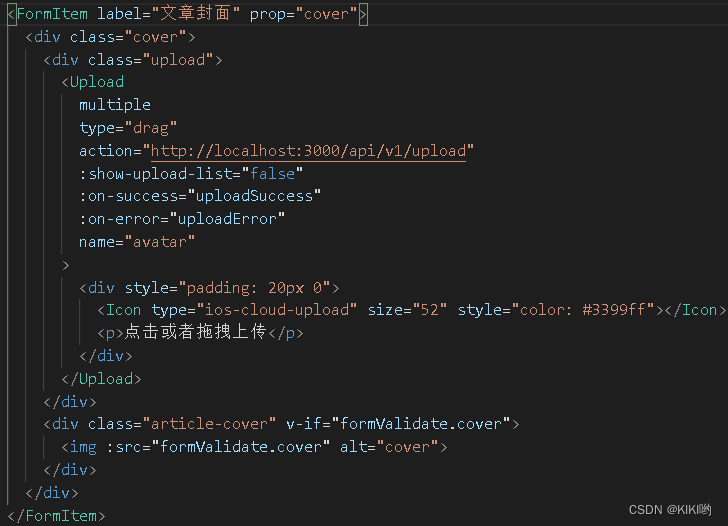
<FormItem label="文章封面" prop="cover">
<div class="cover">
<div class="upload">
<Upload
multiple
type="drag"
action="http://localhost:3000/api/v1/upload"
:show-upload-list="false"
:on-success="uploadSuccess"
:on-error="uploadError"
name="avatar"
>
<div style="padding: 20px 0">
<Icon type="ios-cloud-upload" size="52" style="color: #3399ff"></Icon>
<p>点击或者拖拽上传</p>
</div>
</Upload>
</div>
<div class="article-cover" v-if="formValidate.cover">
<img :src="formValidate.cover" alt="cover">
</div>
</div>
</FormItem>
<FormItem label="文章内容" prop="content">
<mavon-editor v-model="formValidate.content" :ishljs="true" ref="md"></mavon-editor>
</FormItem>
<FormItem>
<Button @click="handleReset('formValidate')">重置</Button>
<Button type="primary" @click="handleSubmit('formValidate')" style="margin-left: 8px">提交</Button>
</FormItem>
</Form>
</section>
</template>
<script>
import { mapActions } from "vuex";
export default {
data() {
return {
token: "",
id: this.$route.params.id,
detail: null,
categoryList: [],
formValidate: {
title: "",
author: "",
category_id: "",
cover: "",
description: "",
keyword: "",
content: ""
},
ruleValidate: {
title: [
{ required: true, message: "文章标题不能为空", trigger: "blur" }
],
author: [
{ required: true, message: "文章作者不能为空", trigger: "blur" }
],
cover: [
{ required: true, message: "文章封面不能为空", trigger: "blur" }
],
description: [
{ required: true, message: "文章简介不能为空", trigger: "blur" }
],
keyword: [
{ required: true, message: "文章关键字不能为空", trigger: "blur" }
],
content: [
{ required: true, message: "文章内容不能为空", trigger: "blur" }
],
category_id: [
{ required: true, message: "分类不能为空", trigger: "blur" }
]
}
};
},
created() {
// 获取分类列表
this._getCategoryList();
},
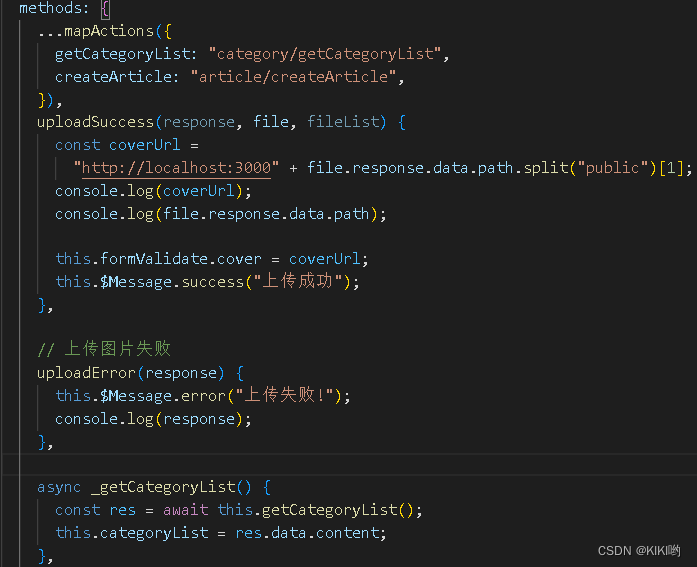
methods: {
...mapActions({
getCategoryList: "category/getCategoryList",
createArticle:'article/createArticle'
}),
uploadSuccess(response, file, fileList) {
const coverUrl ='http://localhost:3000' + file.response.data.path.split('public')[1];
console.log(coverUrl);
console.log(file.response.data.path);
this.formValidate.cover = coverUrl;
this.$Message.success('上传成功')
},
async _getCategoryList() {
const res = await this.getCategoryList();
this.categoryList = res.data.content;
},
// 上传图片失败
uploadError(response) {
this.$Message.error("上传失败!");
console.log(response);
},
// 提交
handleSubmit(name) {
this.$refs[name].validate(valid => {
if (valid) {
// 创建文章
this._createArticle();
} else {
this.$Message.error("请完成表单!");
}
});
},
handleReset(name) {
this.$refs[name].resetFields();
},
// 创建文章业务逻辑
async _createArticle(){
await this.createArticle(this.formValidate);
this.$Message.success('创建文章成功');
this.$router.push('/article');
},
}
};
</script>
<style scoped>
.article-cover {
width: 120px;
}
.article-cover img {
width: 100%;
}
.cover {
display: flex;
}
.cover .upload {
width: 280px;
margin-right: 32px;
}
</style>
当然本文重点是upload图片上传,以及富文本编辑器的使用
以下相关截图
图片上传代码截图
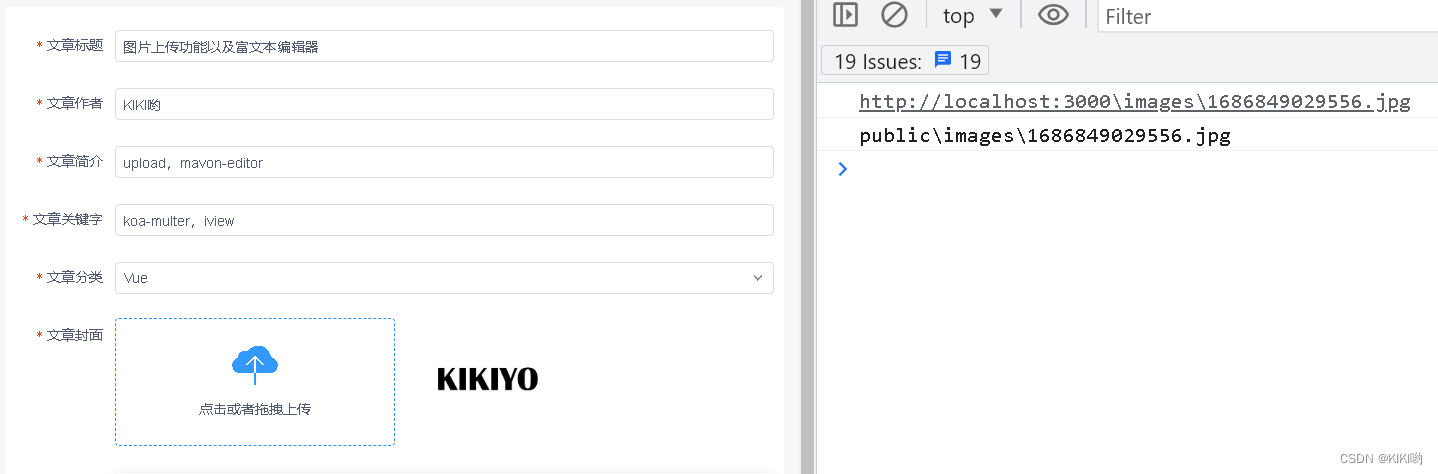
运行视图:
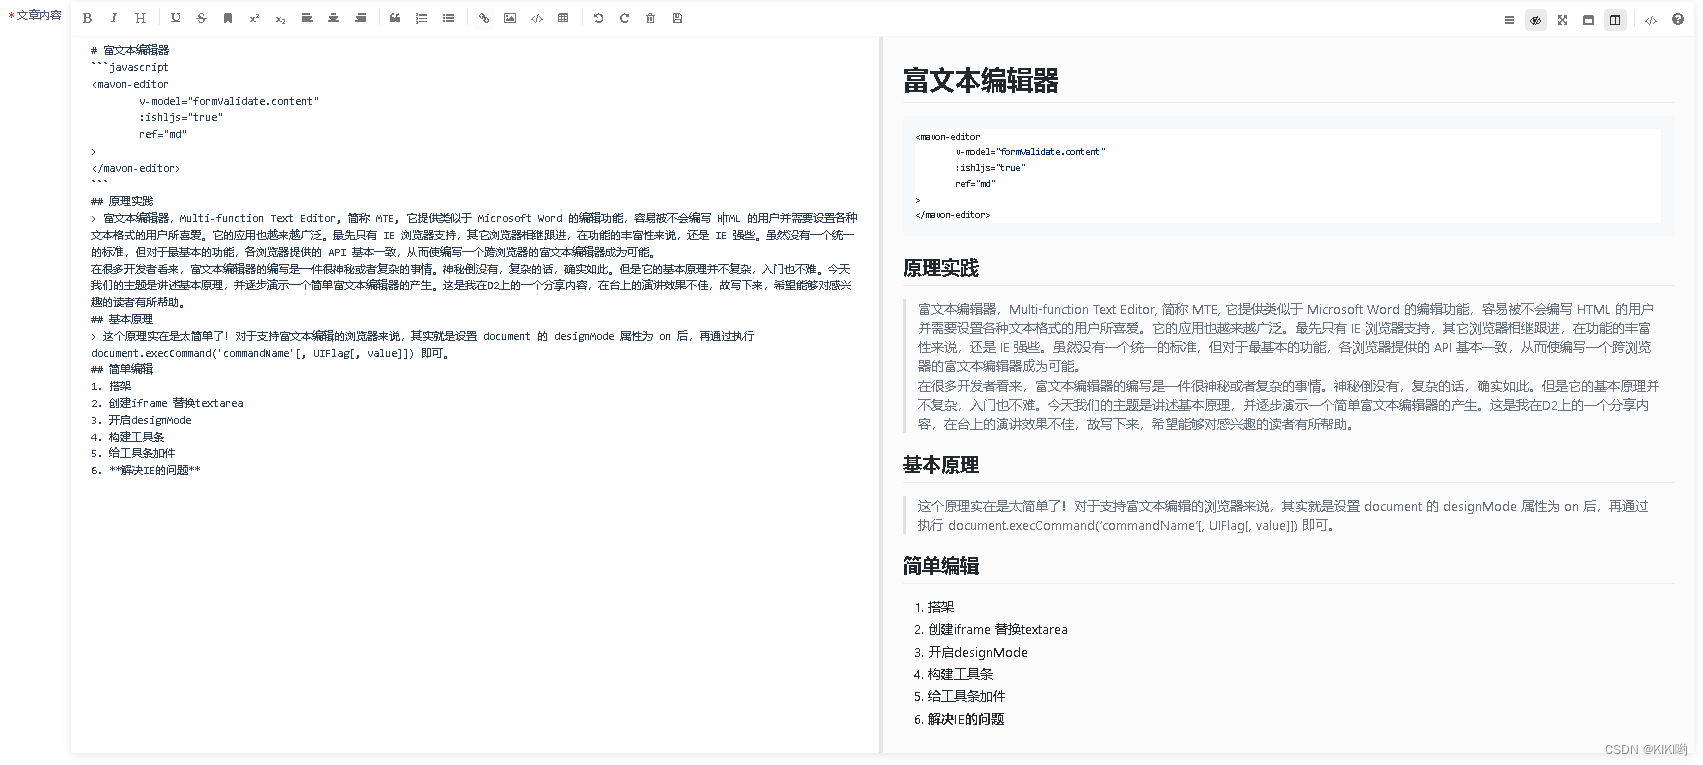
富文本编辑器代码块截图
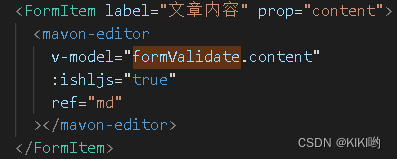
ishljs为高亮(ishighlight.js)
运行视图:左编辑,右预览
创建提交
后台效果

到前台查看是否存在该文章图片

进入查看内容:
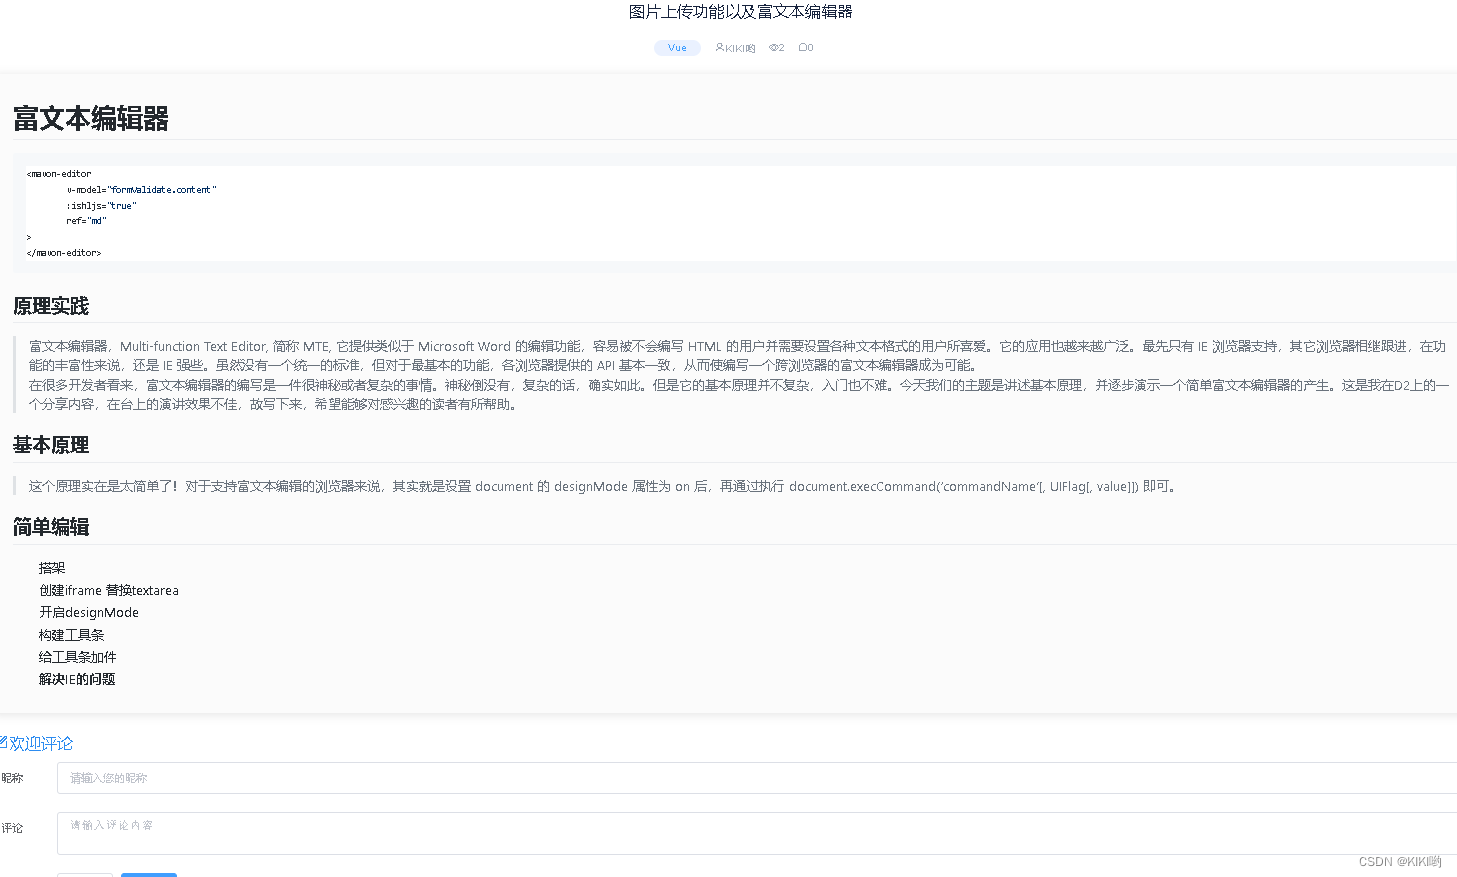
好了大功告成!


 1万+
1万+


 被折叠的 条评论
为什么被折叠?
被折叠的 条评论
为什么被折叠?
 到【灌水乐园】发言


