


前言
使用GEE时,如果处理的图像分辨率较高,且需求的经纬度范围较广时,我们常常需要进行经纬度分带进行循环操作。此时,在GEE的tasks页面会有若干图像等待下载,如果在那里一个个地点击RUN的话,就太耗费时间了。最近GEE开始用的比较多,所以我也是开始研究起了GEE,了解到了本地书写gee的途径。那么我就基于配置本地环境书写GEE的过程,顺带讲解GEE分带图像批量下载和批量删除。
在开始前…
1、确保你的电脑有Anaconda。
2、确保你拥有谷歌账户。
一、geemap的配置
本人是根据该网址的内容进行配置的,大体上步骤是完整的,除了后续使用时,有一步需要注意(后面会提到)。网址:geemap-installing-with-conda
首先,打开Anaconda Prompt,创建一个新的环境,名为gee
conda create -n gee python然后,激活环境:
conda activate gee安装geemap,弹出y/[n]?类似的输入界面,就打一个y后回车:
conda install -c conda-forge geemap根据上述链接的官方文档,geemap有很多可选依赖,逐一安装是很麻烦的,所以使用名为pygis的python包,只需一个命令即可获取所有依赖项。考虑到pygis在conda中处理需要一段时间,所以官方建议我们安装包管理器Mamba。分别执行下列命令:
conda install -c conda-forge mamba
mamba install -c conda-forge pygis
考虑到该虚拟环境可能只有jupyter,而没有虚拟内核安装,所以在使用完成GEE任务时,jupyter lab中无法从gee的内核中建立文件,这时我们只需要安装一下ipykernel,并且注册一个名为gee的内核:
conda install ipykernel
python -m ipykernel install --user --name=gee --display-name "gee"
然后,我们要获取Google earth engine的相关认证等,请按照以下步骤操作:
验证google账户身份,这就是原教程那个位置处未提到的内容,如果这里没搞,后面的ee.Authenticate()那一步就搞不成:
earthengine authenticate这时会跳转到一个网页,一直点击继续或者同意,有勾选项的全部勾选即可
后续的Google相关操作在jupyter中进行,所以执行以下命令:
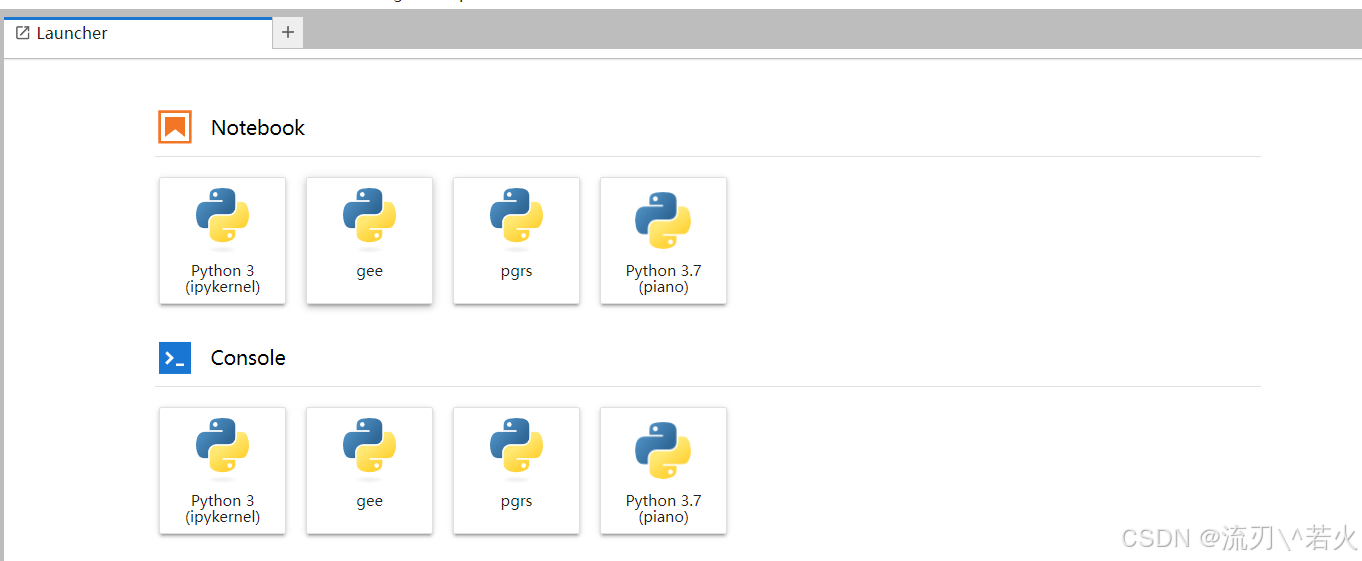
jupyter lab进入jupyter lab后,点击名为gee的虚拟内核创建文件
输入下列命令:
import ee
ee.Authenticate()
然后会跳转到一个网页,点击generate token,之后一直点击确认,就能得到一串token,这就是我们要输入的内容,复制它。
回到jupyter部分,会有一个”Enter Verification Code“类似的内容,把复制内容输入即可。这样geemap就配置完成了
最后,进行初始化客户端库,否则用不了:
ee.Initialize()二、使用geemap批量下载图像
我这里以10m分辨率的全球冠层高度影像数据集以及90m分辨率的SRTM高程数据集及其派生数据集为例进行批量下载的操作。这是这两个数据集的相关页面:
①ETH (Earth Canopy Height):
②SRTM v4:
批量下载一般使用的是ee.batch.Export.image.toDrive命令,这个命令是批量下载到云盘。完整代码如下,因为坡度数据和坡向数据是float类型,所以要与冠层高度、冠层高度标准差、海拔的double型数据分开保存,否则会报错:
# 导入影像数据
image = ee.Image('users/nlang/ETH_GlobalCanopyHeight_2020_10m_v1')
SDimage = ee.Image('users/nlang/ETH_GlobalCanopyHeightSD_2020_10m_v1')
dataset = ee.Image('CGIAR/SRTM90_V4')
elevation = dataset.select('elevation')

# 外层循环:纬度从 90° 到 -70° 先从10因为云盘位置有限
for lat_start in range(90, -70, -20):
    # 内层循环:经度从 -180° 到 170°
    for lon_start in range(-180, 180, 20):
        LatChar = 'S' if lat_start < 0 else 'N'
        LonChar = 'W' if lon_start < 0 else 'E'
        geometry = ee.Geometry.Rectangle([lon_start, lat_start - 20, lon_start + 20, lat_start])

        # 图像裁剪
        clippedImage = image.clip(geometry)
        clippedSDImage = SDimage.clip(geometry)
        clippedElevateImage = elevation.clip(geometry)
        slope = ee.Terrain.slope(clippedElevateImage)
        aspect = ee.Terrain.aspect(clippedElevateImage)

        # 重采样至300米分辨率
        def resample(image):
            return image.reduceResolution(reducer=ee.Reducer.mean(), bestEffort=True).reproject(crs='EPSG:4326', scale=300)

        resampledImage = resample(clippedImage)
        resampledSDImage = resample(clippedSDImage)
        resampledElevateImage = resample(clippedElevateImage)
        resampledSlopeImage = resample(slope)
        resampledAspectImage = resample(aspect)

        # 同数据类型图像保存至同一张图Canopy和高程都是double其他两个是float
        combinedImageCH = ee.Image.cat([
            resampledImage.rename('CanopyHeight'),
            resampledSDImage.rename('CanopyHeightSD'),
            resampledElevateImage.rename('Elevation')
        ]);
        combinedImageSlope = ee.Image.cat([
            resampledSlopeImage.rename('Slope'),
            resampledAspectImage.rename('Aspect')
        ]);
        # 导出图像到 Google Drive
        task1 = ee.batch.Export.image.toDrive(
            image=combinedImageCH,
            description=f'CombinedImageCH_{LatChar}{lat_start}_{LonChar}{lon_start}-300m',
            folder="CombinedImagesCH",
            fileNamePrefix=f'CombinedImageCH_{LatChar}{lat_start}_{LonChar}{lon_start}-300m',
            region=geometry,
            scale=300,
            crs="EPSG:4326",
            maxPixels=1e13
        )
        task1.start()

        task2 = ee.batch.Export.image.toDrive(
            image=combinedImageSlope,
            description=f'combinedImageSlope_{LatChar}{lat_start}_{LonChar}{lon_start}-300m',
            folder="combinedImageSlope",
            fileNamePrefix=f'combinedImageSlope_{LatChar}{lat_start}_{LonChar}{lon_start}-300m',
            region=geometry,
            scale=300,
            crs="EPSG:4326",
            maxPixels=1e13
        )
        task2.start()
三、使用geemap批量删除
在anaconda prompt激活gee虚拟环境,然后输入以下内容:
earthengine task cancel all


 被折叠的 条评论
为什么被折叠?
被折叠的 条评论
为什么被折叠?
 到【灌水乐园】发言


