


服务器:jdk的安装和配置
我们的项目是java开发的,所以虚拟机中也必须要有jdk该运行环境开可以正常的运行
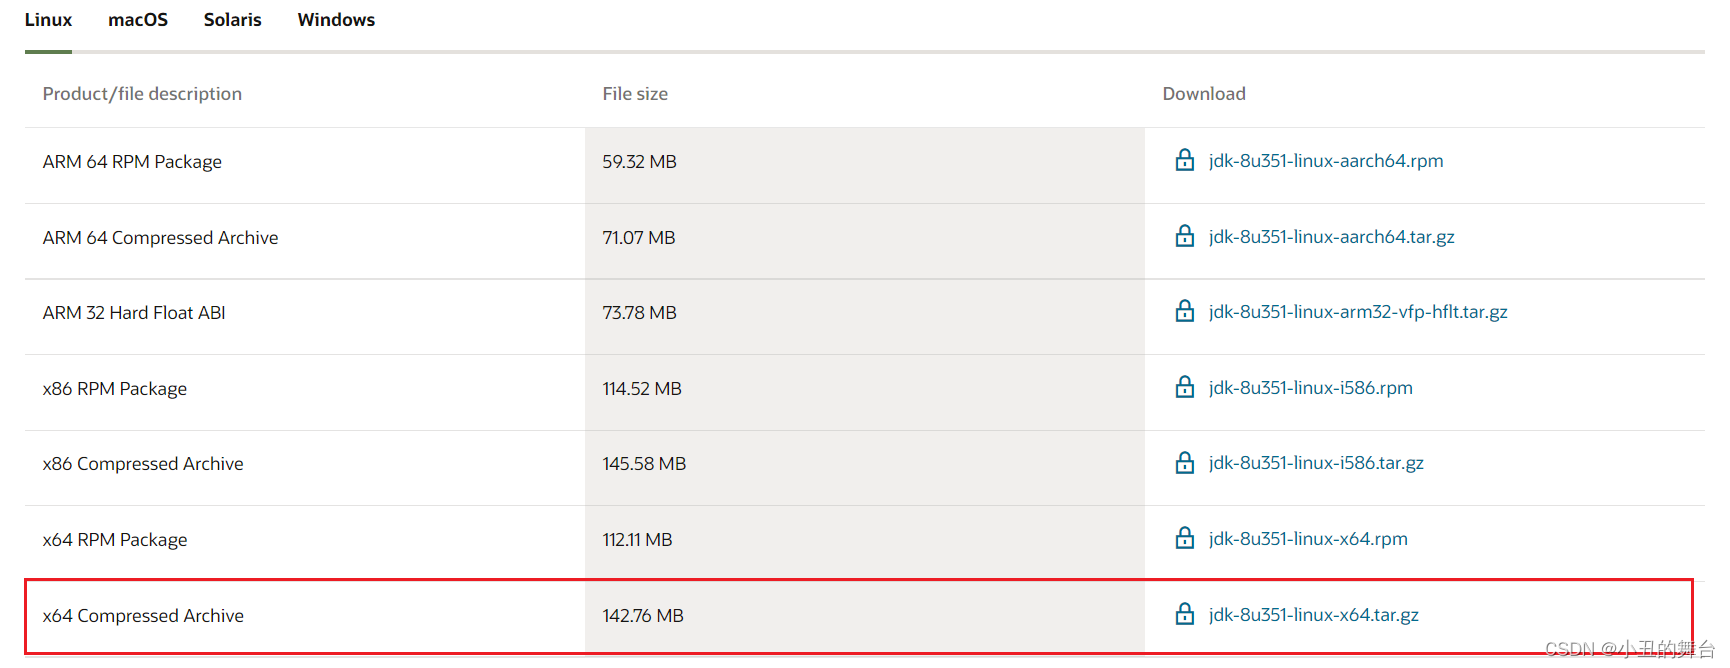
1.jdk的下载
Linux查看端口: netstat -anp |more
2.在服务器中创建一个指定安装软件的目录
# 创建CustomSoftware目录
[root@Zcl2001 ~]# mkdir /usr/local/CustomSoftware
# 进入CustomSoftware目录
[root@Zcl2001 ~]# cd /usr/local/CustomSoftware
# 查看目录文件
[root@Zcl2001 CustomSoftware]# ll
总用量 0
[root@Zcl2001 CustomSoftware]#
3.上传文件
将下载的jdk压缩包上传到虚拟机中

4.解压文件
1、运行前置目录查看是否有安装的jdk
[root@Zcl2001 CustomSoftware]# java
-bash: java: 未找到命令
[root@Zcl2001 CustomSoftware]# javac
-bash: javac: 未找到命令
[root@Zcl2001 CustomSoftware]#
1、运行前置目录查看是否有安装的jdk
# 解压文件
[root@Zcl2001 CustomSoftware]# tar -zxvf jdk1.8-linux-x64.tar.gz
# 修改解压后的文件夹名称
[root@Zcl2001 CustomSoftware]# mv jdk1.8.0_333/ jdk1.8
[root@Zcl2001 CustomSoftware]# ll
总用量 144544
drwxr-xr-x 8 10143 10143      4096 4月  26 14:03 jdk1.8
# 删除原来文件
[root@Zcl2001 CustomSoftware]# rm -f jdk1.8-linux-x64.tar.gz
5.配置JDK环境
Linux的环境变量配置文件在
/etc/profile中,通过编辑进入里面进行添加修改即可•环境永久生效:
•针对用户:~/.bashrc文件中配置
•针对全部用户:/etc/profile文件中配置
1.进入环境变量文件
进入文件后只能查看不能编辑,需要按住键盘上的Ins键切换编辑状态
# 进入文件
[root@Zcl2001 CustomSoftware]# vim /etc/profile
2.配置jdk环境变量
# 配置jdk环境变量
JAVA_HOME=/usr/local/CustomSoftware/jdk1.8
CLASSPATH=$JAVA_HOME/lib/
PATH=$PATH:$JAVA_HOME/bin
export PATH JAVA_HOME CLASSPATH
3.退出编辑
4.使用配置环境生效:
[root@Zcl2001 CustomSoftware]# source /etc/profile
5.测试java环境是否成功
# 测试java
[root@Zcl2001 CustomSoftware]# java
# 测试javac编译环境
[root@Zcl2001 CustomSoftware]# javac
# 查看java版本
[root@Zcl2001 CustomSoftware]# java -version
服务器:mysql的安装
RPM安装MySQL8.0.29数据库
mysql是项目的数据核心,没有数据库项目也就运行不了,下面将继续最新版本的数据库安装以及开放远程连接
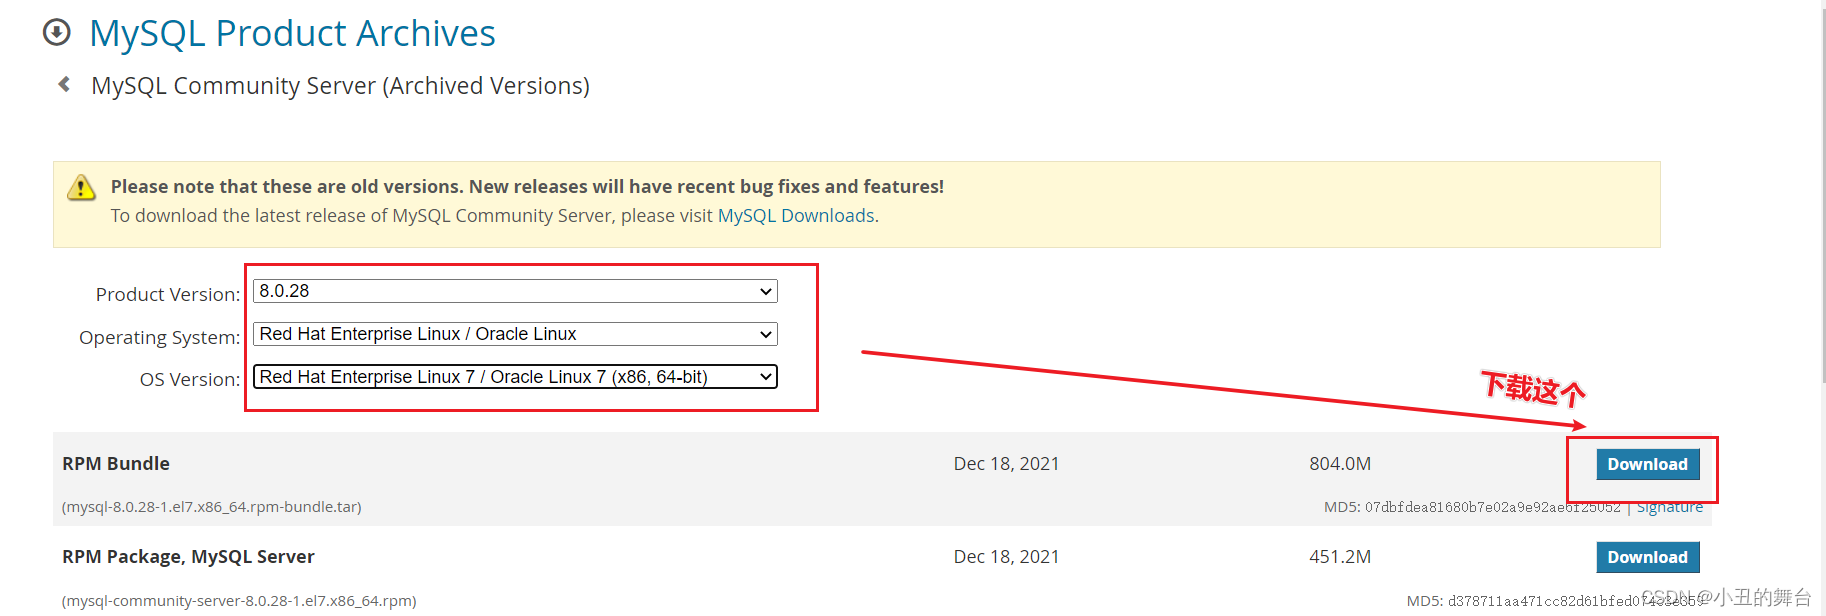
3.1、官网下载地址
MySQL :: Download MySQL Community Server
3.2上传到Linux系统目录
3.2.1 解压文件
# 创建文件
[root@Zcl2001 CustomSoftware]# mkdir mysql8.0.29
# 解压到指定的文件
[root@Zcl2001 CustomSoftware]# tar -xvf mysql-8.0.29-1.el7.x86_64.rpm-bundle.tar -C ./mysql8.0.29
3.2.2 查看解压后的文件
# 进入文件
[root@Zcl2001 CustomSoftware]# cd mysql8.0.29/
[root@Zcl2001 mysql8.0.29]# ll
总用量 1609164
-rw-r--r-- 1 root root  823879680 7月  17 10:02 mysql-8.0.29-1.el7.x86_64.rpm-bundle.tar
-rw-r--r-- 1 7155 31415  14668996 3月  24 19:43 mysql-community-client-8.0.29-1.el7.x86_64.rpm
-rw-r--r-- 1 7155 31415   2574424 3月  24 19:43 mysql-community-client-plugins-8.0.29-1.el7.x86_64.rpm
-rw-r--r-- 1 7155 31415    648680 3月  24 19:43 mysql-community-common-8.0.29-1.el7.x86_64.rpm
-rw-r--r-- 1 7155 31415 445936940 3月  24 19:44 mysql-community-debuginfo-8.0.29-1.el7.x86_64.rpm
-rw-r--r-- 1 7155 31415   1949700 3月  24 19:44 mysql-community-devel-8.0.29-1.el7.x86_64.rpm
-rw-r--r-- 1 7155 31415   4214948 3月  24 19:44 mysql-community-embedded-compat-8.0.29-1.el7.x86_64.rpm
-rw-r--r-- 1 7155 31415   2216040 3月  24 19:45 mysql-community-icu-data-files-8.0.29-1.el7.x86_64.rpm
-rw-r--r-- 1 7155 31415   1575404 3月  24 19:45 mysql-community-libs-8.0.29-1.el7.x86_64.rpm
-rw-r--r-- 1 7155 31415    683148 3月  24 19:45 mysql-community-libs-compat-8.0.29-1.el7.x86_64.rpm
-rw-r--r-- 1 7155 31415  55984868 3月  24 19:45 mysql-community-server-8.0.29-1.el7.x86_64.rpm
-rw-r--r-- 1 7155 31415  22960584 3月  24 19:46 mysql-community-server-debug-8.0.29-1.el7.x86_64.rpm
-rw-r--r-- 1 7155 31415 270450256 3月  24 19:47 mysql-community-test-8.0.29-1.el7.x86_64.rpm
3.3、执行安装操作
1、进行安装install
[root@Zcl2001 mysql8.0.29]# yum -y install perl
2、删除mariadb
如果不删除会与mysql冲突
# 使用管道查询是否有
[root@Zcl2001 mysql8.0.29]# rpm -qa | grep mariadb
mariadb-libs-5.5.68-1.el7.x86_64
# 删除mariadb
[root@Zcl2001 mysql8.0.29]# rpm -e mariadb-libs-5.5.68-1.el7.x86_64 --nodeps
[root@Zcl2001 mysql8.0.29]# rpm -qa | grep mariadb
3、执行安装rpm安装包(有先后依赖顺序)
 最低0.47元/天 解锁文章


 1097
1097


 被折叠的 条评论
为什么被折叠?
被折叠的 条评论
为什么被折叠?
 到【灌水乐园】发言


