


依赖
导入验证码相关依赖包,这里引入Kapcha工具类
     <dependency>
            <groupId>com.github.penggle</groupId>
            <artifactId>kaptcha</artifactId>
            <version>2.3.2</version>
     </dependency>
步骤
- 后端设计验证码提供接口,将验证码以key-value形式存储redis数据库,返回数据有(验证码图片Base64,验证码的随机key)
- 前端进入登录前,请求后端获取验证码数据(验证码图片Base64码和验证码的key)
- 前端点击登录按钮,请求后端的登录接口,后端从redis根据前端返回的key查询value,如果value值相等,则验证码正确。
后端
配置Kaptcha相关配置类,这里通俗易懂就是配置及验证码样式的,字体,图片等
/**
 * 验证码配置
 * @author LiYa
 */
@Configuration
public class KaptchaConfig {

    @Bean
    public DefaultKaptcha getDefaultKaptcha(){
        DefaultKaptcha defaultKaptcha=new DefaultKaptcha();
        Properties properties=new Properties();
        properties.setProperty("kaptcha.border", "no");
        properties.setProperty("kaptcha.border.color", "34,114,200");
        properties.setProperty("kaptcha.image.width", "200");
        properties.setProperty("kaptcha.image.height", "40");
        //properties.setProperty("kaptcha.textproducer.char.string", "0123456789");
        properties.setProperty("kaptcha.textproducer.char.length", "6");
        properties.setProperty("kaptcha.textproducer.font.names", "Arial,Arial Narrow,Serif,Helvetica,Tahoma,Times New Roman,Verdana");
        properties.setProperty("kaptcha.textproducer.font.size", "38");

        properties.setProperty("kaptcha.background.clear.from", "white");
        properties.setProperty("kaptcha.background.clear.to", "white");

        Config config=new Config(properties);
        defaultKaptcha.setConfig(config);
        return defaultKaptcha;
    }

}通过注入DefaultKaptcha,调用其createText()生成验证码,然后通过得到的验证码,放入createImage()方法里面生成图片,接着调用ImageIo.write()方法将验证码图片转为Base64编码,然后将其读出来,通过调用UUID方法生成一个随机的key作为验证码的key,将验证码存储到redis数据库中,返回验证码图片数据和验证码key给前端
@RestController
@RequestMapping("/auth")
public class AuthController {
@Resource
private DefaultKaptcha captchaProducer;
@Resource
RedisTemplate<String,String> redisTemplate;
/*
*获取验证码端口
* */
@GetMapping("/captcha")
public R getKaptcha() throws Exception {
//生成验证码
String key=captchaProducer.createText();
//生成图片
BufferedImage image=captchaProducer.createImage(key);
// 将验证码转换为Base64编码
ByteArrayOutputStream stream = new ByteArrayOutputStream();
ImageIO.write(image, "png", stream);
//读出转换为Base64编码的值
String base64Code=Base64.getEncoder().encodeToString(stream.toByteArray());
stream.close();
Map<String, String> kaptchaVoMap = new HashMap<>();
//生成一个随机的key,到时候前端验证时候带这个key过来查询验证码是否正确
String uuid = UUID.randomUUID().toString();
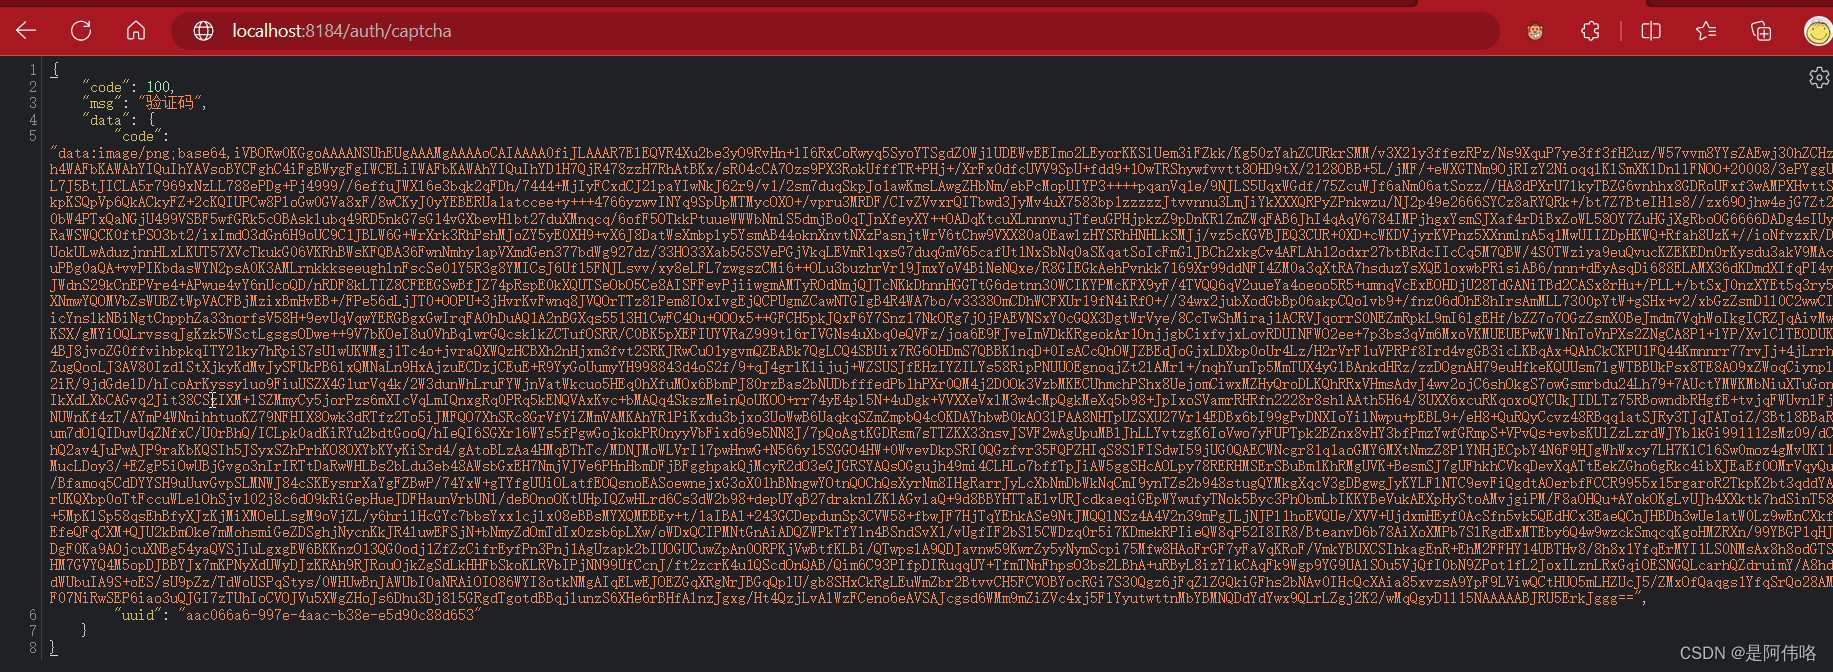
kaptchaVoMap.put("uuid", uuid);
kaptchaVoMap.put("code", "data:image/png;base64," + base64Code);
//将验证码放入到redis中去
redisTemplate.opsForValue().set(uuid, key, 60L, TimeUnit.SECONDS);
return R.success("验证码", kaptchaVoMap);
}前端
<template>
<el-form-item prop="code">
<el-input placeholder="请输入验证码" v-model="loginForm.code" >
<template #append>
<el-icon @click="refreshCaptcha"><Refresh /></el-icon>
</template>
</el-input>
</el-form-item>
<div v-if="timeLeft > 0" class="countdown">
<img :src="captchaUrl" @click="refreshCaptcha" class="captcha-image"/>
<br>
验证码将在 <span>{{timeLeft}}</span> 秒后刷新
</div>
<el-form-item>
</template>
<script>
import * as THREE from "three";
import NET from "vanta/src/vanta.net";
import qs from 'qs'
import 'animate.css'
import axios from "axios";
export default {
name: "Login",
data(){
return{
timeLeft:60,
captchaUrl: "",
},
created(){
this.refreshCaptcha();
//倒计时几秒60秒更新验证码
this.timerId = setInterval(() => {
if (this.timeLeft > 0) {
this.timeLeft--;
} else {
this.refreshCaptcha();
this.timeLeft = 60;
}
}, 1000);
},
methods:{
refreshCaptcha() {
axios.get('/auth/captcha').then(res => {
this.captchaUrl = res.data.data.code
// 将key获取出来
this.loginForm.uuid=res.data.data.uuid
console.log( this.loginForm.uuid)
this.timeLeft=60
});
},
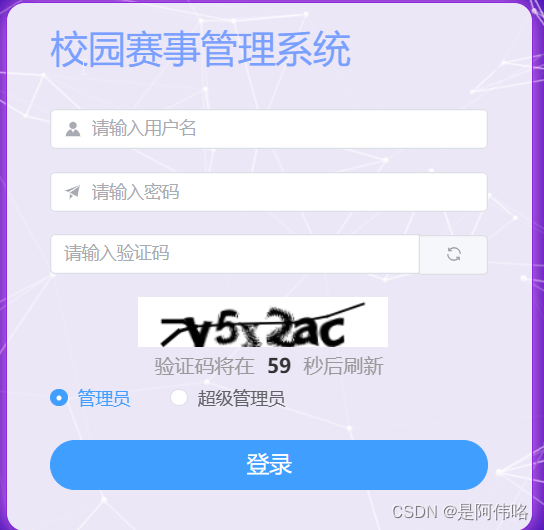
</script>测试
登录页面,验证码成功请求成功,并显示出来
访问后端接口
redis数据库


 4427
4427


 被折叠的 条评论
为什么被折叠?
被折叠的 条评论
为什么被折叠?
 到【灌水乐园】发言


