


关于Bean的生命周期
创建————初始化————销毁
IOC容器管理我们的Bean:
我们可以自定义管理Bean的初始化和销毁
注意关于Bean的初始化和销毁我们也分为单实例和多实例二种情况
构造(对象创建): 单实例:在容器启动时创建对象
多实例:在每次获取后创建对象
1.1新建一个类Car
package com.Bean;

public class Car {
    public Car(){
        System.out.println("car constructor...");
    }
    public void init(){
        System.out.println("car init...");
    }
    public void destory(){
        System.out.println("car destory...");
    }
}
1.2新建一个Config类
package com.Config;

import com.Bean.Car;
import org.springframework.context.annotation.Bean;
import org.springframework.context.annotation.Configuration;

@Configuration
public class MyBean {
    @Bean
    public Car car(){
        return new Car();
    }
}
1.3创建测试类
package com;
import com.Config.MyBean;
import org.junit.jupiter.api.Test;
import org.springframework.context.annotation.AnnotationConfigApplicationContext;
public class IOCBeanTest_Life {
@Test
public void test(){
//创建IOC容器
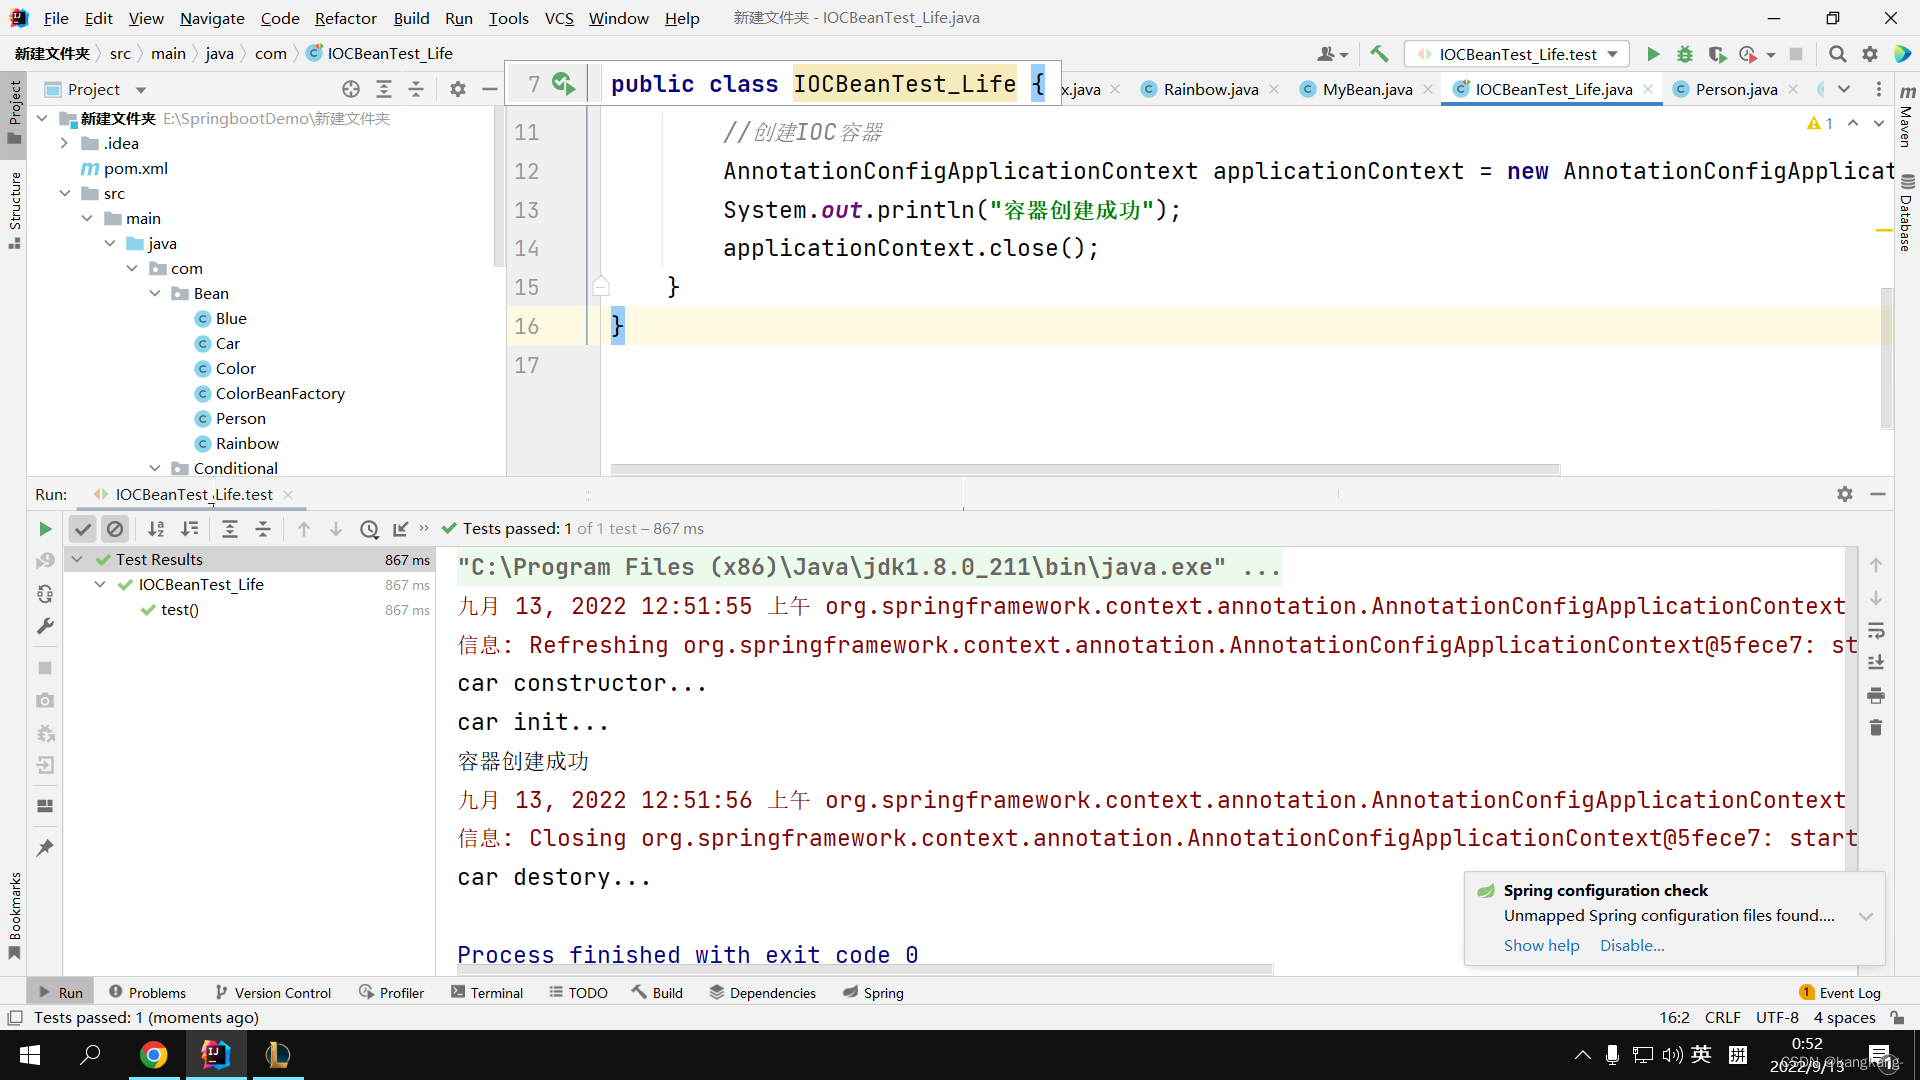
AnnotationConfigApplicationContext applicationContext = new AnnotationConfigApplicationContext(MyBean.class);
System.out.println("容器创建成功");
}
}
1.4运行后

2 在@Bean中添加Init方法和Destory方法
package com.Config;

import com.Bean.Car;
import org.springframework.context.annotation.Bean;
import org.springframework.context.annotation.Configuration;

@Configuration
public class MyBean {
    @Bean(initMethod = "init",destroyMethod = "destroy")
    public Car car(){
        return new Car();
    }
}
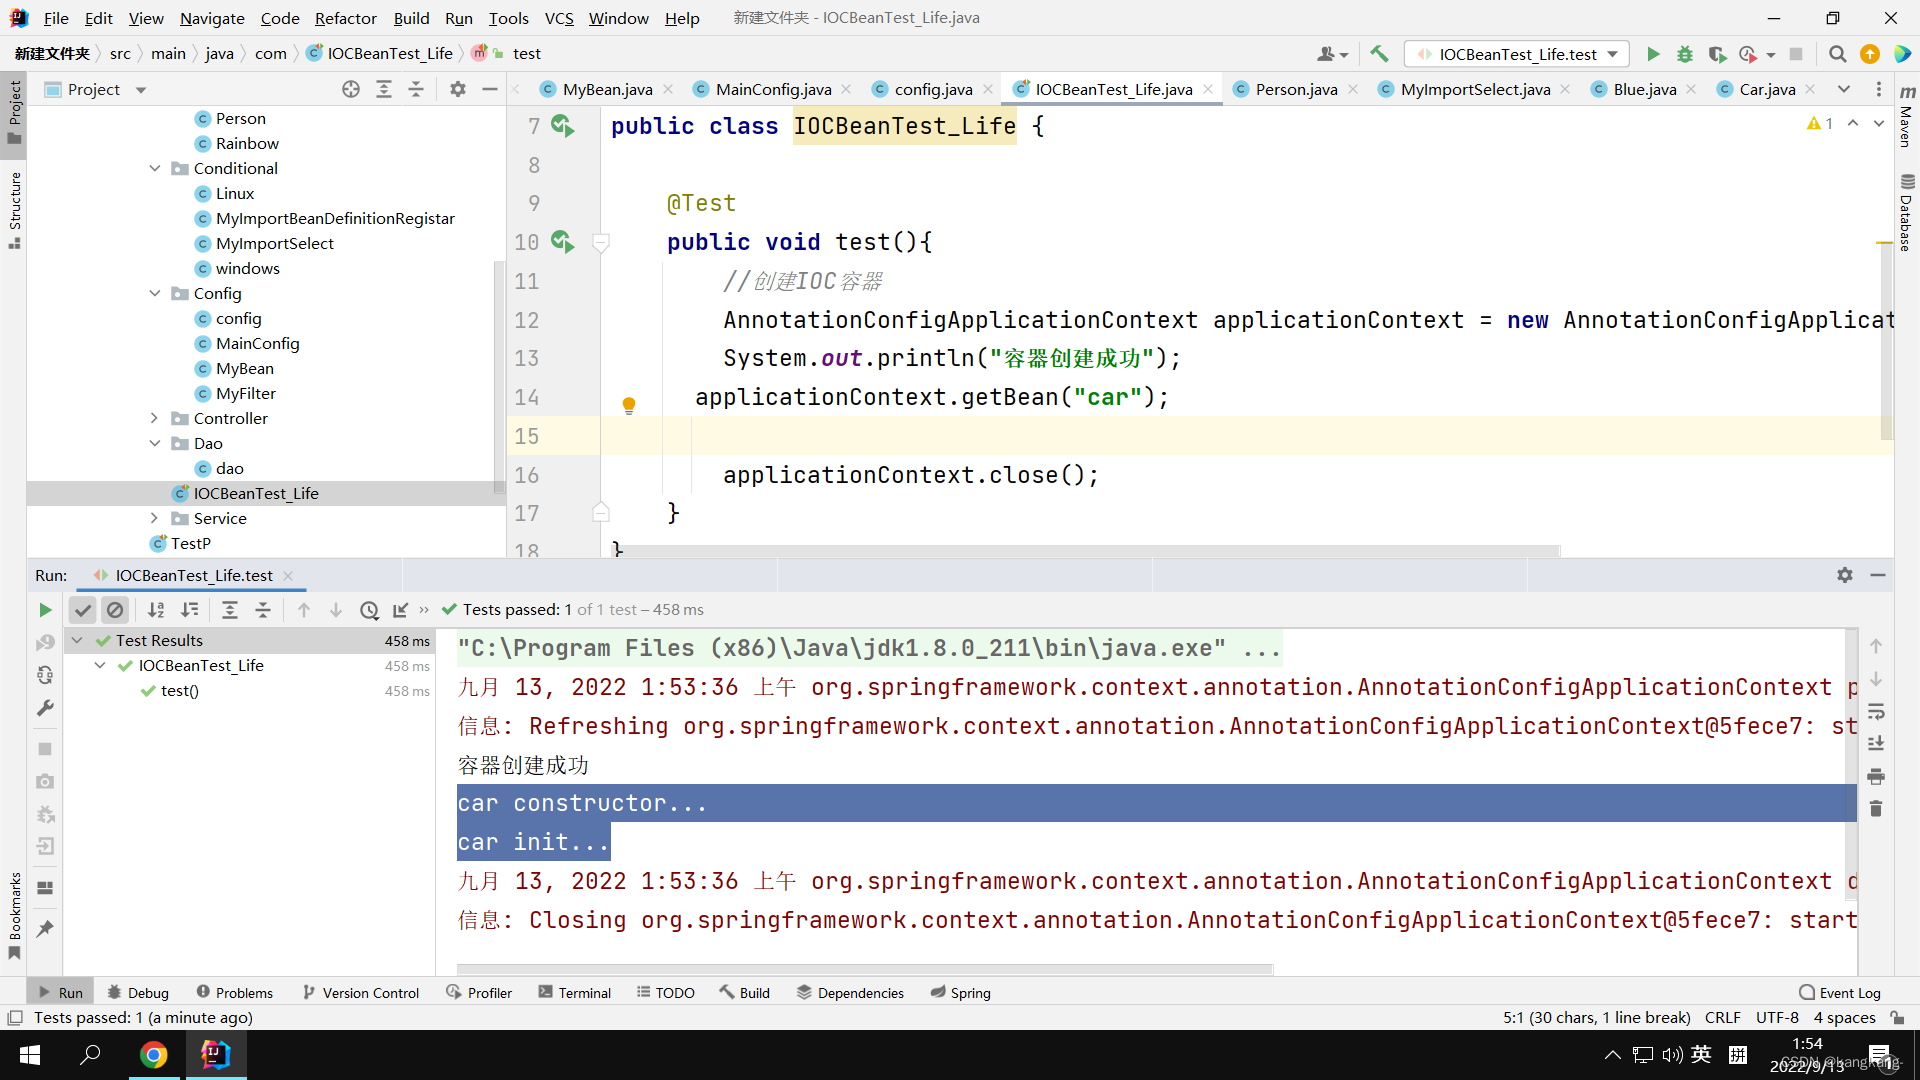
2.1在测试类添加applicationContext.close();才能关闭容器
上面这是单实例的情况
如果是多实例的话,我们需要在Config中定义@Scope:prototype(默认单例)
package com.Config;

import com.Bean.Car;
import org.springframework.context.annotation.Bean;
import org.springframework.context.annotation.Configuration;
import org.springframework.context.annotation.Scope;

@Configuration
public class MyBean {
    @Scope("prototype")
    @Bean(initMethod = "init",destroyMethod = "destroy")
    public Car car(){
        return new Car();
    }
}
在测试类中需要添加Bean,要不然不会初始化,在每次获取后创建对象,且不能被销毁
@Test
public void test(){
    //创建IOC容器
    AnnotationConfigApplicationContext applicationContext = new AnnotationConfigApplicationContext(MyBean.class);
    System.out.println("容器创建成功");
  applicationContext.getBean("car");

    applicationContext.close();
}
二 通过让Bean实现InitializingBean, DisposableBean方法来初始化和销毁Bean
2.1创建类并实现方法并添加@Component来添加Bean
package com.Bean;

import com.sun.org.apache.xml.internal.security.Init;
import javafx.fxml.Initializable;
import org.springframework.beans.factory.DisposableBean;
import org.springframework.beans.factory.InitializingBean;
import org.springframework.context.annotation.ComponentScan;
import org.springframework.stereotype.Component;

@Component
public class Cat implements InitializingBean, DisposableBean {

    public Cat(){
        System.out.println("cat constructor...");
    }

    @Override
    public void destroy() throws Exception {
        System.out.println("cat destory...");
    }

    @Override
    public void afterPropertiesSet() throws Exception {
        System.out.println("cat...afterPropertiesSet");
    }
}
2.2 通过配置了ComponentScan扫描Bean
package com.Config;

import com.Bean.Car;
import org.springframework.context.annotation.Bean;
import org.springframework.context.annotation.ComponentScan;
import org.springframework.context.annotation.Configuration;
import org.springframework.context.annotation.Scope;
@ComponentScan("com.Bean")
@Configuration
public class MyBean {

    @Bean(initMethod = "init",destroyMethod = "destroy")
    public Car car(){
        return new Car();
    }
}
2.3 运行测试类
package com;

import com.Config.MyBean;
import org.junit.jupiter.api.Test;
import org.springframework.context.annotation.AnnotationConfigApplicationContext;

public class IOCBeanTest_Life {

    @Test
    public void test(){
        //创建IOC容器
        AnnotationConfigApplicationContext applicationContext = new AnnotationConfigApplicationContext(MyBean.class);
        System.out.println("容器创建成功");

        applicationContext.close();
    }
}
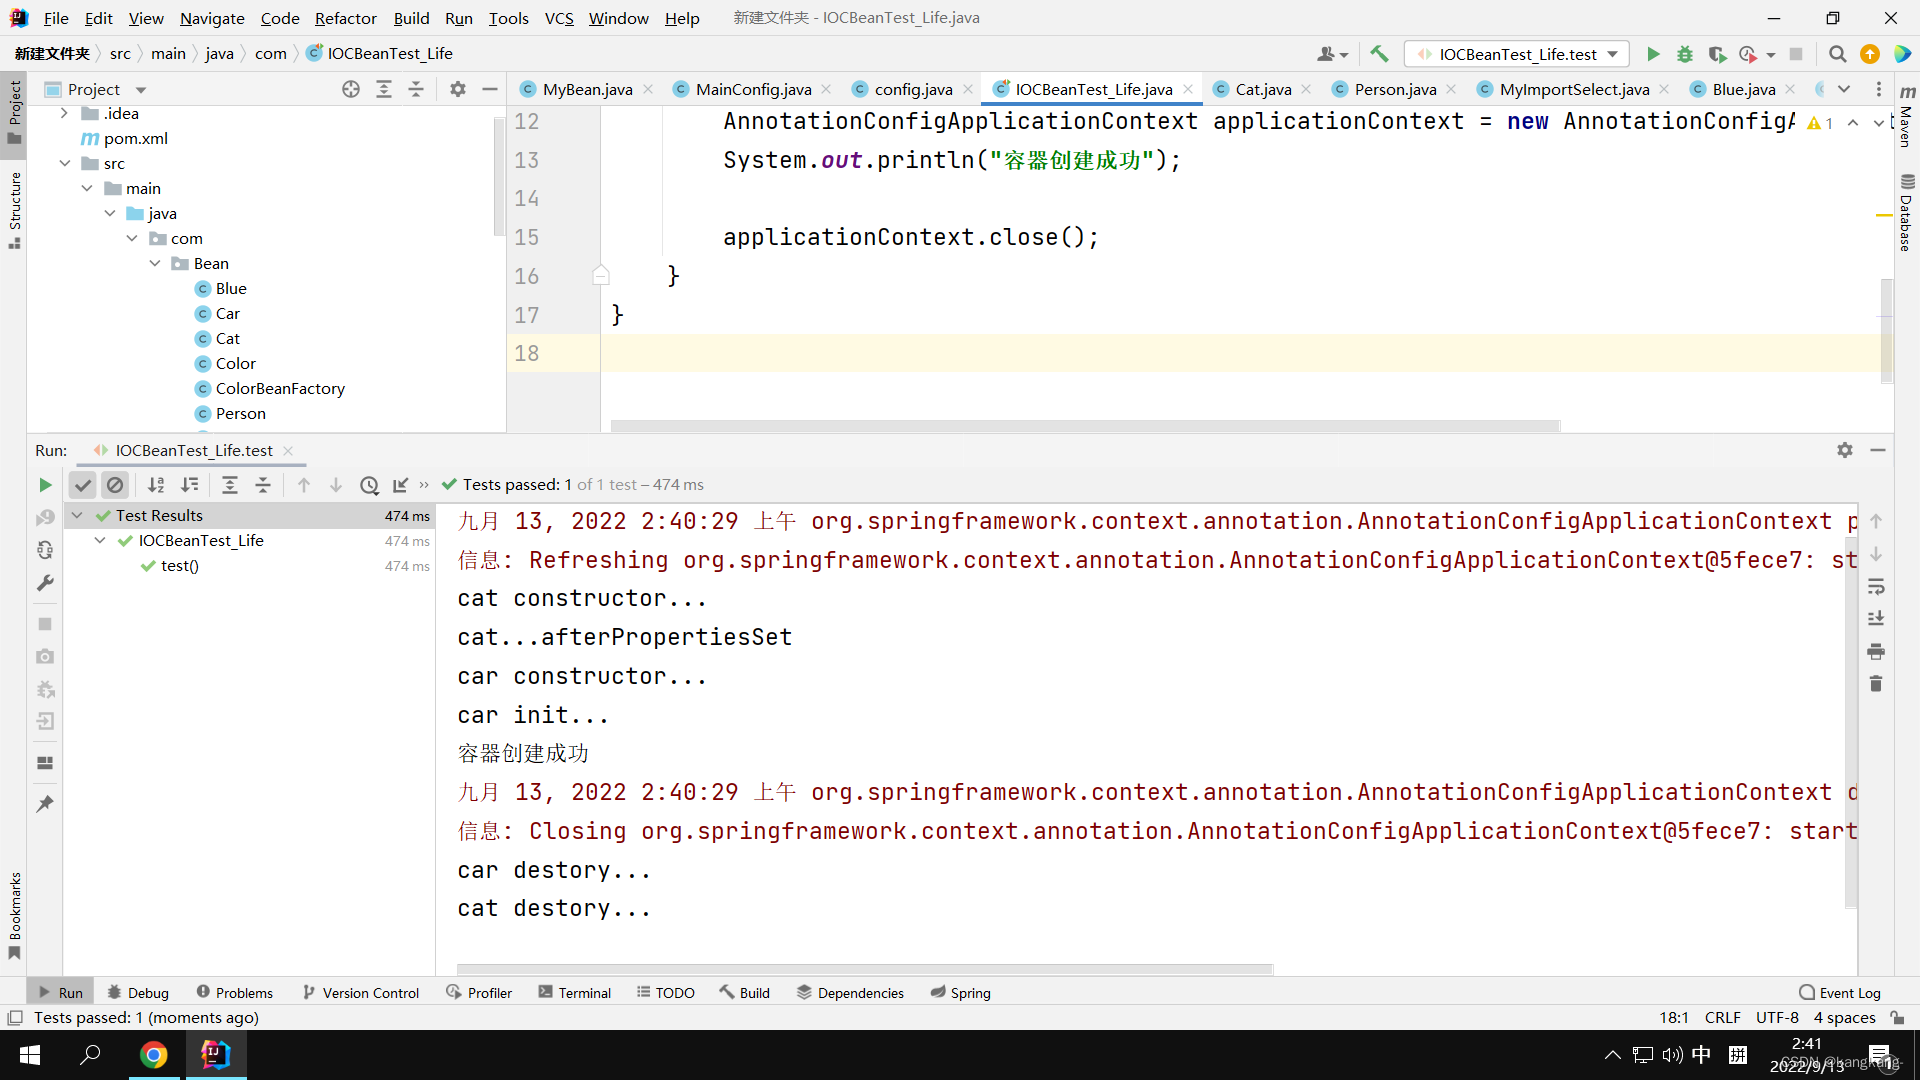
同样可以定义Bean的初始化和销毁
第三种方法:添加注解@PostConstruct来进行初始化,@PreDestroy来进行销毁
3.1添加类并加上注解
package com.Bean;

import org.springframework.stereotype.Component;

import javax.annotation.PostConstruct;
import javax.annotation.PreDestroy;

@Component
public class Dog {
    public Dog() {
    }

    @PostConstruct
    public void init(){
        System.out.println("Dog init...");
    }

    @PreDestroy
    public void destroy(){
        System.out.println("Dog destory...");
    }
}
3.2运行
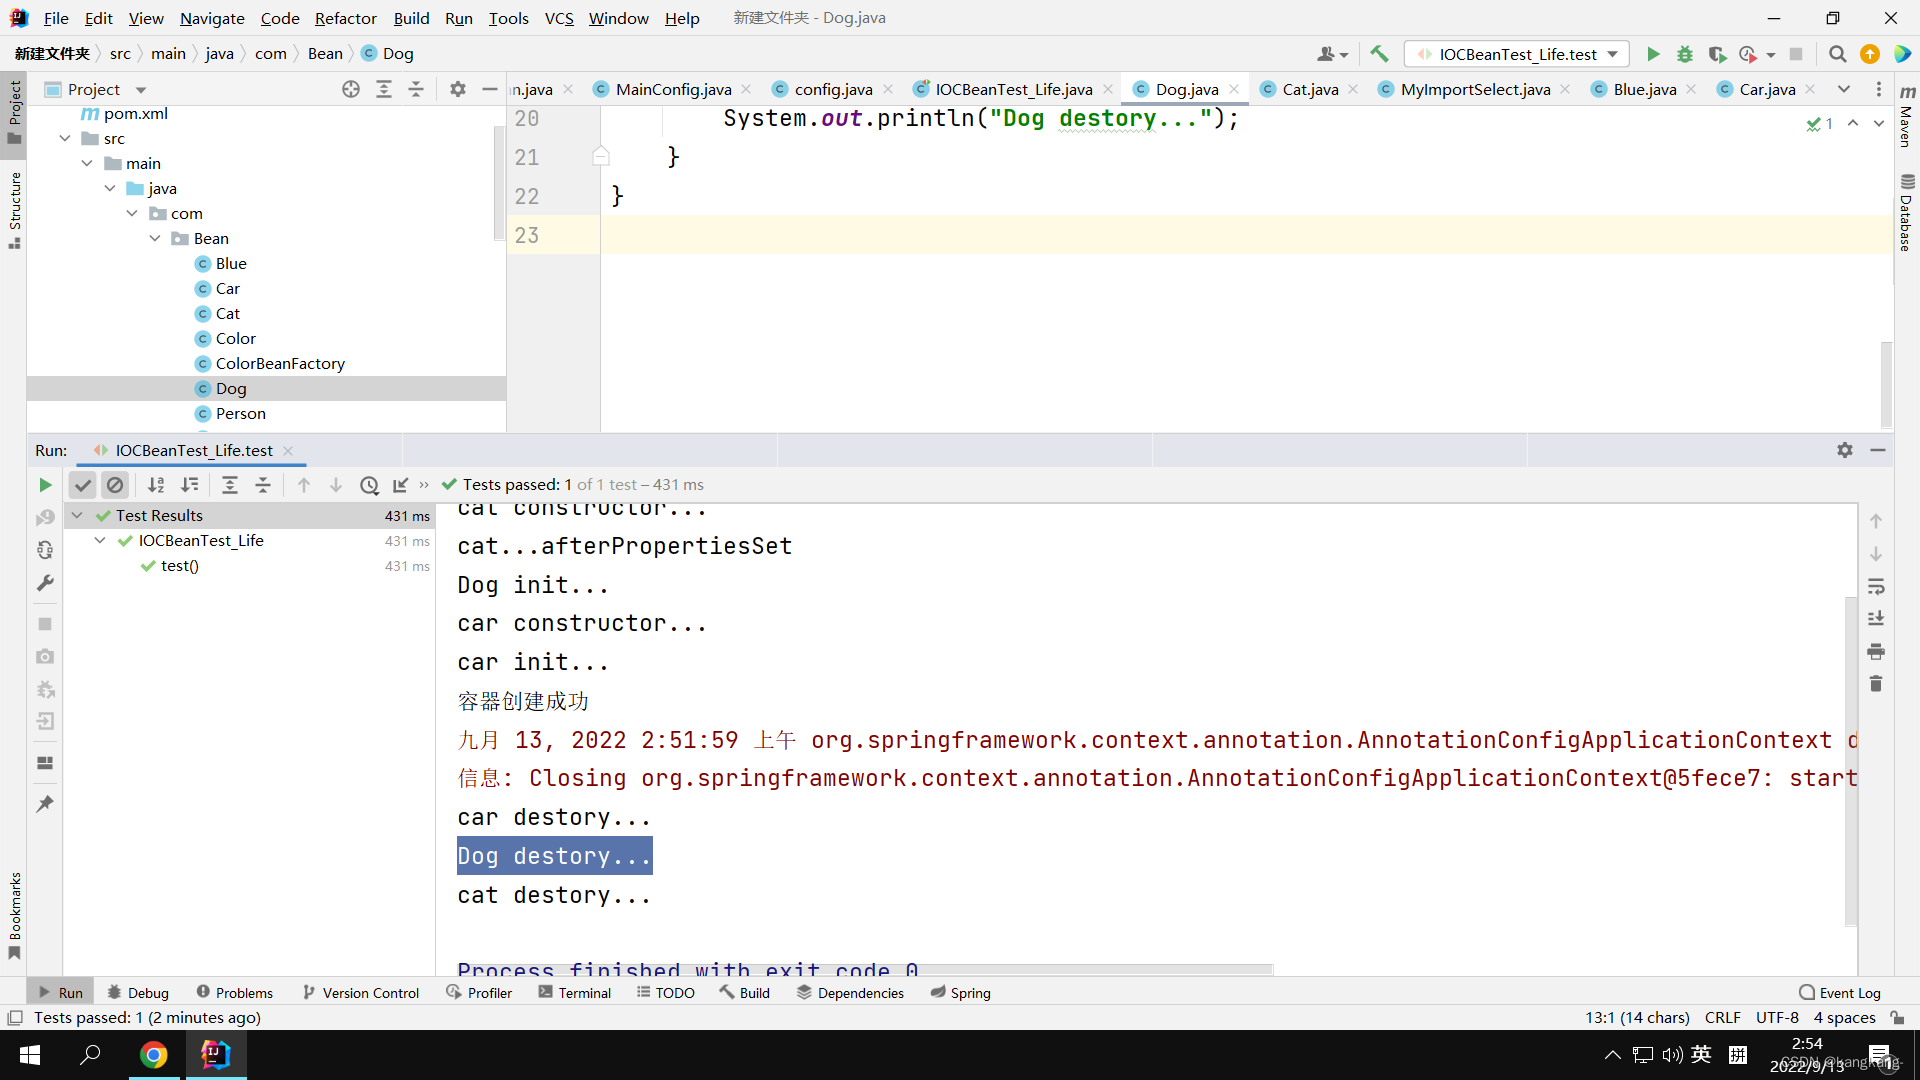
同样Dog初始化和销毁被调用
第四种:通过后置处理器BeanPostProcessor来定义初始化和销毁
4.1 新建一个类实现BeanPostProcessor接口并实现其方法,添加@Component注解
package com.Bean;

import org.springframework.beans.BeansException;
import org.springframework.beans.factory.config.BeanPostProcessor;
import org.springframework.stereotype.Component;

@Component
public class MyBeanPostProcessor  implements BeanPostProcessor {


    //初始化之前调用

    @Override
    public Object postProcessBeforeInitialization(Object bean, String beanname) throws BeansException {
        System.out.println("postProcessBeforeInitialization"+beanname+bean);
        return bean;
    }

    //初始化之后调用
    @Override
    public Object postProcessAfterInitialization(Object bean, String beanname) throws BeansException {
        System.out.println("postProcessAfterInitialization"+beanname+bean);
        return bean;
    }
}
4.2 测试
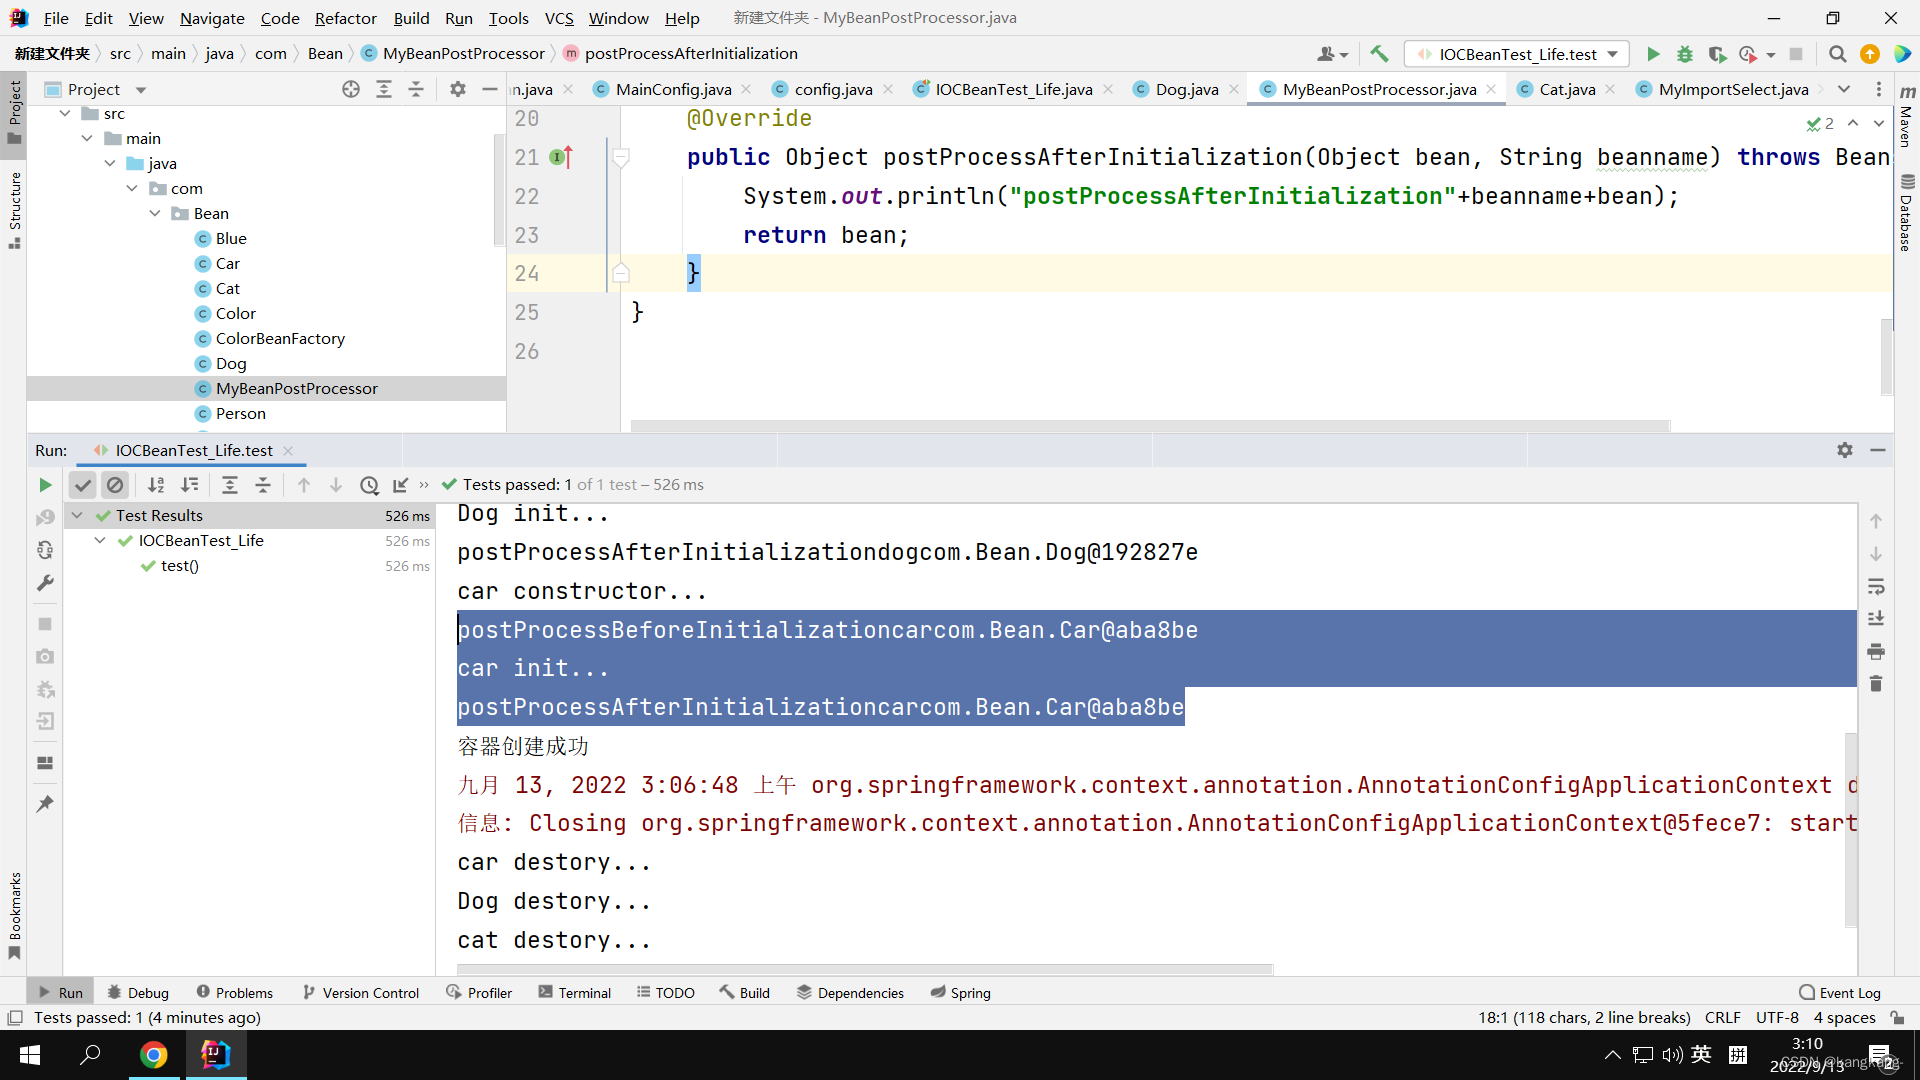
清晰看见在初始化前.我们调用 postProcessBeforeInitialization方法
初始化后调用postProcessAfterInitialization方法


 4597
4597


 被折叠的 条评论
为什么被折叠?
被折叠的 条评论
为什么被折叠?
 到【灌水乐园】发言


