


@Value注释最简单的就是利用备注快速给Bean赋值
一.基本数值
二.可以写SpEL #{ }
三 ${} 取出配置文件的值
1.1新建类Person
package com.Bean;

public class Person {
    private String name;
    private int age;

    public Person() {
    }

    public Person(String name, int age) {
        this.name = name;
        this.age = age;
    }

    public String getName() {
        return name;
    }

    public void setName(String name) {
        this.name = name;
    }

    public int getAge() {
        return age;
    }

    public void setAge(int age) {
        this.age = age;
    }

    @Override
    public String toString() {
        return "Bean{" +
                "name='" + name + '\'' +
                ", age=" + age +
                '}';
    }
}
1.2新建Config类
package com.Config;

import com.Bean.Person;
import org.springframework.context.annotation.Bean;
import org.springframework.context.annotation.Configuration;

@Configuration
public class MyConfigValue {


    @Bean
    public Person person(){
        return new Person();
    }

}
1.3新建测试类
package com;

import com.Bean.Person;
import com.Config.MyConfigValue;
import org.junit.jupiter.api.Test;
import org.springframework.context.annotation.AnnotationConfigApplicationContext;

public class TestIOC {
    AnnotationConfigApplicationContext applicationContext = new AnnotationConfigApplicationContext(MyConfigValue.class);
@Test
    public void test() {
        printBean(applicationContext);
        System.out.println("===============");
        Person person =(Person)applicationContext.getBean("person");
        System.out.println(person);

}

    private void printBean(AnnotationConfigApplicationContext annotationConfigApplicationContext) {
        String[] beanDefinitionNames = annotationConfigApplicationContext.getBeanDefinitionNames();
        for (String name : beanDefinitionNames) {
            System.out.println(name);
        }
    }
}
1.4 运行后

我们发现现在的Person属性都是为null
我们给Person类添加Value,并赋值
@Value("kangkang")
private String name;
@Value("#{20-2}")
private int age;
运行后
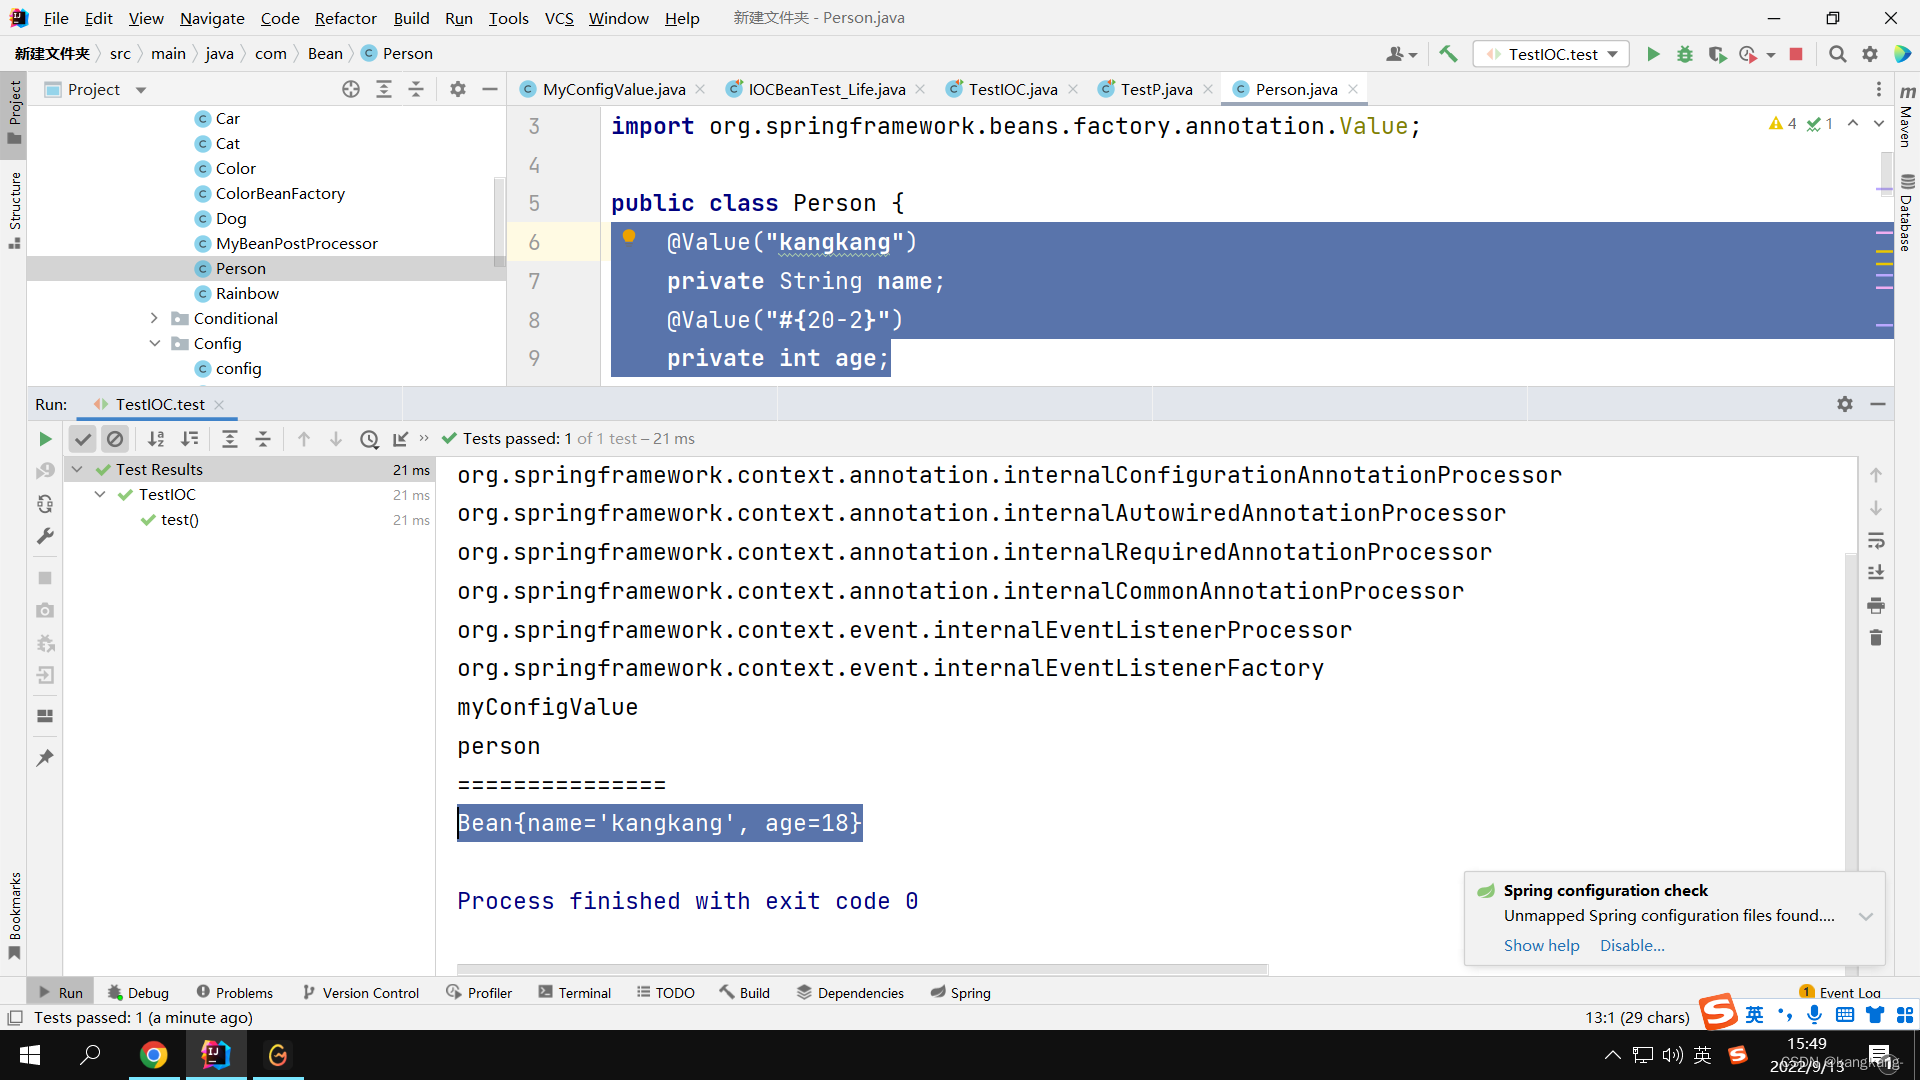
成功用Value实现快速赋值
我们在来使用第三种方法赋值用${},利用配置文件赋值
在Resouce下 新建配置文件
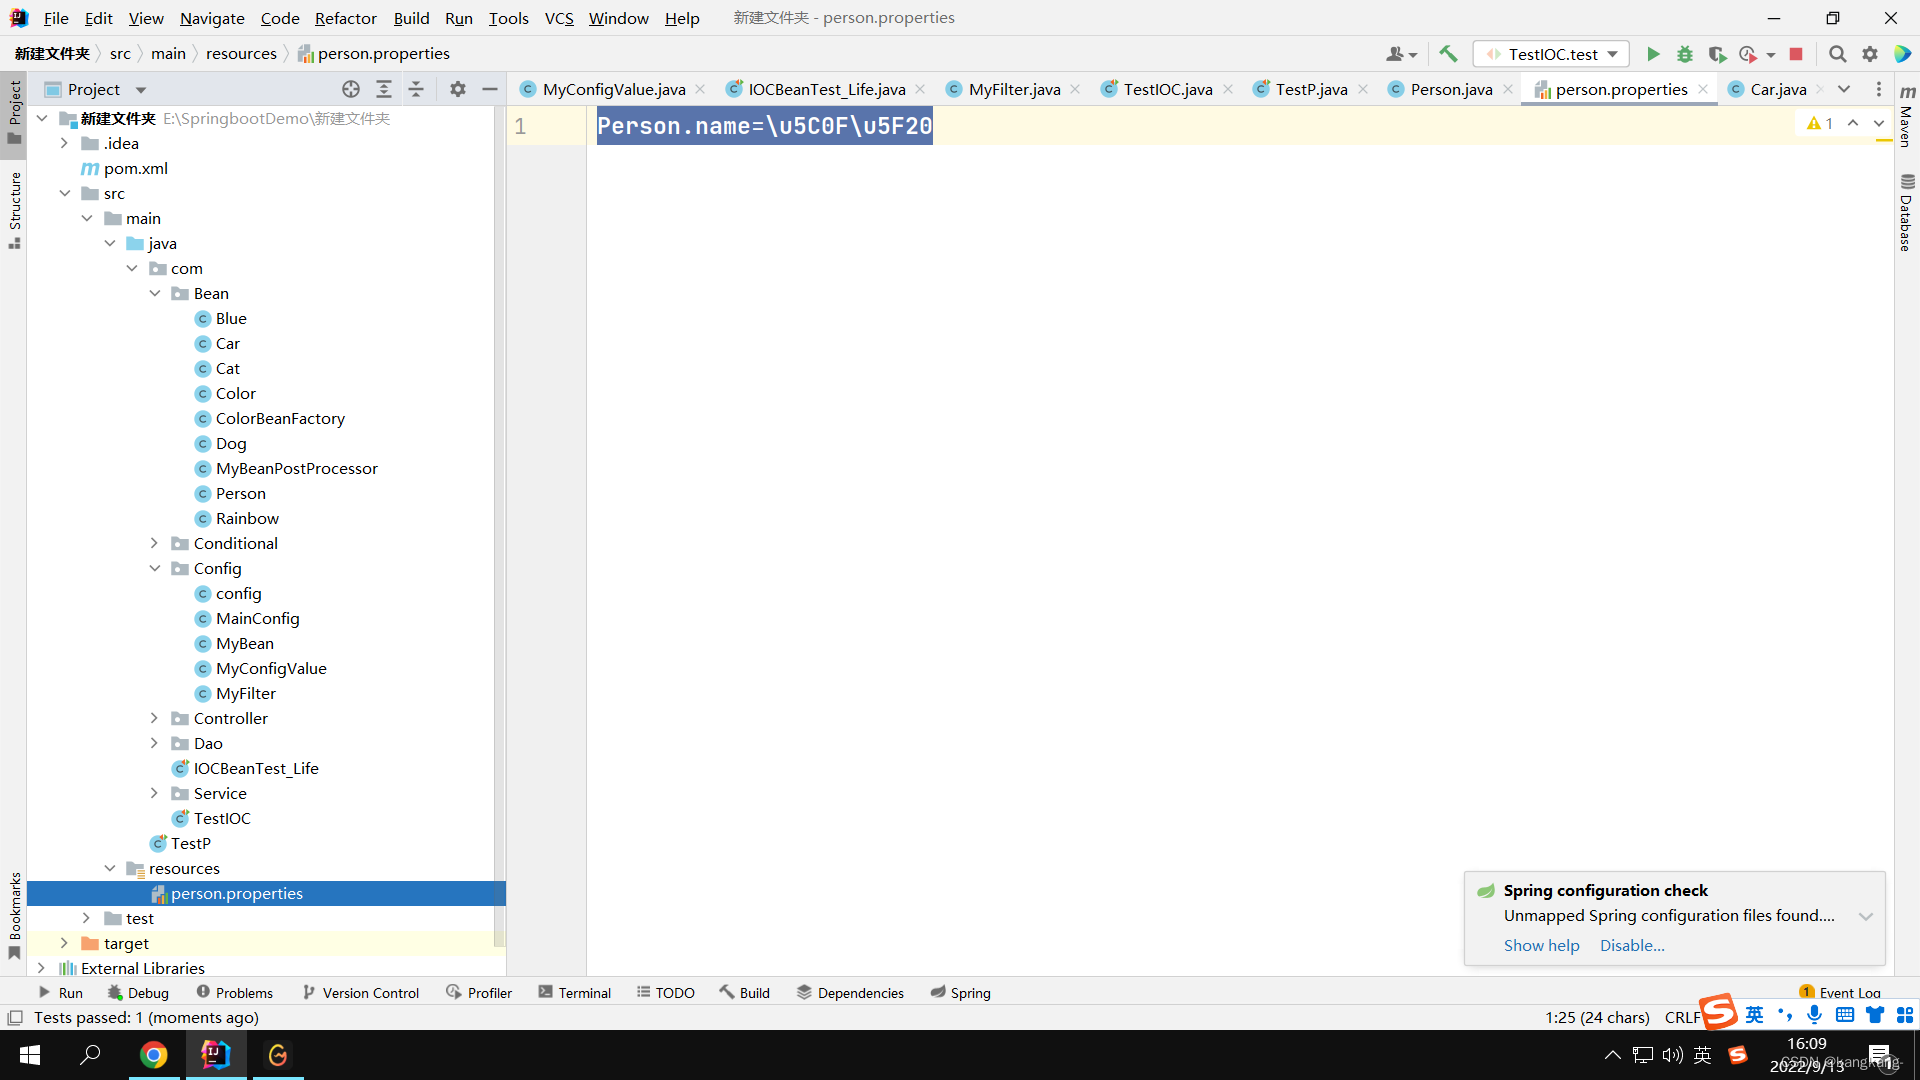
在Config中添加@PropertySource添加配置文件来源
package com.Config;

import com.Bean.Person;
import org.springframework.context.annotation.Bean;
import org.springframework.context.annotation.Configuration;
import org.springframework.context.annotation.PropertySource;

@Configuration
@PropertySource(value={"classpath:/person.properties"})
public class MyConfigValue {


    @Bean
    public Person person(){
        return new Person();
    }

}
给Perosn类用${Person.name}赋值
package com.Bean;

import org.springframework.beans.factory.annotation.Value;

public class Person {
    @Value("${Person.name}")
    private String name;
    @Value("#{20-2}")
    private int age;

    public Person() {
    }

    public Person(String name, int age) {
        this.name = name;
        this.age = age;
    }

    public String getName() {
        return name;
    }

    public void setName(String name) {
        this.name = name;
    }

    public int getAge() {
        return age;
    }

    public void setAge(int age) {
        this.age = age;
    }

    @Override
    public String toString() {
        return "Bean{" +
                "name='" + name + '\'' +
                ", age=" + age +
                '}';
    }
}
运行后
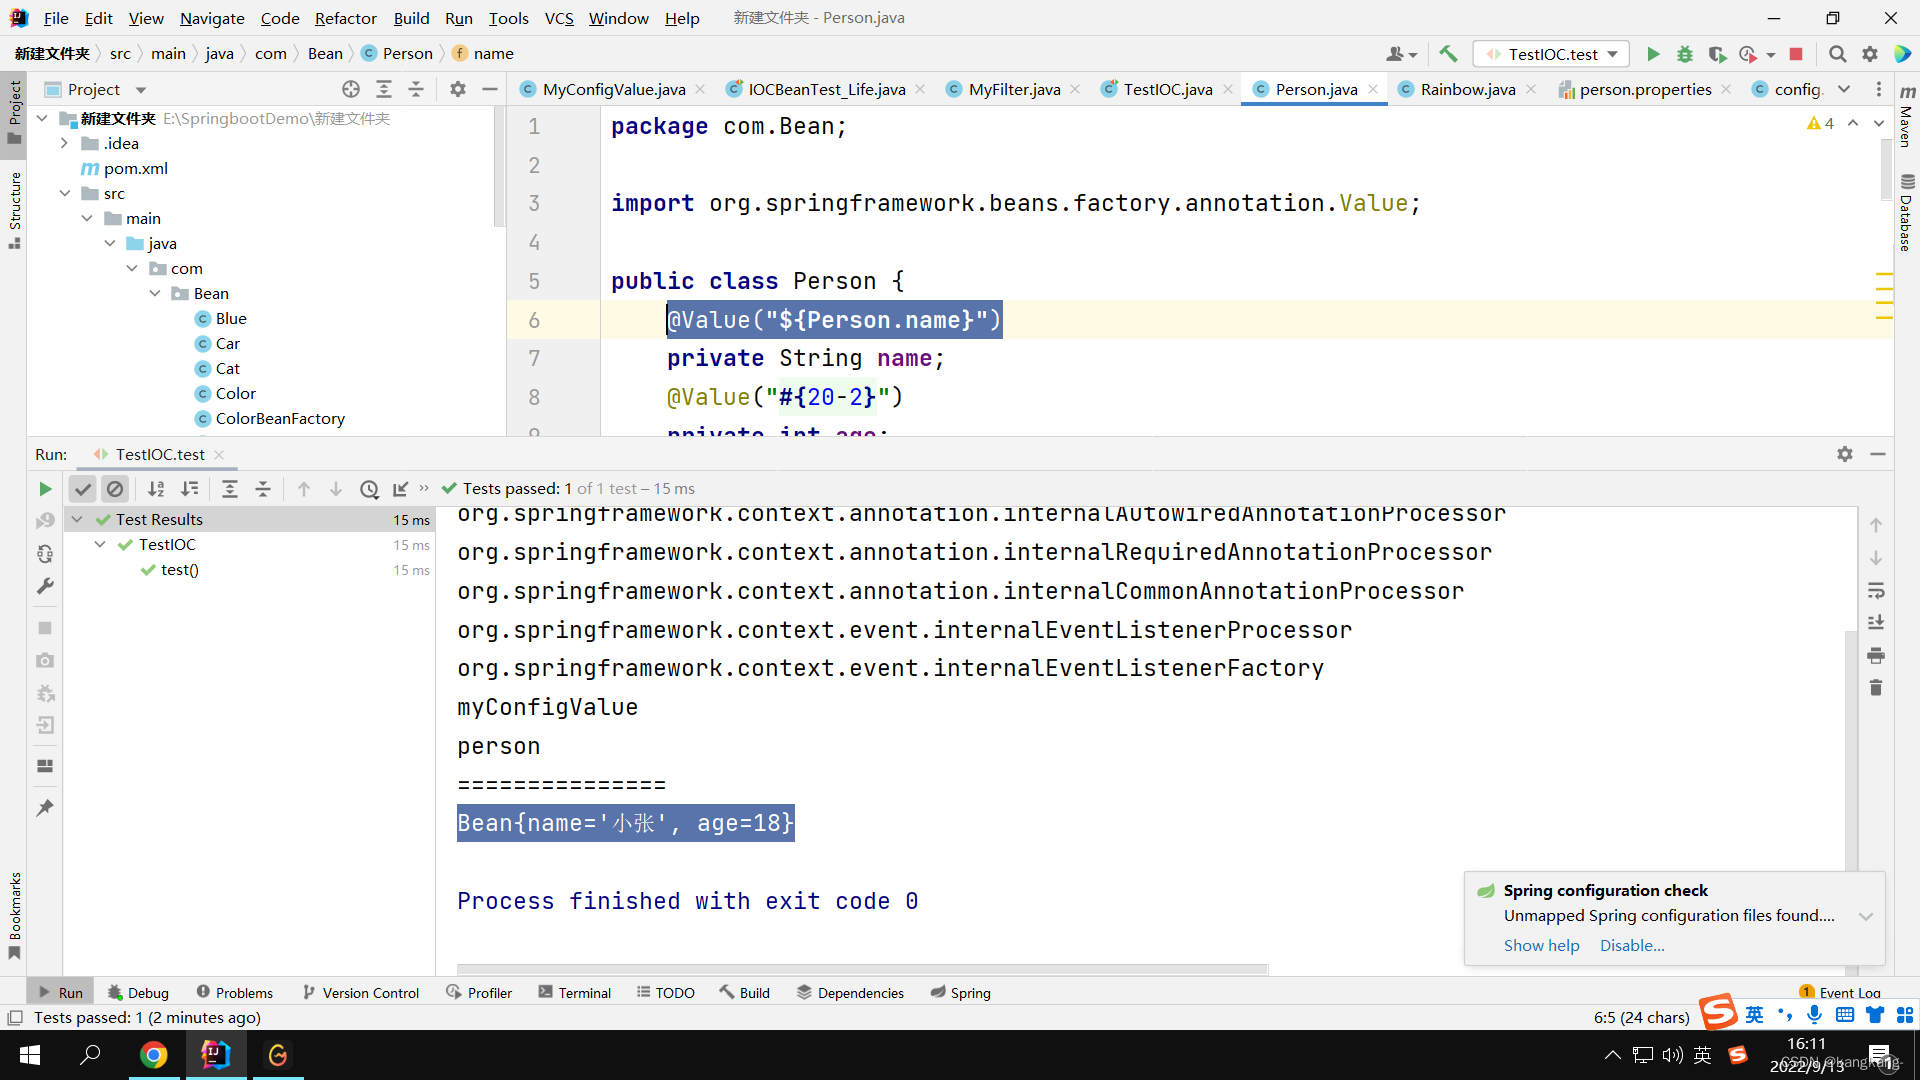
赋值成功


 1085
1085


 被折叠的 条评论
为什么被折叠?
被折叠的 条评论
为什么被折叠?
 到【灌水乐园】发言


